

In this article, I am going to explain in detail about actions and tasks in the SQLPackage Utility. In my previous article, I have explained the overview of the SQLPackage utility. The SQLPackage utility is a command-line utility tool provided by Microsoft to automate SQL Server database deployments. Since this utility is cross-platform, you can easily install it on any operating system of your choice. SQLPackage actions are the types of functions that we can achieve with this utility. You can install this utility directly on any production server and it can be used as is. You can find more information about this utility and SQLPackage actions from the official documentation from Microsoft.
In total, seven primary actions are provided in the SQLPackage utility:
- Extract – Used to create an extract from the database of a live SQL Server or Azure SQL Database
- Publish – Used to publish a DACPAC file from a local machine to the server
- Export – Exports a live database from the server with data to a BACPAC file
- Import – Used to import a BACPAC file to the SQL Server or Azure SQL Database
- DeployReport – Provides a list of changes in XML that are going to be applied once the database is published
- DriftReport – Provides a list of changes in XML that has been applied to a database after being registered
- Script – Generates a T-SQL script to incrementally update a database in SQL Server or Azure SQL Database
Let us now go ahead and learn about each of these SQLPackage actions and how to execute these from the command line.
Using Extract action
This action is used to create a DACPAC file from an existing database in the SQL Server or Azure SQL Database. Using this action, you can easily create a DACPAC file that will contain the schema and other objects in the database, but no data. The parameters for this action are as follows:
- Action – Extract
- SourceDatabaseName – Name of the source database from which the DACPAC needs to be created
- SourceServerName – The name of the server from which the DACPAC is to be created
- TargetFileName – Local path in which the DACPAC file is to be saved
sqlpackage
/action:Extract
/TargetFile:”C:\temp\SQLShackSnapshotExtract.dacpac”
/SourceDatabaseName:SQLShackSnapshot
/SourceServerName:”localhost”

Figure 1 – Extract Action
Using Publish action
As discussed above, the Publish action is used to deploy a DACPAC file incrementally to the database server. If the database does not exist, then a new database will be created. However, if the database already exists, then the utility will compare the differences between the source (DACPAC) and the destination (SQL Server Database) and generate the necessary scripts to update the database.
We can use the following parameters for this action to publish a DACPAC file:
- Action – Publish, since we are going to publish the DACPAC file to the database server
- SourceFile – The path of the source (DAPAC) file in the local machine
- TargetDatabaseName – The name of the database in the target server
- TargetServerName – The name of the target database server
sqlpackage
/action:Publish
/SourceFile:”C:\temp\SQLShackSnapshot.dacpac”
/TargetDatabaseName:SQLShackSnapshot
/TargetServerName:”localhost”

Figure 2 – Publish Action
Using Export action
The Export action is somewhat like the Extract function, except the fact that this action exports the data along with the schema of the database. The output file in case of the Export action is a BACPAC and not DACPAC. This file is usually bigger in size as the data is also exported in the file. The parameters for this action can be specified as follows:
- Action – Export. This is used to export the BACPAC file
- SourceDatabaseName – Name of the source database from which the BACPAC needs to be created
- SourceServerName – The name of the server from which the BACPAC is to be created
- TargetFileName – Local path in which the BACPAC file is to be saved
sqlpackage
/action:Export
/TargetFile:”C:\temp\SQLShackSnapshotExtract.bacpac”
/SourceDatabaseName:SQLShackSnapshot
/SourceServerName:”localhost”
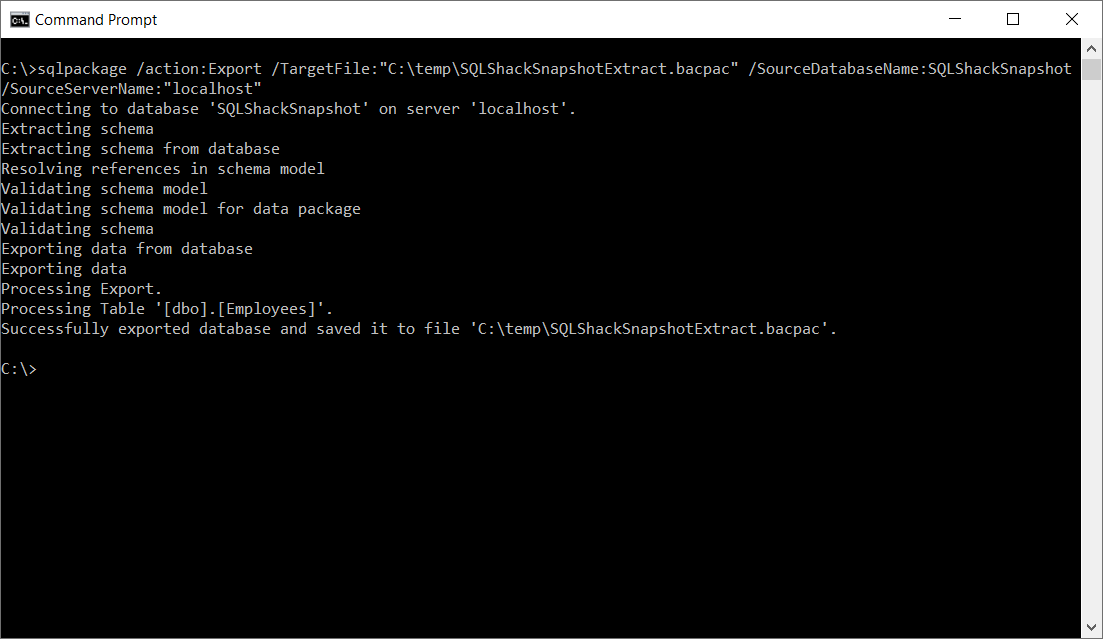
Figure 3 – Export Action
Using Import action
The Import action is just the opposite of the Export action. Using this action, you can easily restore a BACPAC file back to the database server in SQL Server or Azure SQL Database. This will restore the schema as well as the data which was exported while creating the BACPAC file. The parameters used to use the Import action are as follows:
- Action – Import, as the function is going to import a BACPAC file into the SQL Server
- SourceFile – The path of the source (BAPAC) file in the local machine
- TargetDatabaseName – The name of the database in the target server
- TargetServerName – The name of the target database server
sqlpackage
/action:Import
/SourceFile:”C:\temp\SQLShackSnapshotExtract.bacpac”
/TargetDatabaseName:SQLShackSnapshotImport
/TargetServerName:”localhost”
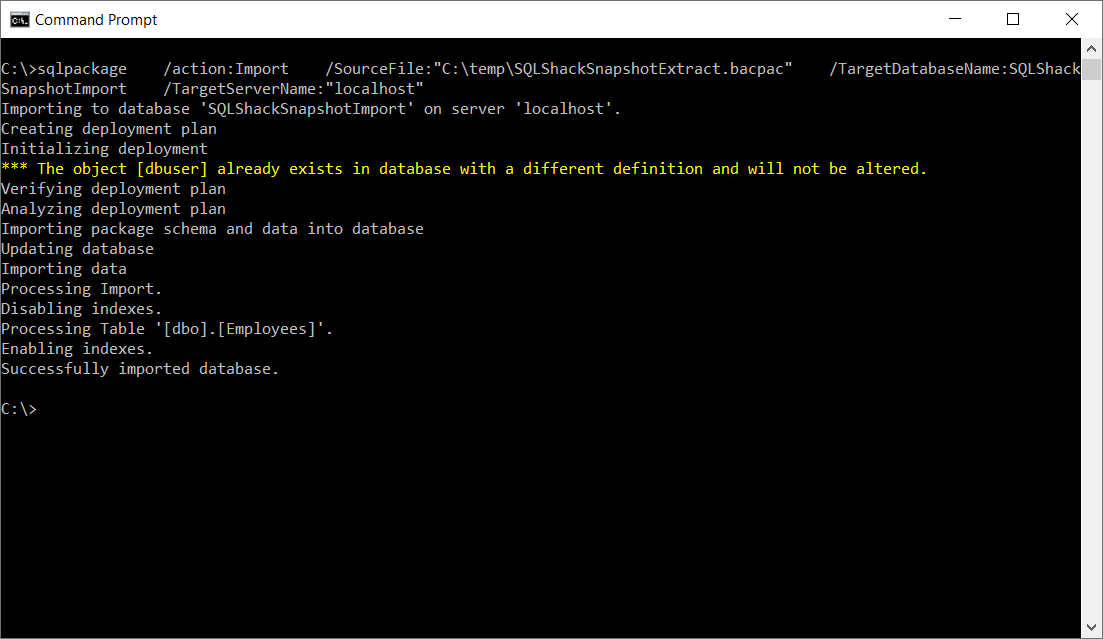
Figure 4 – Import Action
Using DeployReport action
The DeployReport action can be used to prepare an XML report that will list the changes that are going to be applied to a database once it is published. The parameters accepted by this action are as follows:
- Action – DeployReport. As we are going to generate an XML report
- SourceFile – Name of the source DACPAC file
- TargetFile – Name of the target DACPAC file
- TargetDatabaseName – The name of the database in the target server
- OutputPath – The path where the XML report will be stored after it is generated
sqlpackage
/action:DeployReport
/SourceFile:”C:\temp\SnapshotV1.dacpac”
/TargetFile:”C:\temp\SnapshotV2.dacpac”
/TargetDatabaseName:SQLShackDemoDB
/OutputPath:”C:\temp\DeployReport.xml”
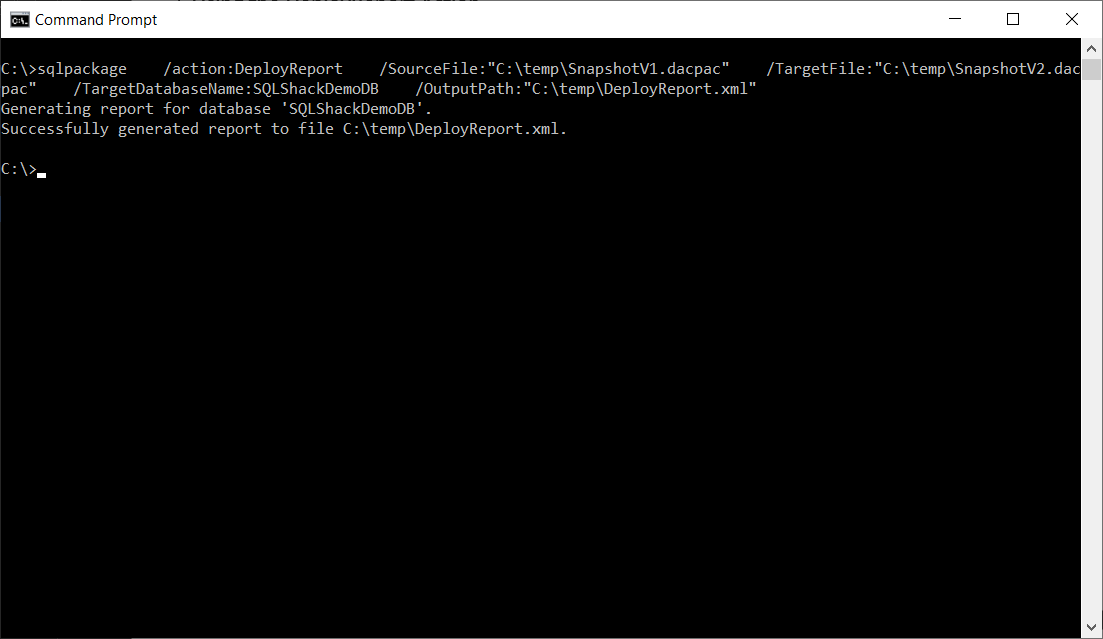
Figure 5 – DeployReport Action
Once the XML report is generated, you can easily open it with any code editor and view the report as follows:
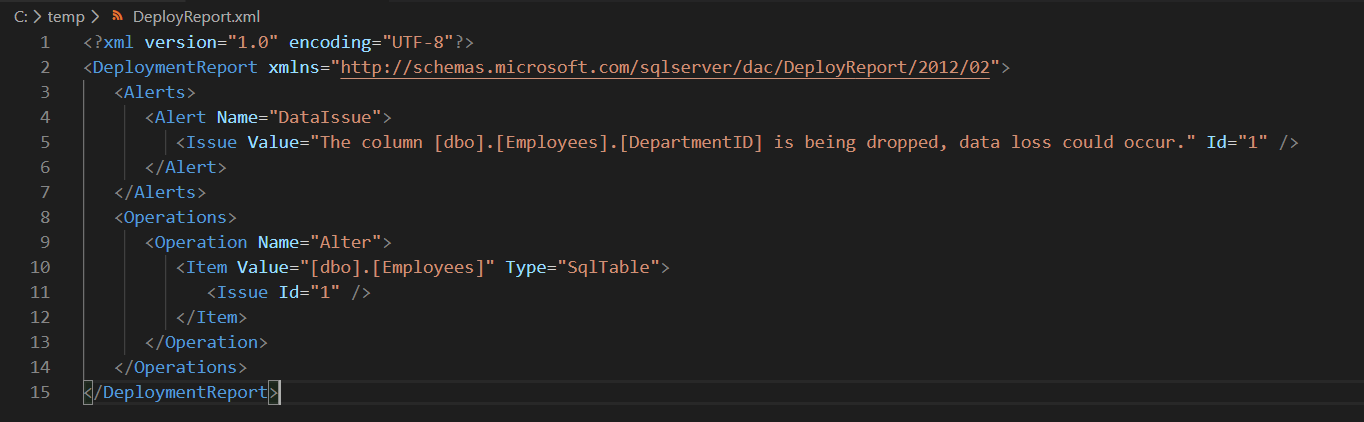
Figure 6 – Deployment Report
Using DriftReport action
The DriftReport action is used to generate an XML report that will give us the list of changes that has been applied to a database after it was registered as a data-tier application. The parameters required to generate the drift report are as follows:
- Action – DriftReport
- TargetDatabaseName – The name of the database in the target server
- TargetServerName – The name of the target database server
- OutputPath – The path where the XML report will be stored after it is generated
sqlpackage
/action:DriftReport
/TargetServerName:”localhost”
/TargetDatabaseName:SQLShackDemoDB
/OutputPath:”C:\temp\DriftReport.xml”
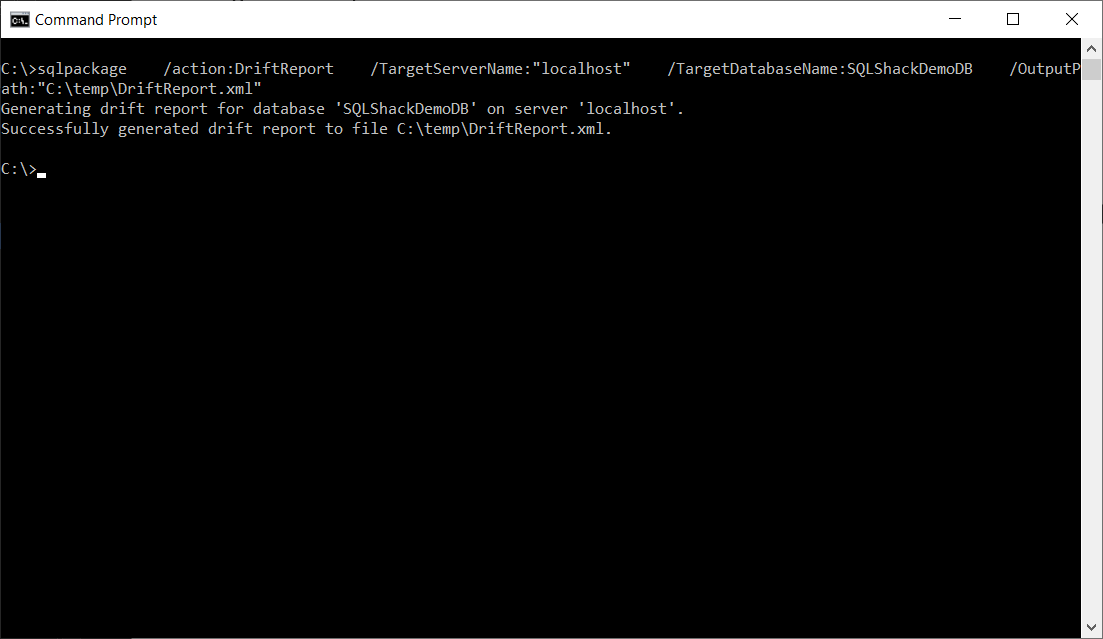
Figure 7 – DriftReport Action
Once the drift report has been generated, you can view the details of the file by opening it in any code editor. In the following figure, since there are no changes applied to the database, the drift report is empty:
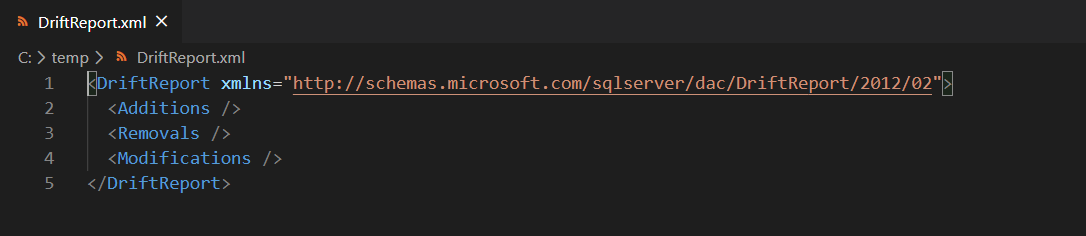
Figure 8 – Drift Report
Using Script action
This option compares the source DACPAC file with the one in the server and then creates a difference of the T-SQL changes that needs to apply to modify the database. This action can also be used to compare two different DACPAC files and generate a script with the difference between them. These changes are written to a script file on the local machine which can then be provided to the DBA for execution in the production environment.
The parameters to use this action are as follows:
- Action – Script. As we are going to generate an SQL script that will store the difference of the changes
- SourceFile – Name of the source DACPAC file
- TargetFile – Name of the target DACPAC file
- TargetDatabaseName – The name of the database in the target server
- OutputPath – The path where the T-SQL script will be stored after the comparison
sqlpackage
/action:Script
/SourceFile:”C:\temp\SnapshotV1.dacpac”
/TargetFile:”C:\temp\SnapshotV2.dacpac”
/TargetDatabaseName:SQLShackDemoDB
/OutputPath:”C:\temp\SnapshotDiff.sql”
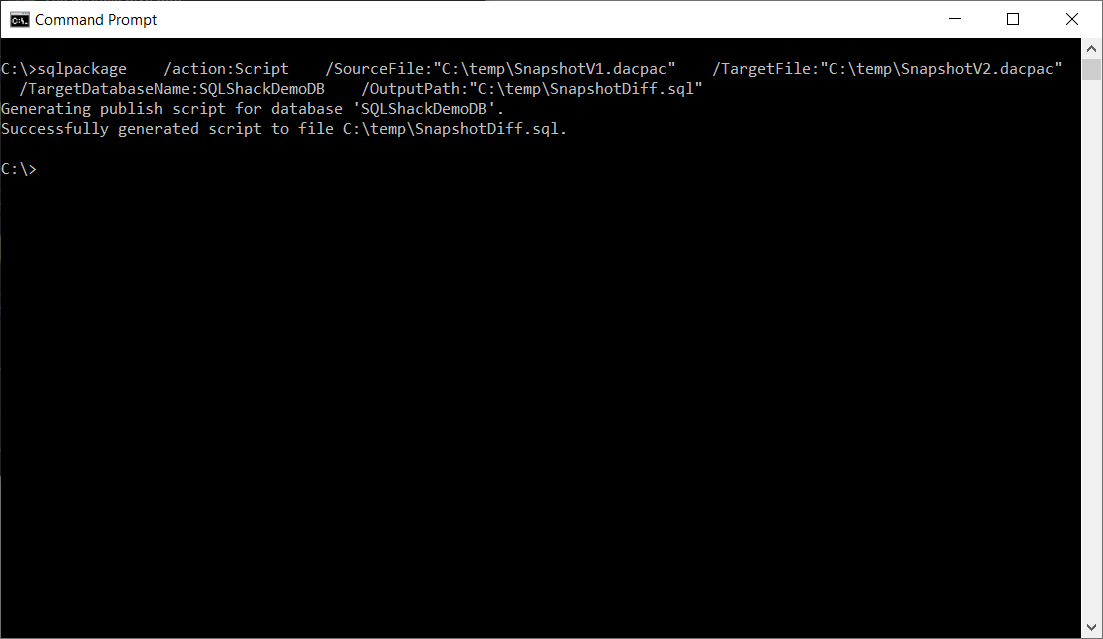
Figure 9 – Script Action
The SQL script generated by this action is stored in the path specified. As you can see in the figure below, the script contains the list of changes that needs to be applied to the database in order to modify it to the second version:
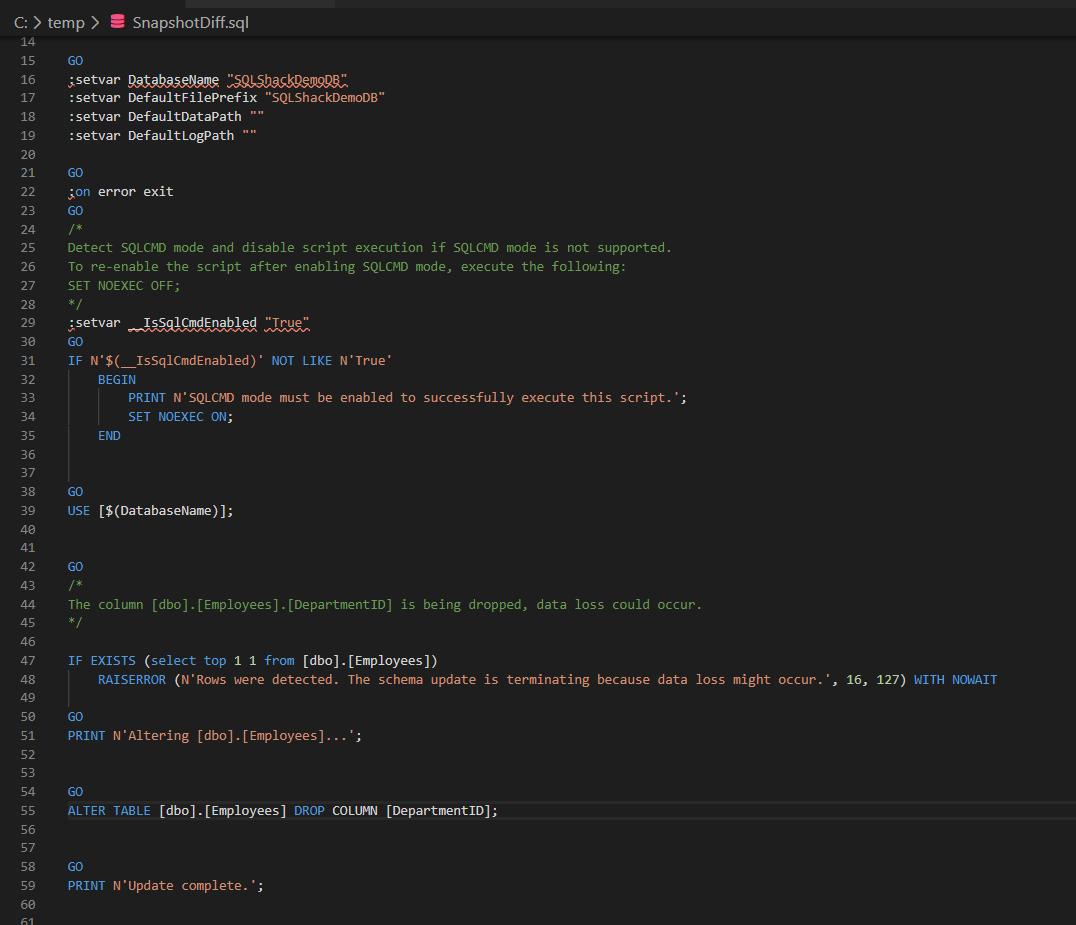
Figure 10 – Difference Script
Conclusion
In this article, we have explored all the SQLPackage actions that are provided with the SQLPackage utility. These actions are useful to automate database deployment in the SQL Server environment. The SQLPackage actions can be used against any database starting from SQL Server 2008 and Azure SQL Database as well.

He is a prolific author, with over 100 articles published on various technical blogs, including his own blog, and a frequent contributor to different technical forums.
In his leisure time, he enjoys amateur photography mostly street imagery and still life. Some glimpses of his work can be found on Instagram. You can also find him on LinkedIn
View all posts by Aveek Das
- Getting started with PostgreSQL on Docker - August 12, 2022
- Getting started with Spatial Data in PostgreSQL - January 13, 2022
- An overview of Power BI Incremental Refresh - December 6, 2021