
This article explores an alternative solution for SSDT using Azure Data Studio for both Windows and Linux SQL Server.
The SQL Server Data Tools (SSDT) is a development tool for building SQL Server databases for the on-premises and cloud infrastructure and Integration Services and Reporting projects. It is a popular tool among developers for creating and publishing SQL Database projects. It is a great tool, and however, if you are working with Linux or macOS, you cannot use it.
Azure Data Studio for deploying database projects
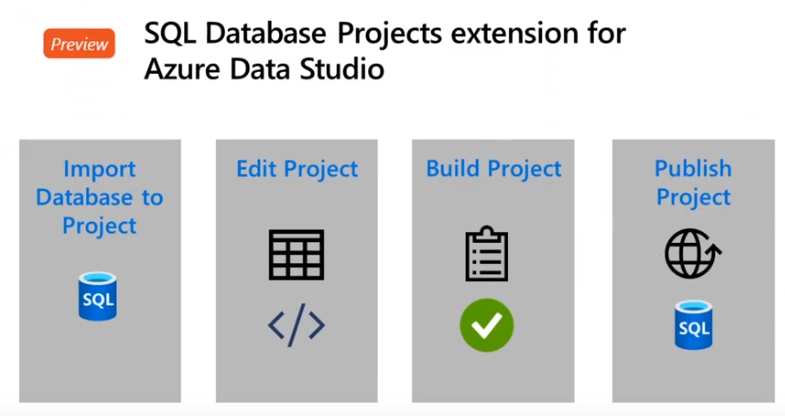
Azure Data Studio (ADS) is a multi-platform tool that works on Windows, Linux, macOS and performs database development and administration tasks. It provides extensions that enhance the application feasibility as per user requirements. In this turn, ADS has SQL Database Projects Extension, as shown below.
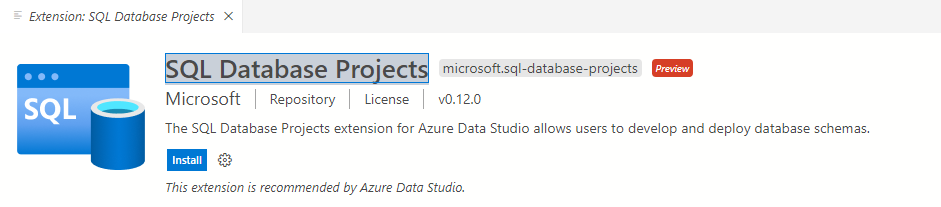
Note: SQL Database project extension is in the preview phase.
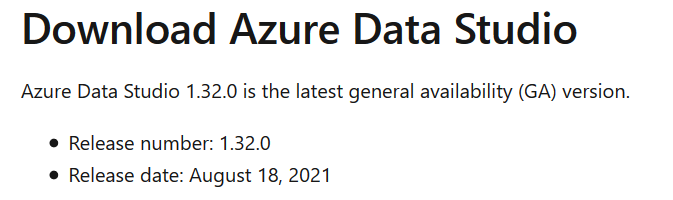
To install the extension, you require Azure Data Studio in your OS. You can download ADS latest version from Microsoft docs.
In the SQL Database projects extension, click on Install for developing and deploying database schemas.
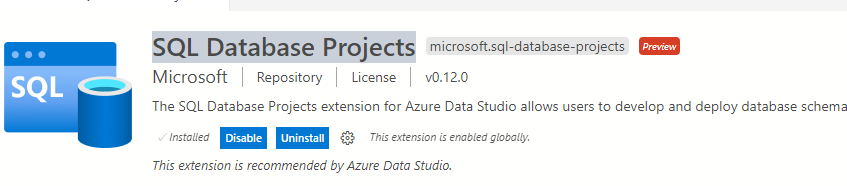
This project extension is helpful for the following tasks.
- Import database to project
- Edit project
- Build project
- Publish Project
- Open a Project deployed in SQL Server Data Tools or Azure Data Studio.
- You can add or remove objects (tables, views, stored procedures) in the project.
- You can load connection details and SQLCMD variables from the deployment profile.
- Organize different project files or folders.
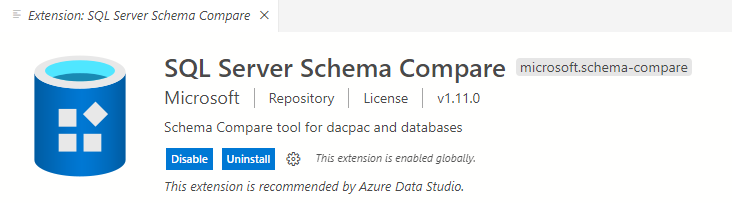
To use the full functionality of the SQL Database projects extension, you should also install Schama Compare Extension from the marketplace.
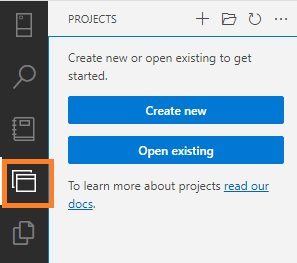
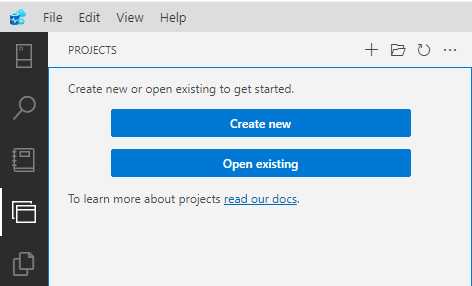
Relaunch the ADS and click on Projects.
The Project extension requires .Net Core SDK for building projects. If .Net core SDK is not installed in your system, you get the following error message.
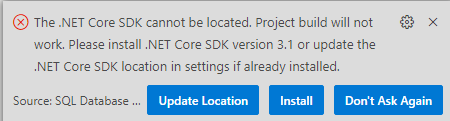
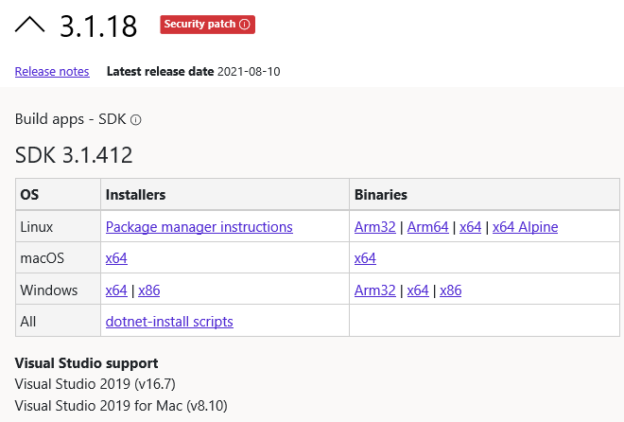
You can download the .Net Core SDK ( v3.1 or higher) from Microsoft or click Install from the error message. ADS requires your permission to open the external website.
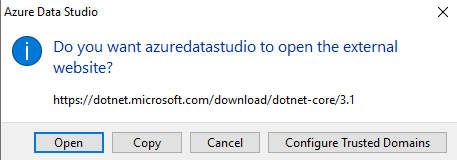
Click on Open and download the latest SDK for Windows, Linux or macOS.

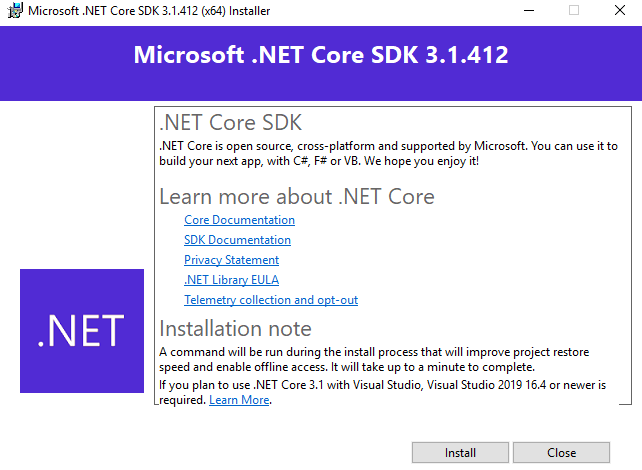
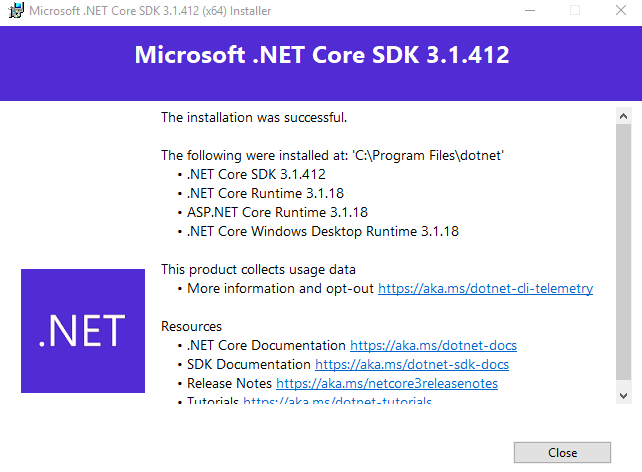
Its installation is quick and straightforward, as shown in the following screenshots.
Create a new project using Azure Data Studio
Click on the projects icon in the ADS menu bar, and it gives the option – Create New or Open an existing project.
Click on create a new project, and it gives the following options.
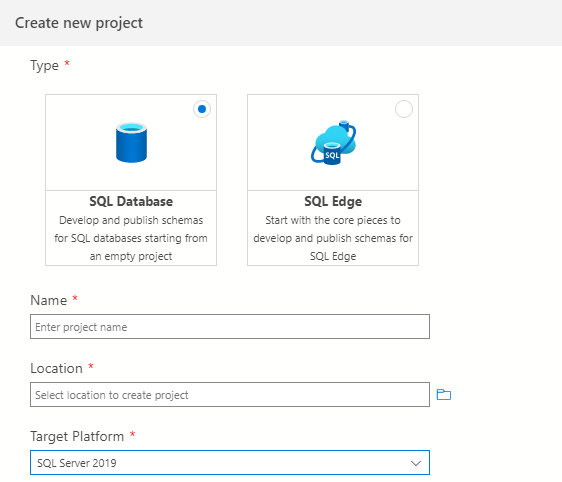
- Type: SQL Database or SQL Edge
- Name: Project Name
- Location: Project directory
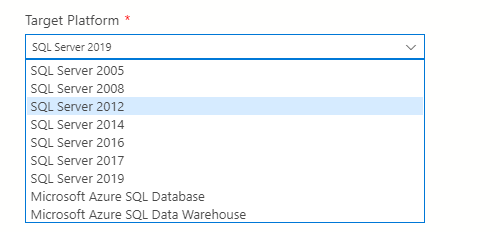
- Target platform: You can choose the target platform from SQL Server 2005 to 2019, Azure SQL Database or Azure SQL Data Warehouse
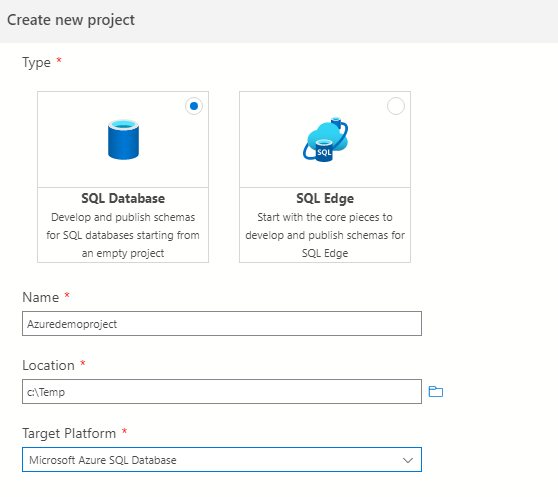
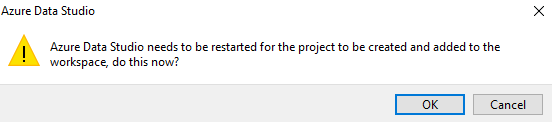
Fill out the information and restart the ADS to create the project and add it to the workspace.
Restart Azure Data Studio for the project to be created and added to the workspace.
Create Project From Database
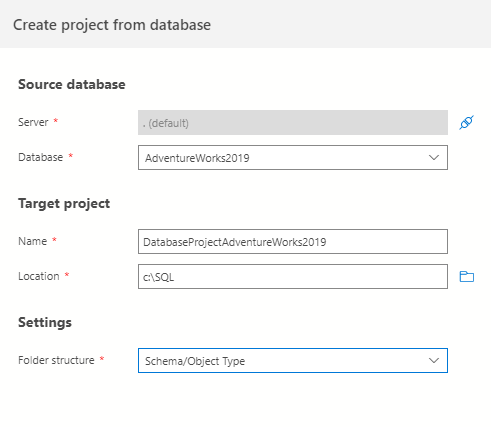
Azure Data Studio can also create a project using the existing database. In the menu, go to View and command-palette and search for – Create Project from Database.

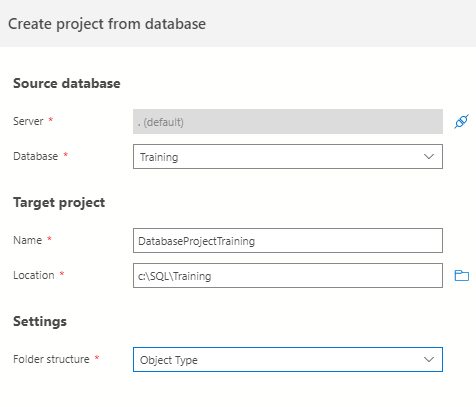
It opens the configuration window for entering the source, target database information. You can choose the folder structure in the setting section such as a file, flat, object type, schema/object type.
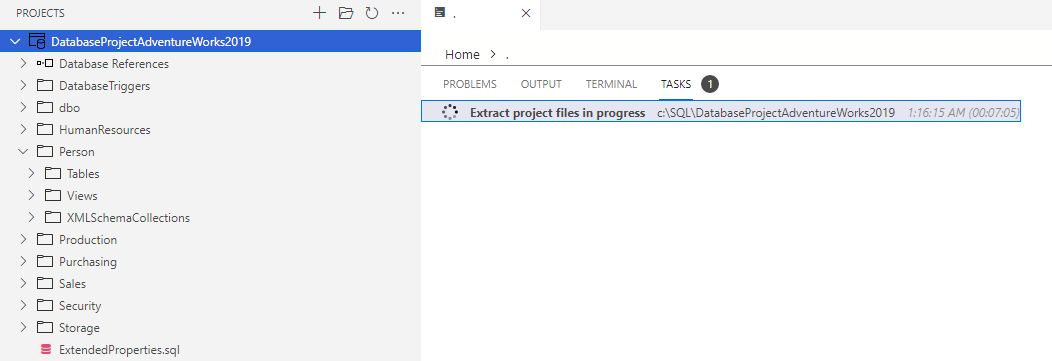
Click on Create, and it starts extracting source database information. In the projects, we can see different folders for each schema. Inside the schema project, it has sub-folders for tables, views, stored procedures. The database extraction time depends on the database size, objects inside it.
We can also navigate to the target project location and view all schema folders with objects script.
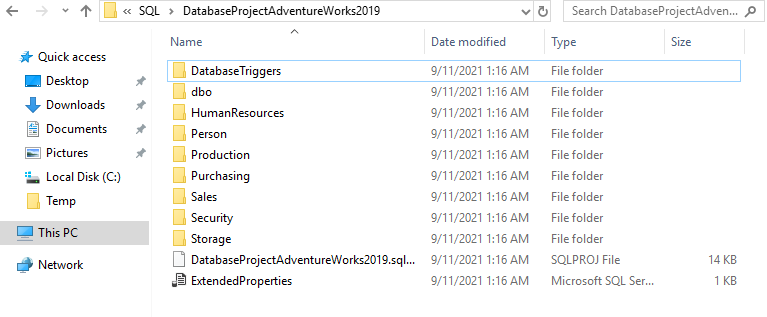
If you choose a different folder structure during project configuration, the layout will be different.
Add a new table in the project
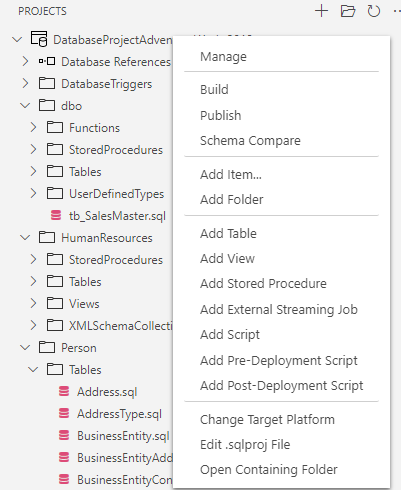
Suppose you got a requirement for the new table – tb_SalesMaster in the DBO schema. To create the script in the project, right-click on the DBO schema and choose Add Table.

It gives a prompt for entering the new table name.

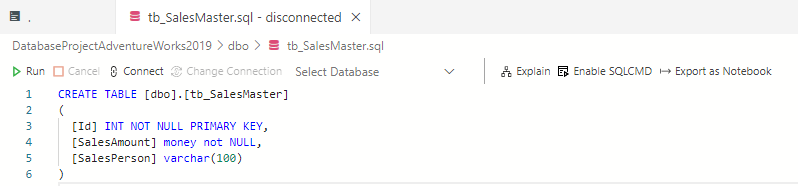
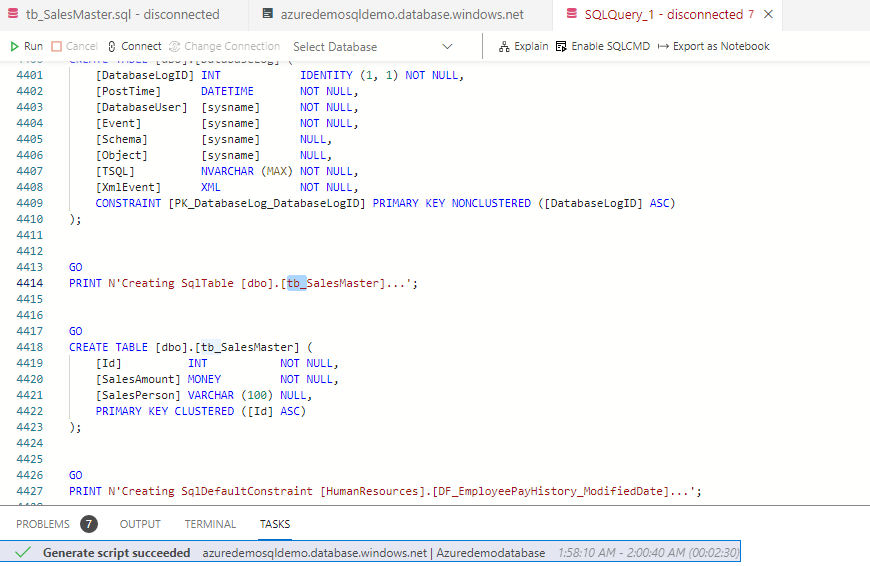
Give the input of table name and press Enter. It gives a basic table definition, as shown below.
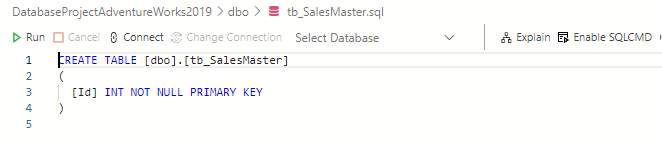
Add the required columns, constraints in the script and save it.
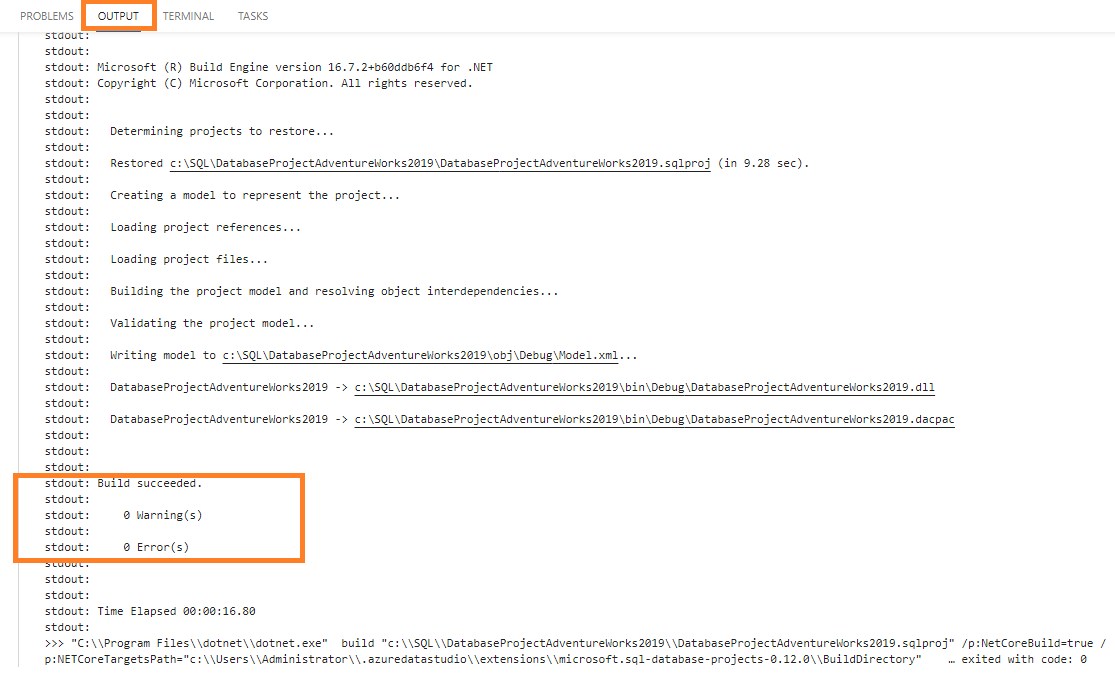
We need to build the project first before deploying it on the target instance. Right-click on the project name in Azure Data Studio and click Build.
It starts project build, and you get its details, status in the Output section of ADS. As shown below, the project build succeeded with 0 warnings and errors. You can review the output logs and correct errors if any.
Publish the project for database deployments
In the previous step, we extracted the database using Azure Data Studio deploy database project extension. You can add new objects, edit the scripts as required and build the project. After the build is complete, you can publish the project to another or the same SQL instance. For example, usually, we do not make changes to the production instance directly. Instead, we deploy the database onto non-prod environments and test the code.
You can publish the project to an on-premises or Azure SQL Database as well. For the demonstration purpose, we will build and deploy the project on the same SQL instance.
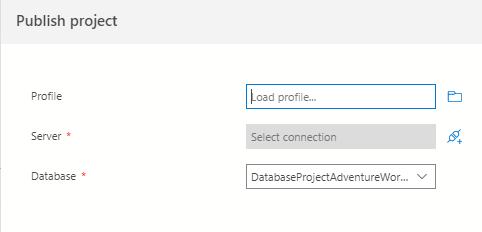
Right-click on the ADS project and choose the publish project. You can configure the profile for different environments. Here, in the publish project window, choose the SQL instance and database.
You get options to generate the script for deployment or publish it directly, as shown below.

You get a SQL script with object definitions if you choose to generate the script, as shown below.
Demonstration of deploying a database in Azure Data Studio
This section will cover the end-to-end process of deploying a database using ADS extension – Deploy database projects. I created a new project from the training database available in my local SQL instance for this demo.
By default, it takes the project name as DatabaseProject_DBName, as shown below. For the folder structure, I choose the Object type.
Previously, we used schema\object type structure. It organizes the extract objects as their object type, such as tables, functions, stored procedures. You can see the difference in a folder structure and choose whatever suits you.
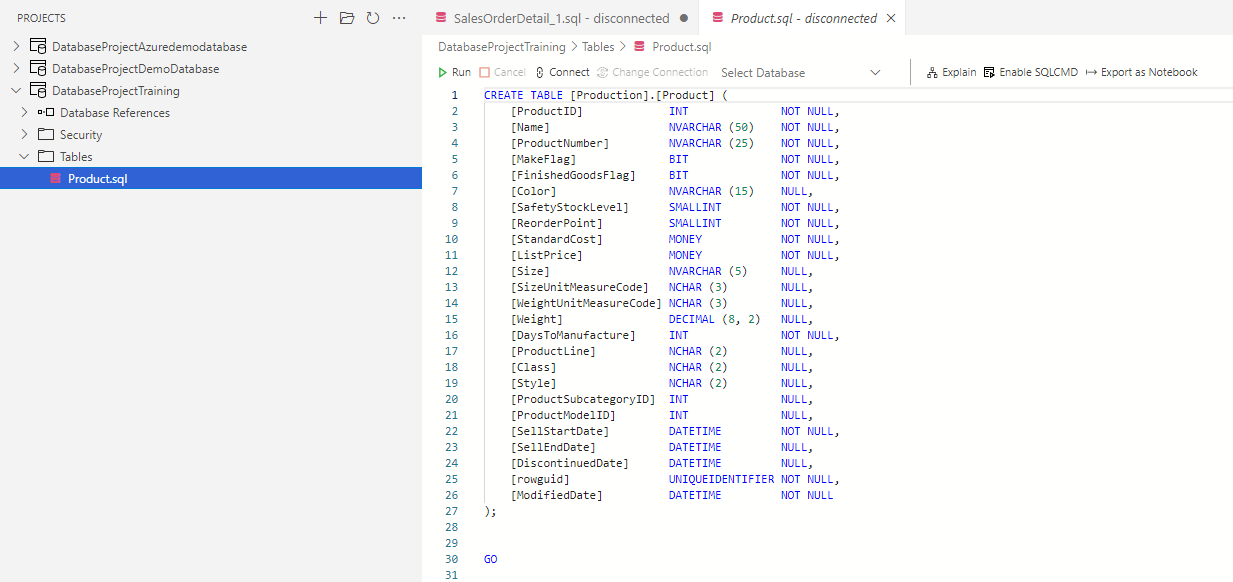
We have a table Product.sql available in the DatabaseProjectTraining. Click on the table name, and it generates the table definition in the code editor.
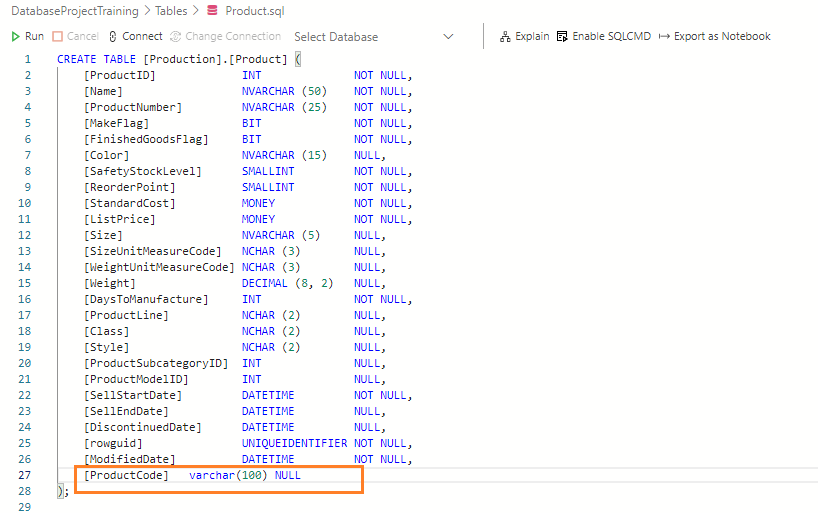
Suppose I got a requirement to add a new column – ProductCode in the existing table.
Build and publish the project in the [ImportDB].

In the tasks, it shows status as deploy DACPAC in progress and succeeded as shown below.


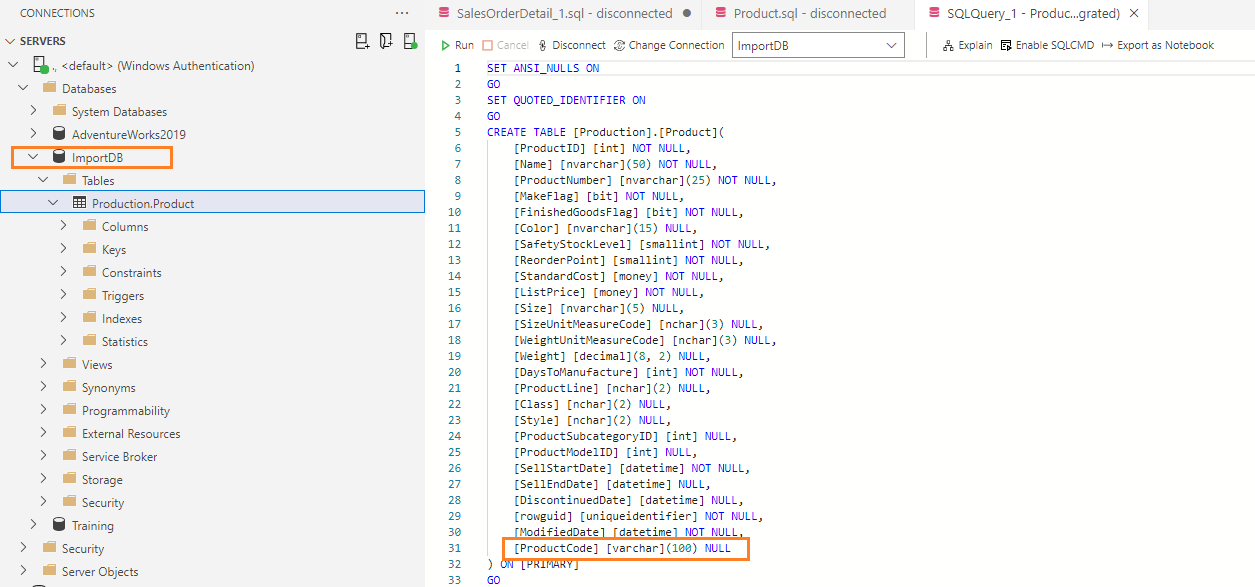
Now, you can connect to the target [ImportDB] and generate a script for the Product table. As shown below, it has the newly deployed column – ProductCode.
Use Schema Compare for validating changes in the target database
As stated earlier, you can install the schema compare extension in Azure Data Studio to explore the full functionality of the deploy database project.
We can compare the database, DACPAC in the source and destination database and generate a script for making changes or reverting the changes.
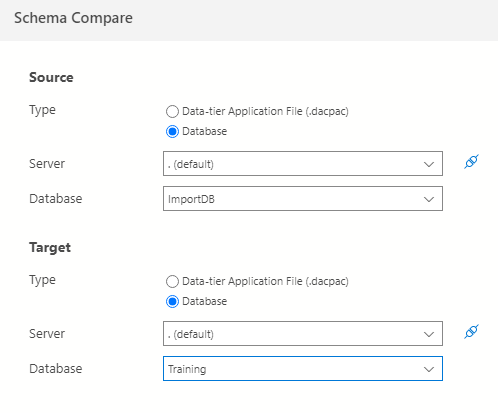
Right-click on the database and choose Schema Compare. In the source database, choose [ImportDB] and Target, choose [Training] database.
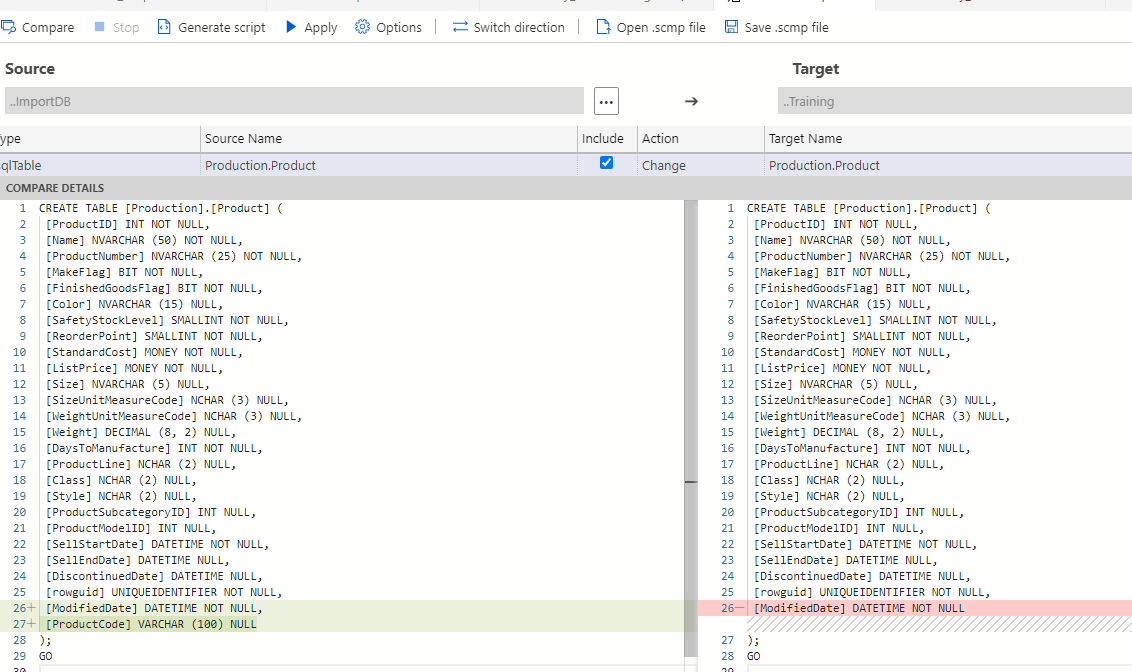
As we know, the target database [ImportDB] has an additional column [ProductCode] in the [Product] table. The schema comparison tool shows the same difference highlighted with a different color.
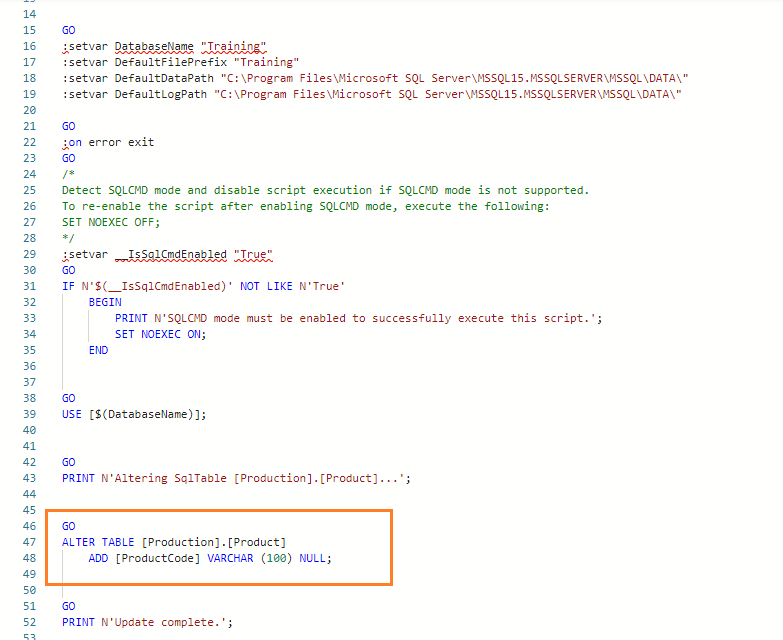
In the schema compare tool, click on generate script. The generated script will prepare to add the missing column in the destination database [Training].
It is an SQLCMD script file that contains ALTER TABLE Statement. You can use the script for deploying changes to the database instead of publishing the entire project. This way, you can expedite your deployment after reviewing the changes and deploying only objects that are modified
Conclusion
This article demonstrated the use of deploy database project and schema compare extension in the Azure Data Studio. You can manage object changes and publish them on multiple targets without directly modifying the source database. This functionality is similar to SSDT; however, you can use ADS extensions to achieve the project deployment functionality on Linux or macOS.

I am the author of the book "DP-300 Administering Relational Database on Microsoft Azure". I published more than 650 technical articles on MSSQLTips, SQLShack, Quest, CodingSight, and SeveralNines.
I am the creator of one of the biggest free online collections of articles on a single topic, with his 50-part series on SQL Server Always On Availability Groups.
Based on my contribution to the SQL Server community, I have been recognized as the prestigious Best Author of the Year continuously in 2019, 2020, and 2021 (2nd Rank) at SQLShack and the MSSQLTIPS champions award in 2020.
Personal Blog: https://www.dbblogger.com
I am always interested in new challenges so if you need consulting help, reach me at rajendra.gupta16@gmail.com
View all posts by Rajendra Gupta
- Understanding PostgreSQL SUBSTRING function - September 21, 2024
- How to install PostgreSQL on Ubuntu - July 13, 2023
- How to use the CROSSTAB function in PostgreSQL - February 17, 2023