
In this article, I am going to demonstrate how to access the Power BI PowerShell commandlets. In the previous article in this series, we discussed how to programmatically access the Power BI Service using the REST APIs available. PowerShell is one of the most frequently used and preferred ways of automating monotonous manual jobs and scripting those. PowerShell comes integrated with Windows, so it can be easily used from any Windows machine.
To begin with, the official documentation from Microsoft is an awesome place to start writing Power BI PowerShell scripts. You can perform a lot of administrative tasks by following the documentation mentioned in the link above.
Installing the Power BI PowerShell Management module
In order to use the Power BI modules in PowerShell, we need to install the specific modules with which we would be working. These modules act as a wrapper to the PowerShell commands that we are going to execute. Let us first go ahead and start the PowerShell ISE from the Start menu. Select the option “Run ISE as Administrator“. The PowerShell ISE is the Integrated Scripting Environment.
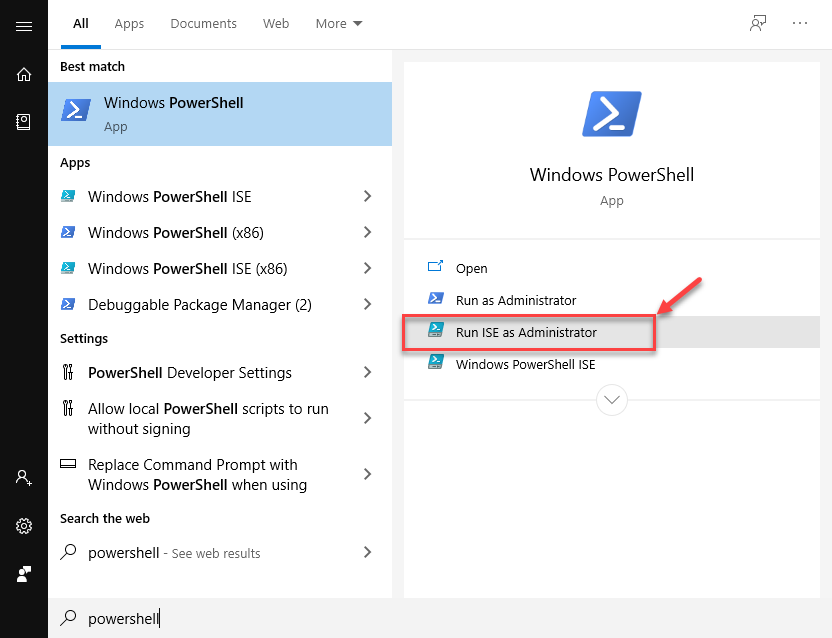
Figure 1 – Run ISE as Administrator
The PowerShell ISE window opens up.
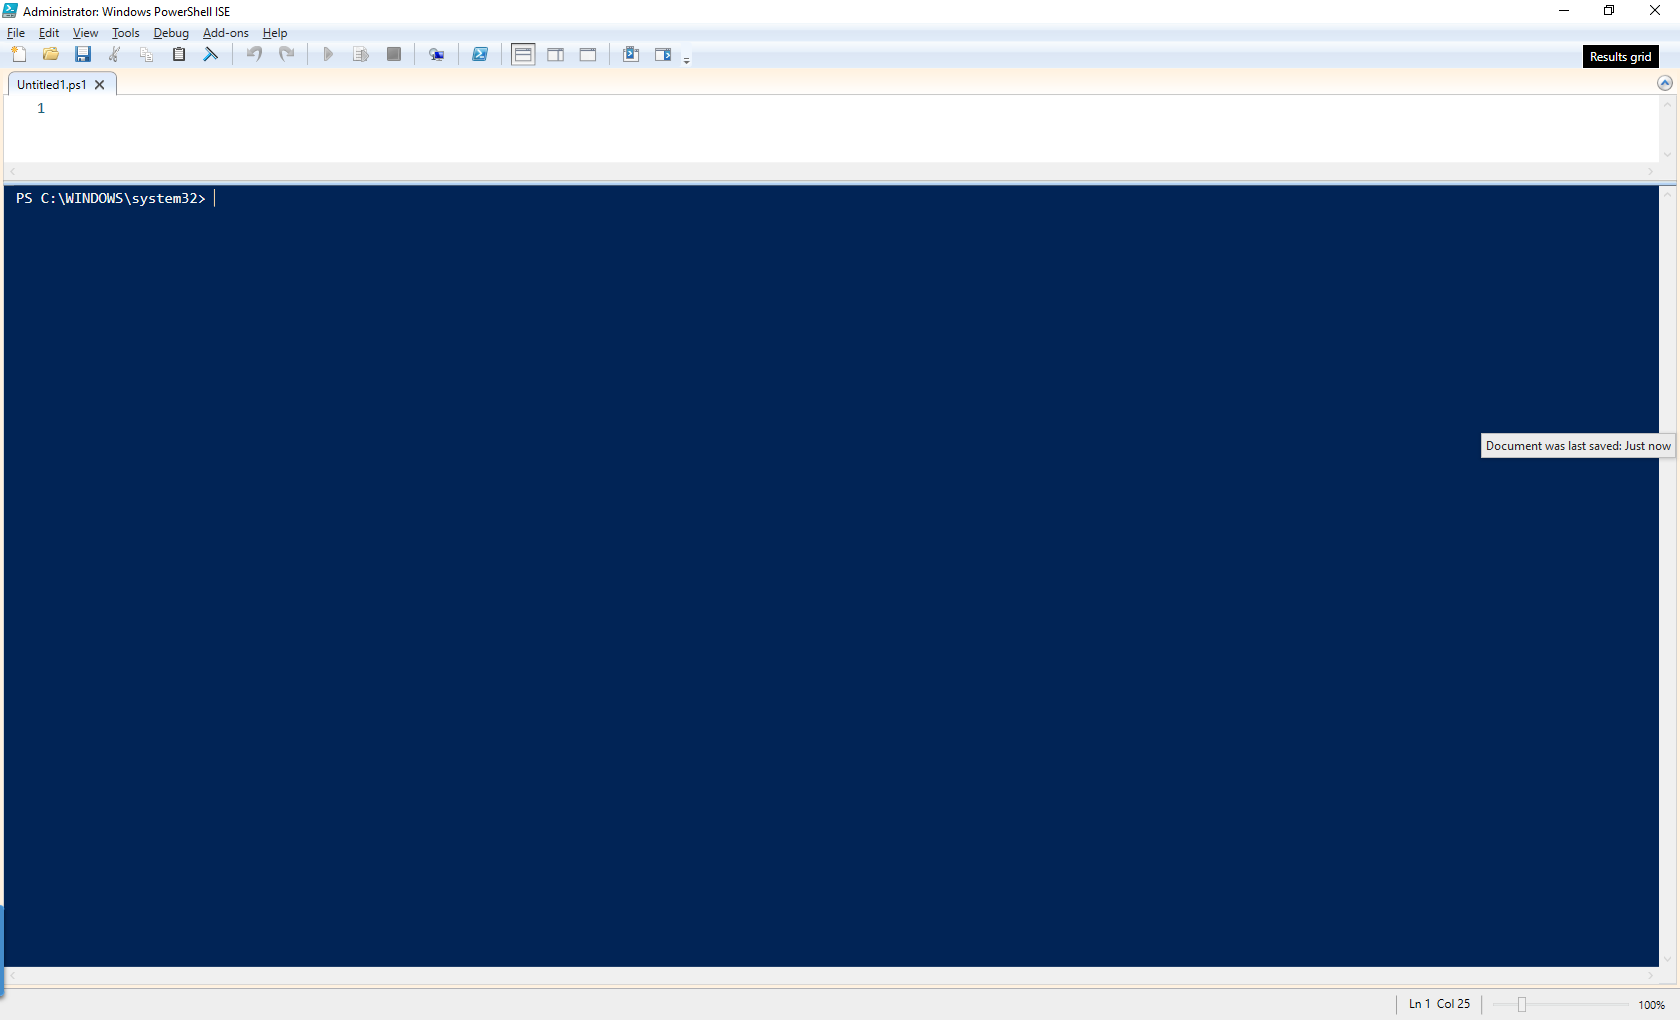
Figure 2 – PowerShell ISE
Once the PowerShell ISE is up and running, we will now install the Power BI PowerShell Management module. Head over to View in the Menu Bar and then select Show Command Add-on. A new window will appear in the right-hand pane where you can see the available commands that can be used with the PowerShell environment.
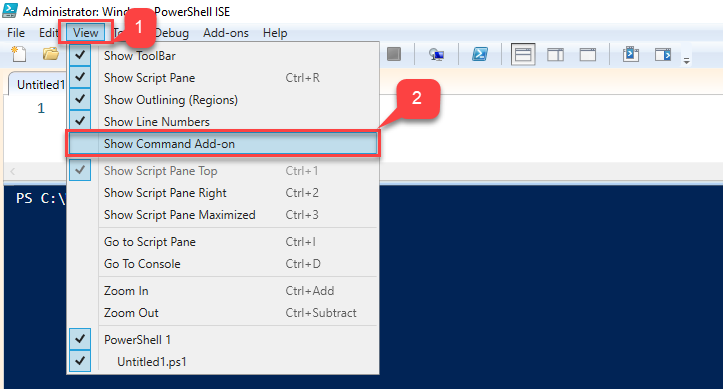
Figure 3 – Select Show Command Add On
Now let us install the Power BI PowerShell Management commandlets. To install the module, we need to search for the Install-Module command. You can directly search the command on the right-hand command add on box, select it and click on the Show Details button at the bottom of the pane.
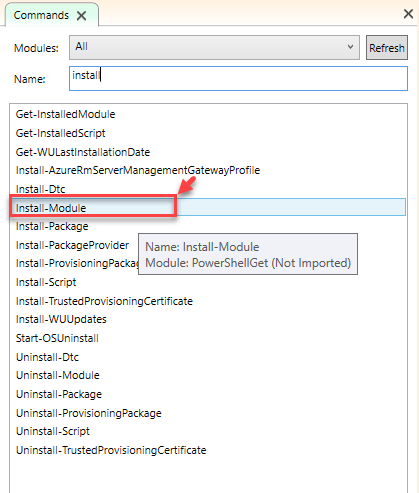
Figure 4 – Select Install Module
In the textbox for Name, enter “MicrosoftPowerBIMgmt” and hit the Run button. You might receive a warning which states that the installation of the module is from an untrusted repository and if you would like to continue. You can go ahead and click Yes.

Figure 5 – Untrusted Repository Check
The installation of the modules might take a few minutes depending on the network speed available. Once the download and installation are completed, you can proceed to the next steps.
Login to Power BI Service using the Power BI PowerShell commands
Once the installation of the module is completed, you can refresh the command add on and then the Power BI commands will be available for use.
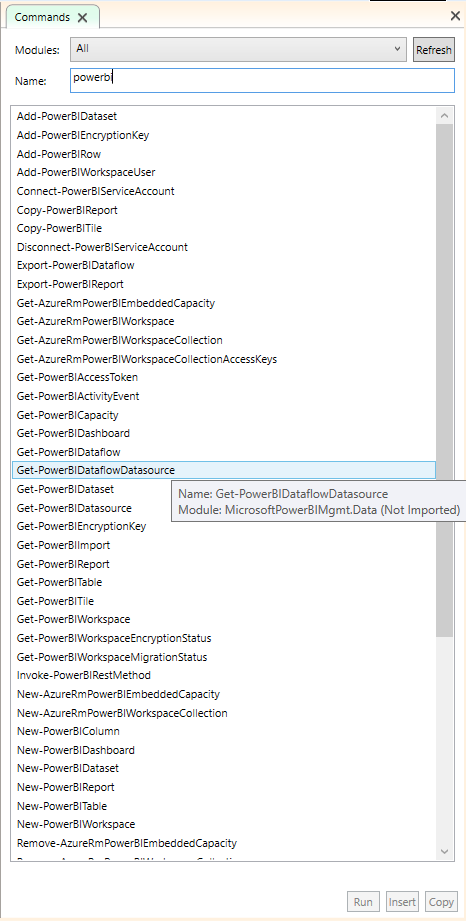
Figure 6 – Power BI Commands
Let us now start writing our first Power BI PowerShell script. The first action that we need to perform is to connect and login to our Power BI service. This can be done by executing the command Connect-PowerBIServiceAccount. This command will initiate a web browser login using which you should be able to login to the Power BI account.
An important point to note here is that once we login to the Power BI Service, it is essential that we also log out once the operation has been completed. To log out from the Power BI Service, we can use the command Disconnect-PowerBIServiceAccount.
Let us add both these commands to the script and hit the Run Selection button.
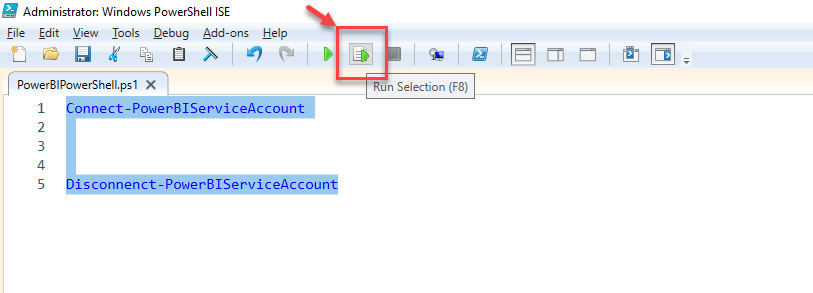
Figure 7 – Connect to the PowerBI Service Account
As soon as you hit the run button, a browser will be displayed which will prompt you to log in to the Power BI Service Account. Go ahead and sign in to the service.
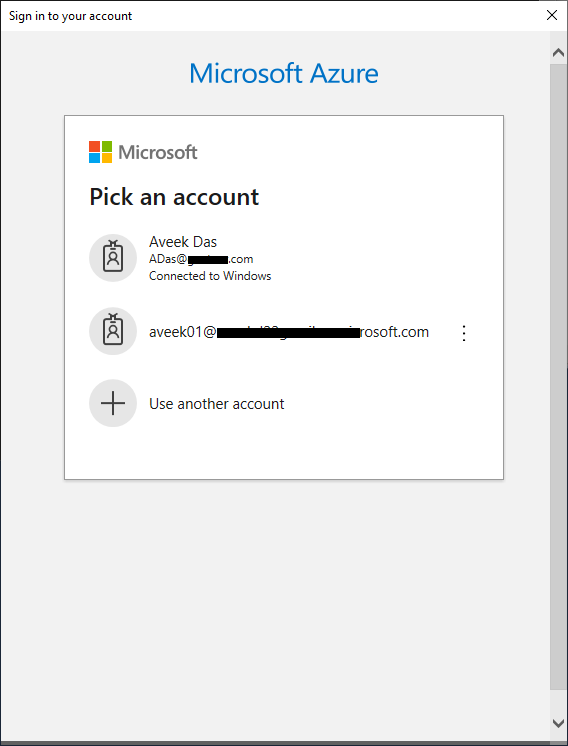
Figure 8 – Sign in to Power BI Service
Once the login is validated, the PowerShell console will be displayed the TenantID and the login Email of the Power BI Service account to which you are logged in. If you get this, then the login has been successful.
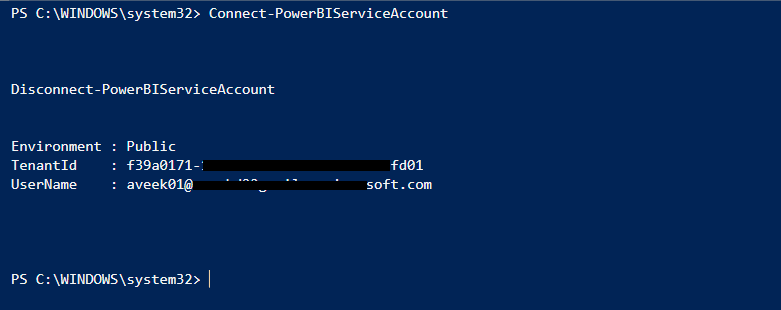
Figure 9 – Power BI Login Successful
View Workspaces in the Power BI Service
Now that we can log in to the Power BI Service and execute the commands, let’s go ahead and try to find a list of all the available workspaces in our tenant. In order to view the list of available workspaces, we can leverage the Get-PowerBIWorkspace command from the PowerShell. This command accepts multiple parameters to it, one of which is “All“. This is used to display the list of all the workspaces in the tenant. Let us add the following command in the PowerShell script and hit the run button:
|
1 |
Get-PowerBIWorkspace -All |
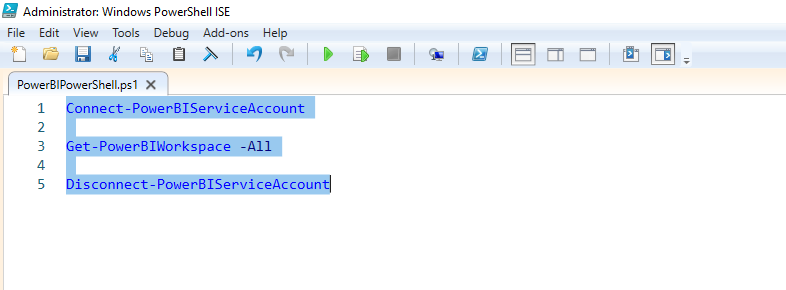
Figure 10 – Get List of All Workspaces
When you execute the above command, the console returns a list of all the available workspaces from the Power BI service as follows.
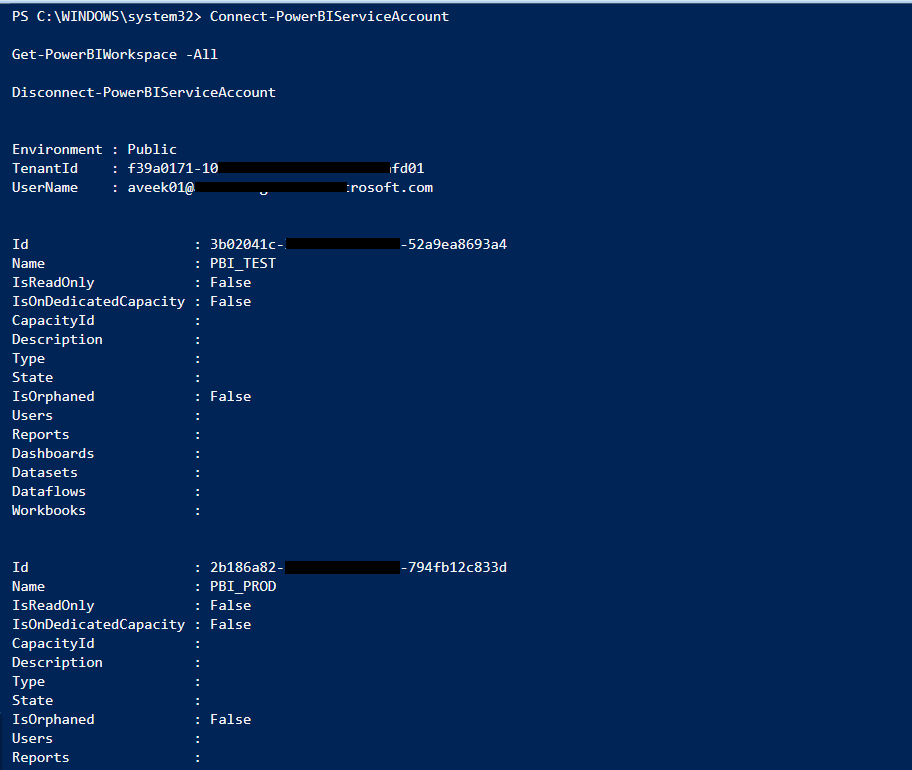
Figure 11 – Power BI Workspaces
So far, we have seen that we can fetch information from the Power BI Service into the Power Shell console. Now we can also get this information dumped to a CSV file in case it needs to handle by some other services. The CSV file can be then used by a different method as and when required.
In order to export the above results into a CSV file, we need to call the Export-Csv command. This command is specifically used to export any input from the Power Shell window to a CSV file on a pre-specified location in the machine. Let us now add the following command to the already existing command for the Power BI Workspaces, such the output from the workspace command can be used as the input for the export CSV command. We should separate both commands by a | (pipe) so that the data can flow from the left hand of the pipe to the right hand as an input:
|
1 |
Export-Csv -NoTypeInformation – Path C:\temp\workspaces.csv |
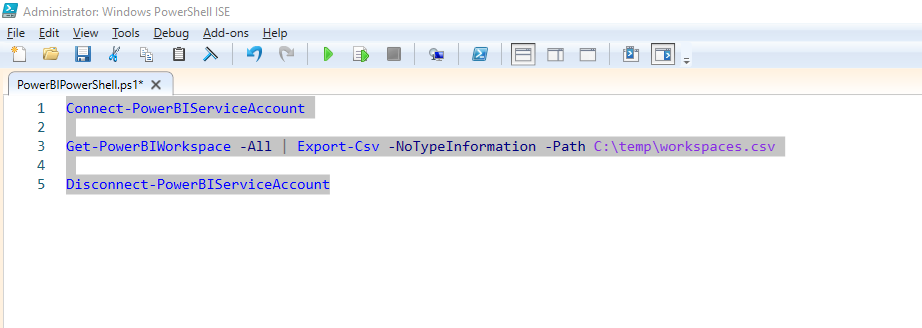
Figure 12 – Exporting Results to CSV
Once the command is executed, a new file will be created under the “temp” directory with the name “workspaces.csv“.
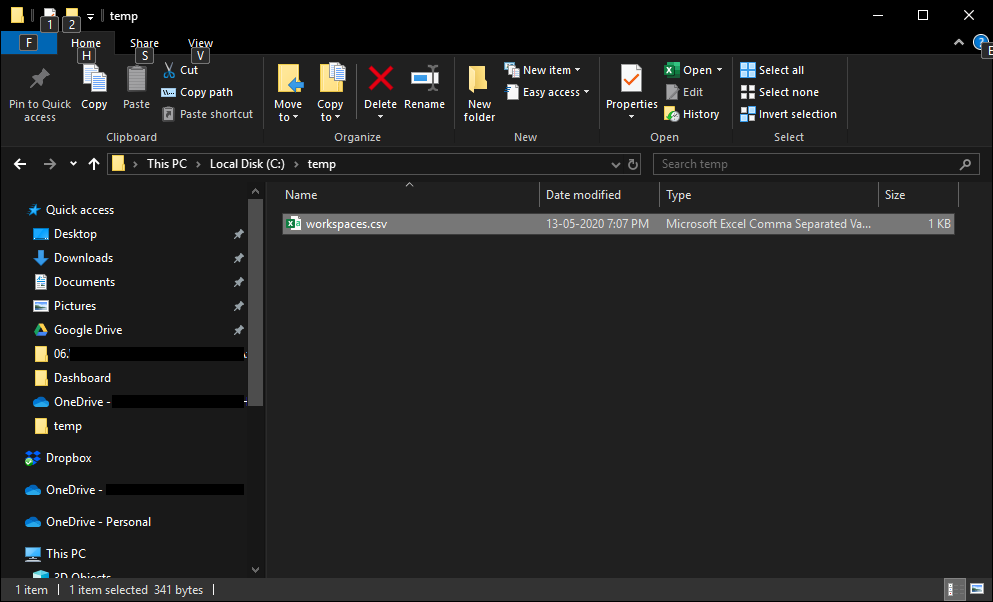
Figure 13 – Workspaces File Generated
If you open the file, you can see similar data has been exported to the CSV file and now it can be used for other purposes as well.

Figure 14 – CSV File Contents
Export a Power BI Report using PowerShell
Let us assume that we have a few Power BI reports already published to the workspaces and now we need to export one to these from the Power BI Service to the local system. The best way to do this is by using the Power BI PowerShell command “Export-PowerBIReport“. This command connects to the Power BI Service and then exports the requested Power BI Report to a specified path in the system. We need to add the Report GUID as a parameter to this command.
Let us first try to fetch the GUID of the report that we are trying to export by running the “Get-PowerBIReport” command. This will display the list of available reports within our workspace. Grab the GUID of the report that you want to export.
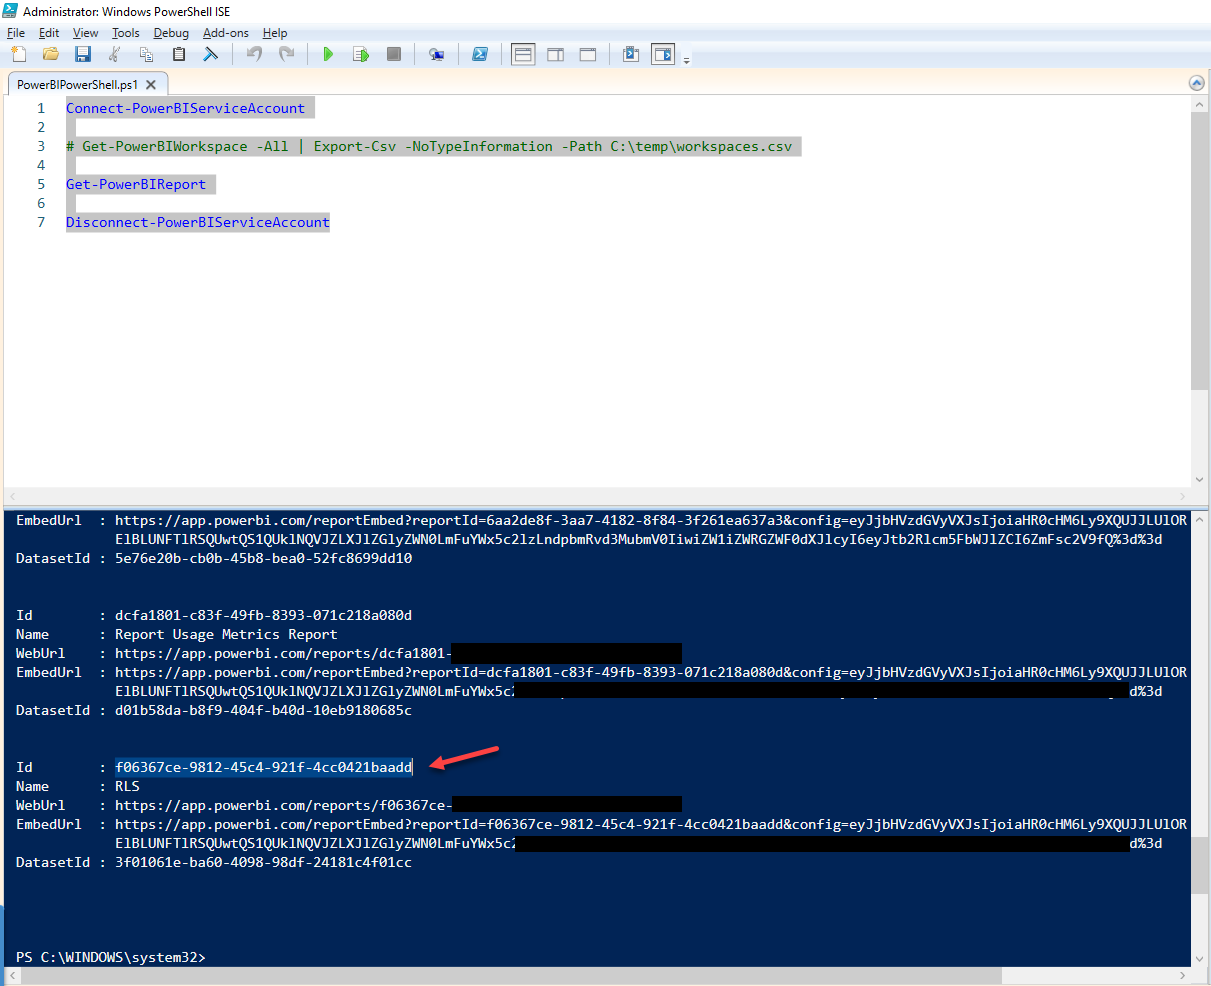
Figure 15 – Get Power BI Reports
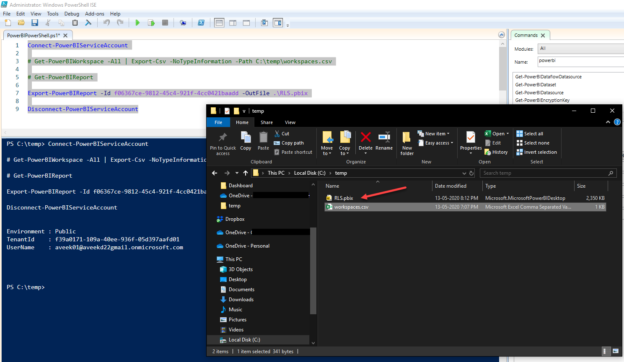
Now that we have the GUID of the report we want to export, let’s go ahead and use it in the “Export-PowerBIReport” command. The command to export the report to a specific path is as follows:
|
1 |
Export-PowerBIReport -Id f06367ce-9812-45c4-921f-4cc0421baadd -OutFile .\RLS.pbix |
As this command is executed, the PBIX file will be generated and stored in the location as mentioned.

Figure 16 – Power BI File Generated
Conclusion
In this article, I have discussed how to use the Power BI PowerShell commandlets to automate some of the administrative tasks in the Power BI Service. Power BI PowerShell commandlets comes handy when you need to perform simple yet repetitive tasks over and over again. Using PowerShell gives us the advantage to script our tasks so that it can be easily maintained.

He is a prolific author, with over 100 articles published on various technical blogs, including his own blog, and a frequent contributor to different technical forums.
In his leisure time, he enjoys amateur photography mostly street imagery and still life. Some glimpses of his work can be found on Instagram. You can also find him on LinkedIn
View all posts by Aveek Das
- Getting started with PostgreSQL on Docker - August 12, 2022
- Getting started with Spatial Data in PostgreSQL - January 13, 2022
- An overview of Power BI Incremental Refresh - December 6, 2021