
In this article, we will talk about SQL Dump files and the process to change the dump directory in Linux SQL Server.
Dumps in SQL Server help to investigate system crashes or other exceptions in SQL Server instances. You might have experienced a Microsoft CSS asking to upload the dumps while working on troubleshooting on an issue. We can do the analysis, ourselves, based on the dumps which will give you information about the things running during that time. We have seen below types of dumps in the SQL Server.
- Mini Dump: this gives the basic information on the SQL Server stack. We do not get information about the data pages or the index pages. This dump is enabled by default in SQL Server
- Full Dump: In the full dump, SQL Server captures the entire process memory dump. We get information about the hashed and the stolen pages as well. We need to enable this using trace flag 2544 (DBCC TraceOn 2544, -1)
- Filtered Dump: in the filtered dump, we get information about all structures and the stolen buffers. We need to enable this using trace flag 2551 (DBCC TraceOn 2551, -1)
- Exception Dumps: if there is an exception in the SQL Server processes, we get this dump. You can use the undocumented command DBCC DUMPTRIGGER to create a dump on any particular error
You might find multiple dump files in the log folder in the extension of *.mdmp,*.txt, and *.log files.
- Memory Dump: We get memory dump files with the format of SQLDump<nnnn>.mdmp. It is the memory dump of the SQL Server process generated during an issue. Microsoft requires these dump files to investigate the issue
- Dump file: We these files in the format of SQLDump<nnnn>.txt that contains environmental information
- Error log file: Another file is generated in the format of SQLDump<nnnn>.txt, which contains a snapshot of the error log when the dump was generated. We can look at the information in the error log as well however if the error log is recycled, this snap can help to troubleshoot the issue
Below are the few conditions in which we can see a minidump generated by the SQL Server.
- Non-Yielding scheduler
- Non-yielding resource monitor
- Non-yielding IOCP listener
- Latch Timeout
- Deadlocks Schedulers
- DB Corruption
- Process exceptions
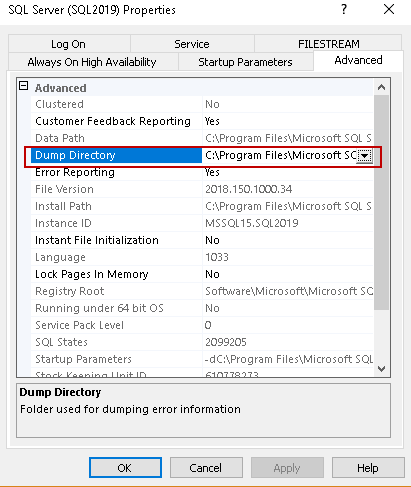
In SQL Server on a Windows environment, we can go to SQL Server Configuration Manager. In the SQL Server service properties, we can look and change the path the dump directory in the advanced section as shown below.
By default, Dump directory is ‘C:\Microsoft SQL Server\MSSQL10_50.MSSQLSERVER\MSSQL\LOG\’ in Windows system.
You can set up SQL Server 2019 on Ubuntu Linux by following up the article, SQL Server 2019 installation on Ubuntu without a Docker Container.
Dump files location in SQL Server on Linux
I will assume that you have installed SQL Server 2019 on Ubuntu Operating system. First, check the status of the SQL Server services using the below command.
Command:
$ sudo systemctl status mssql-server
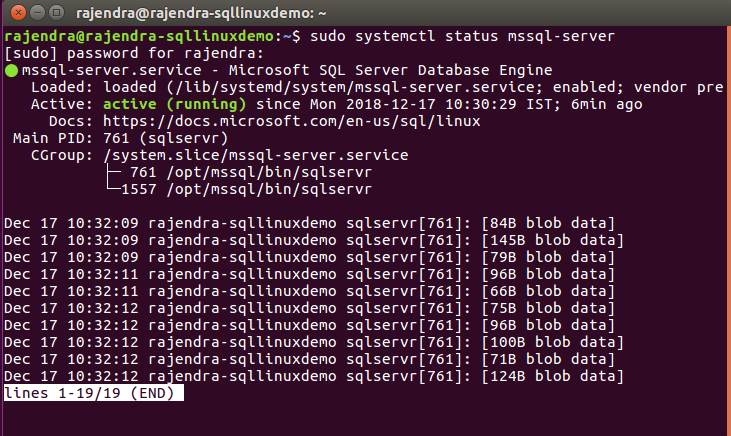
We can see that SQL Service is in running (active) state and process id is assigned to the SQL Server service.
As stated above, by default memory dump files are generated in the .log folder however it is for windows. In Linux, default path for the memory dump files are /var/opt/mssql/log.
Let us check the content of this path using the ls –lrt command.
$ sudo su
$ cd /var/opt/mssql/log
# ls –lrt
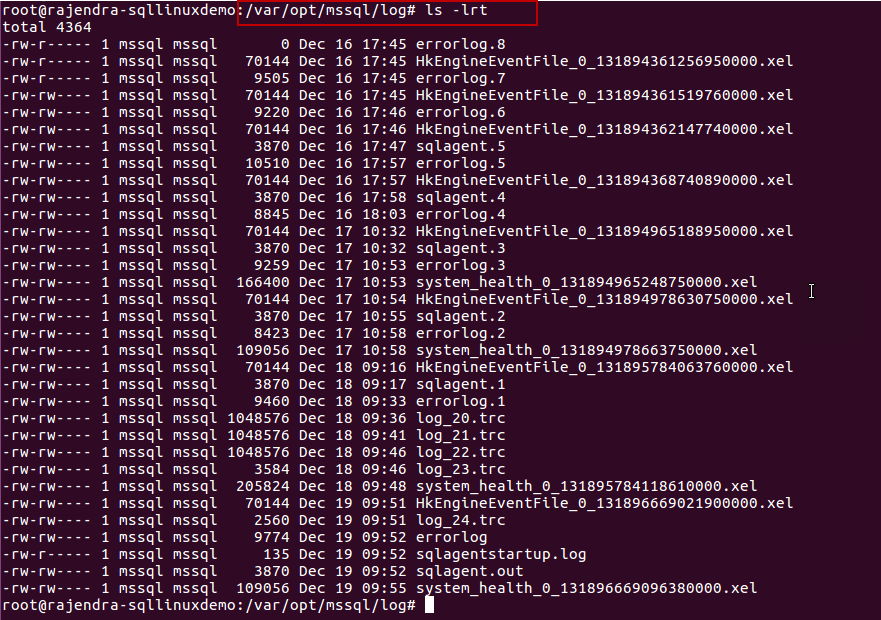
In the above screenshot, you can see there are multiple files for example trace files (*.trc), *.xel (extended event session files), SQL agent logs file (SQLagent.out), the error log file (error log). You cannot see any memory dump files currently because memory dumps are created in case of any exception or the system crash or the conditions specified above.
Now let us move back from the /var/opt/mssql/log folder using the exit command. This brings you back to $ prompt.

Let us create a directory in which we want to capture the memory dumps. You can create the directory using the mkdir command.
$ sudo mkdir /SQLDumps

Currently, this directory will be empty. You can verify this as shown below.

We also need to check the permissions for this directory. If we list out the directory and their permissions, we can see that ‘SQLDumps’ is having permissions for the root user.
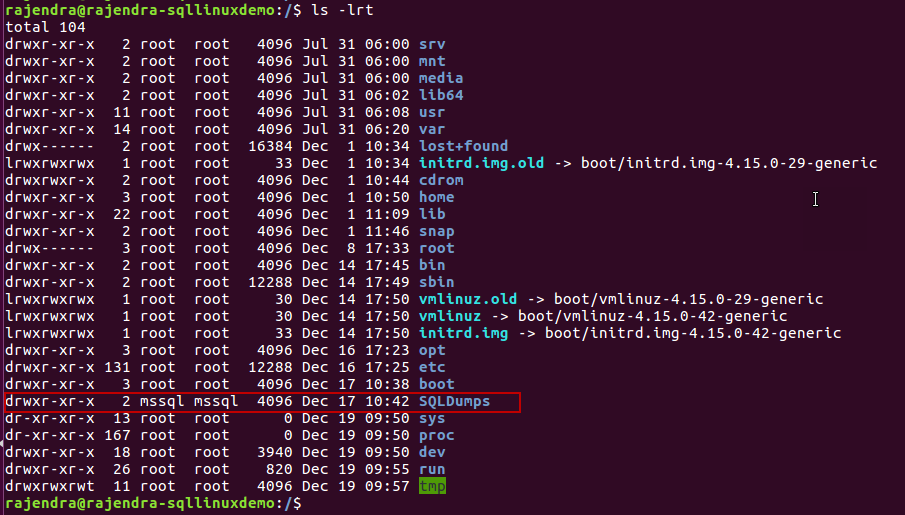
In the next step, we need to change the owner and group of SQLDumps directory from root to mssql. This will enable SQL Server to access this particular directory.
Run the below commands
$ sudo chown mssql SQLDumps
$ sudo chgrp mssql SQLDumps

Let me explain, briefly, about the chown and chgrp command here.
Chown command: It modifies the user ownership of for the specified file or directory. Below is the syntax for the chown command.
chown owner directory
Chgrp command: It changes the group ownership of a file or files. Below is the syntax for the chgrp command.
Chgrp user directory
Once we have executed the chown and chgrp commands, let us verify the ownership of the SQLDumps folder again.
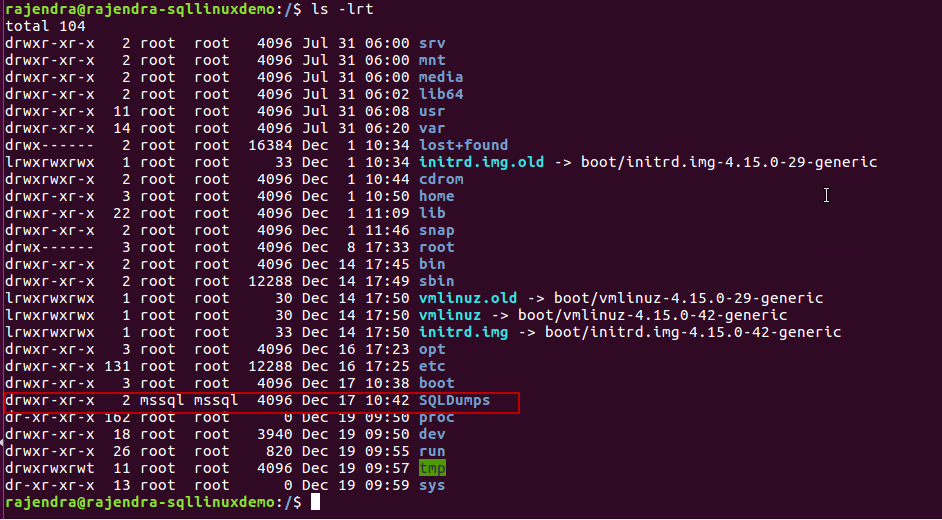
In the above screenshot, we can see that the owner and group are changed to mssql.
Now we will change the default dump folder in the Linux using the mssql-conf utility. We can do the configuration of SQL Server running on Ubuntu, Linux, and SUSE Linux using this utility. The utility is installed in the /opt/mssql/bin directory. We can do below important configurations using this utility.
- Enable SQL Server Agent
- Change SQL Server collation
- Set default mail profile
- Set default data or log file directory
- Set default dump directory
- Set default error log directory
- Set default backup directory
- Change default SQL Server Linux port
- Set Local audit directory
- Set memory configuration in SQL Server on Linux
- Enable HA
- Configure TLS
- Set trace flags
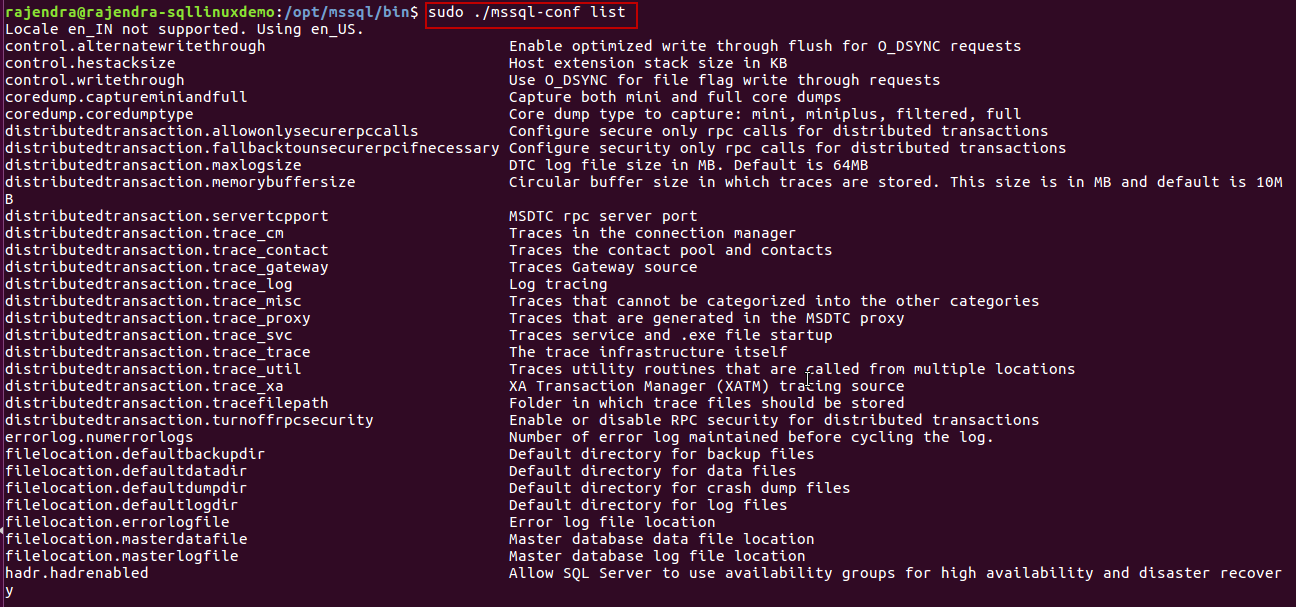
To get the complete list of the configurations, go to the directory /opt/mssql/bin and run the command with list parameter as shown here.
$ cd /opt/mssql/bin
$sudo ./mssql-conf list
Below is the complete list of the configurations.
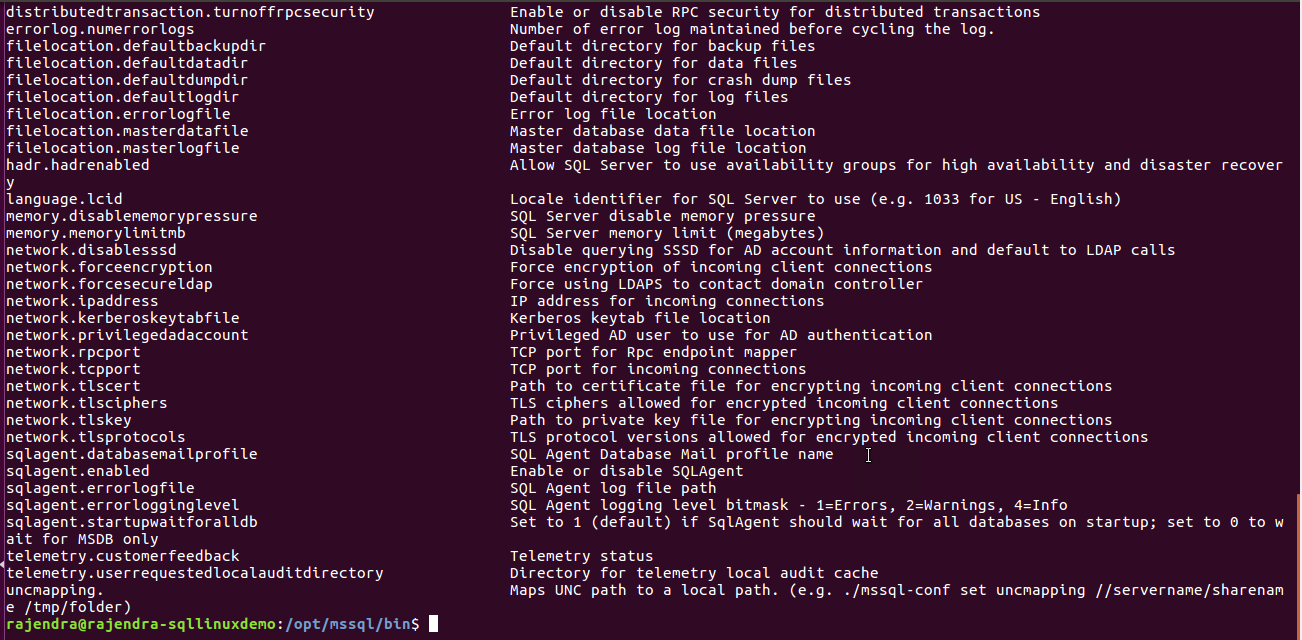
Run the below command in terminal to change the default dump directory to SQLDumps directory.
$ sudo /opt/mssql/bin/mssql-conf set filelocation.defaultdumpdir /SQLDumps

We need to restart the SQL Server to make this change effective. Run the below command to restart the SQL Server.
Command:
Sudo systemctl restart mssql-server

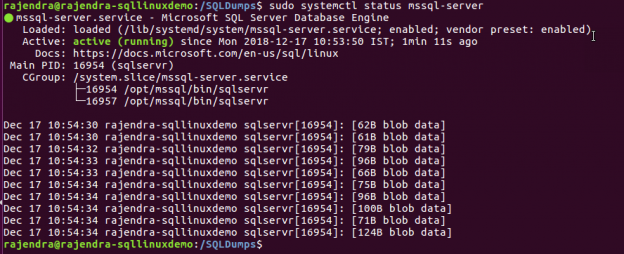
Verify the status of SQL Server service again and make sure it is in running status.


I am the author of the book "DP-300 Administering Relational Database on Microsoft Azure". I published more than 650 technical articles on MSSQLTips, SQLShack, Quest, CodingSight, and SeveralNines.
I am the creator of one of the biggest free online collections of articles on a single topic, with his 50-part series on SQL Server Always On Availability Groups.
Based on my contribution to the SQL Server community, I have been recognized as the prestigious Best Author of the Year continuously in 2019, 2020, and 2021 (2nd Rank) at SQLShack and the MSSQLTIPS champions award in 2020.
Personal Blog: https://www.dbblogger.com
I am always interested in new challenges so if you need consulting help, reach me at rajendra.gupta16@gmail.com
View all posts by Rajendra Gupta
- Understanding PostgreSQL SUBSTRING function - September 21, 2024
- How to install PostgreSQL on Ubuntu - July 13, 2023
- How to use the CROSSTAB function in PostgreSQL - February 17, 2023