
Introduction
Sometimes we need to store information including photos in our database. For example, the photo of the product, the photo of the team members. But how can we store images in SQL Server?
We could create an application in .NET or Java, but if we do not have experience in those programming languages, we could use SQL Server tools to do it.
In this new article, we will learn the following tips that will help us to work with images including how to:
- insert one image into SQL Server
- store multiple files into a table
- verify that the images were inserted
Requirements
- SQL Server 2016 or later with SSMS installed. You can use older versions including SQL Server 2008.
- SSDT 2015 installed, but earlier versions are allowed.
- SSRS installed
Getting started
Insert one image into SQL Server
We will first learn how to load 1 single image into a table in SQL Server.
We will load a file named 1.png that contains the image of your humble author into the table myimages:

We will first create a table named myimages in SQL Server:
|
1 |
CREATE TABLE myimages(id int, img varbinary(max)) |
This table will have an integer (int) id and the image column named img. The data type that we are going to use to store images is the varbinary(max).
We will now insert an image into the table myimages:
|
1 |
INSERT INTO adventureworks.dbo.myimages values (1, (SELECT * FROM OPENROWSET(BULK N'C:\img\1.png', SINGLE_BLOB) as T1)) |
The INSERT statement inserts the value 1 as the id and then inserts the image named 1.png from the folder img in the c drive. I am assuming that you have an image in that path. We are using the OPENROWSET to access remote data like OLE DB data sources.
We now know how to insert one single image into our database. However, how can we save all the files from a folder into our table?
The next section contains this answer.
How to store multiple files into a table
We have a folder named img with 4 images. How can we insert all of them into a SQL Server table:

We will use PowerShell this time to do this task. If you have SSMS 17, you may need to read the next article to install PowerShell:
PowerShell is very useful to deal with files, folders, services and the operative system. That is why we will use this shell to help us in the task requested.
To simplify this task, we will truncate the table with the image inserted in the previous example:
|
1 |
truncate table myimages |
In PowerShell go to the SQL Powershell:
|
1 |
sqlps |
We will first open PowerShell and go to the folder with the images using the change directory command (cd):
|
1 2 |
Cd \ Cd img |
We will store all file names in the variable files:
|
1 |
$files=dir -name |
Dir lists all the files and folders from the current path (c:\img). -Name will show the file names.
Now, we will create a counter to insert the id into the table starting in the number 1:
|
1 |
$counter=1. |
We will make a loop and invoke the sqlcmd to insert each image into the SQL Server table named myimages. We use a foreach statement. In this example, we have four files in our folder. That means that we will invoke the sqlcmd four times. The counter variable will be used to insert numeric values in the id column from 1 to 4. Note that in the INSERT INTO we are specifying the databasename.schema.tablename. By default, invoke-sqlcmd will be in the master database.
|
1 2 3 4 5 6 |
foreach ($file in $files) { invoke-sqlcmd "INSERT INTO adventureworks.dbo.myimages values ($counter, (SELECT * FROM OPENROWSET(BULK N'C:\img\$file', SINGLE_BLOB) as T1))" $counter++ } |
Note that we are concatenating the $file variable with the file names of each image. $counter++ will be used to insert the value 1 in the column id and 2 in the next iteration, 3 in the next one and so on.
OK, now we have 4 images in our table. How can we verify that the images were inserted successfully?
The answer is in the next section.
How to verify that the images were inserted
This time, we will use Reporting services and SSDT to verify that the images were inserted correctly. If you do not have experience with reporting services, do not worry. This article is for you.
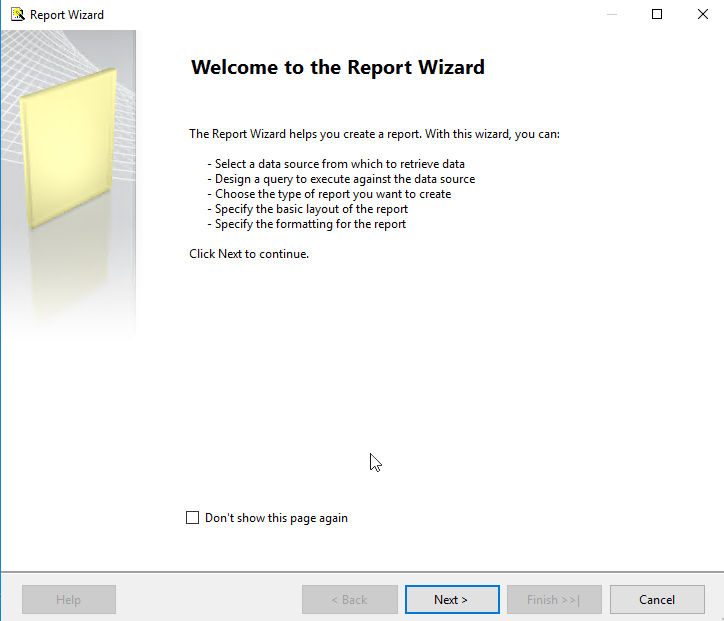
Open SSDT and create a New Project. In new project use the Report Server Project Wizard:

The Wizard will give you a Welcome message. Press next:
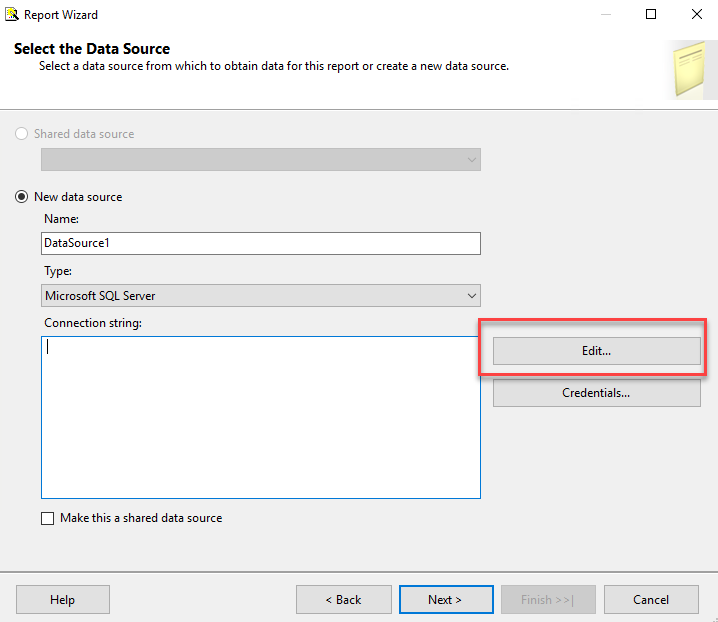
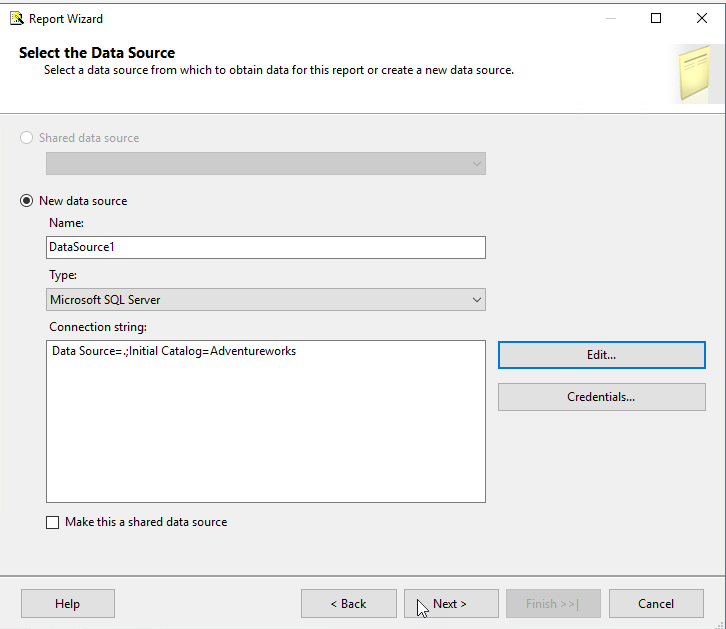
In the Select Data Source Window, press the edit button to create a connection:
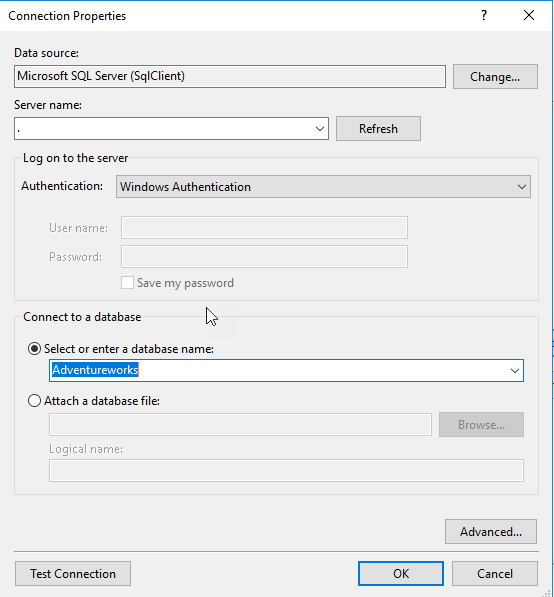
Specify the Server Name and the Database name and press OK:
In Select Data Source, press Next:
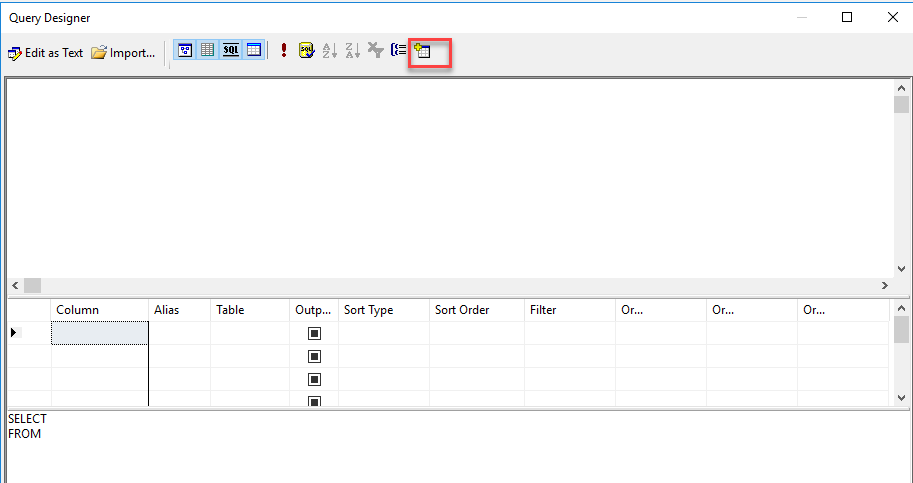
In Design the Query step, press the Query Builder button to create the query with the data that we want in the report:

Press the add table icon:
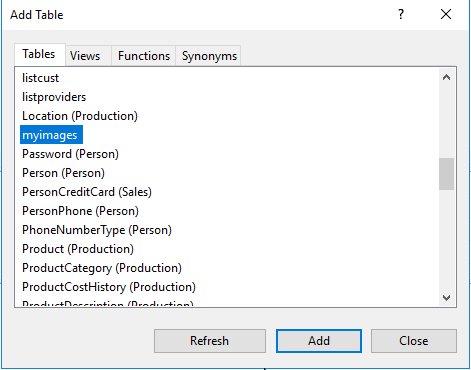
Add the table “myimages” that we previously created
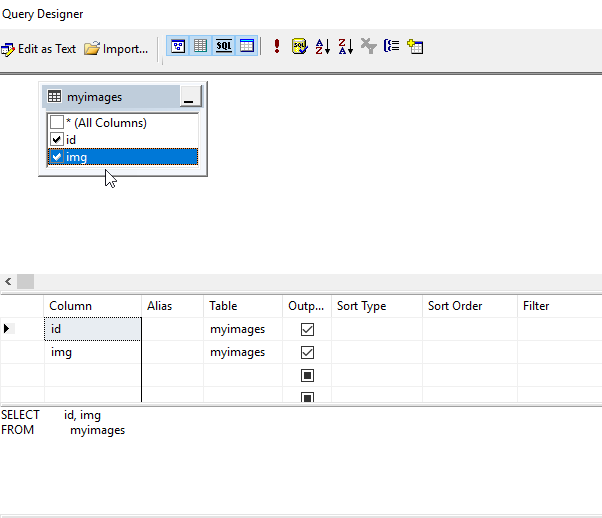
Check the columns of the table. This will generate a statement “select id, img from myimages”:
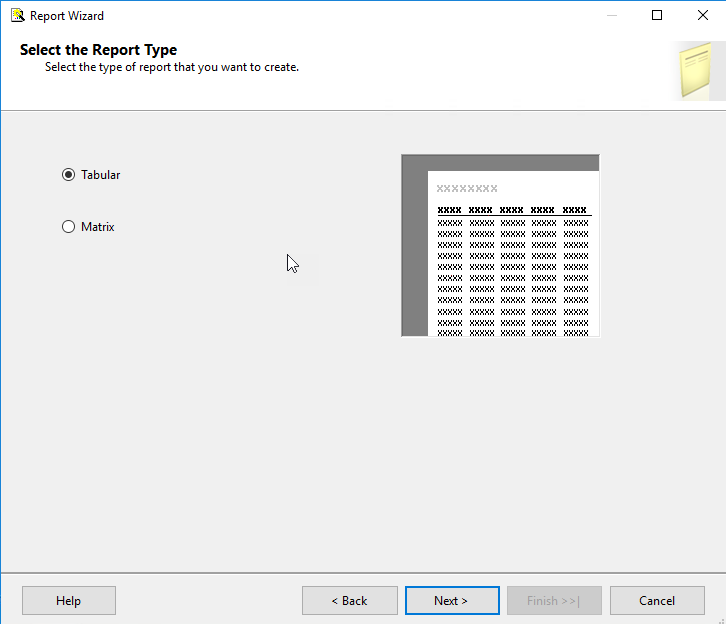
Select the Tabular Report Type and press Next:
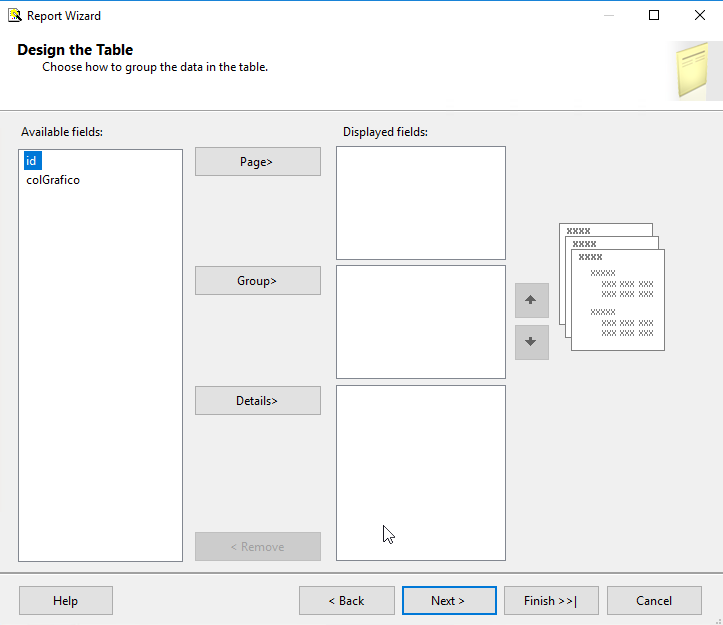
In Design the Table step, press Finish:
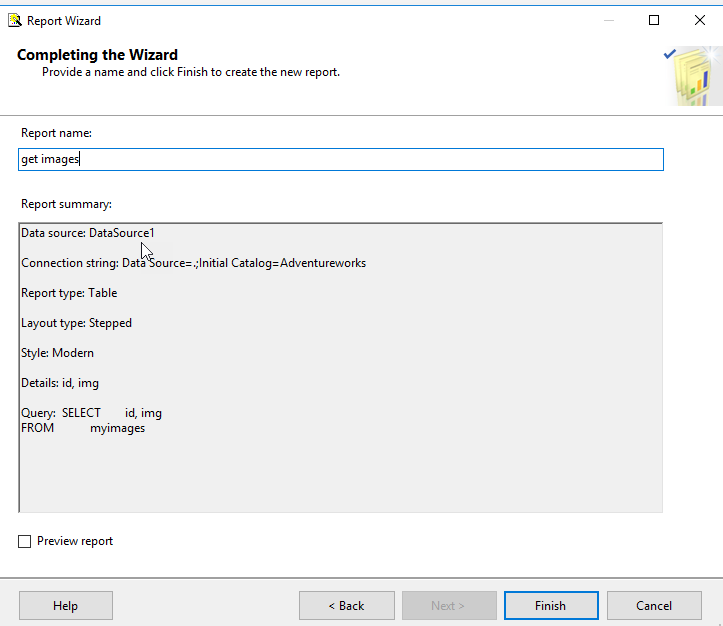
In completing the wizard, specify a name for the report and press Finish:
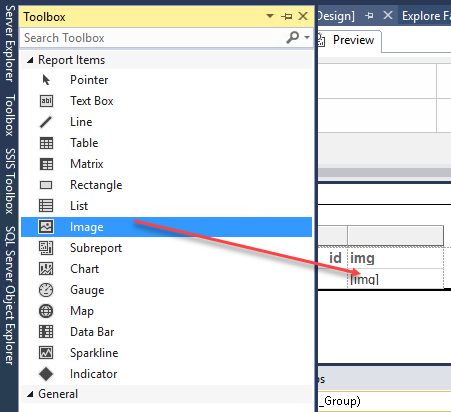
In the Report, go to Toolbox tab on the left:
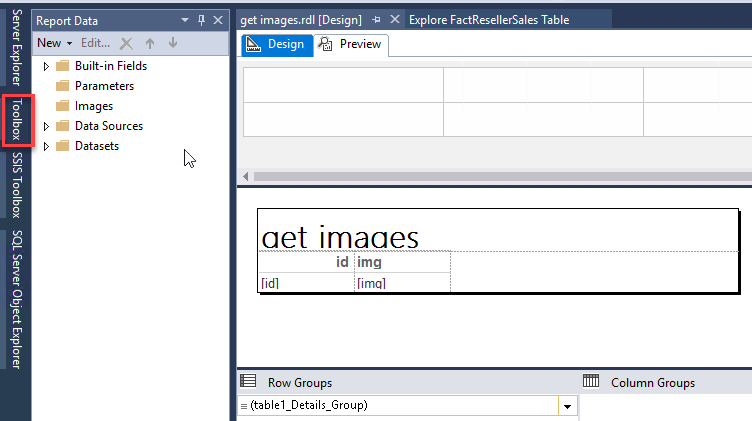
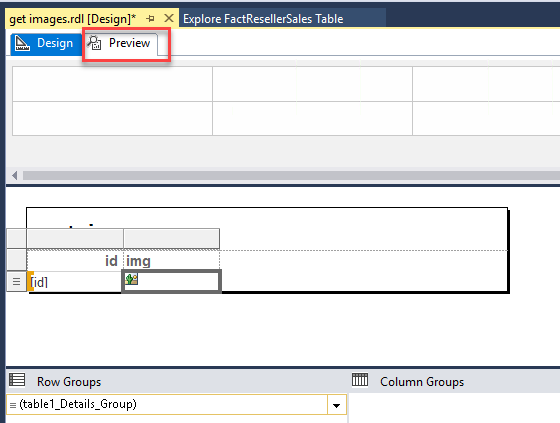
Drag and drop the image into the img column:

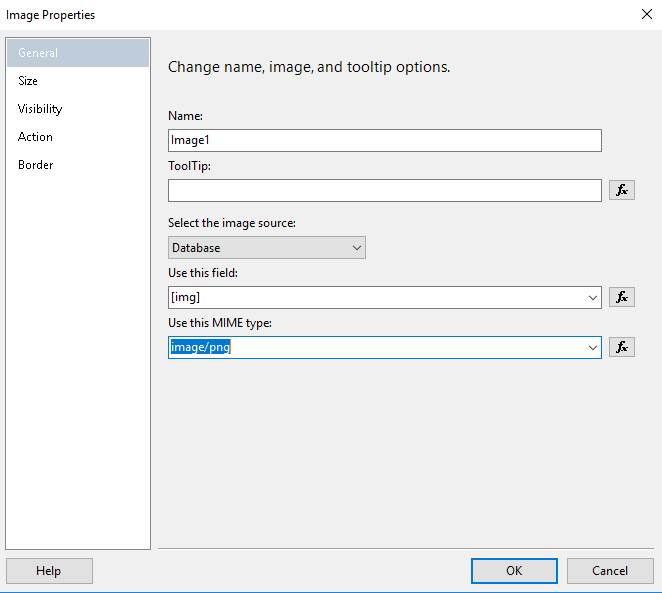
In the combo box select the image source, select Database. In use this field, select img. In the textbox Use this MIME type, select image/png:
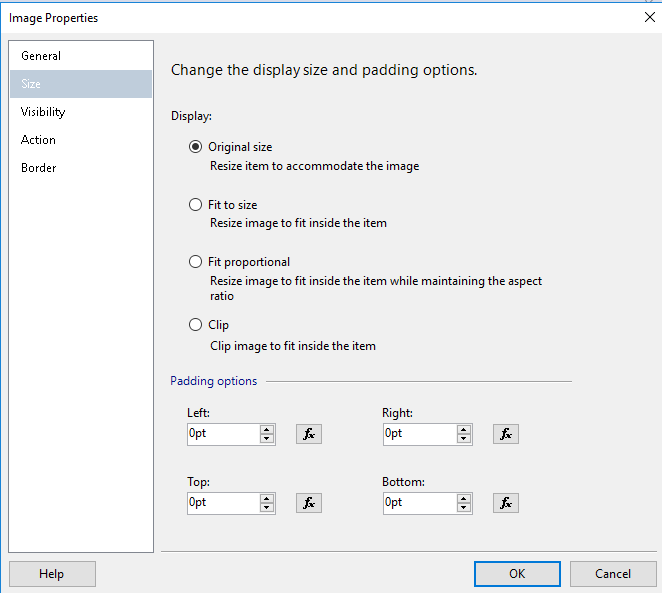
In Size page, select Display Original Size. This option will allow to use the original size of the image and press OK:
Press the previous tab to view the image:
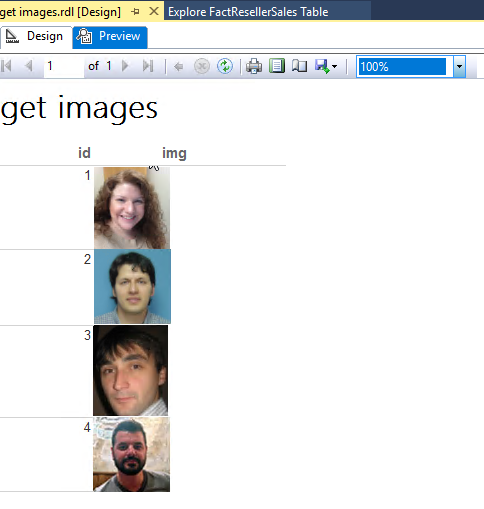
As you can see, the 4 images were stored successfully into the myimages table:
Conclusions
SQL Server allows storing files. In this article, we learned how to insert a single image file into a SQL Server table using T-SQL. We also learned how to copy multiple files from a folder into SQL Server in a table.
Finally, we worked in SQL Server Reporting Services to view the images inserted. To do that we used the SSRS wizard.
If you have more questions, feel free to comment!
References
- OPENROWSET (Transact-SQL)
- What is SQL Server Reporting Services (SSRS)?
- Add a Data-Bound Image (Report Builder and SSRS)

He has worked for the government, oil companies, web sites, magazines and universities around the world. Daniel also regularly speaks at SQL Servers conferences and blogs. He writes SQL Server training materials for certification exams.
He also helps with translating SQLShack articles to Spanish
View all posts by Daniel Calbimonte
- PostgreSQL tutorial to create a user - November 12, 2023
- PostgreSQL Tutorial for beginners - April 6, 2023
- PSQL stored procedures overview and examples - February 14, 2023