

In this article, we will introduce the Azure Data Studio in a way that makes it easy for you to start using it. Enjoy the reading!
Why Azure Data Studio?
SQL Server Management Studio is the most common Graphical User Interface tool that we used to use for administrating our SQL Server instances that are located in our data center or hosted in the cloud. SSMS can be used also for developing our database projects, includes creating or modifying the database objects and viewing then modifying the data that is stored in these databases.
What if you plan to run the database management and development tool on a macOS or Linux machine?
What should you do if most of the tasks that you need to perform are related to developing the database objects using T-SQL, sqlcmd, and PowerShell?
Is there any way to export your data to different file formats with one click?
I need to connect to my SQL Server 2019 Big Data Cluster. How could I do that?
In these cases, it is better to start using Azure Data Studio!
Azure Data Studio is a light-weight cross-platform database development, and somehow administration, the tool that helps the data professionals to interact with their on-premises and cloud database instances from their Windows, macOS, or Linux based machines. It provides us with a modern SQL coding experience that is achieved by the rich query editor with the built-in IntelliSense, code snippets, and navigation features, and the ability to integrate the code projects with a GIT source control.
Take into consideration that, if most of your tasks are related to the database administration, database security management and queries performance tuning, SQL Server Management Studio stay your preferred GUI tool.
Let us start with Azure Data Studio installation requirements and procedures.
Installation
Azure Data Studio can be installed to your machine to connect and interact with SQL Server instances with version 2014 and later that are hosted on your data centers, and the Azure SQL Database, Azure SQL Data Warehouse, and Azure SQL Managed Instance that is hosted on the cloud.
If you plan to install that studio on your Windows machine, make sure that you are using the 64-bit version of Windows 7 and later. Installing it on the Windows servers is applicable for Windows Server 2008 R2 and later. Feel free to install that studio to the macOS Catalina, Mojave, High Sierra and Sierra machines, and the Red Hat, SUSE, and Ubuntu Linux machines.
Azure Data Studio can be easily downloaded from the Microsoft Download center, based on the Operating system that you are using. For Windows machines, the User Installer is recommended as it requires no administrator privileges.
Once downloaded, Azure Data Studio can be installed to your machine using the straight-forward installation wizard, in which you will be requested to accept the license agreement, specify the installation path, whether to create a folder for the tool shortcut under the start menu and finally configure several additional tasks for that tool. After installing the tool successfully, the wizard will notify you that the installation is completed without any issue and will ask you whether to launch the tool directly, as shown below:

Getting Started
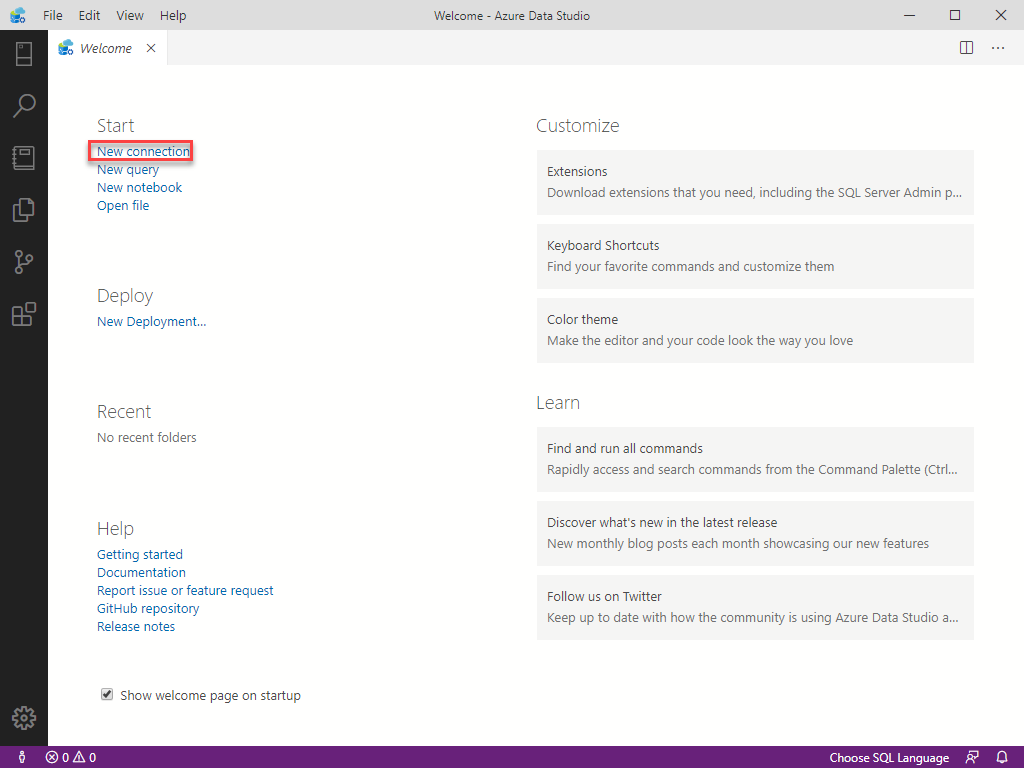
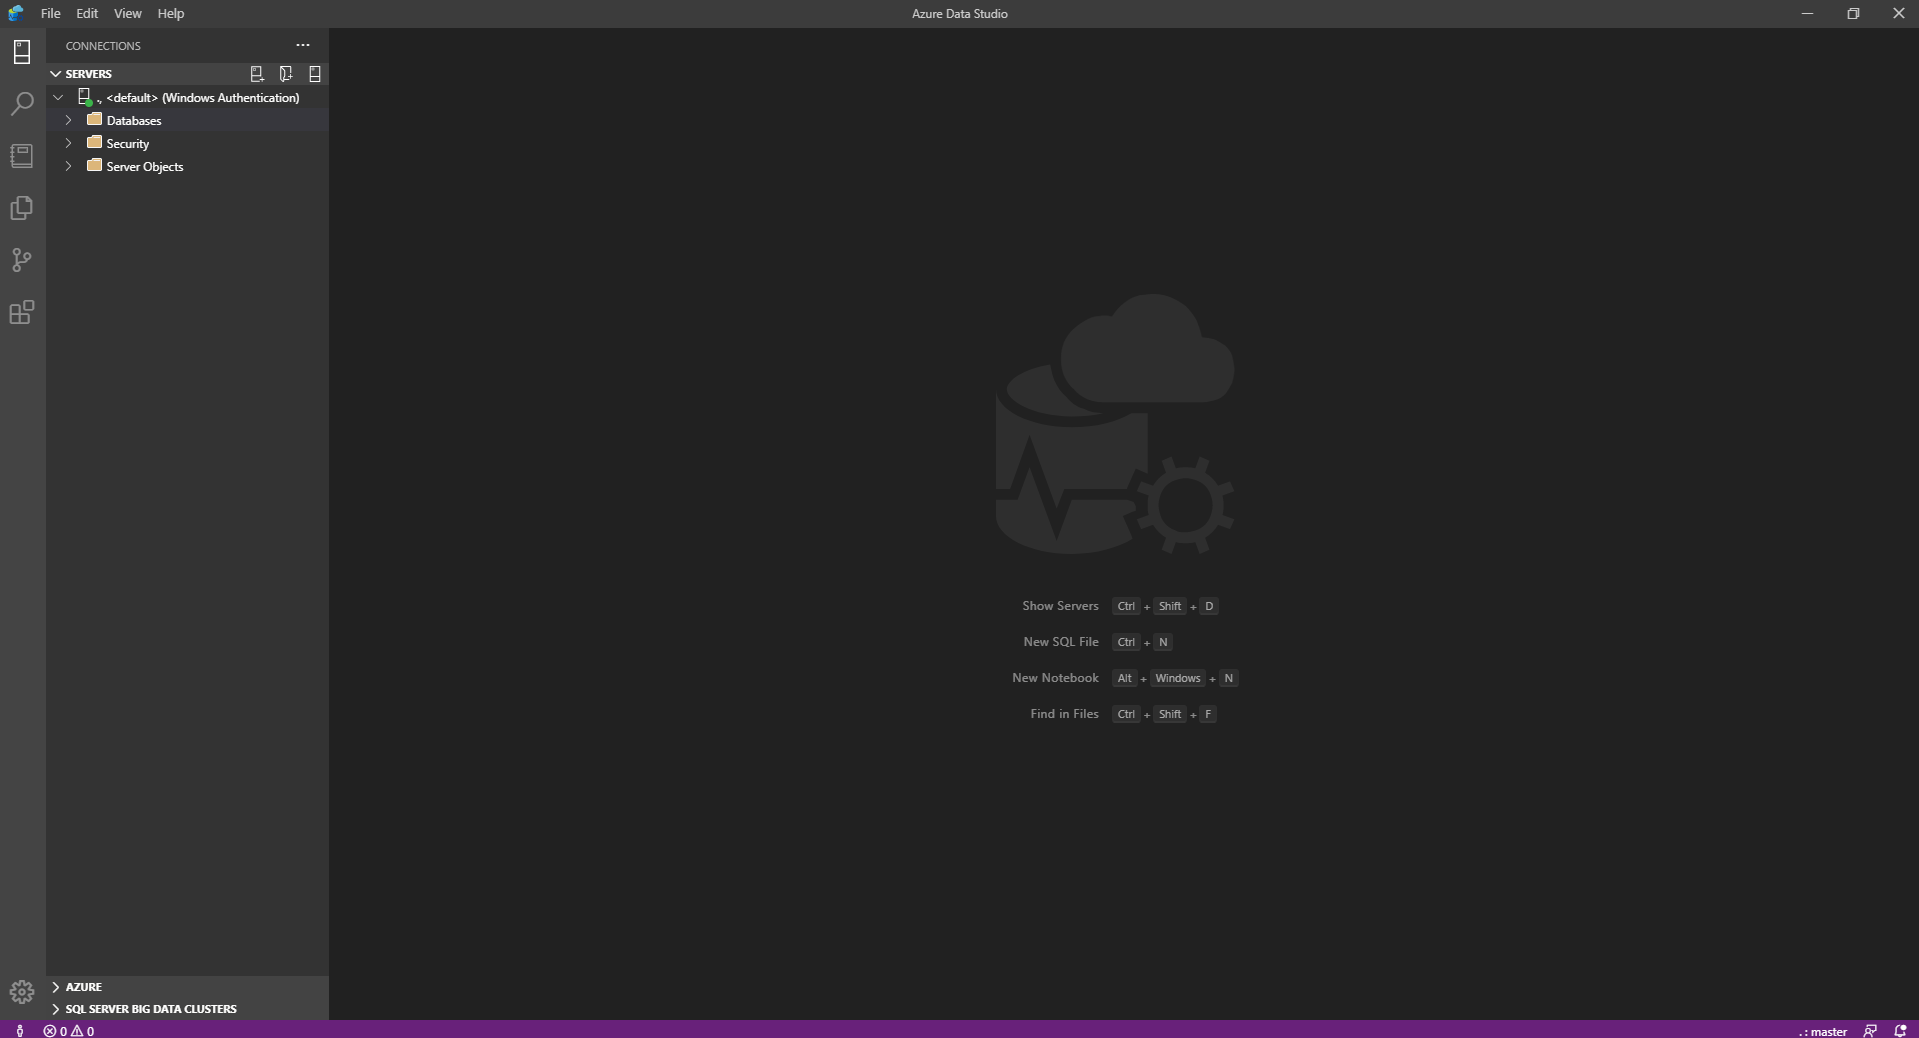
If you launch Azure Data Studio, the first page that will be displayed is the Welcome page, which contains the main tasks that you can perform using that studio. This includes starting a new connection to the database instance, write a new query, create a new notebook, opening an existing file, creating a new deployment, and getting help from Microsoft regarding that tool.
The Welcome page also provides you with useful tips about how to customize the tool to meet your requirements and number of methods to dig deep in that tool.
Let us start with a simple task, which is connecting to an existing SQL Server instance. To connect to your SQL Server instance, click on the New Connection option from the Welcome page, as shown below:
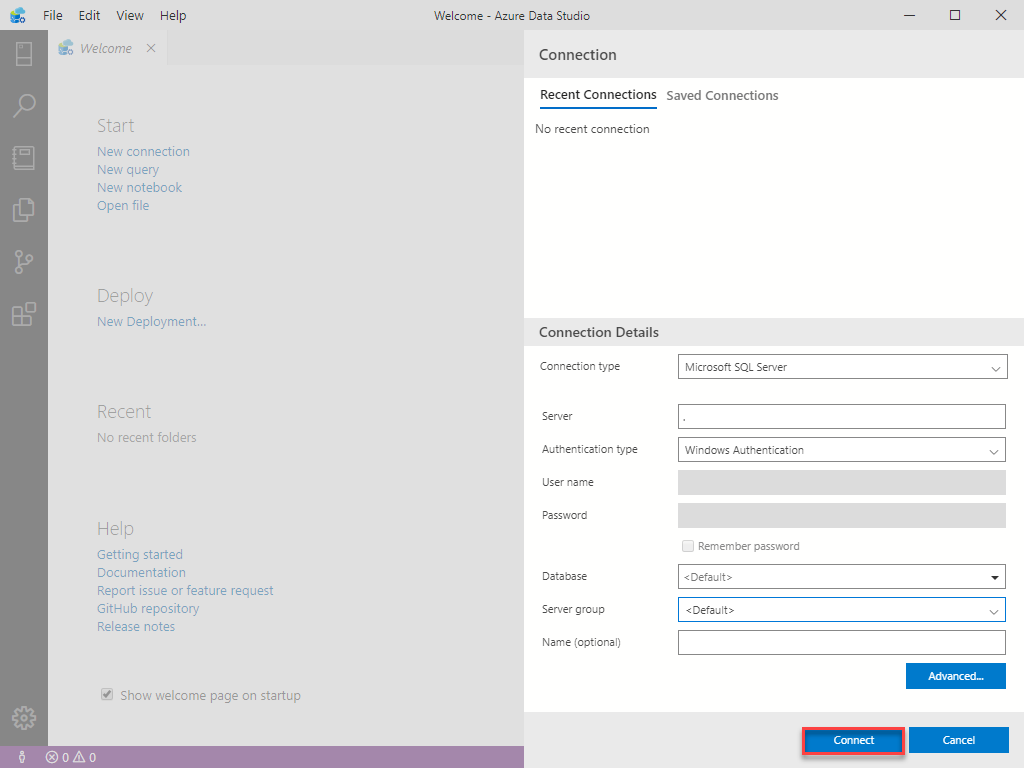
In the New connection page, you will have an option to select from the recently used or saved connections or connect to a new SQL Server by providing the name of that SQL Server instance, the authentication type and the credentials that will be used to connect to that instance, with the ability to provide the name of the default database and server group that will be used in that connection, as shown below:
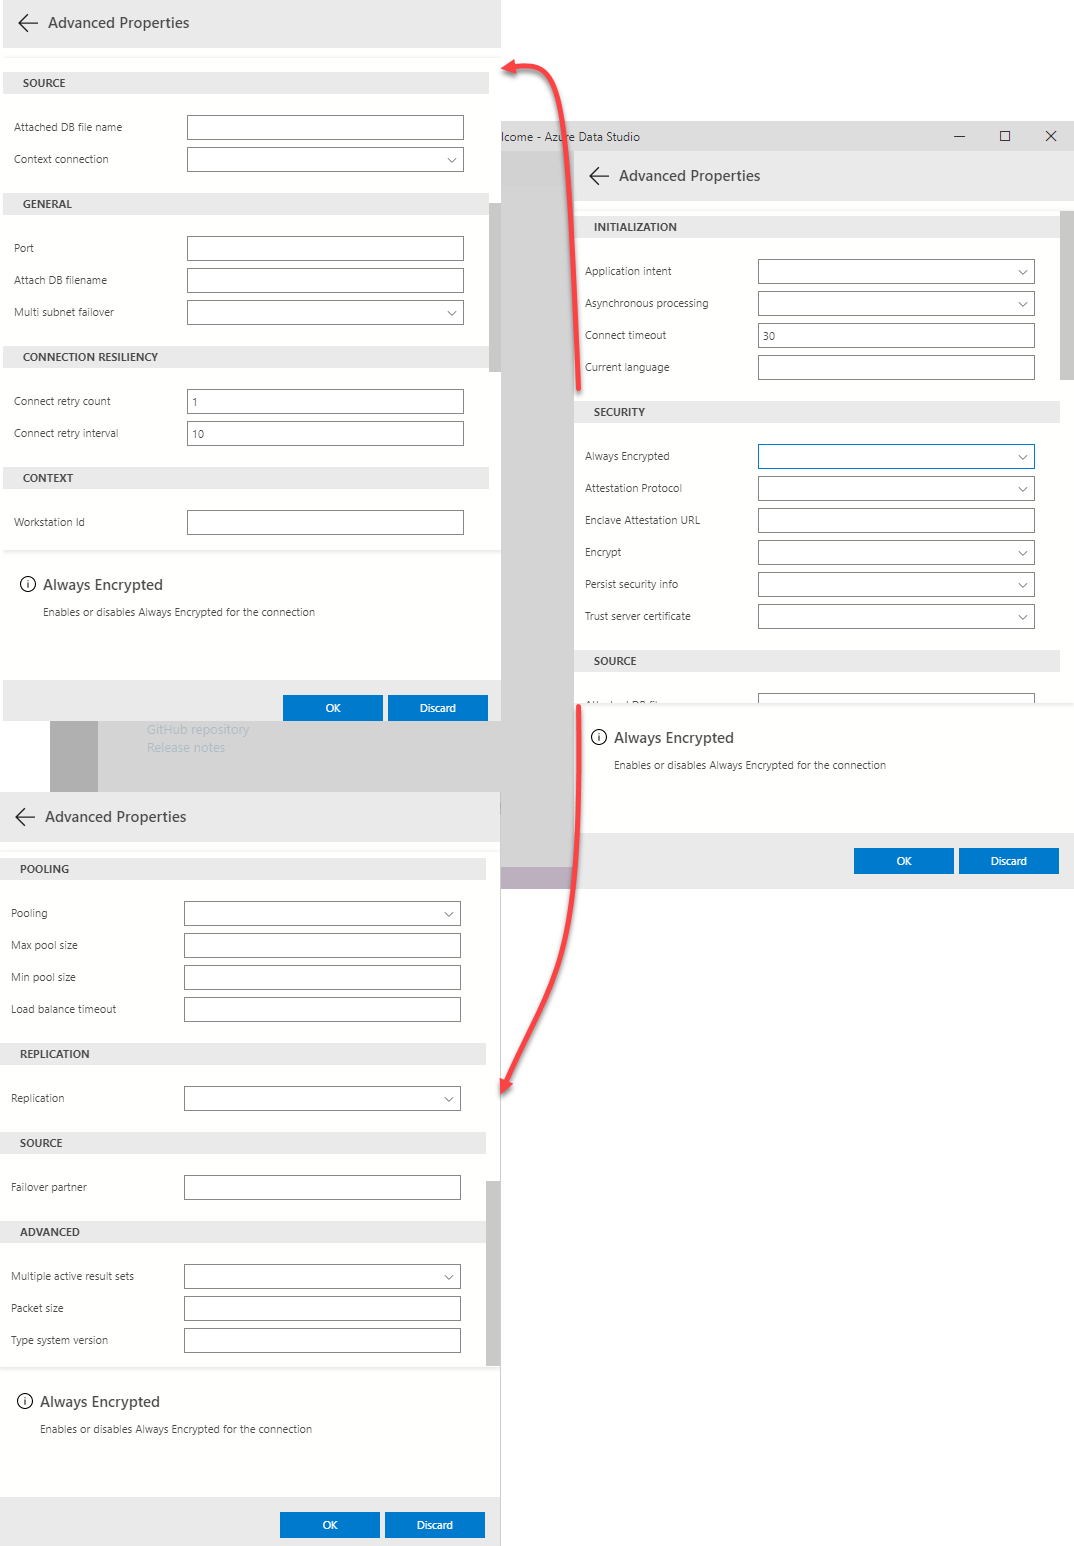
Azure Data Studio provides you with the ability to configure a large number of options that can be used to customize the connection to the specified SQL Server instance, as shown below:
After providing all the required connection parameters, click on the Connect button and a connection will be established to the SQL Server instance.
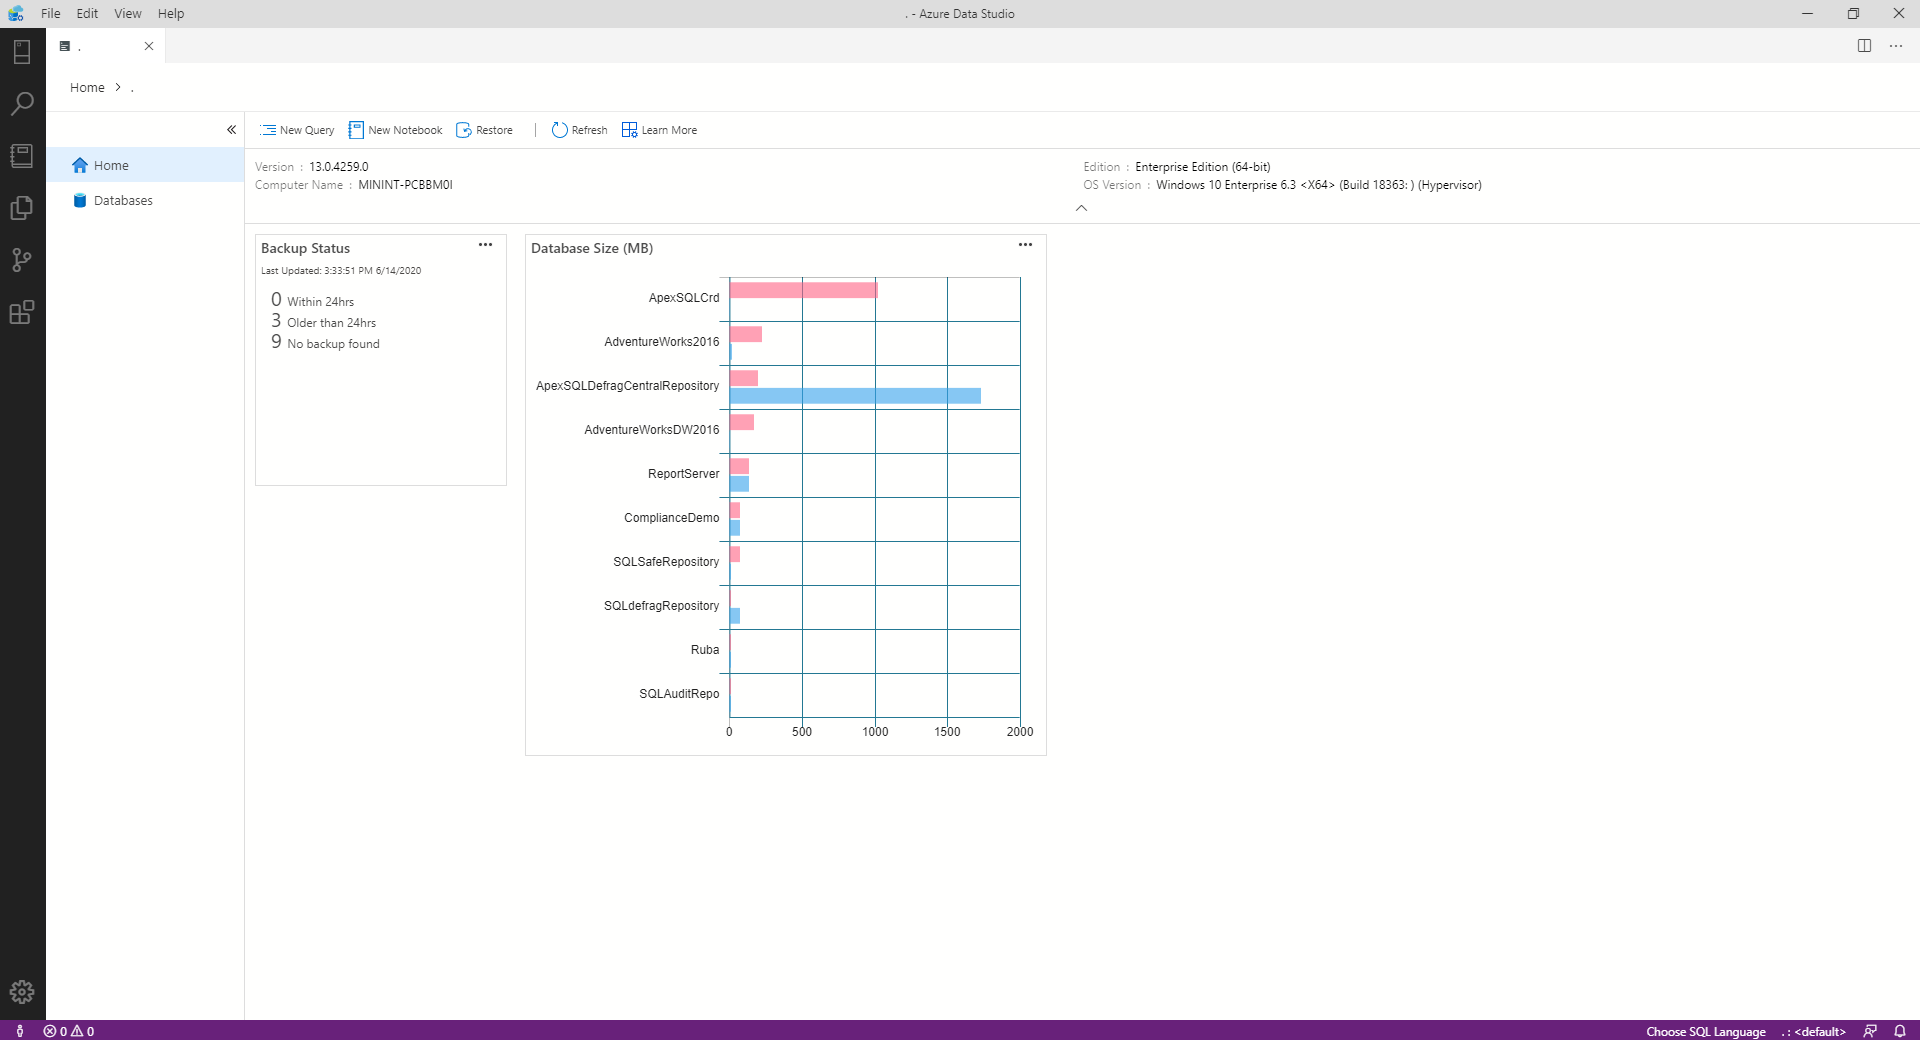
The first window that will be displayed is the Home page, that contains a summarized view for that SQL Server instance. This includes general information about the SQL Server version and edition, in addition to the name and OS version of the hosting machine.
Other useful information that will be displayed includes an overview for the backup operations that are performed on the databases hosted on that SQL Server instance and the current size of each database, as shown below:
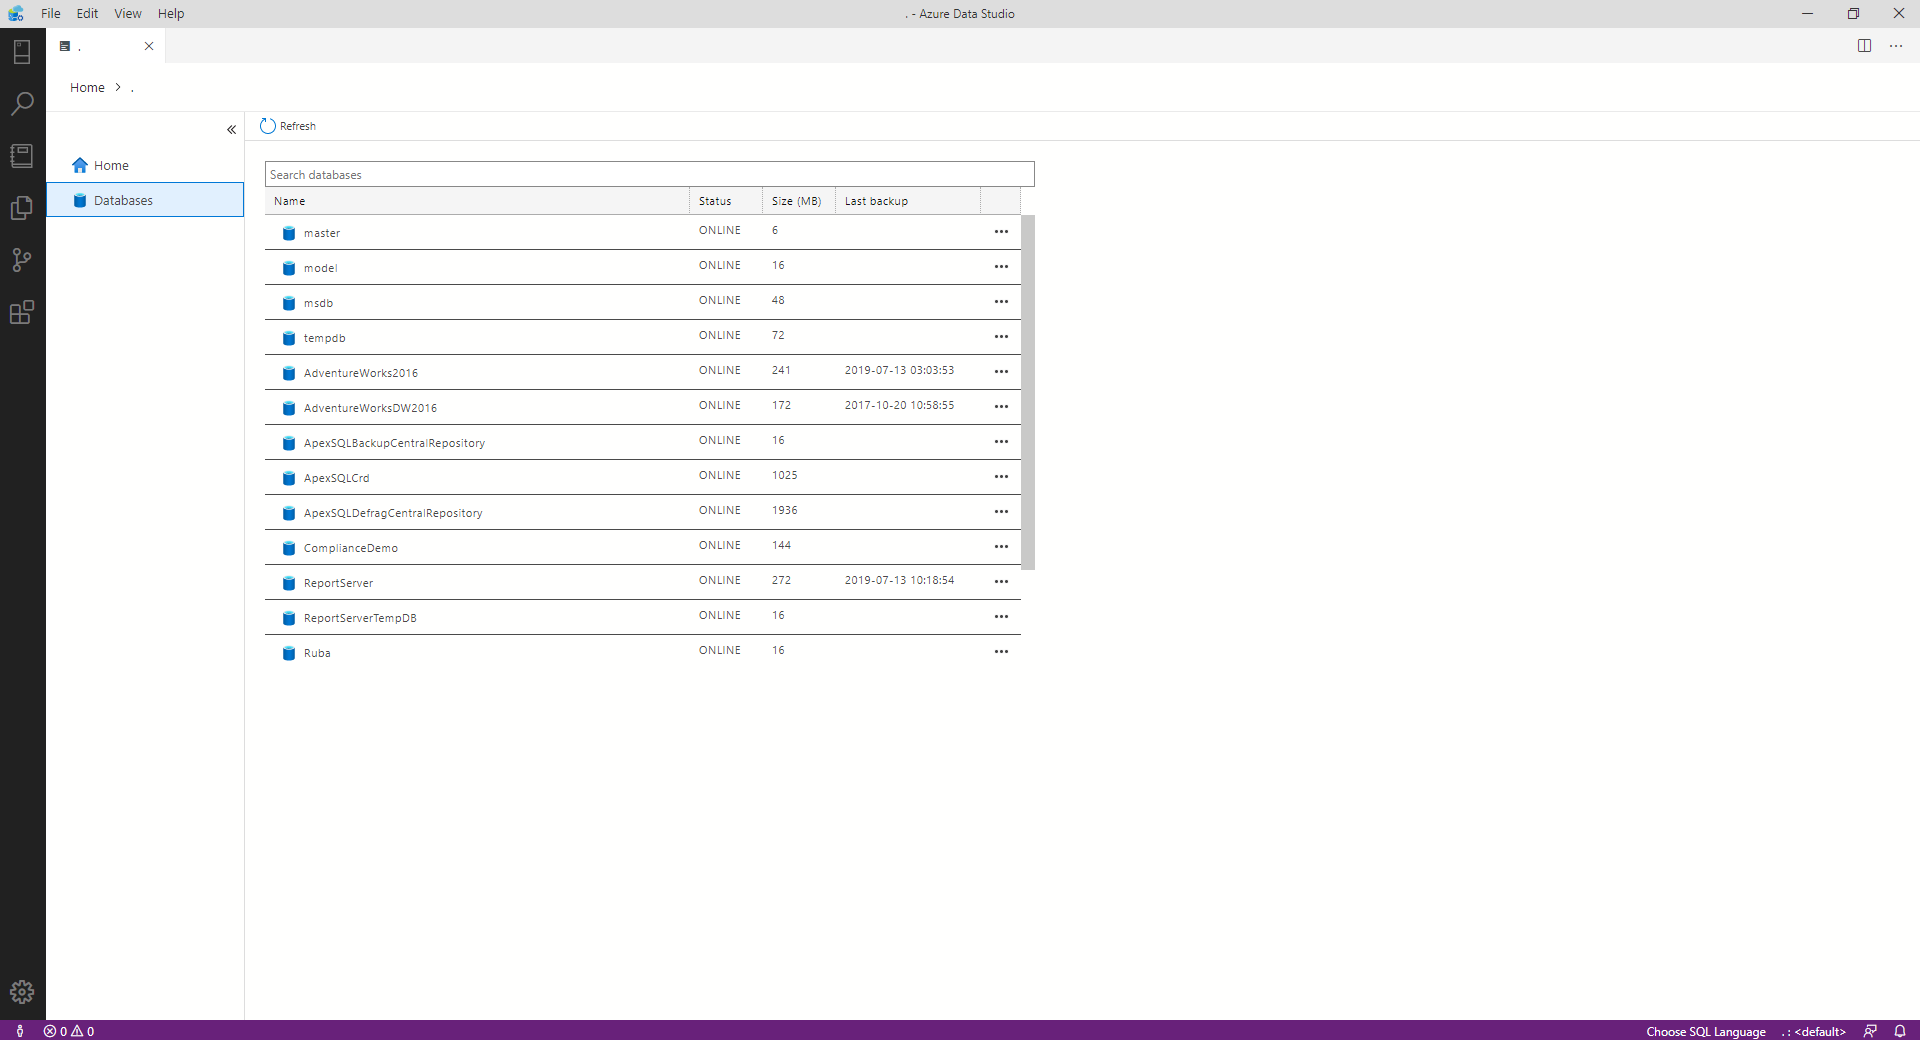
The second view is the Databases page, that contains a detailed table of the list of databases that are hosted on that SQL Server, as shown below:
The leftmost bar of that
Data Studio contains a list of icons that summarize the main functionalities of that tool. These icons with a descriptive name for each icon can be briefly shown as below:
![]()
The first icon is the Connections icon, similar to the Objects Explorer in SSMS, that is used to manage the current connections and establish new connections to the SQL Server instances, in addition to a complete view for the databases and objects that are hosted on each server, as below:

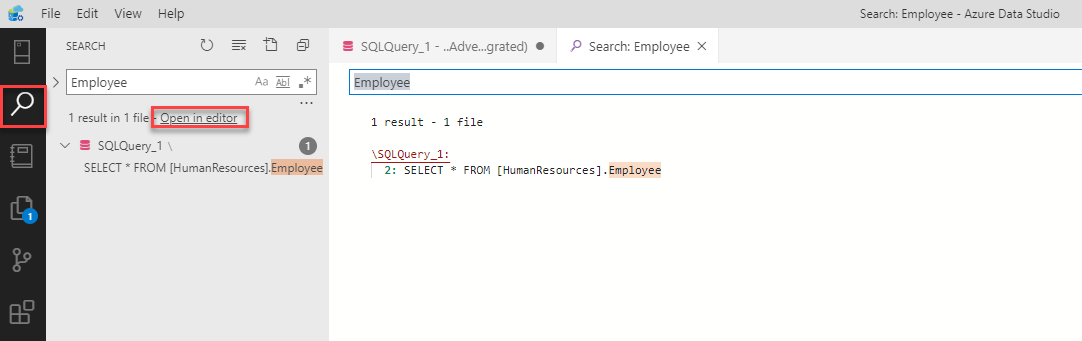
The second page is the Search page, that helps widely in searching for a specific phrase in all available files and folders, as shown below:
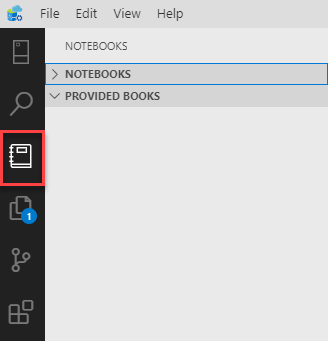
The third page is the place where you can create and manage Notebooks within that studio. Notebooks are an open data format, that contains live code elements with the ability to embed different components, such as programs and images, inside them, as follows:
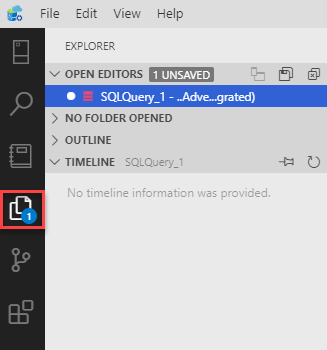
The fourth page is the files and folders Explorer that can be easily used to manage and arrange the different type of files that are used or saved within the tool, as below:
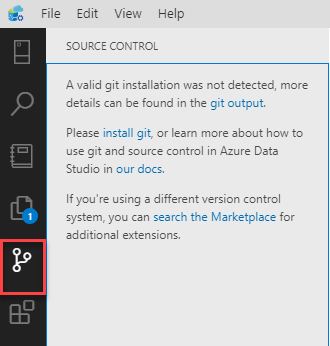
Azure Data Studio allows you to connect to a valid Git repository that can be used as a Source Control for your code files and changes, as shown below:
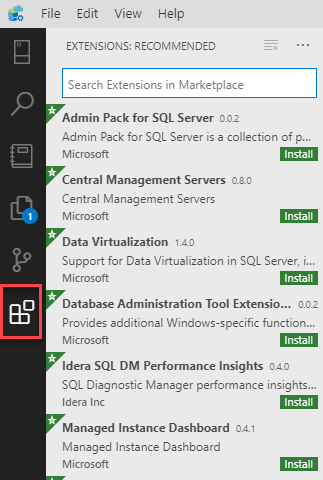
To extend the default features that are available in that studio, you can easily install and use any available Extension that can help in customizing your coding or visualizing task, as below:
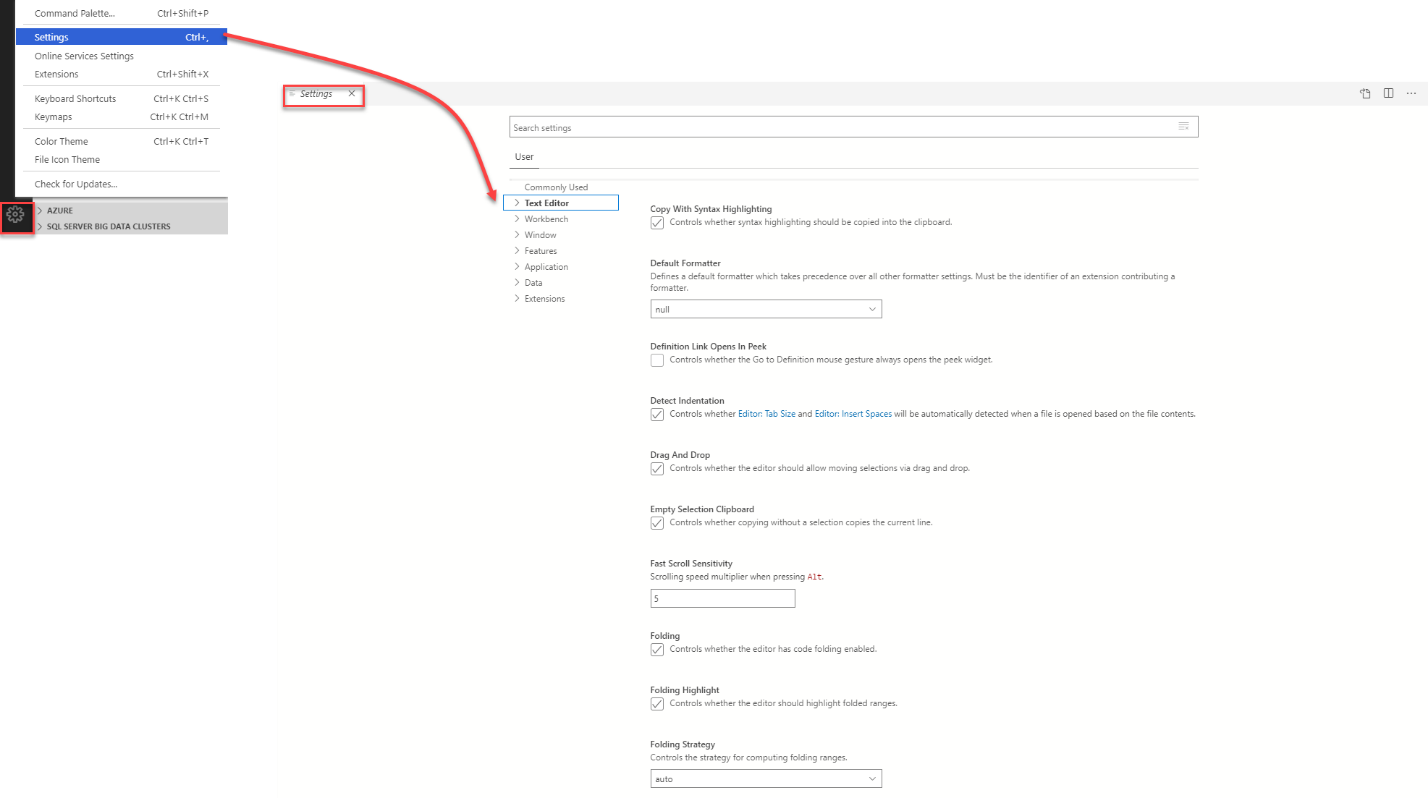
Azure Data Studio can be customized using a wide range of options that can be used to meet your requirements. This can be achieved by providing the proper value for each option from the Settings page, as shown below:
For example, if you prefer using the Dark theme for that Data Studio, you can choose the suitable Color Theme from the Settings button, or easily from the Preference list under the File menu, as below:
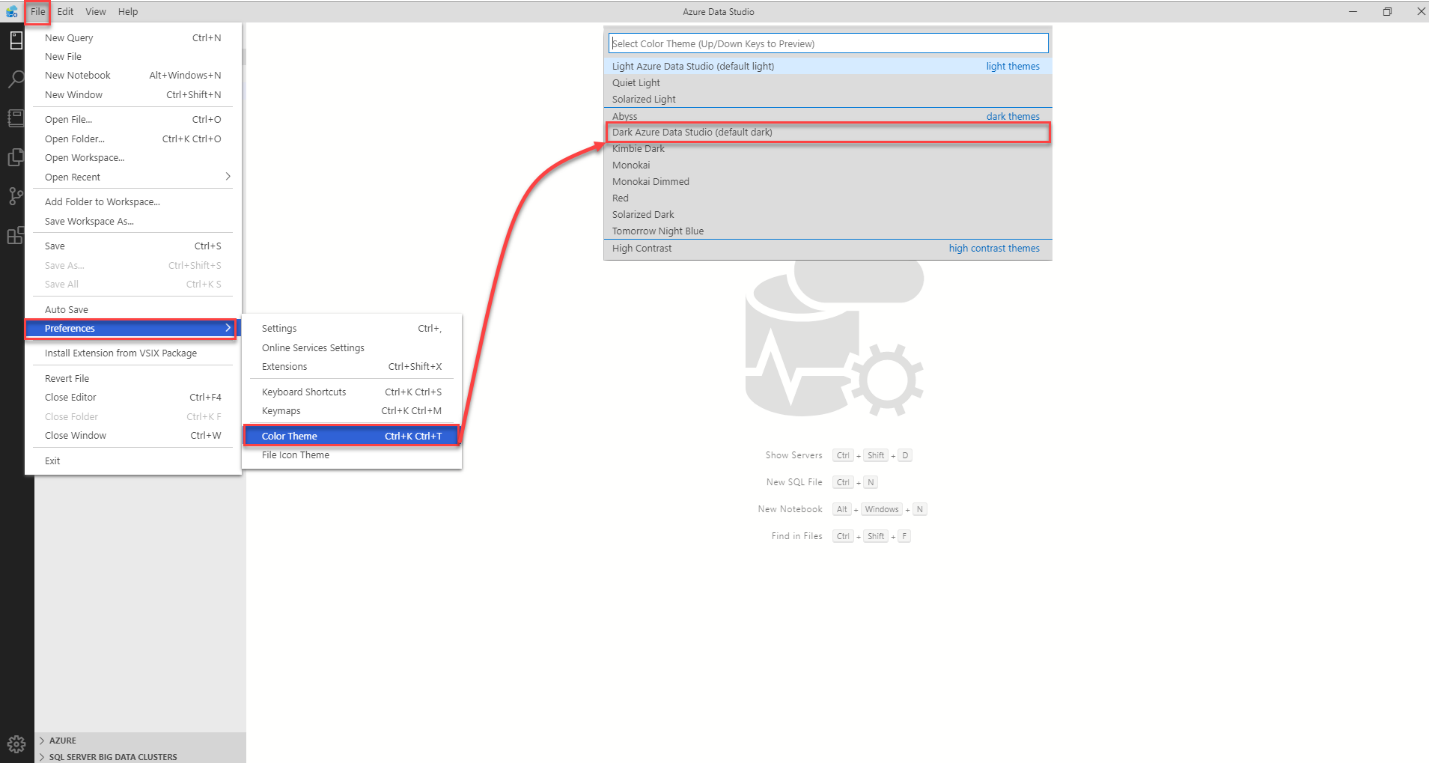
And the theme will be changed directly without the need to close the window, as shown below:
Azure Data Studio provides you with the ability to perform most of the data related tasks that you used to perform with the SSMS. For example, after connecting to a specific SQL Server instance and listing all available databasesunder that instance, right-click on your database and click the Manage option, as shown below:
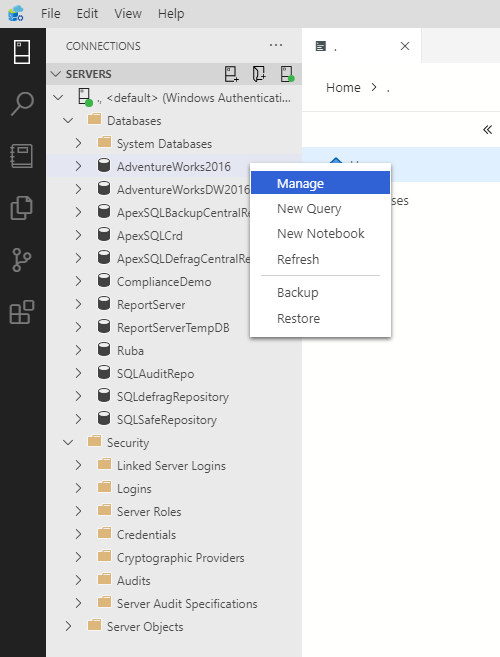
A new window will be displayed, that contains all database objects that are created under the selected database. On the same page, you can see general information about the database, such as the database owner, the recovery model, and the compatibility model for that database.
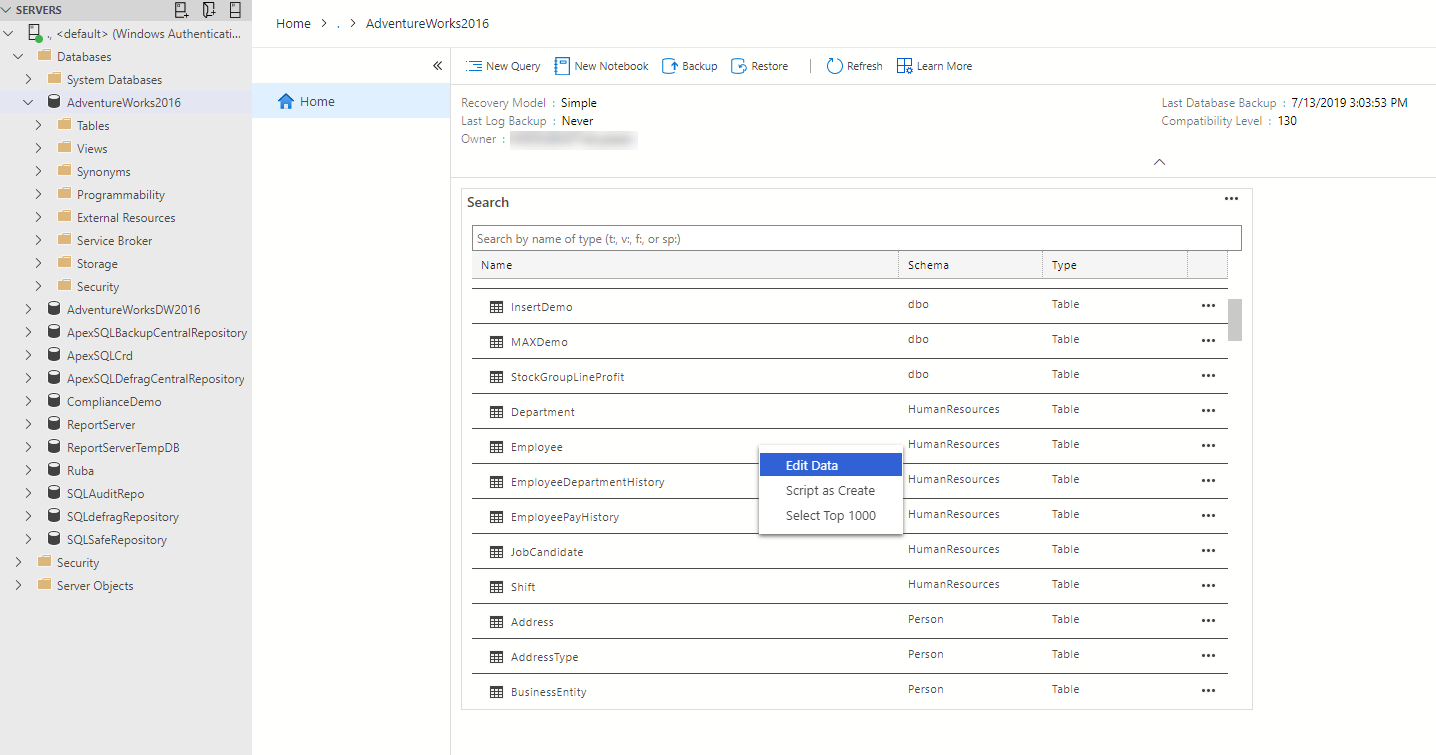
If the database object that you manage to interact with is not shown directly in that window, you can easily search for it by providing the name, or part from the object name, then choose it from the displayed result.
Assume that we need to modify the data that is stored in one of the database tables. You can achieve that by right-clicking on that table, from the list, and choose the Edit Data option, as shown below:
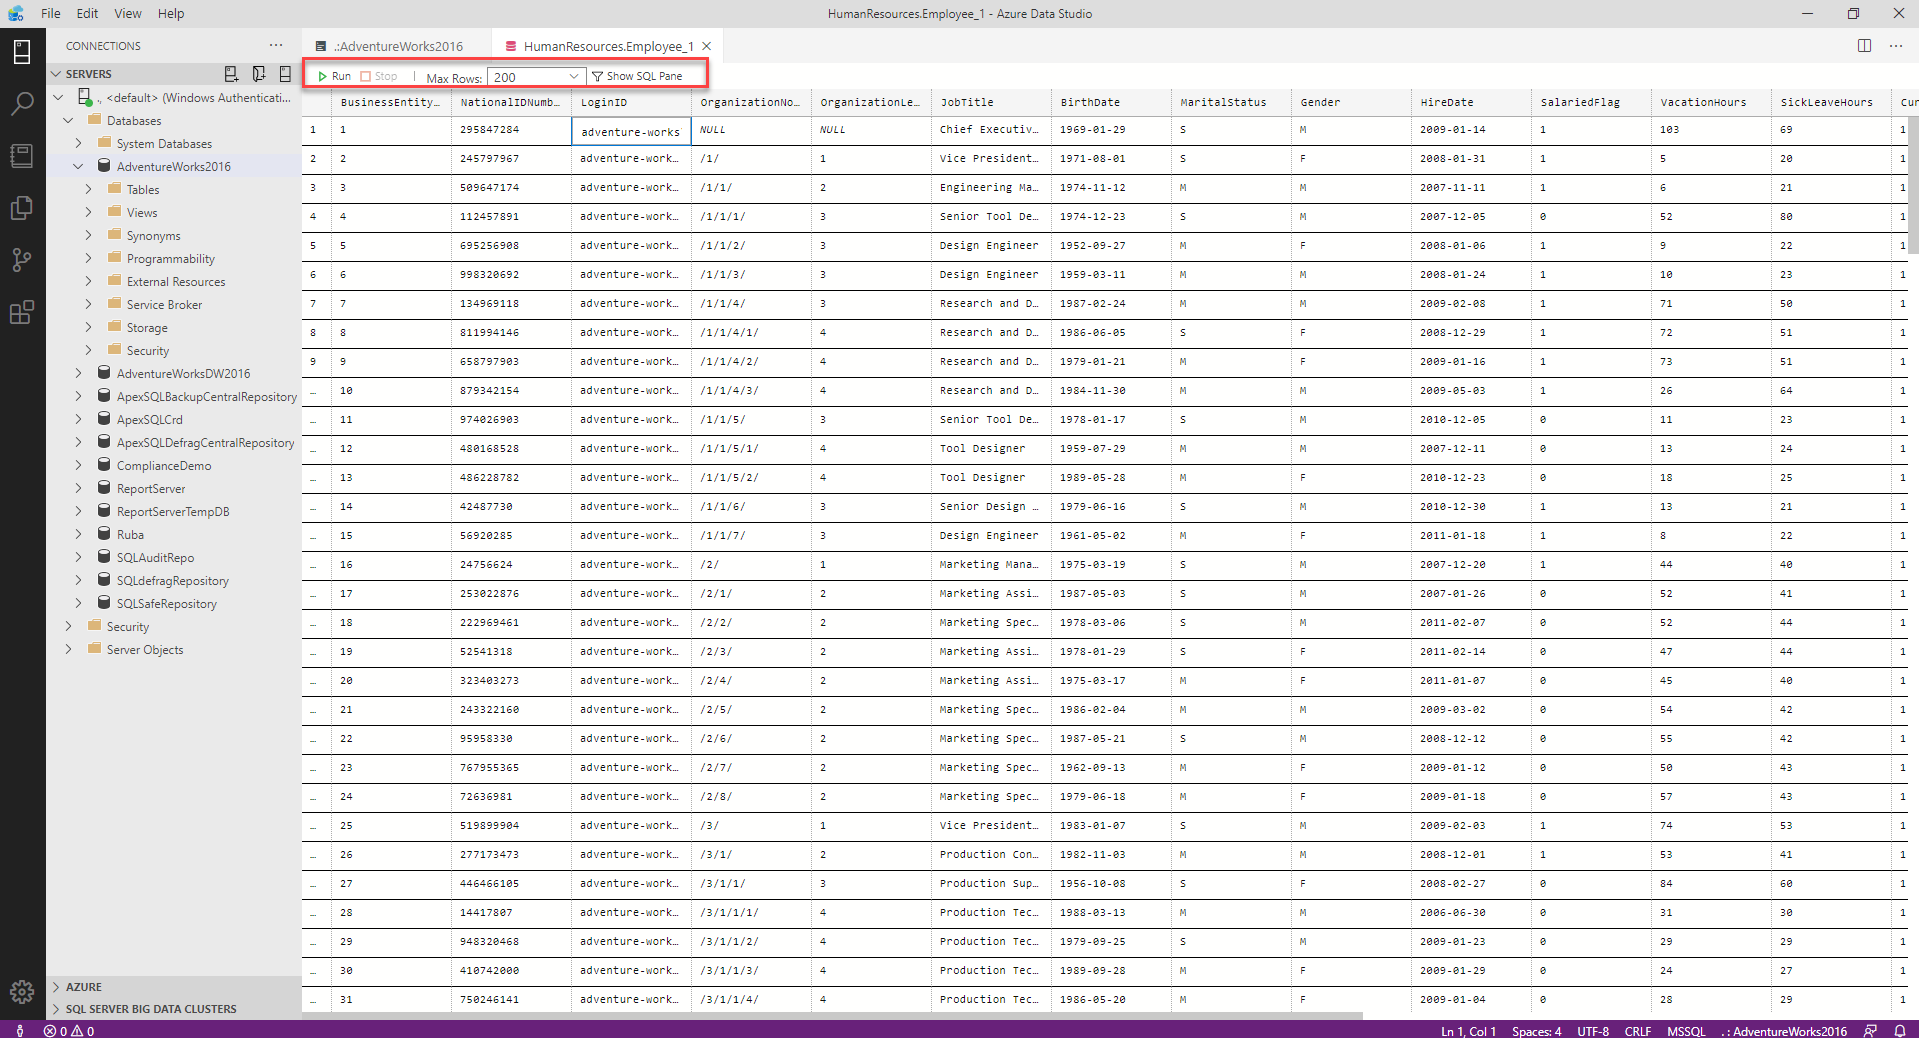
From the displayed result, specify the record that you plan to modify using the filters, modify the column value for that row then click on the Run button to refresh the data, as shown in the snapshot below:
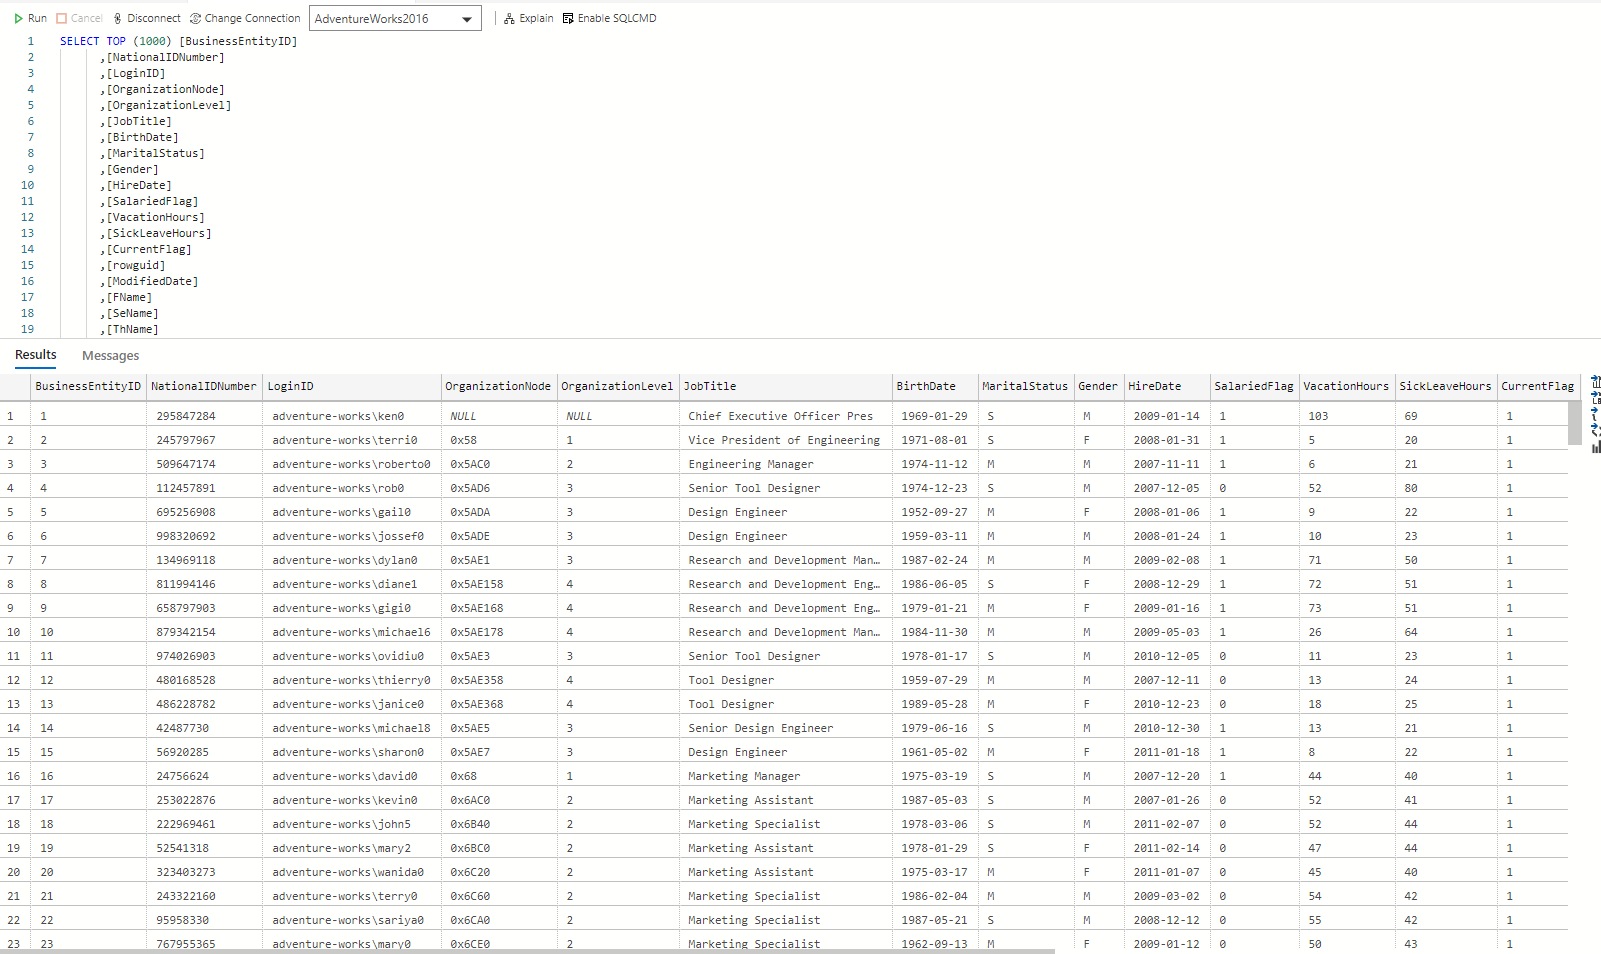
On the other hand, Select Top 100 options from the previous Manage Database objects window will allow you to retrieve the Top 100 records from that table, with the ability to modify the displayed query to customize the retrieved data, as below:
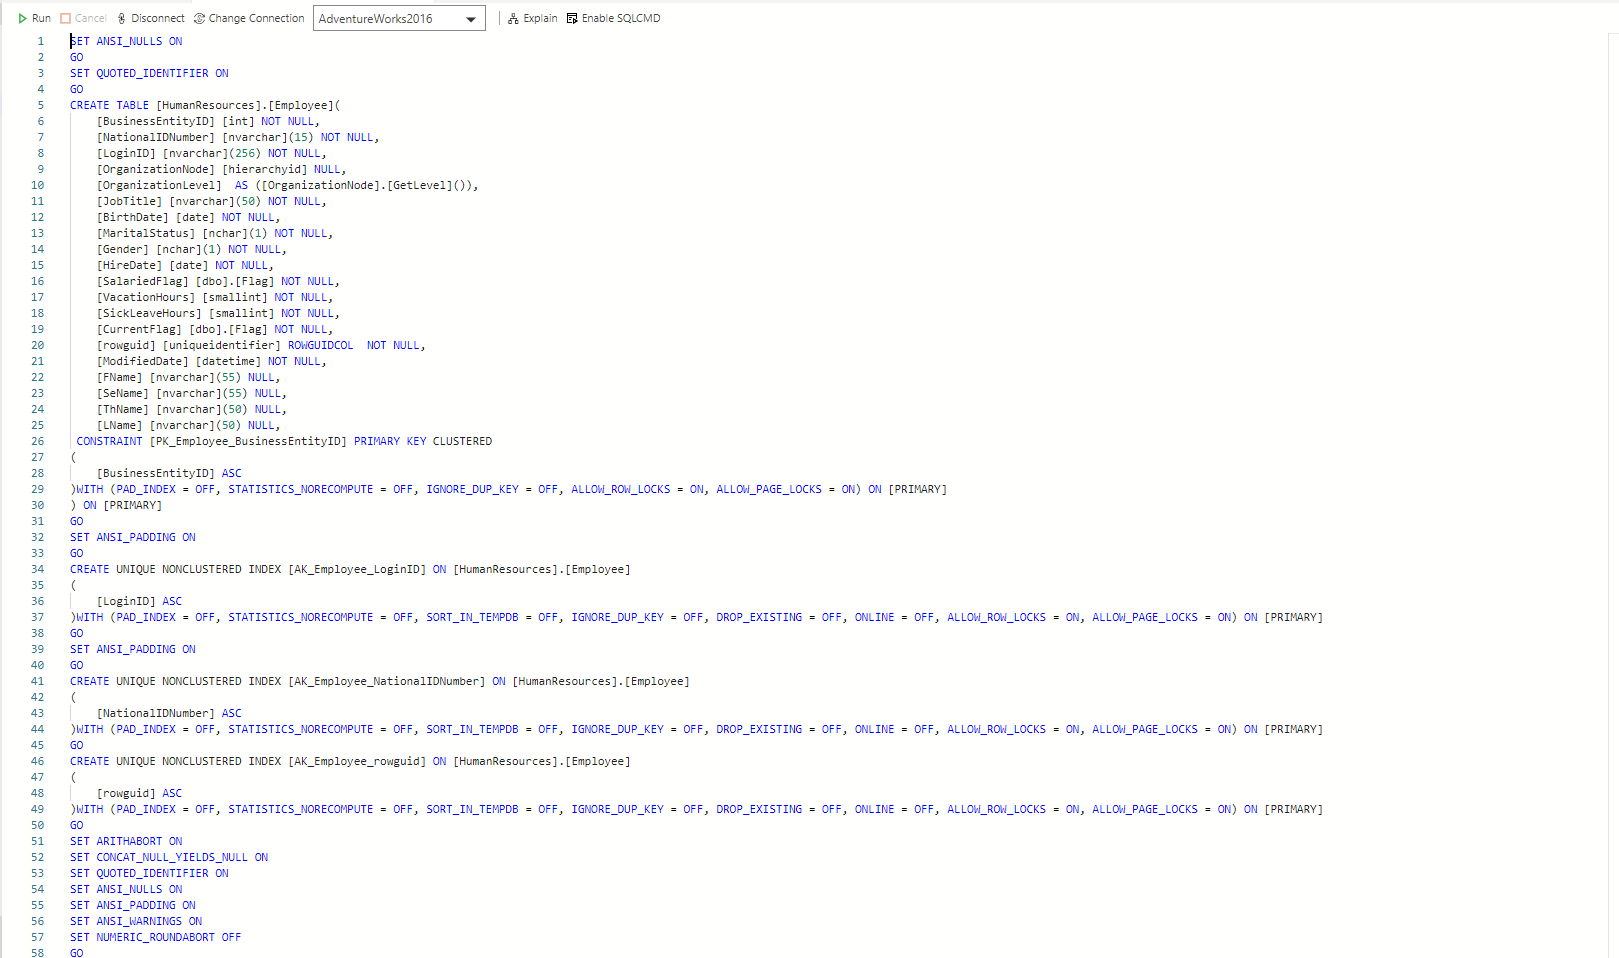
And the last, but not least, option from the Manage Database objects window is Script as Create option, which can be used to generate the T-SQL script that can be used to create the selected database object, as shown below:
Conclusion
In this article, I have tried to direct the light on the main functionalities of the Azure Data Studio tool in a way that makes it easy for you to start playing your database related project. Stay tuned for the next article in which we will dig deeper into that tool usage.

He is a Microsoft Certified Solution Expert in Data Management and Analytics, Microsoft Certified Solution Associate in SQL Database Administration and Development, Azure Developer Associate and Microsoft Certified Trainer.
Also, he is contributing with his SQL tips in many blogs.
View all posts by Ahmad Yaseen
- Azure Data Factory Interview Questions and Answers - February 11, 2021
- How to monitor Azure Data Factory - January 15, 2021
- Using Source Control in Azure Data Factory - January 12, 2021