
This article is the first article in the series of Learn AWS CLI. Here we will talk about the overview, installation, and configuration of CLI tools in Windows.
Introduction
You might be aware that organizations are expanding their infrastructure footprints in the Cloud. Amazon Web Services(AWS ) is a leader among other cloud providers.
We can learn AWS RDS through many articles published on SQLShack.
AWS provides two ways of infrastructure configurations.
- Using the AWS web console: It is a graphical method to connect to various AWS resources, their configuration, modification, etc. It is simple to use and does not require knowledge of scripting
- AWS Command Line Interface: Usually, the script provides you with the flexibility to manage multiple AWS resources, infrastructures effectively. For example, we can use the script to deploy multiple resources without the need to go through a complete configuration wizard each time
Let’s get started and get an overview of AWS Command Line Interface, aka AWS CLI and its configuration steps.
Prerequisites
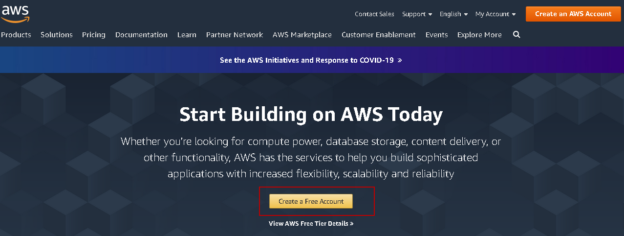
You should visit Amazon Web Service Console and create an AWS account. You can create a free tier account to explore AWS resources without any cost and with a limitation.
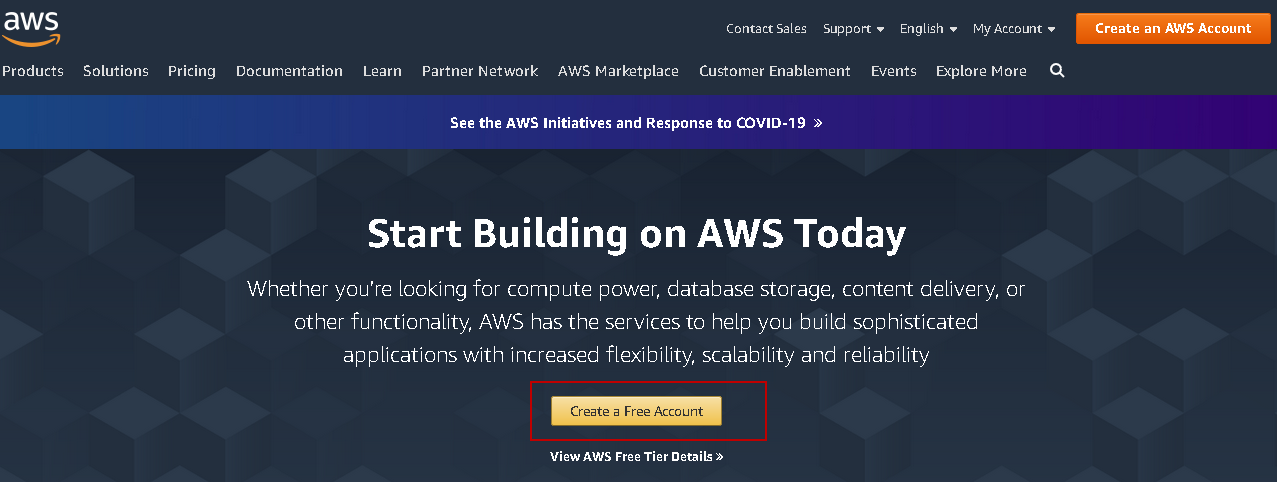
You should go through AWS free tier usage to learn about free tier account usage and limitations.
- You should also install Python’s latest version in your system. Go to URL, download Python and install it. I am using Python 3.7.5 version in this article
Overview of AWS CLI
It is an open-source tool to communicate with AWS resources and services using a command-line interface. We can manage all AWS services and control their behavior using this tool. We can also use CLI to automate AWS infrastructure resource and service management.
We can install it on Windows, Linux, macOS and Docker containers.
Install AWS CLI on Windows operating system
We can install AWS CLI on Windows using a standalone installer as well as a PIP package manager for Python. It is a convenient way to use an MSI installation package for its installation without installing any other prerequisites.
AWS CLI version 2 is the latest version of it and supports all features of AWS. We can also install and use version 1, but it is currently available to provide backward compatibility. However, you should have either version 1 or 2 installed in your system.
We can install CLI version 2 on OS Windows XP or later. It is also available only in 64-bit format.
You can use the following steps to install AWS CLI version 2.
Download 64-bit AWS CLI from the URL. It asks you to save the MSI standalone package in your local system. It is small in size and occupies approx. 24 MB space


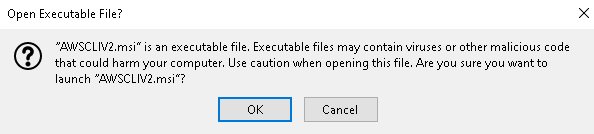
Launch the installation using double-click on the MSI package file. It might give a warning message before opening this CLI executable file. Click OK once you are sure about this warning message
It launches Amazon Command Line Interface V2, as shown below.
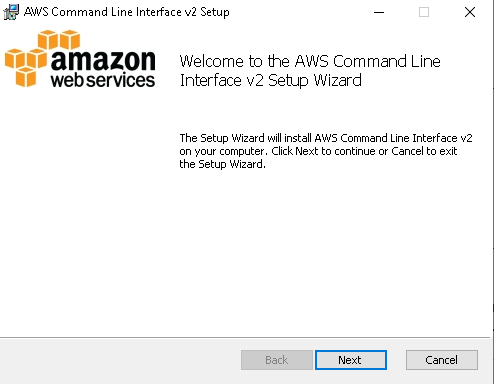
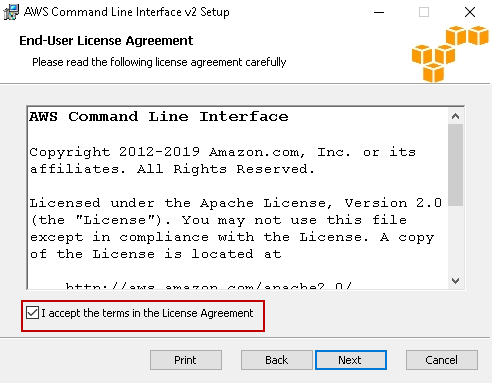
Click Next. Accept the End-User License Agreement. You cannot move forward without accepting this license agreement.
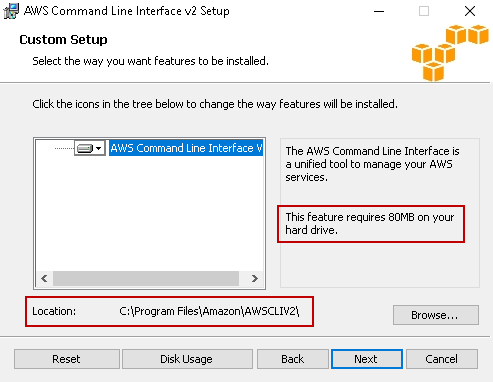
Click Next and choose a directory for the CLI interface installation. By default, it uses C:\Program Files\Amazon\AWSCLIV2 directory for installation. You have a choice to change it however I would recommend letting it be in this default path because it takes only 80MB hard disk space.
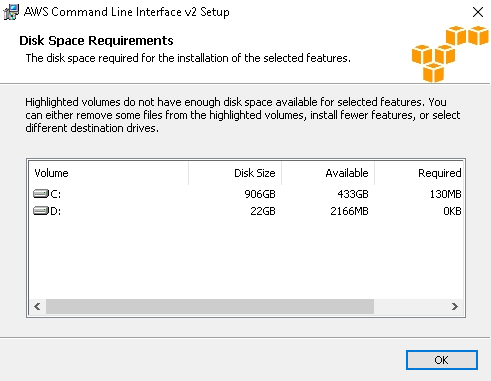
You can click on the Disk Usage tab to check available disk space in the existing drives.
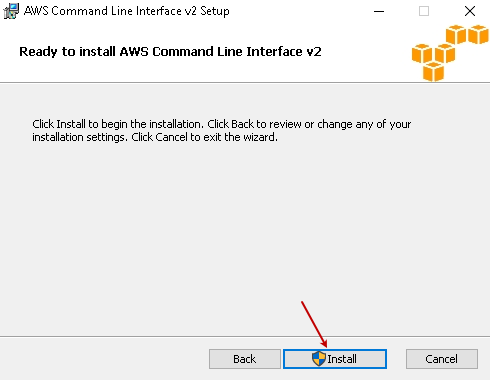
Click OK and give your permission to install AWS CLI version 2 in your system.
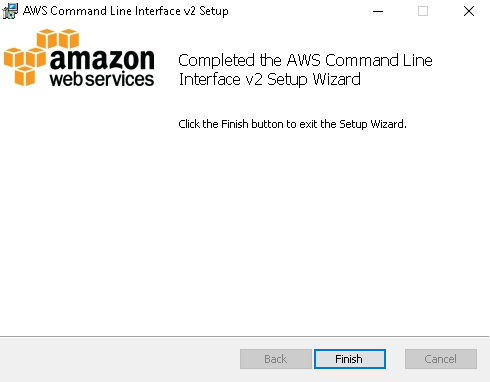
It finishes the installation quickly, and you get the following confirmation page.
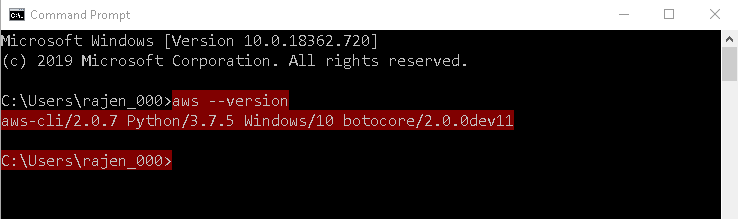
Execute the following query in a command prompt to check AWS version:
|
1 |
>aws –version |
It gives you information about the AWS CLI version along with the Python version installed in this system.
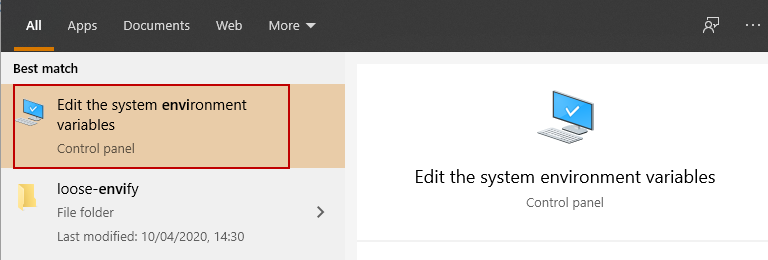
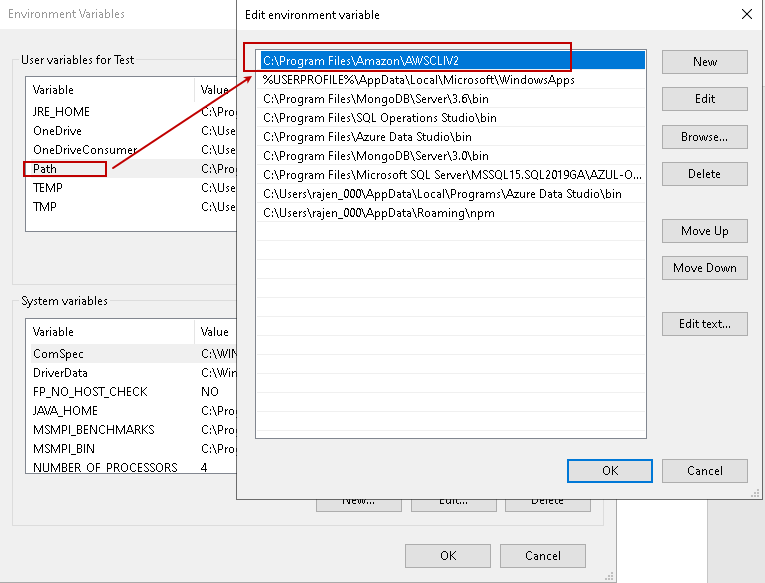
If you specified a custom directory for CLI installation, we also need to make an entry in the environment variables. In the start menu, look for the Edit the system environment variables.
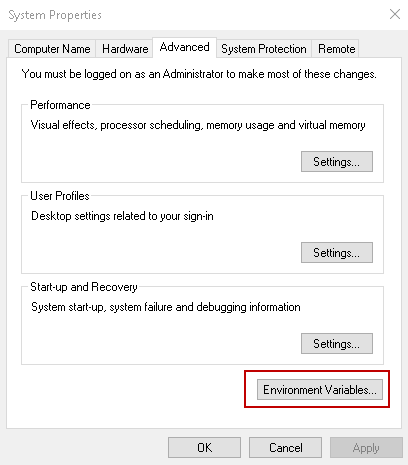
It opens the system properties window. Here click on Environment Variables, as shown below.
In the edit environment variable, Choose PATH, and click on Edit. Add an entry for the CLI path, as shown below.
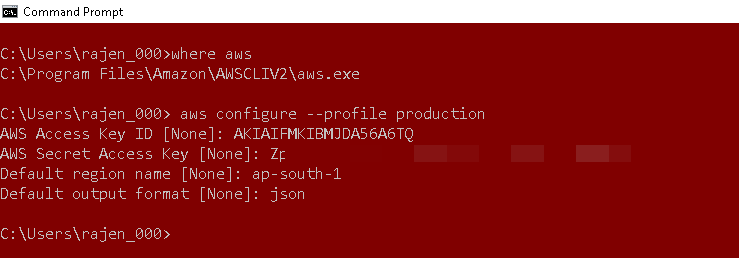
If you forget where you installed AWS, you can run the following command to checks its directory.
|
1 |
>where aws |

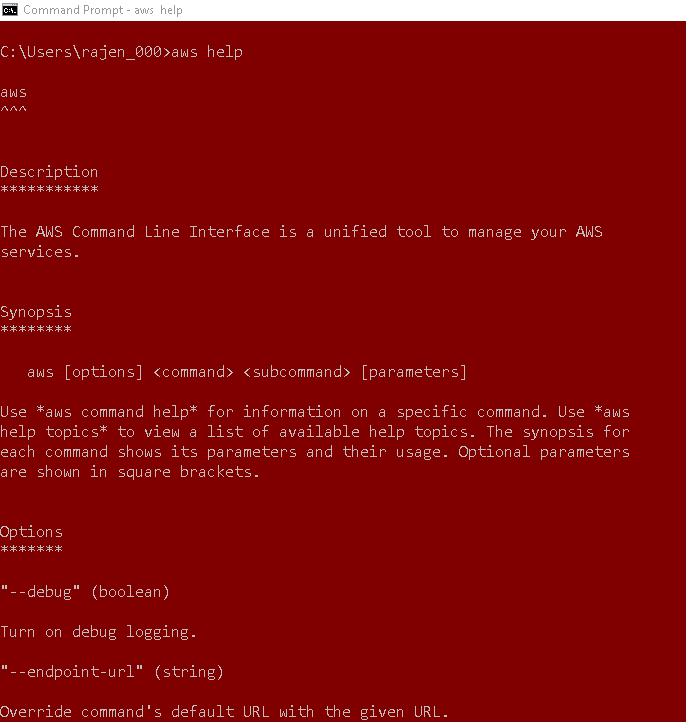
We can also run aws help command to check its brief description, synopsis, and options to use.
Security credentials for AWS account
Once you create an account in the AWS console, it creates a root user. The root user has administrative rights to perform many tasks in AWS. Usually, you should create an IAM user in your AWS account and provide the necessary rights to those users. In this article, I am using the root article for demonstrations because it is a lab setup for AWS.
For the AWS CLI configuration, we require the following arguments.
Access Key and Secret Access Key
To connect with a user (root or IAM), we require login credentials. In AWS, we call it as access key (user) and secret access key (password). It is required to connect AWS using the way such as CLI programmatically.
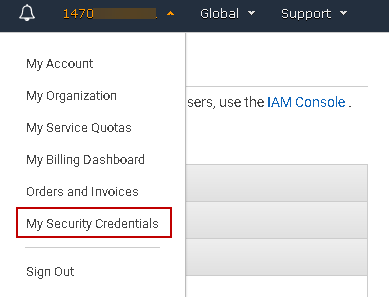
Go to My Security Credentials after login to the AWS console.
It opens the following page that shows various options such as Password, Multi-factor authentication, access keys.
If you already have an access key, it lists the key and its properties.
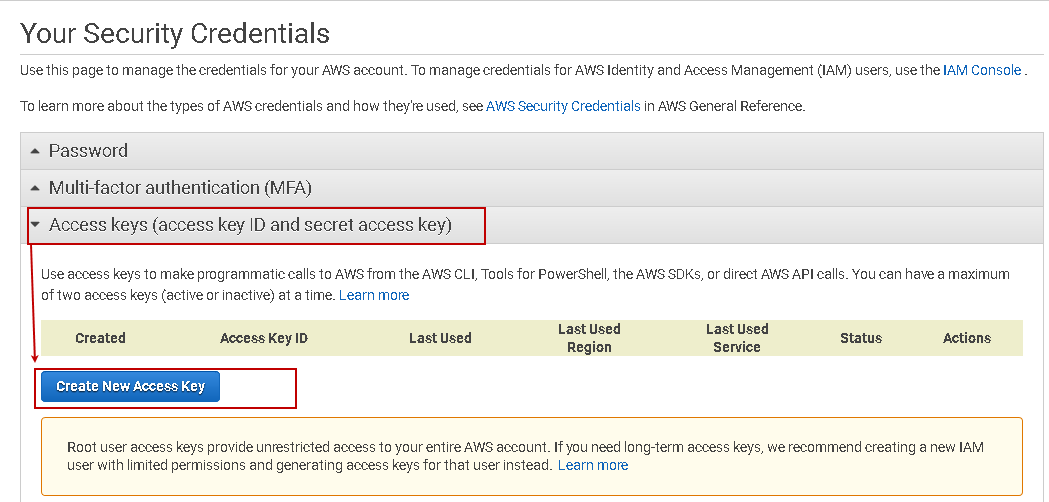
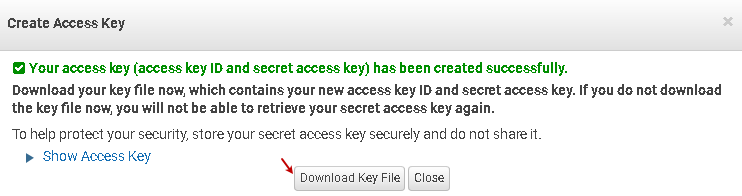
We do not any access keys, so click on Create New Access Key.
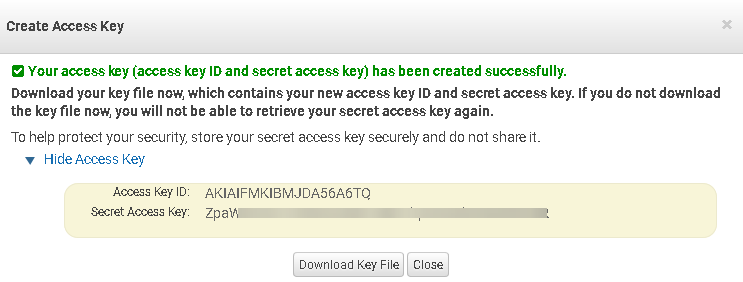
It generates access key ID and secret access key. You can download a CSV file to store it in a secure place. We could not retrieve the same secret access key if you lost it.
We can also use Show Access Key to show both the key and the secret on this page. You can copy these from here as well.
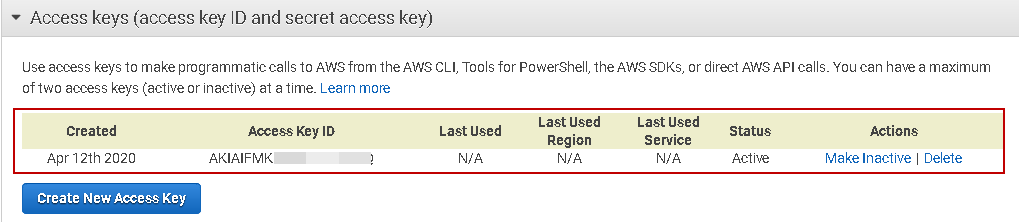
Once you generated an access key, it lists out in the access keys section. You do not have any option here to generate the secret access key (password) of it.
Region
We can specify a default region in CLI to send all requests in that region if we did not specify it explicitly. Usually, we deploy infrastructure resources in a nearby region; however, we can specify any region here. You can refer to Regions and Endpoints to check all available AWS regions. We might have a service currently available in a specific region only; therefore, you should choose it carefully.
Output format:
We need to specify a format for the output of the command. By default, it uses a JSON format for all outputs.
We can choose from the following output formats.
- JSON(JavaScript Object Notation)
- YAML: It is available in AWS CLI version 2 only
- Text
- Table
Configure AWS CLI using the CONFIGURE command
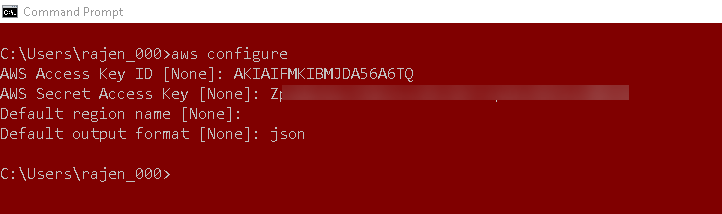
Execute the following command in a command prompt to configure AWS CLI in your environment.
|
1 |
>aws configure |
Enter the Access Key, Secret access key, default region name, and default output format. Here I do not specify a default region, so we need to specify it explicitly while querying AWS services. We have specified the JSON format for output.
It creates two files (Config and Credentials) in a user profile. To open the profile type %userprofile% in Start-> Run.

We can also create multiple profiles in a CLI configuration. In the case of multiple profiles, we need to specify the profile name using the –profile argument.
|
1 |
>aws configure --profile production |
In the default profile, we did not specify the default region name. In this new profile Production, we use ap-south-1 code that refers to Asia Pacific (Mumbai).
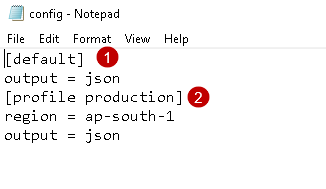
It adds the entry in the files available in the user profile. For example, if you open the config file, it shows both default and user profiles.
Conclusion
In this article, we explored Amazon command-line interface AWS CLI and installed it on the Windows system. I will cover more topics on the CLI in the upcoming articles.

I am the author of the book "DP-300 Administering Relational Database on Microsoft Azure". I published more than 650 technical articles on MSSQLTips, SQLShack, Quest, CodingSight, and SeveralNines.
I am the creator of one of the biggest free online collections of articles on a single topic, with his 50-part series on SQL Server Always On Availability Groups.
Based on my contribution to the SQL Server community, I have been recognized as the prestigious Best Author of the Year continuously in 2019, 2020, and 2021 (2nd Rank) at SQLShack and the MSSQLTIPS champions award in 2020.
Personal Blog: https://www.dbblogger.com
I am always interested in new challenges so if you need consulting help, reach me at rajendra.gupta16@gmail.com
View all posts by Rajendra Gupta
- Understanding PostgreSQL SUBSTRING function - September 21, 2024
- How to install PostgreSQL on Ubuntu - July 13, 2023
- How to use the CROSSTAB function in PostgreSQL - February 17, 2023