

Introduction
I have seen many organizations receive data from various sources and import into SQL Server. You might receive data in various formats and want to import into SQL Server. We can prepare a ETL (Extract-Transform-Load) process to import data into the SQL Server. In doing so, might receive data in a compressed file, which helps to send data over the network using a ZIP file format because it reduces the file size significantly. If we are receiving a ZIP file to import into SQL Server, we need to unzip it and then only we can import data. We might need to create a ZIP file as well from the existing files.
Overview
In this article, we will first look out the following tasks
- Prepare a compressed file using an SSIS package
- Unzip files using SSIS package
- Import data into SQL Server tables using a ZIP file
Step-by-step
We have the following excel file, and we want to ZIP the file using the SSIS package.

We need to do the following steps to ZIP this file:
We need to open Visual Studio 2017 with SQL Server Data Tools to prepare the SSIS package. If we do have it installed, you can go to Install SSDT with Visual Studio 2017 and download required setup files. We need to install SQL Server Integration Services feature during the installation.

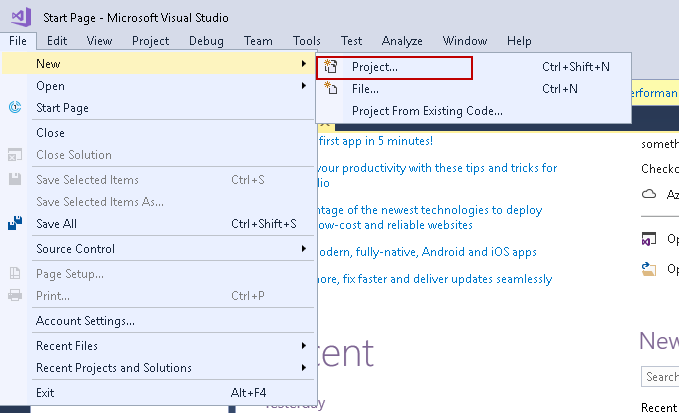
In Visual Studio 2017, go to File -> New -> Project.
It opens the new project wizard. In Business Intelligence templates, click on Integration Services and Integration Service Project.
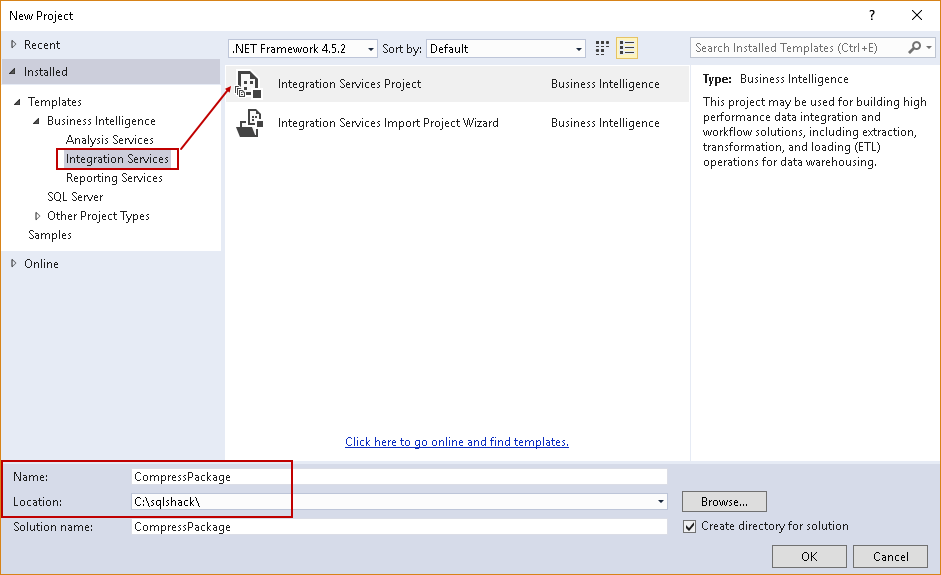
As shown in the image above, we can provide the SSIS package name and location to create the SSIS package solution. It creates a solution in the directory.

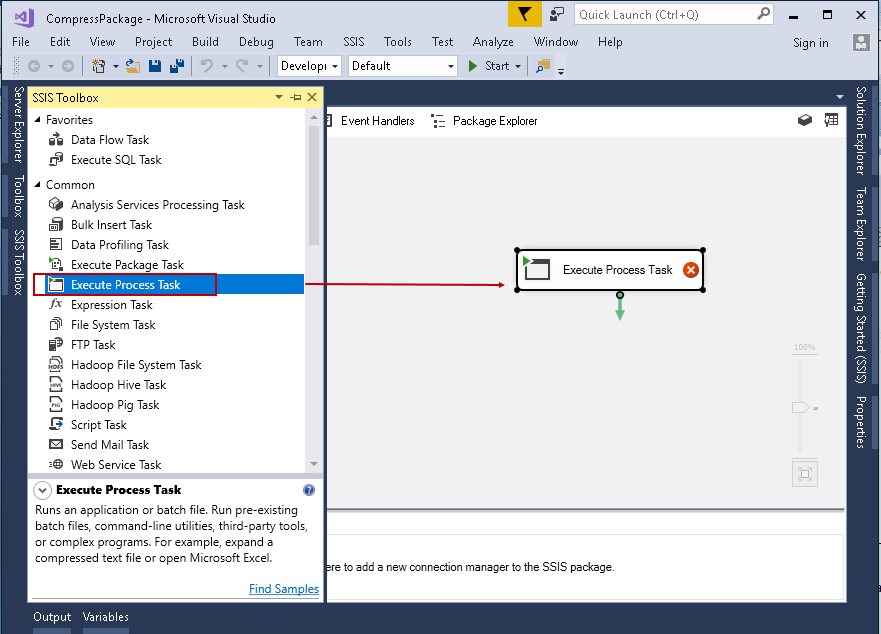
In the Control Flow, drag Execute Process Task in SSIS configuration.
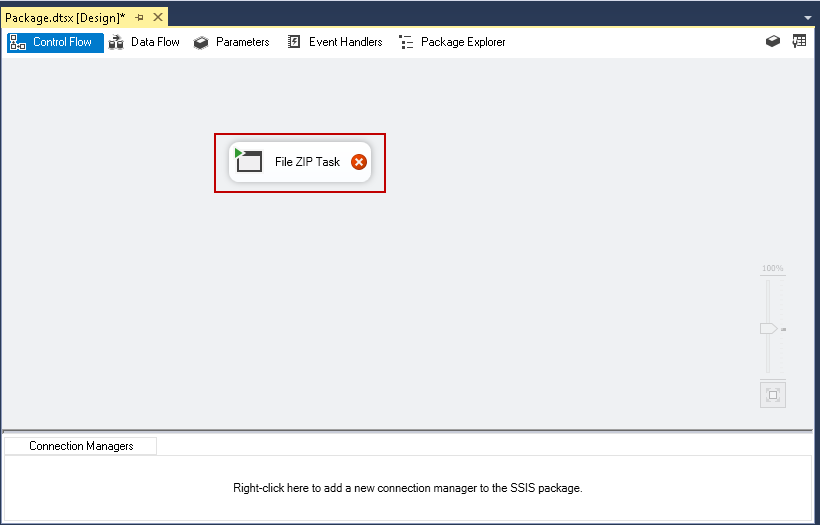
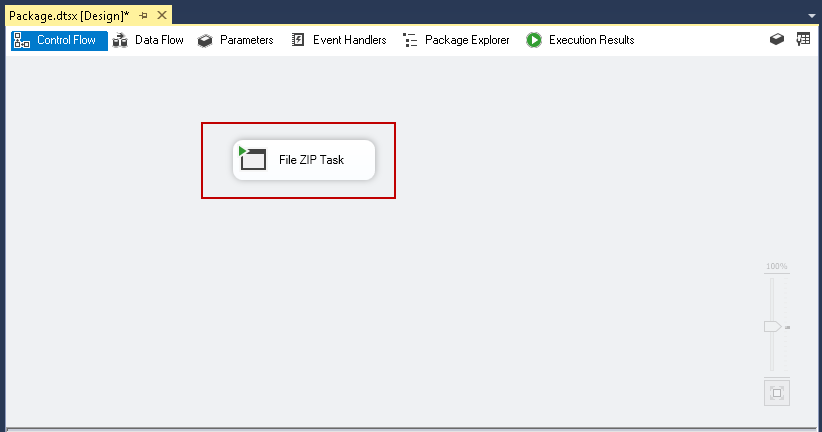
Right click on the Execute Process Task and Rename it to File ZIP Task.
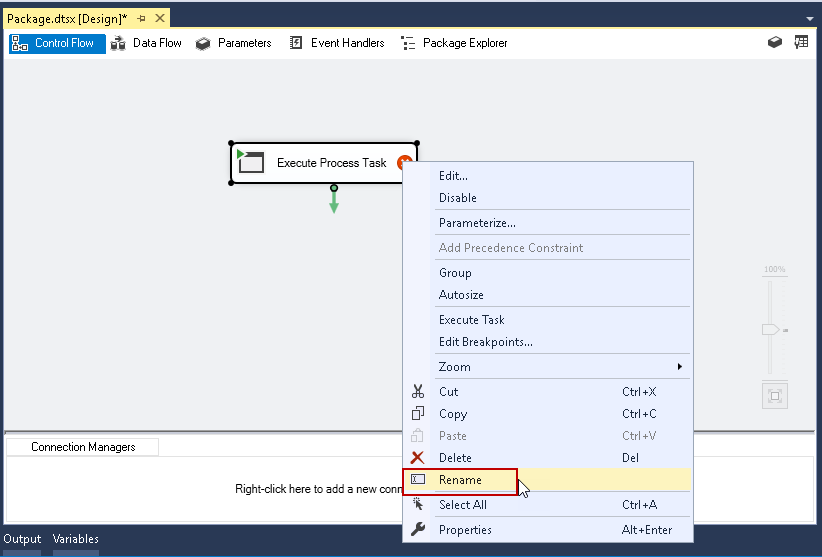
We can see renamed task in the following image.
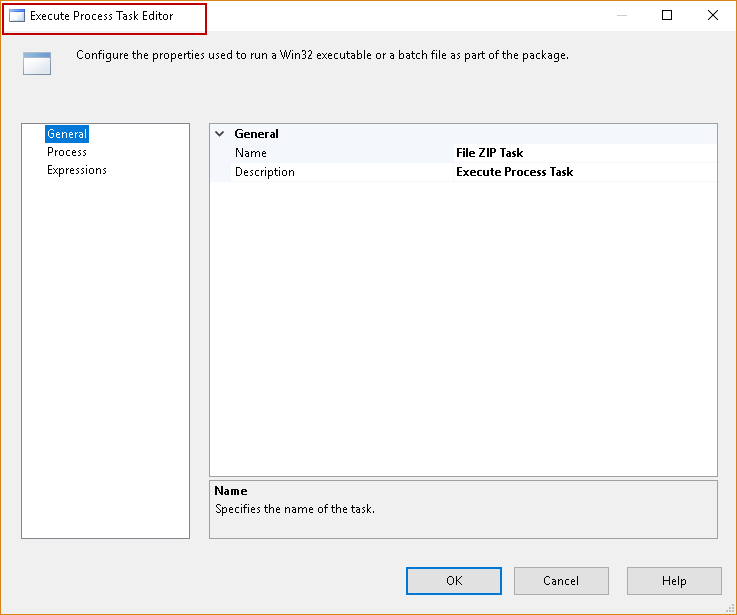
It opens the Execute Process Task Editor.
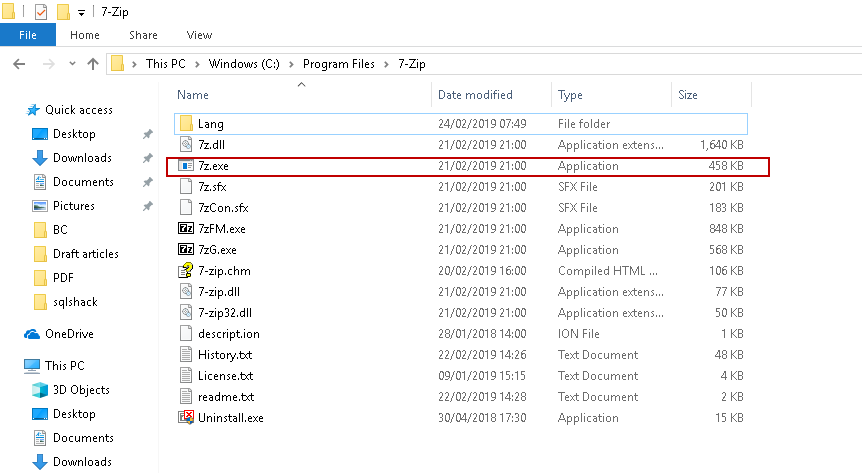
In this article, we are going to use the open source tool with compression to prepare the compressed files into the .7z extension. It is available with the Windows by default. You can find this utility in C:\Program Files\7-Zip directory.
In the Execute Process Task Editor, click on Process.
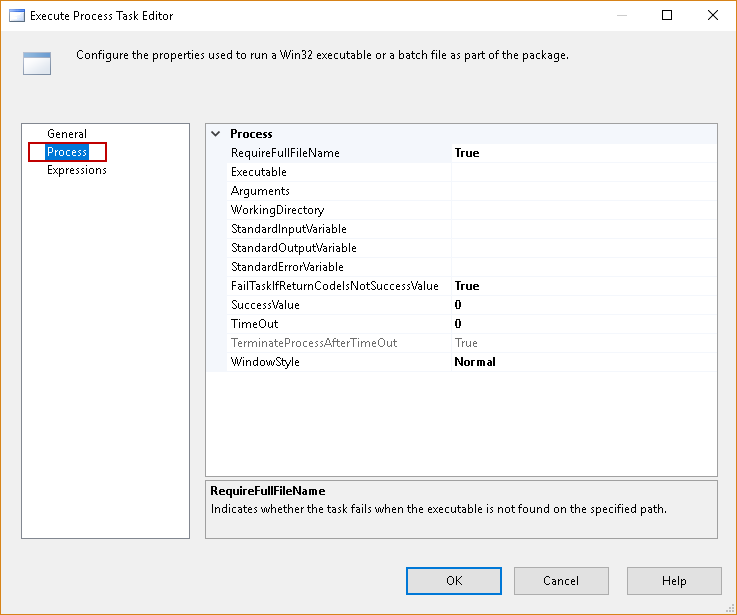
In the Executable, we need to specify the path for the 7z.exe. You can browse to the directory or paste the complete path here as shown in the following image.

In the Arguments, we need to type following command.
a -t7z “C:\sqlshack\Draft articles\Data\Inventory.zip” “C:\sqlshack\Draft articles\Data\Inventory.xlsx”
Let me explain these arguments.
- A – This argument specifies a file to add to the archive
- t7z – It specifies the archive type. In this article, we want to create a t7z archive file
- Destination zip filename and directory: In the next argument, specify the ZIP file name along with the absolute path that we want to create
- Source file path and file name: In the last argument, we need to specify the absolute file path for the file we want to ZIP
In the Working directory, we can specify the directory for 7z executable file.

Click OK, and We can see that File ZIP Task is ready to execute.
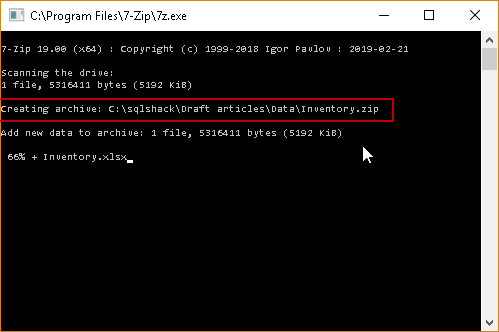
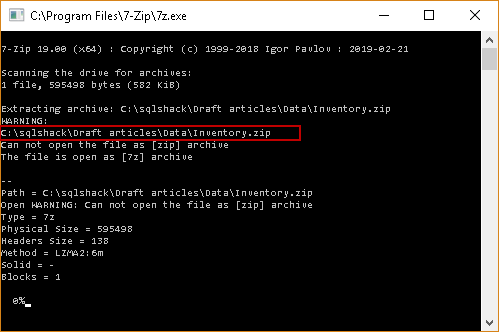
Press F5 or click on the Start to run this File ZIP Task. It opens a command prompt with the 7z.exe compression utility. You can see the ZIP file progress status as well in this command prompt. You might not notice this command prompt if file size is small.
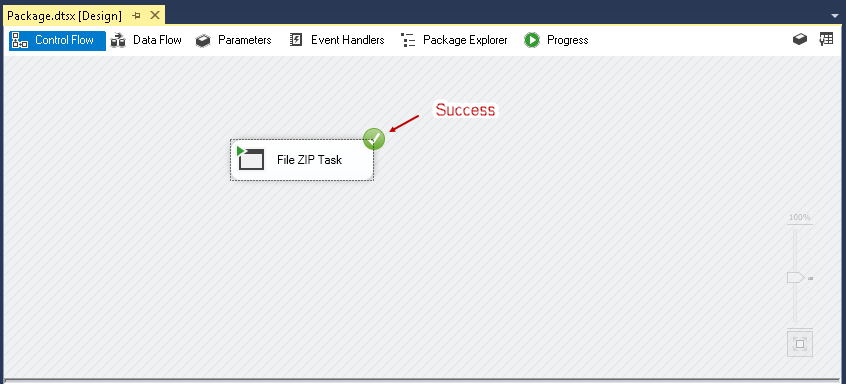
We can see a green tick icon on File Zip Task once it is successfully executed.
Click on Progress, and you can see progress message of the File ZIP task.

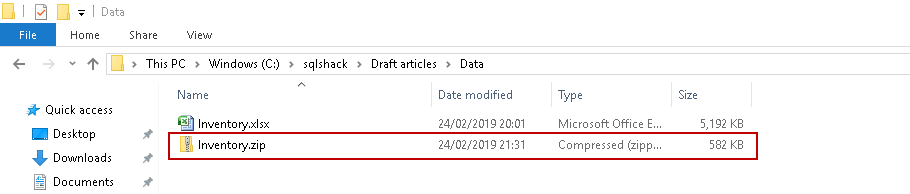
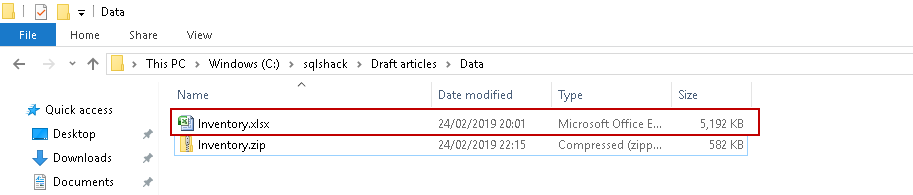
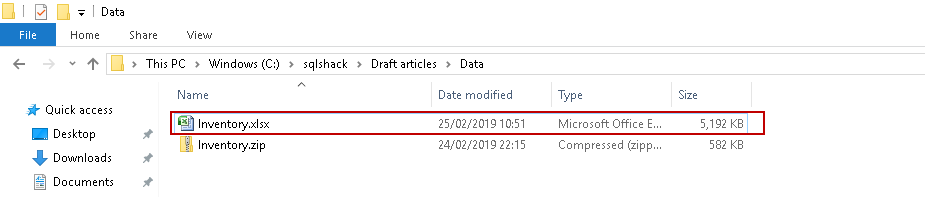
Now let us go to the destination path that we specified in argument. In the following image, you can see Inventory.zip file for the excel file. You can notice the size difference as well.
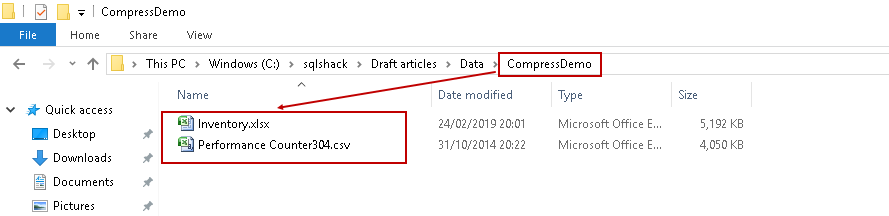
- Microsoft Excel file size: 5,192 KB (Without compression)
- Compressed files size: 582 KB
Now let us place two files in the same folder.

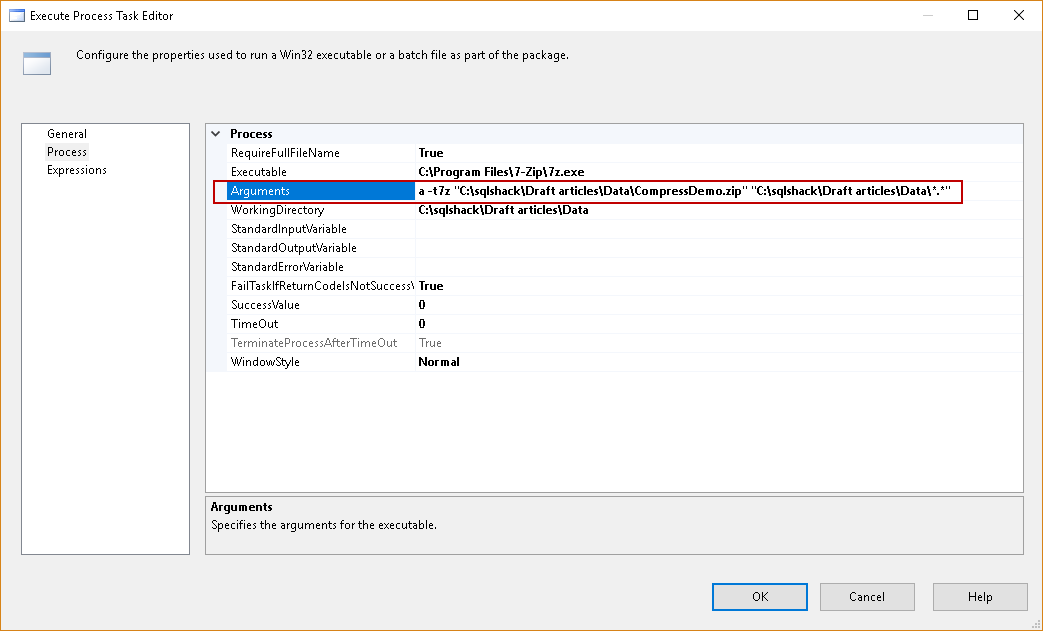
We want to create a ZIP file containing both the files in it. We do not need to create two ZIP task in the SSIS package. Open the File Zip Task in the SSIS package we created earlier. We can specify the below argument. In this argument, we specified the source file paths ‘C:\sqlshack\Draft articles\Data\*.*”‘ . It takes all the files in the source path and zips them into a single file.
a -t7z “C:\sqlshack\Draft articles\Data\CompressDemo.zip” “C:\sqlshack\Draft articles\Data\*.*”
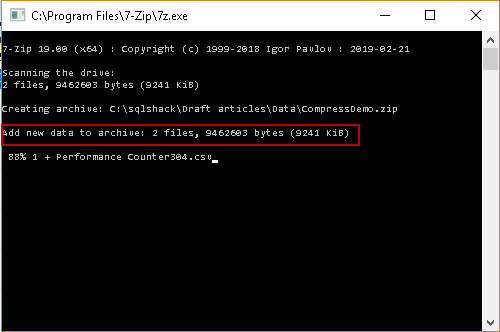
Now execute the package again. In the command prompt window, we can see it is adding 2 files into an archive.
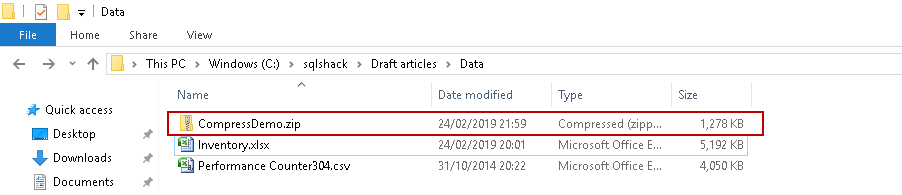
Let us go to the destination path, and you can see a single compressed file.
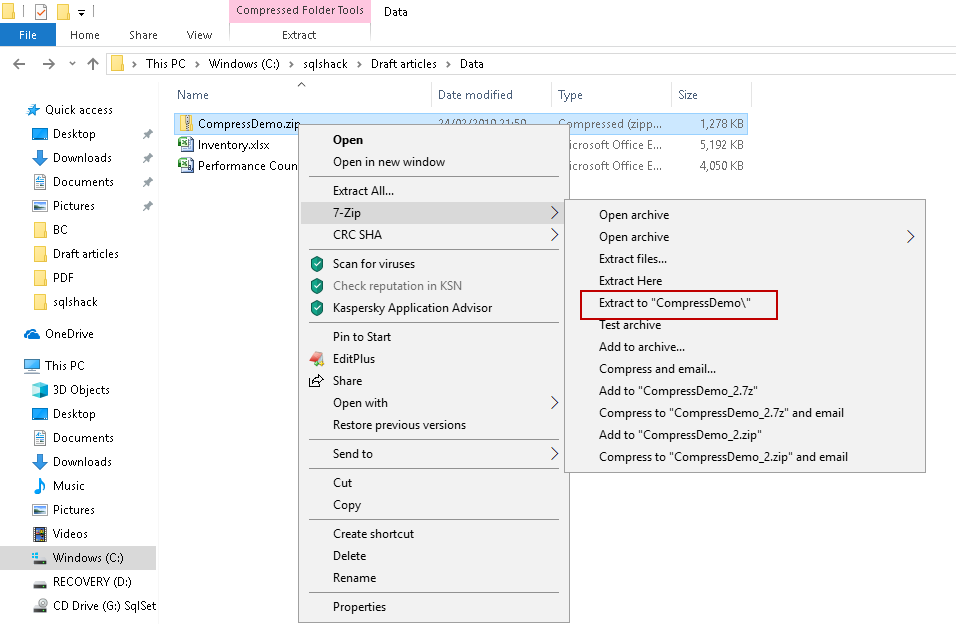
For the verification purpose, right click on the compressed ZIP file and extract the file using the option Extract to ‘CompressDemo\’
We can see both the files in the extracted file as shown below.
Extract files using the SSIS Package
We have explored the process to create a compressed file using a SSIS package. Suppose we received a ZIP file to import into SQL Server table. This ZIP file contains an Excel file. We cannot import data from a ZIP file directly into SQL Server. We need to extract the file first and then import the excel file into SQL Server and extract the files into a different folder using the SSIS package only.
We have the following ZIP file into our source path.

Now let us create the SSIS package into two steps.
- Unzip the file
- Import the file into the SQL Server.
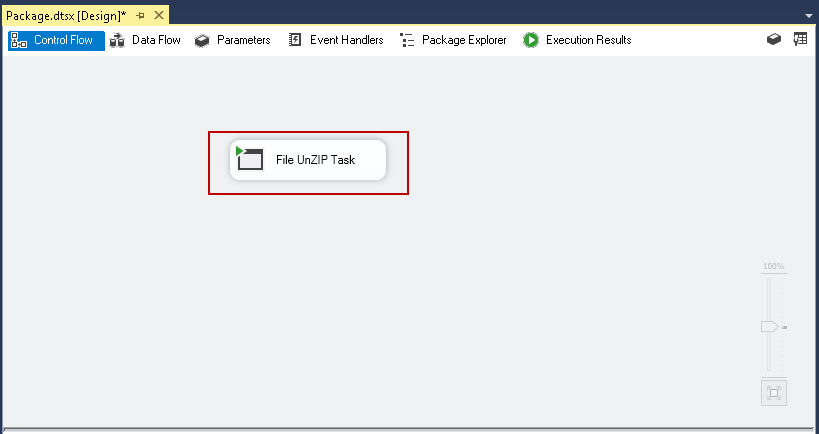
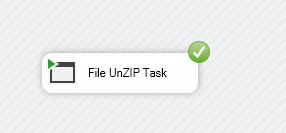
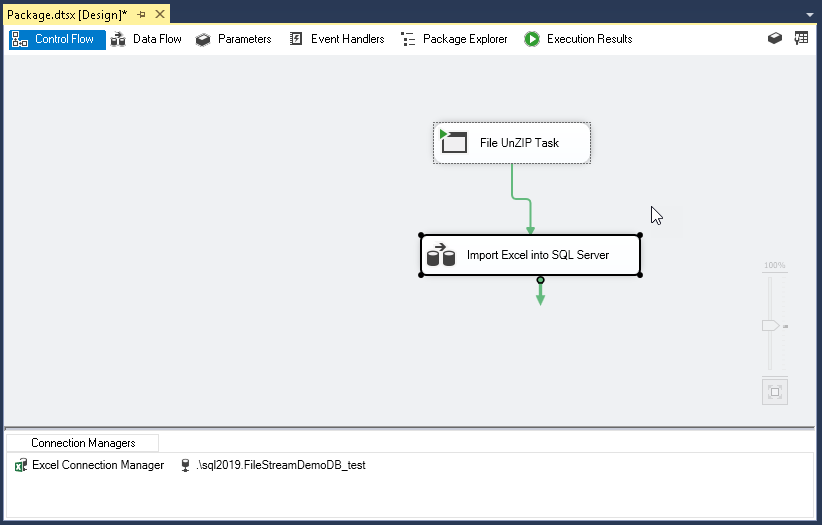
We can unzip a file using the execute process task. Rename the execute process task as File Unzip Task.
Double click on File Unzip Task and in the argument, we need to specify the argument for extract the ZIP file.
e “C:\sqlshack\Draft articles\Data\Inventory.zip”
In this argument, e instructs to extract the files.
It extracts files in the working directory folder. Let us execute this task to see if Unzip is working fine or not. It unzips the files very quickly. You might not notice the extract process since it completes in a fraction of second. It might take longer if the compressed file size is enormous.
In the Visual Studio, we can see that File Unzip task is also completed successfully.
Let go to the working directory folder, and as per the following screenshot, we can see the extracted file is present here.
Import compressed file data into SQL Server
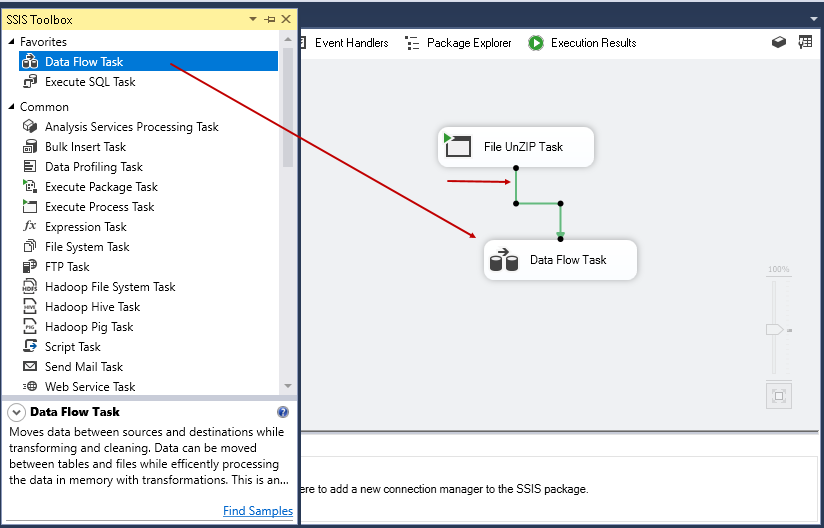
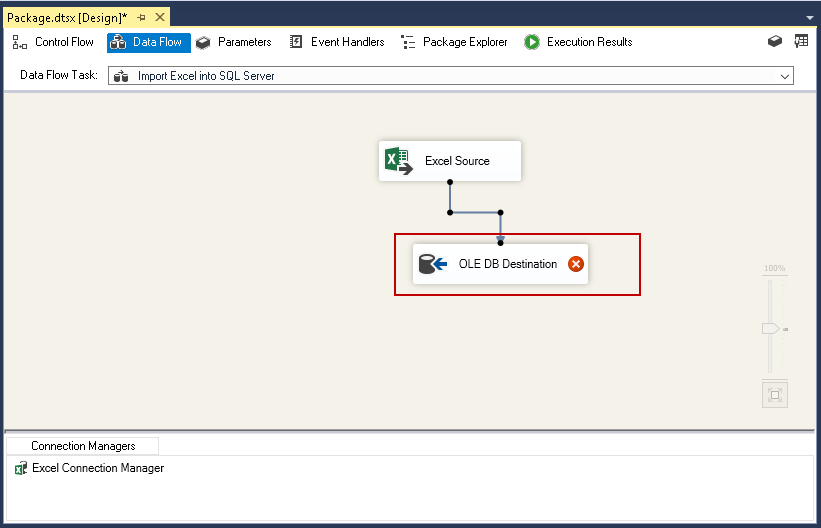
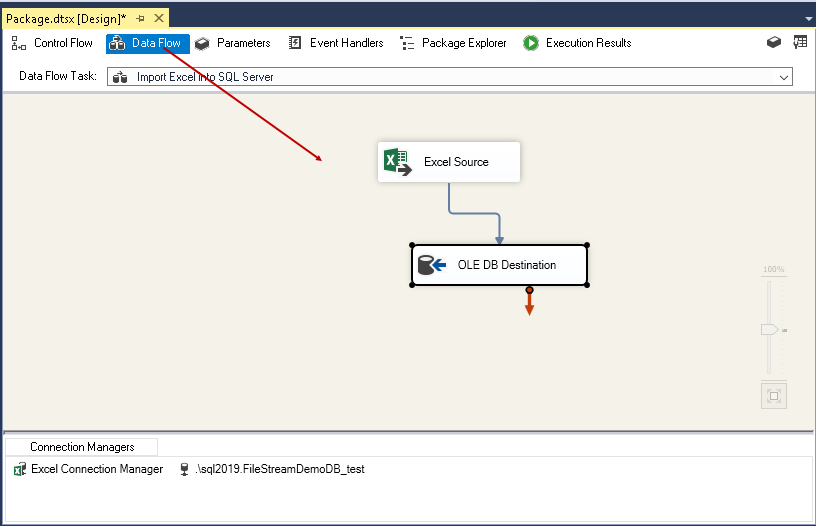
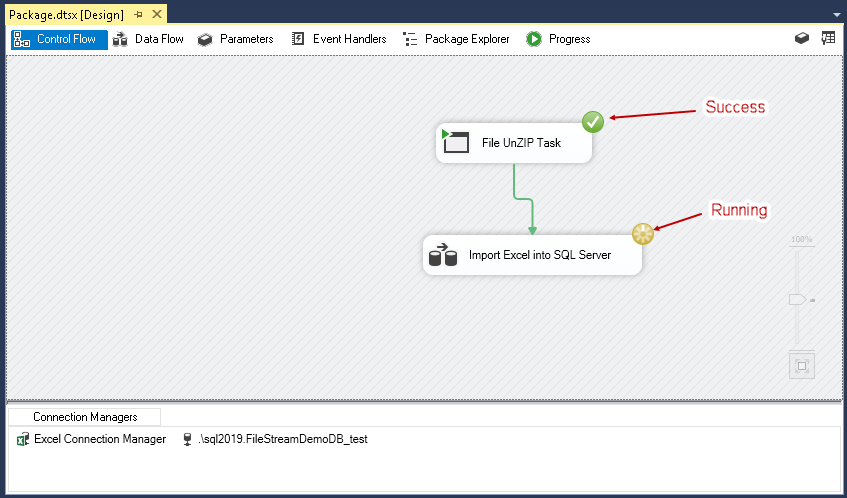
We want to load data from ZIP file into SQL Server table, therefore, add a Data Flow Task and connect it with the File Unzip Task.
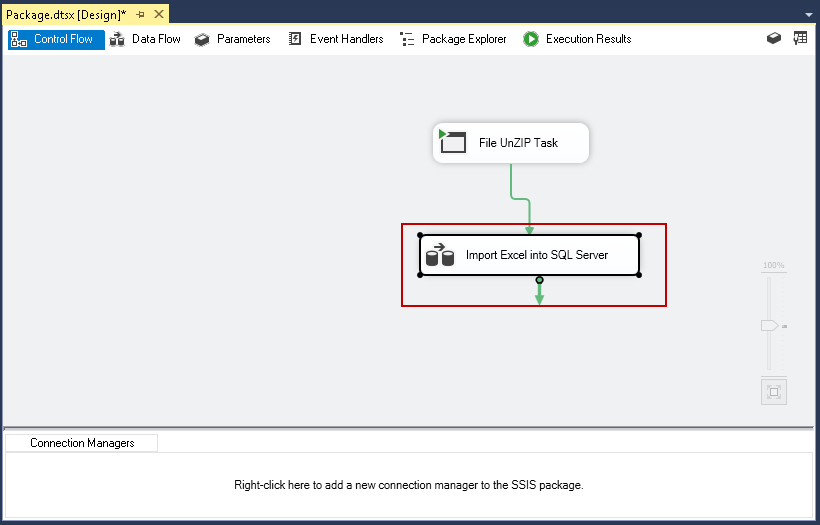
Rename Data Flow Task to Import Excel into SQL Server.
Double click on the Import Excel into SQL Server. It opens data flow page in which we need to define the source and destination connections.
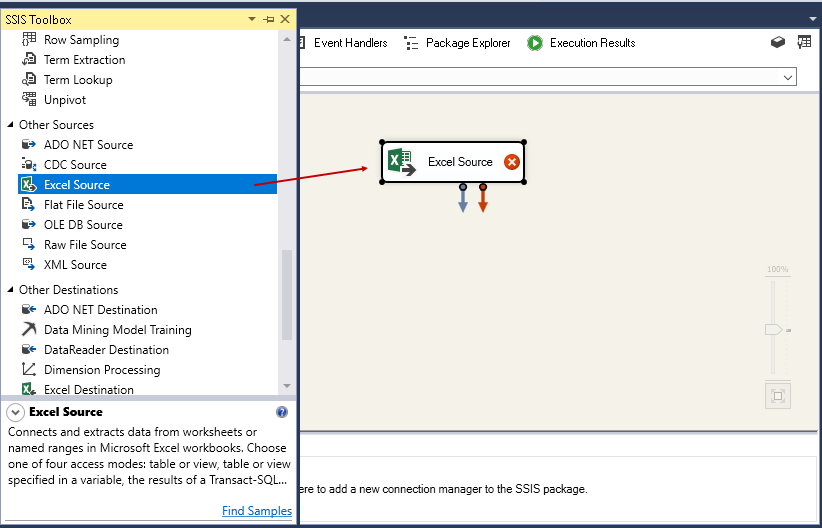
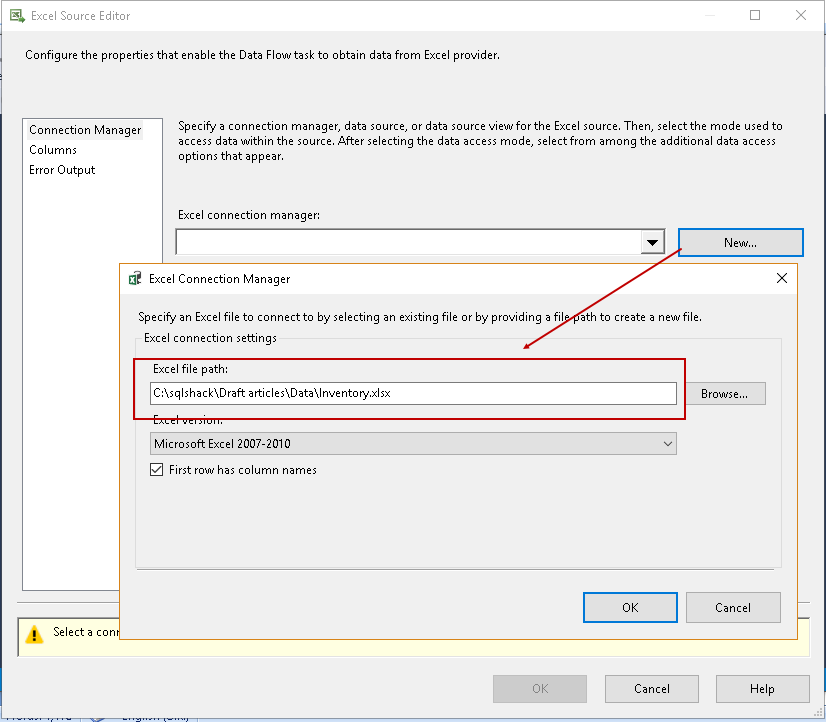
In the Excel Source, specify the excel file path. This path should be the working directory in Unzip File Task.
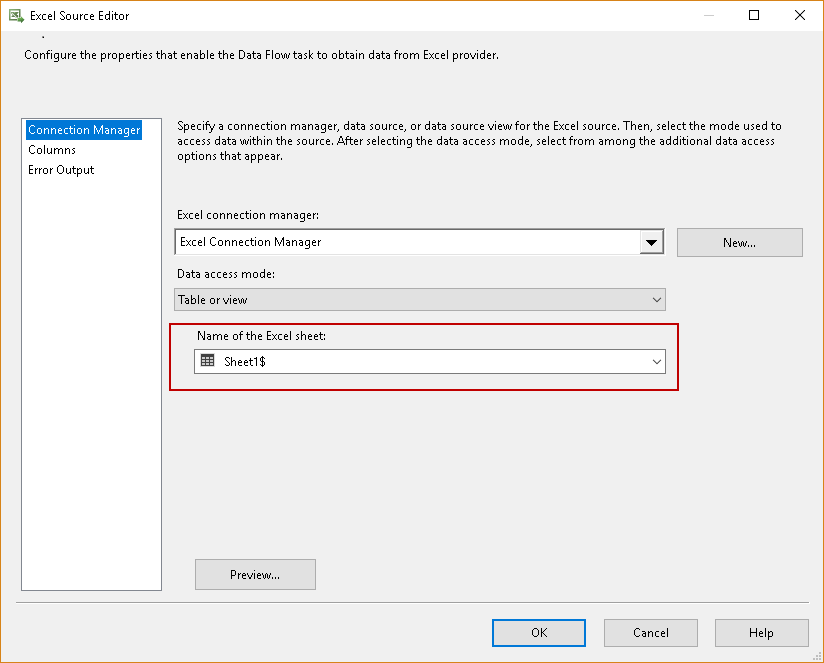
Click Ok and specify the sheet name.
We can view these columns from the right side menu option Columns.
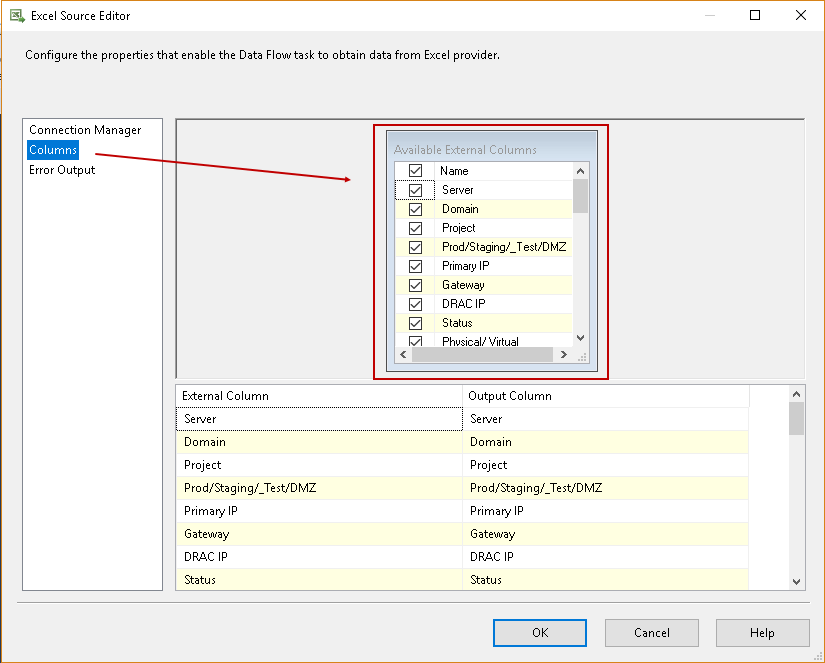
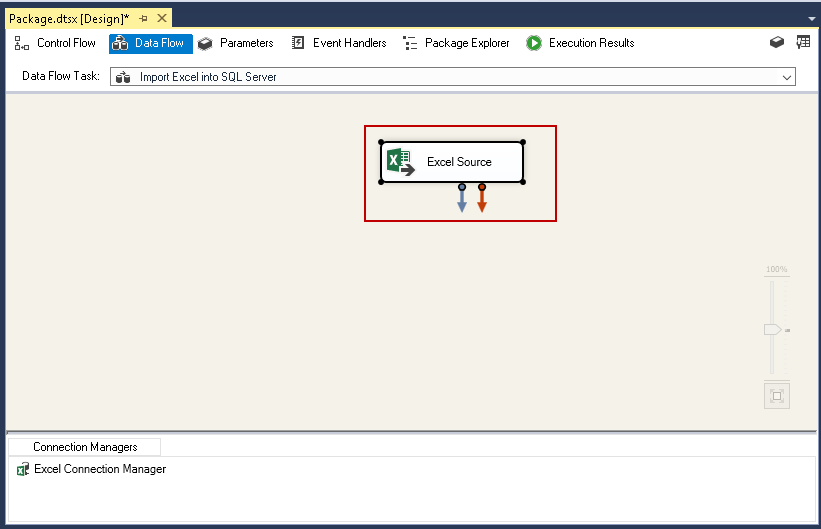
Click Ok, and we can see Excel source in the following image.
Now add an OLE DB destination and connect it to the Excel Source.
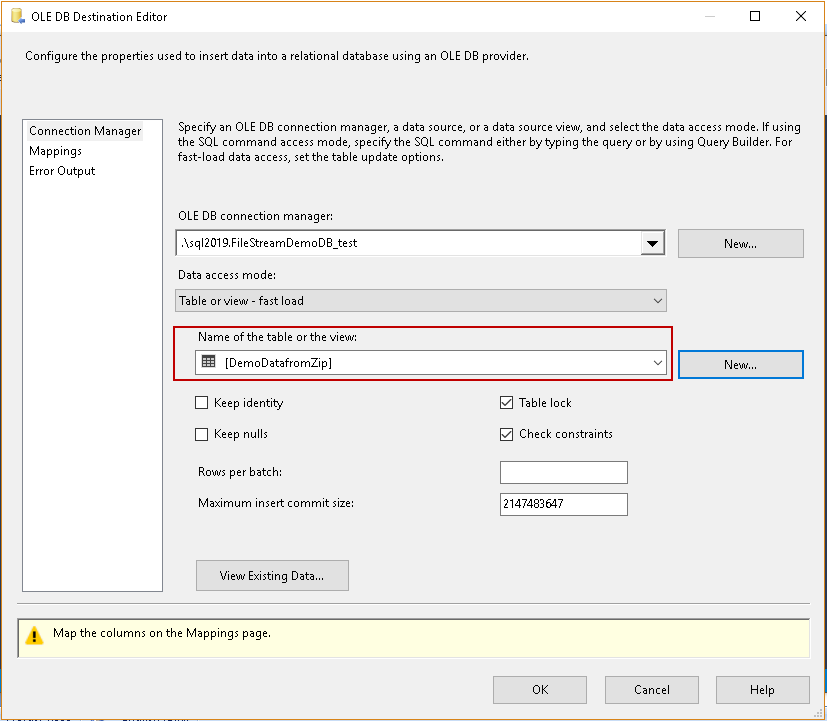
We need to configure the OLE DB Destination now. Double click on this destination and we need to specify the OLE DB connection manager. If we do not have the existing connection, click on New and specify the destination connection manager.
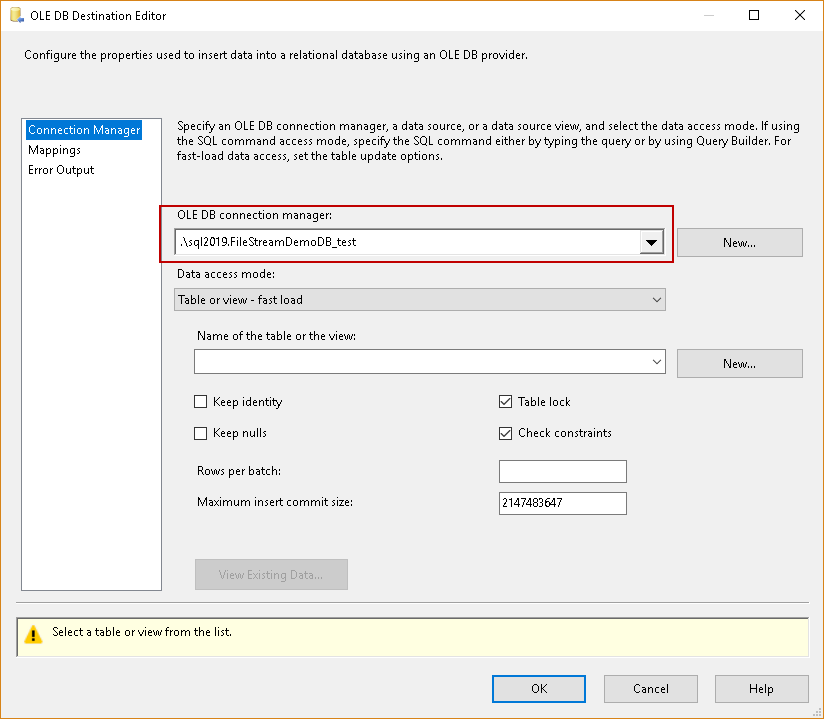
If we have a table already present, we can select table from the drop-down list. If destination table does not exist, click on New in front of Name of the table or the view. It automatically shows script to create the destination table with valid data types.
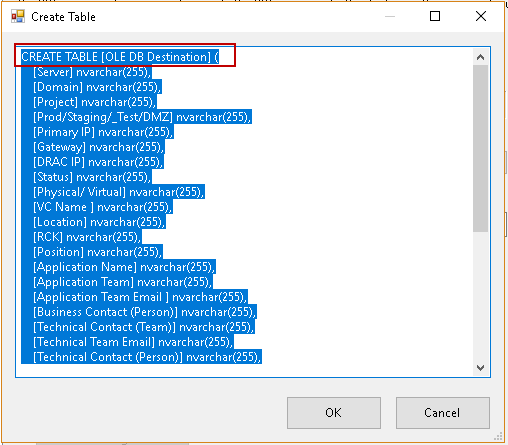
Specify table name as per the requirement.
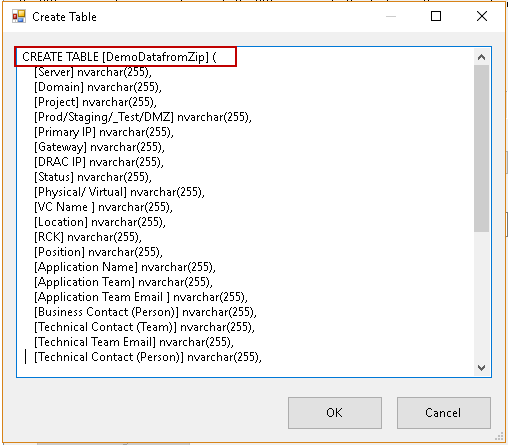
Click OK, and we can see that table as highlighted in the following screenshot.
Now click on Mappings to do the mapping between source and destination. It automatically creates mapping; however, we can change mapping if required.
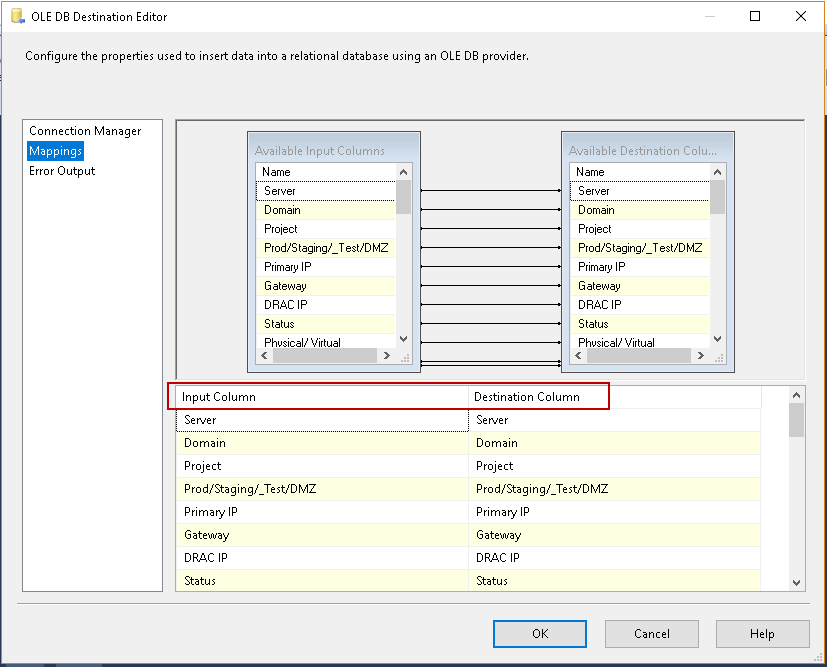
Click OK, and we can see the configured data flow task.
Save the package and verify that the source folder contains the ZIP file.

We can see the below configured to Control Flow task.
Let us execute this package now. We can track each task status in Visual Studio.
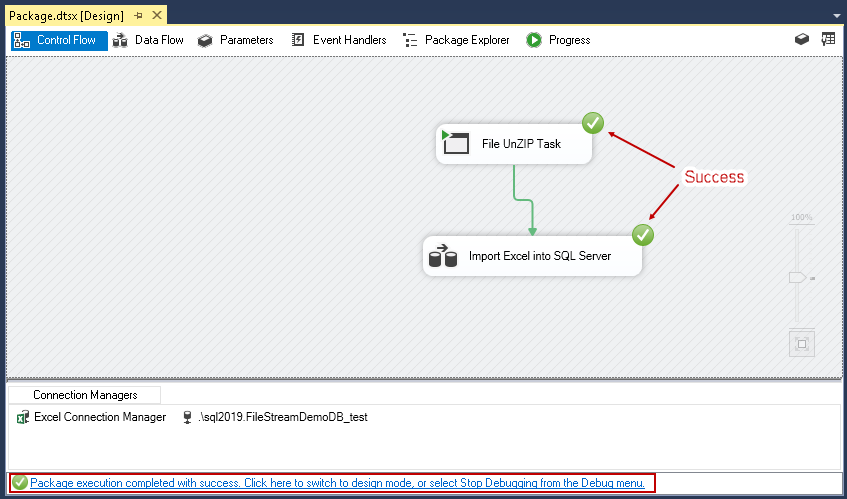
We can see that FileUnZip Task is completed successfully. We can verify this from the working directory. We have the unzipped file as shown in the following image.
We can see that the package is executed successfully.
Let us go to the SQL Server table in which we imported data from a compressed excel file.
|
1 2 |
SELECT count(*) as NumberofRecords FROM [FileStreamDemoDB_test].[dbo].[DemoDatafromZip] |
In the following screenshot, we can see that the number of records is 1046801. It shows that we have successfully imported data using the compressed excel file into the SQL Server table.

Conclusion
In this article, we explored the way to import data from a compressed file into SQL Server tables. It provides us with flexibility, avoids manual task for unzipping the file, and then imports it. In the next article, we will explore the use of Python for importing ZIP file data into SQL Server.
Table of contents
| Using Python SQL scripts for Importing Data from Compressed files |
| Importing Data into SQL Server from Compressed Files |

I am the author of the book "DP-300 Administering Relational Database on Microsoft Azure". I published more than 650 technical articles on MSSQLTips, SQLShack, Quest, CodingSight, and SeveralNines.
I am the creator of one of the biggest free online collections of articles on a single topic, with his 50-part series on SQL Server Always On Availability Groups.
Based on my contribution to the SQL Server community, I have been recognized as the prestigious Best Author of the Year continuously in 2019, 2020, and 2021 (2nd Rank) at SQLShack and the MSSQLTIPS champions award in 2020.
Personal Blog: https://www.dbblogger.com
I am always interested in new challenges so if you need consulting help, reach me at rajendra.gupta16@gmail.com
View all posts by Rajendra Gupta
- Understanding PostgreSQL SUBSTRING function - September 21, 2024
- How to install PostgreSQL on Ubuntu - July 13, 2023
- How to use the CROSSTAB function in PostgreSQL - February 17, 2023