This article deploys a new AWS RDS SQL Server using the AWS CLI command: create-db-instance.
Introduction
Amazon Web Services (AWS) gives a managed database service RDS for Microsoft SQL Server. Previously, we deployed the RDS instance using the AWS console. Suppose you deploy RDS instance frequently, it might be cumbersome for you to go through console RDS wizard, choose required options and deploy it. We can stop RDS service when it is not being used, but it can be stopped for a maximum of seven days. RDS automatically starts the RDS instance for maintenance purposes. In this case, you can create the lambda function to start and stop SQL instances automatically.
In my case, usually, I drop RDS instance after preparing a demo for my article. You can also terminate an RDS instance after completing your testing. In this case, it is a wise decision to use AWS CLI scripts and configure your instances.
The following articles can be helpful in understanding RDS SQL Server:
- Launching a new database instance using the AWS Web Console
- AWS RDS – SQL Server Administration
- How to stop an AWS RDS SQL Server using a web console and AWS CLI
- Automatically Start/Stop an AWS RDS SQL Server using AWS Lambda functions
In this article, we will deploy an AWS RDS SQL Server using the AWS CLI script.
Pre-requisites
- Install the AWS CLI version 2 and configure the CLI profile: You should install CLI version 2 in your local system or the EC2 instance. You can refer to this article Learn AWS CLI: An Overview of AWS CLI (AWS Command Line Interface) for it.
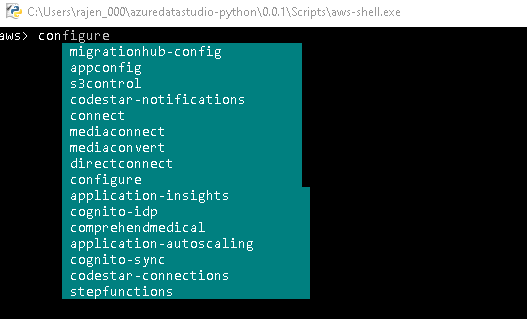
- We use the Windows command prompt in Windows OS to execute CLI queries. You can also use AWS Shell to write the CLI queries interactively. You can refer to the AWS blog for more details on the AWS Shell console.
Using the AWS CLI to deploy an AWS RDS SQL Server
We will use the CLI command create-db-instance to deploy RDS instances. We can deploy all supported RDS databases using this command. I will go through the option in AWS Web console and its similar argument in the CLI create-db-instance command.
Engine options
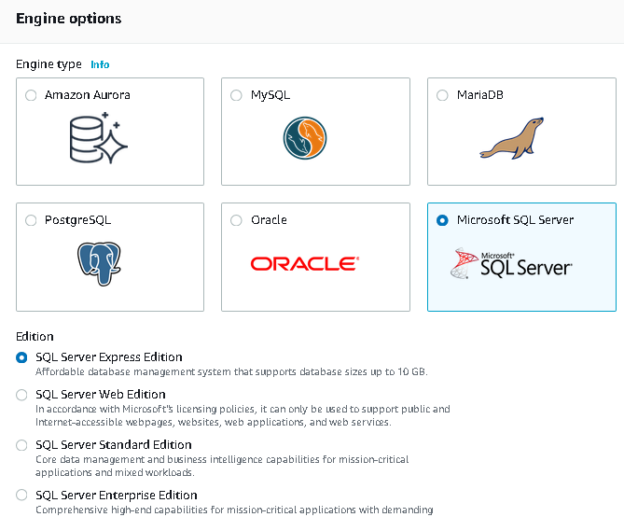
In the AWS console RDS wizard, you need to select the engine type and its corresponding edition. For SQL Server, we have the following supported editions.
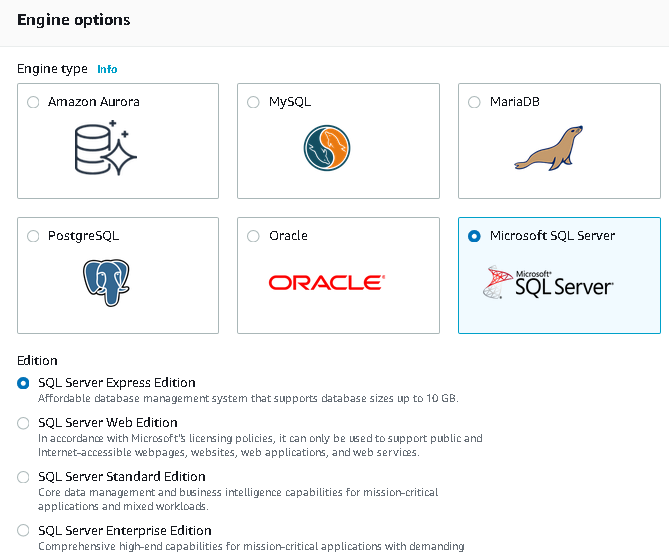
In the below table, we can see the CLI argument for the SQL Server edition. For example, if we want to create a new RDS instance for SQL Server express edition, we specify sqlserver-ex.
|
CLI argument |
SQL Server edition |
Equivalent CLI option |
|
Engine |
Express edition |
sqlserver-ex |
|
Web edition |
sqlserver-web |
|
|
Standard edition |
sqlserver-se |
|
|
Enterprise edition |
sqlserver-ee |
Version
AWS RDS supports different SQL Server versions from 2012 to 2017 along with different levels. You need to specify which version you require in the new AWS RDS SQL Server. We need to select the version depending upon the features. We also need to consider that RDS does not support all SQL Server features. Features such as Data Quality Services, log shipping, file table, maintenance plans are not supported.
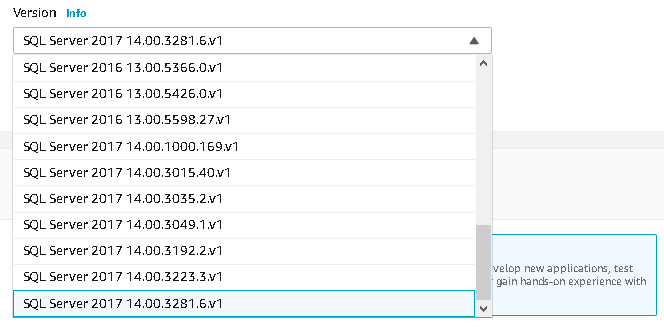
For my demonstration, I choose SQL Server version 14.00.3281.6.v1. In the CLI, we need to specify the version in the format as 14.00.3281.6.v1.
You can refer to SQL Server Versions Supported in RDS for a complete list of supported SQL versions and their similar RDS argument.
DB instance identifier
It is the name for your DB instance. It is a unique name for all databases in the AWS account.
- Its name must contain a minimum of 1 and a maximum of 63 letters, numbers or hyphens
- Its first character must be a letter
- You cannot use two consecutive hyphens
- The instance name must not end with a hyphen

In the CLI command, we will use argument –db-instance-identifier along with DB instance name.
DB credentials
We need a master username and password for the RDS instance. By default, RDS uses the admin username. This admin user has the maximum permissions for your instance. In the web console, you specify these details in the credential settings page.
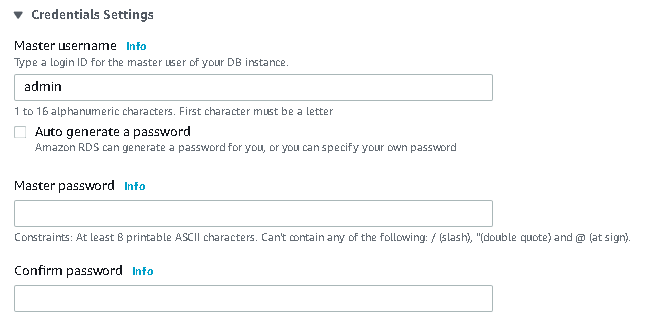
In the AWS CLI, we specify the following arguments.
- –master-username: Specify the master username
- –master-user-password: Specify the password for the admin user
DB instance size
It is the CPU and memory capacity for your RDS server. AWS provides various DB instance class depending upon the CPU and memory configurations. Your AWS RDS SQL Server cost also varies depending upon the instance class you have selected.

We can use argument –db-instance-class in the CLI command to specify the DB instance class. For a free-tier account, we can use db.t2.micro having 1 vCPU and 1 GiB memory. I will specify value db.t2.micro for the –db-instance-class argument. You can refer to AWS docs to understand all Available DB Instance Classes.
Storage type and size
AWS RDS SQL Server supports two storage types.
- General-purpose (SSD): It is useful for most of the workloads and provides up to 3000 IOPS. It is default storage provided for RDS and is cost-effective storage
- Provisioned storage (SSD): it is suitable for IO intensive workloads
We can use a maximum of 16TiB of storage in any of the storage classes specified above. It uses a minimum of 20GiB of storage.
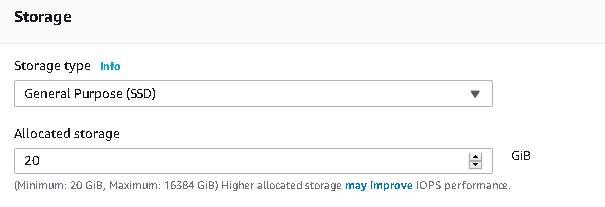
In the CLI command, we use the following arguments for storage class and size.
- –storage-type: specify Standard or GP2 for storage class
- –allocated-storage: specify your storage size as per your database size. We specify the size in GiB unit
Virtual Private Cloud (VPC)
VPC is a networking component of the AWS. It is a crucial parameter while creating the RDS instance. In the below screenshot, we can see the default VPC for the new RDS instance.
- Note: We cannot modify VPC after a database is created in AWS
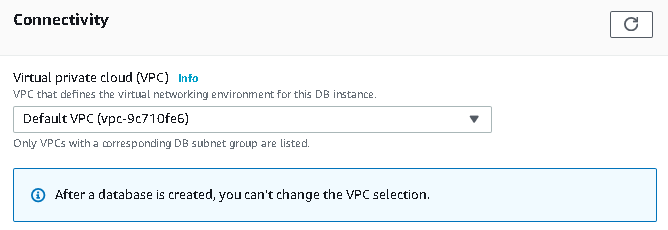
We will use argument –vpc-security-group-ids for the RDS instance VPC.
Subnet group
Each VPC is associated with the subnet group. Specify the subnet group for your RDS instance using CLI argument –db-subnet-group-name

Publicly Accessible
By default, AWS RDS SQL Server allows connection to your database from the Amazon EC2 and other services inside your VPC. We can allow connections from outside VPC to allocate a public IP address to it. I want to connect my RDS from the laptop outside the VPC network, therefore change the configuration using the –publicly-accessible. If you do not want public access, you can use argument –no- publicly-accessible

DB parameter group
We can define a parameter group for the RDS instance. A parameter group is a set of SQL instance configurations. By default, RDS creates a default parameter group and assigns it to your instance. We cannot modify the default parameter group. You can create a new custom group with configurations and apply them to the DB parameter group.
If you use a custom parameter group, you can use the argument –- DBParameterGroups to specify it.

DB option group
AWS RDS uses the option group to enable certain features such as integration service, reporting service. We can create a custom option group and assign it to the RDS instance using CLI argument –option-group-name.

Automatic backups and backup retention period
AWS RDS SQL Server automatically takes the database backup and maintains for you as per defined backup retention period.
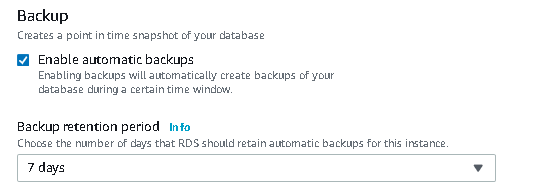
We can choose the backup retention period as per our requirement. By default, RDS uses 7 days retention period. In the AWS CLI, we will use –backup-retention-period argument to specify the number of days (positive number only). For my demo RDS instance, I do not want any backups, so I specified the value as zero. The zero value in this argument tells RDS to disable automatic backups.
TimeZone
If you need a specific requirement for the time zone and collation, we can specify them while creating the RDS instance. By default, it uses Universal Coordinated Time (UTC).
You can refer to the article, Local Time Zone for Microsoft SQL Server DB Instances for supported time zones and use –timezone to specify required time zone other than a default time zone.

We can combine the arguments for the CLI command rds create-db-instance and execute them to create a new AWS RDS SQL Server instance.
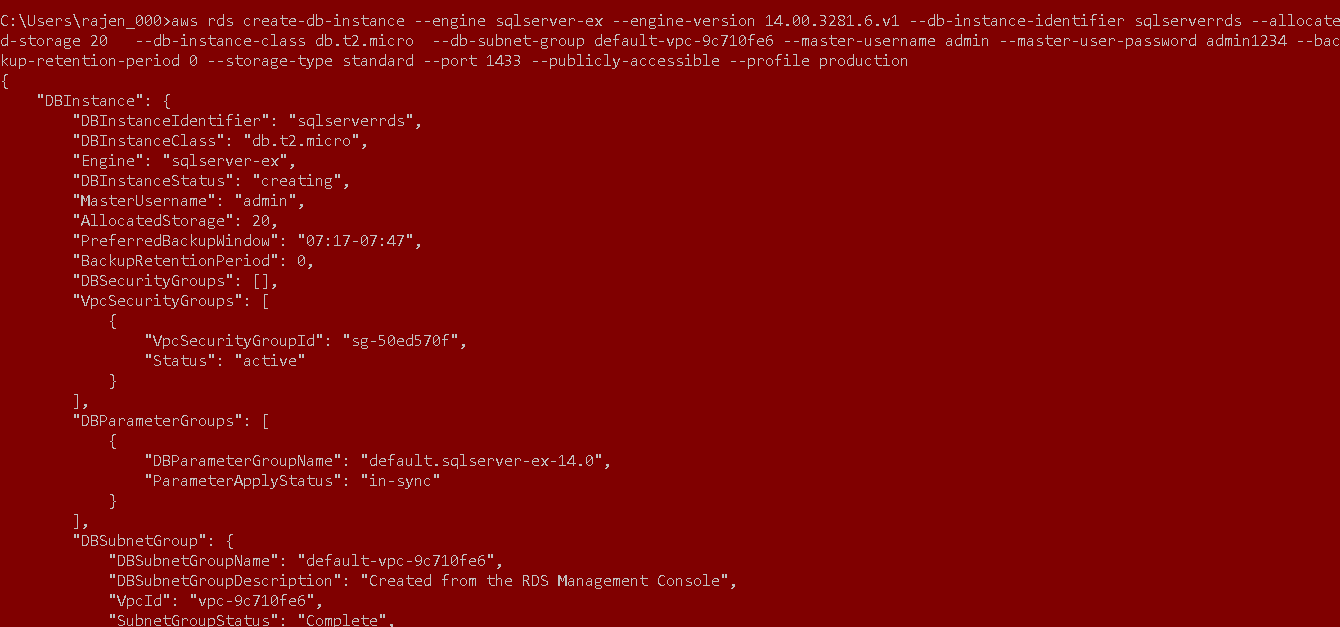
>aws rds create-db-instance –engine sqlserver-ex –engine-version 14.00.3281.6.v1 –db-instance-identifier sqlserverrds –allocated-storage 20 –db-instance-class db.t2.micro –db-subnet-group default-vpc-9c710fe6 –master-username admin –master-user-password admin1234 –backup-retention-period 0 –storage-type standard –port 1433 –publicly-accessible –profile production
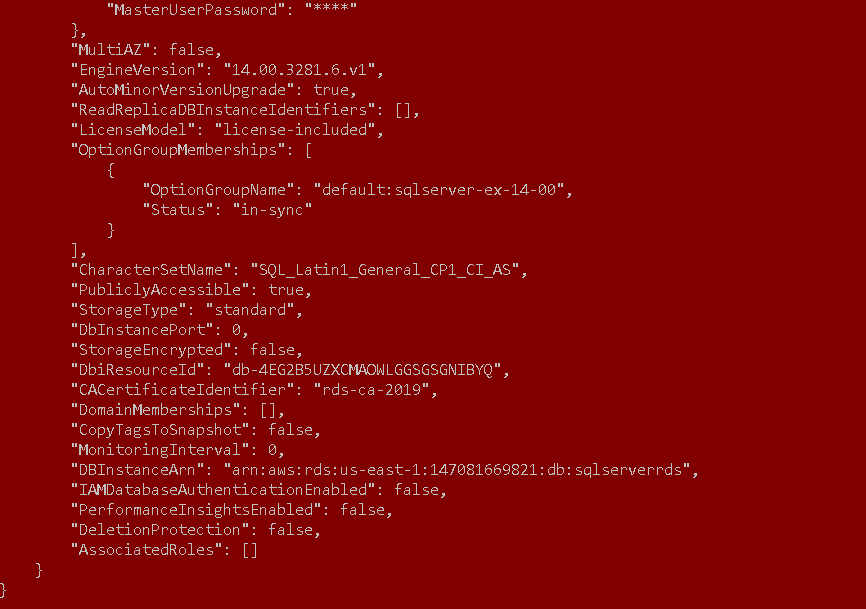
This command gives the output in a JSON format and returns all configurations with default and custom values for your RDS instance.
Similarly, in the below screenshot we get configurations like MultiAZ, Engine version, read replica, option group.
You can connect to the AWS web console and refresh the RDS dashboard. You can see that the new instance is being created.
If you do not need this instance, you can select it and delete the instance from the Actions menu.
It asks you a confirmation, and you need to enter delete me keyword as a token of confirmation.
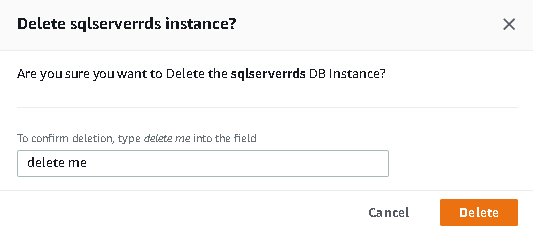
It starts deleting the AWS RDS SQL Server. It takes a few minutes, and after that, you can refresh the RDS dashboard. It removes the entry for deleted RDS.
Conclusion
In this article, we deployed a new AWS RDS SQL Server using AWS CLI commands. We simulated the web console RDS wizard with a similar argument of CLI. It is an excellent way to use the CLI command to be efficient, productive by saving time and deployment efforts.
- Understanding PostgreSQL SUBSTRING function - September 21, 2024
- How to install PostgreSQL on Ubuntu - July 13, 2023
- How to use the CROSSTAB function in PostgreSQL - February 17, 2023

