

Introduction
As we enter an era of artificial intelligence and serverless computing, the tools to help us create perceived intelligent programs have become so advanced and intuitive that the effort in building a fully functional Q and A chat bot has become almost negligible.
In this article, I will show you how to do just that.
About Q and A bots
The thing about Q & A bots are, that they are only as good as the questions and answers you provide them. Ultimately, they are not very clever, they serve a specific purpose which is to provide programmed responses to predefined questions.
It displays some intelligence in the sense that it can match a free text question asked by a person to the questions it has in its knowledge base even if it’s not asked in exactly the same way.
Of course once you have a Q & A bot, nothing stops you from extending your bot to do other fabulous things such as identifying pictures with the Computer Vision API or determining Emotion with the Emotion API
But for the purpose of this article we will build a plain and simple Q and A bot. Let’s get started.
Step 1: Building the knowledge base
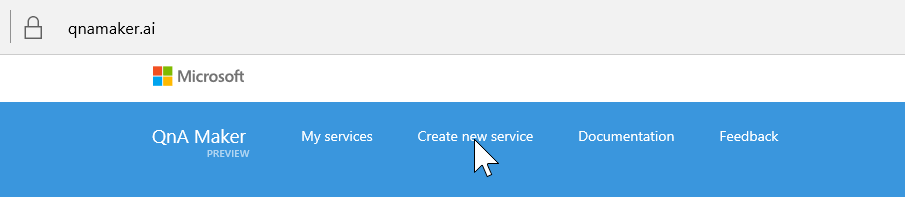
To build the knowledge base we will make use of a very handy website called QnA Maker.
-
Click on Create new service

-
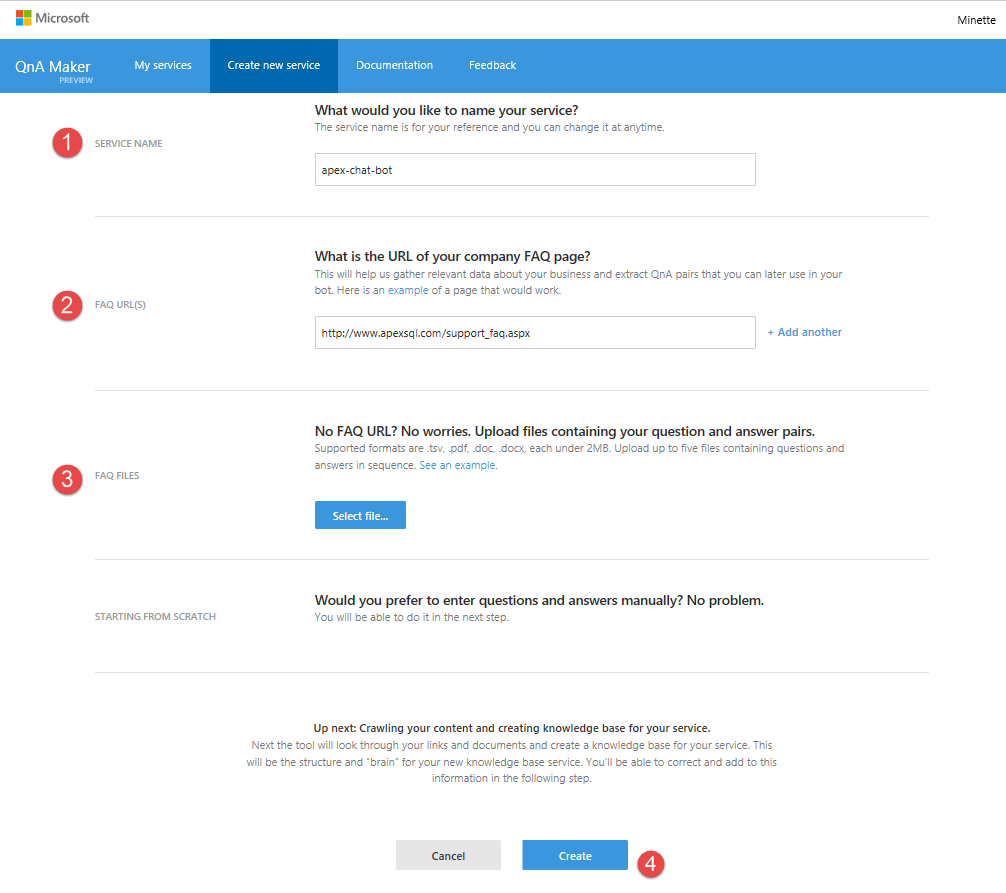
In the create new service window add:
-
The Service name
-
The URL of the FAQ page you would like to use
You don’t necessarily have to use an FAQ page. You can upload a Word Document, text file or a .pdf with question and answer pairs. Strangely it does not accept an Excel spreadsheet.
-
Upload a file with questions or answers.
You don’t have to choose between a website FAQ or a file. You can do either or both or multiple websites or multiple files or you don’t have to do either and just type questions and answers from scratch. It’s entirely up to you.
-
Click Create
-
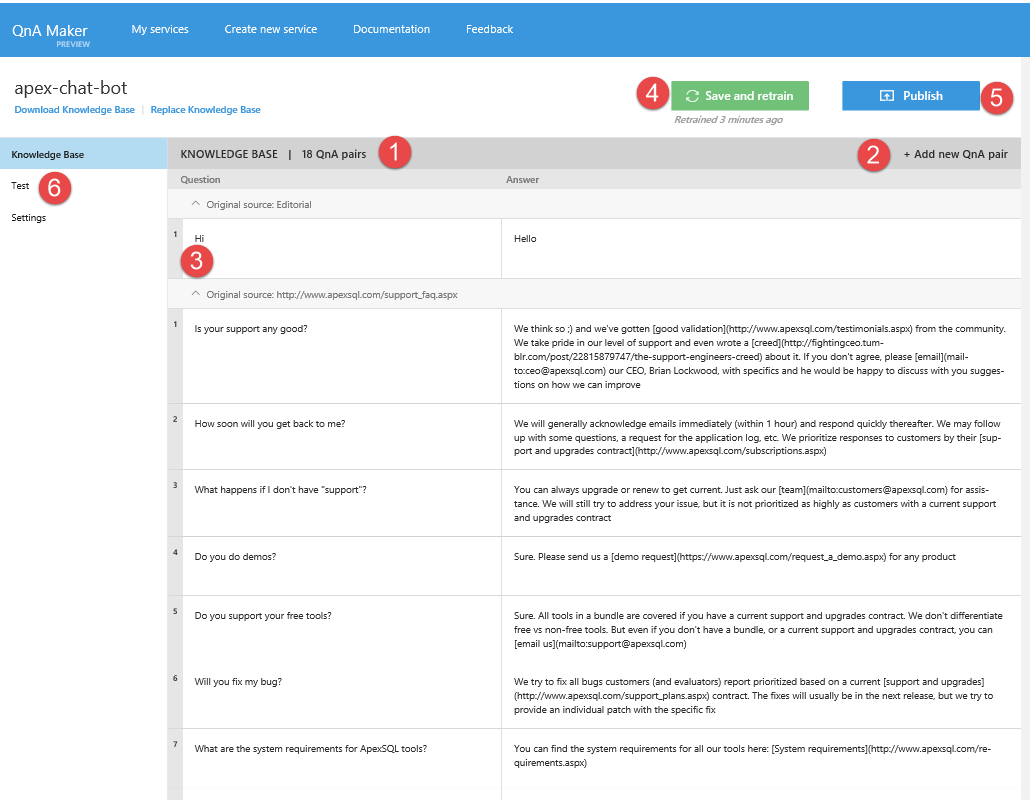
The QnA Maker will proceed to generate the knowledge base from the FAQs provided.
-
In this case it extracted 18 Q and A pairs from the website.
-
You can click here to add another Q and A pair. This will be added in the Editorial section.
-
This displays the source of the Q and A. In this particular case, we only have 2 sources: The original source: Editorial and the FAQ website.
-
Save and retrain. To see changes you made to the knowledge base you should save and retrain it for the changes to take effect.
-
Before the knowledge base will become available for use by a real bot it should be published which I will discuss a little bit later.
-
Go to the Test tab to test the knowledge base. Let’s to that now:
-
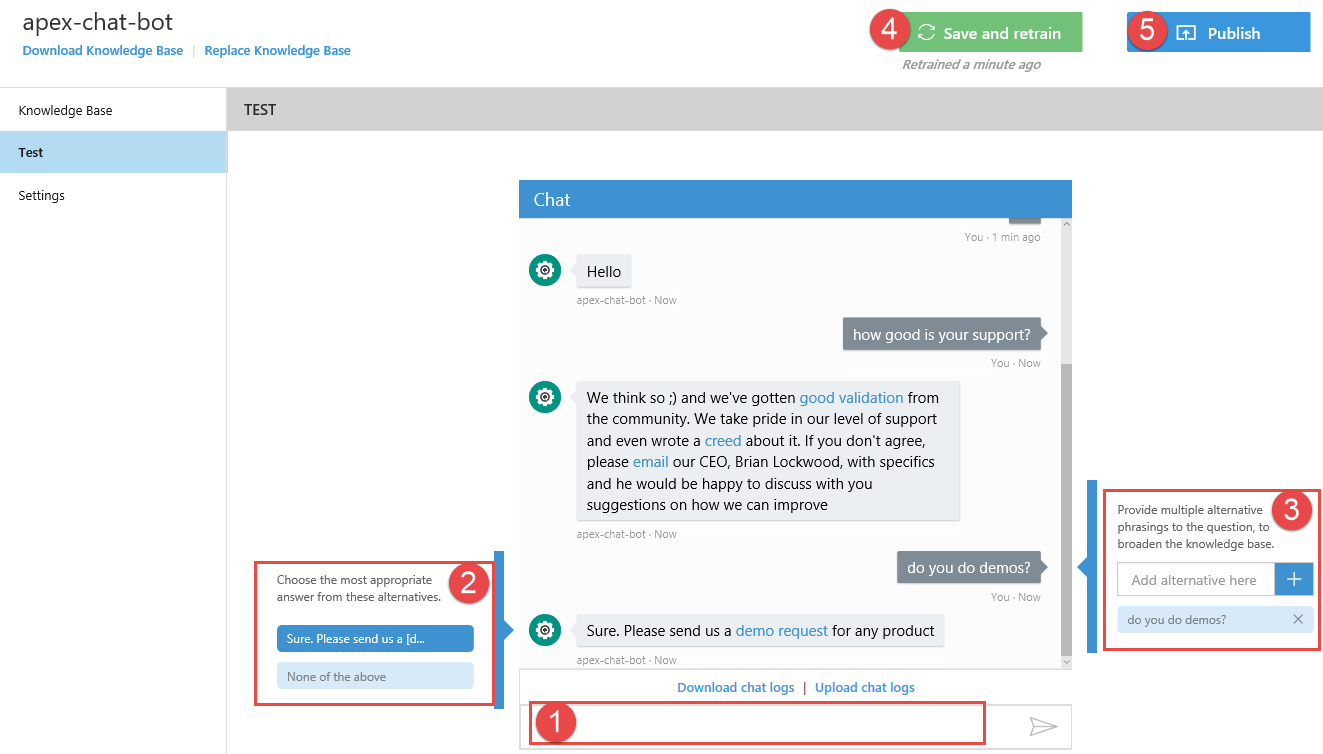
Here is where I would type my question. As you can see, the first question I typed was “How good is your support?”, the actual question on the FAQ was, “Is your support any good?” so the bot was at least clever enough to understand that it is almost the same question.
Notice that all the links which were in the FAQ page remains active and clickable as before.
-
If the bot did not pick the most appropriate answer, it lists other answers here which it might think is appropriate. Or you can select none of the above to leave it as is. If you changed anything here, you must click on (4) Save and Retrain before asking another question or it won’t be applied.
-
Here you can provide alternative phrasings. So, if you want someone to be able to ask: “Can you do a demonstration?” as well as “Do you do demos?”, you can add this here and similarly to above click on (4) Save and Retrain before doing any other action.
-
Save and retrain
-
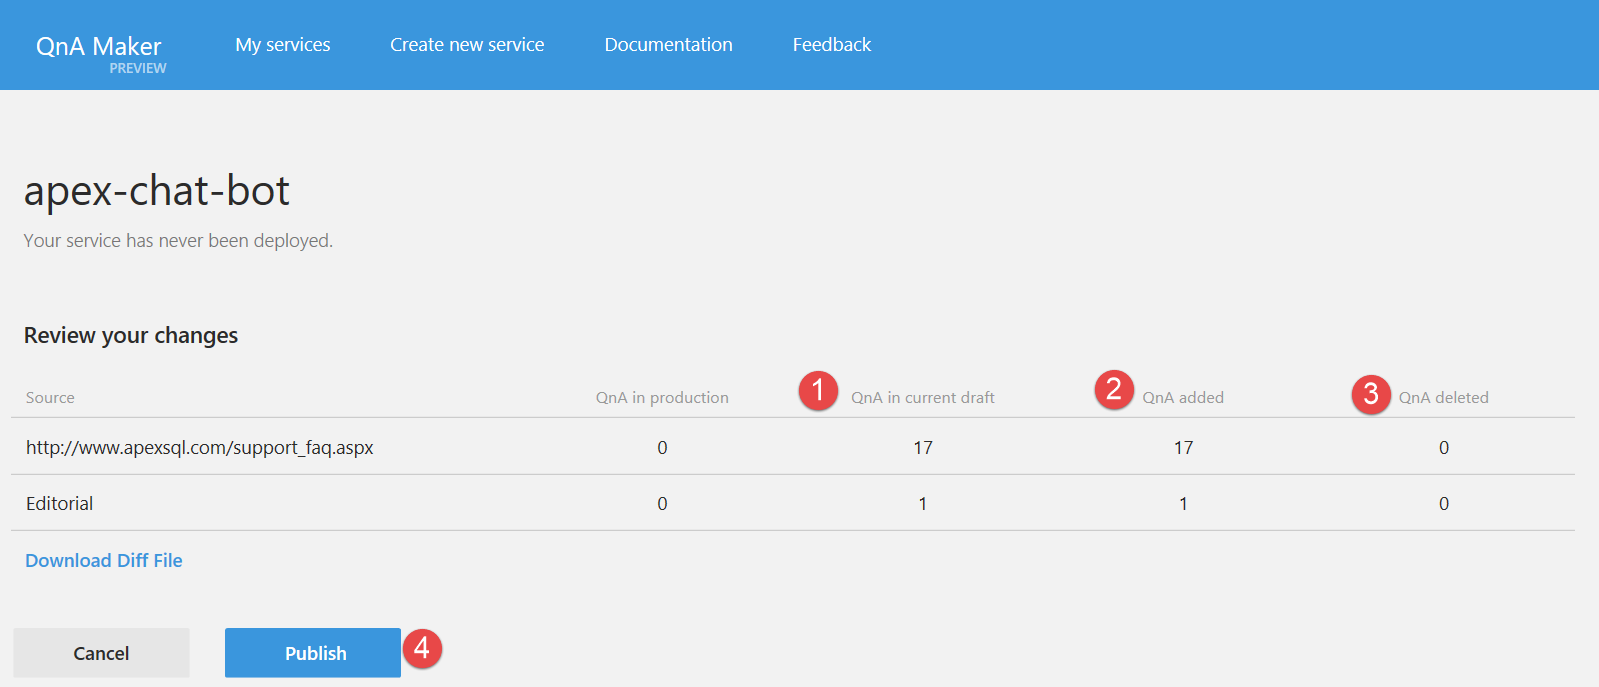
Once you are happy with the knowledge base. Click on Publish. A summary screen will appear.
-
Number of Q and A in the current knowledge base.
-
The number of Q and A just added. In this case, everything was just added, since its new.
-
The number of Q and A deleted if there are any.
-
Click publish again when you are satisfied that the summary is reflecting your intensions correctly. This will publish the Q and A service and create an Endpoint.

Step 2: Creating the bot
To create the bot, we need to login to Azure.
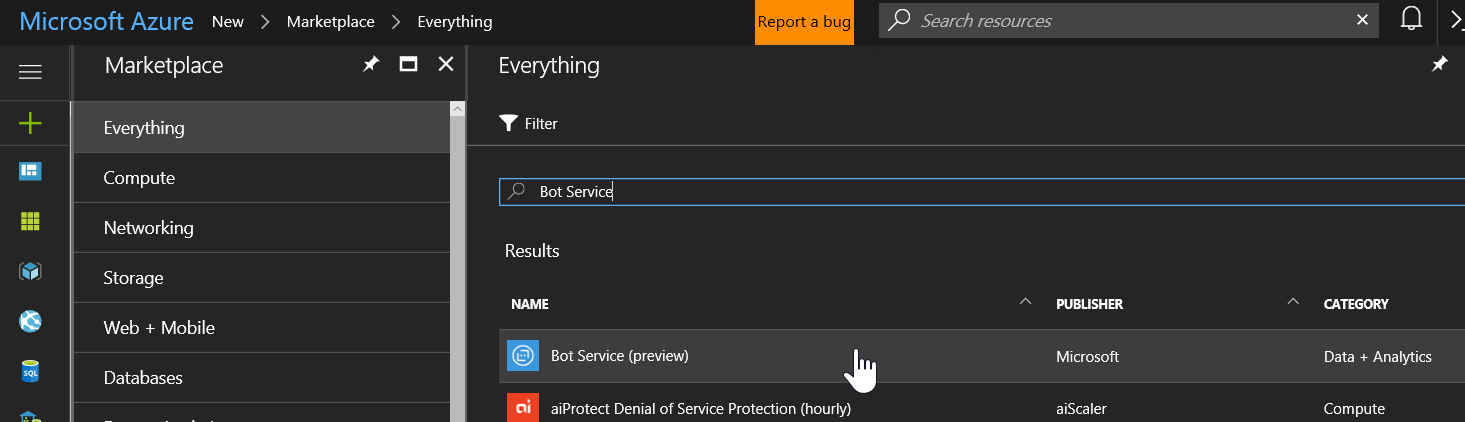
In Azure Market place search for Bot Service and click on it.
This will take you to the Bot pre-creation screen which provides some useful links to documentation and pricing details.
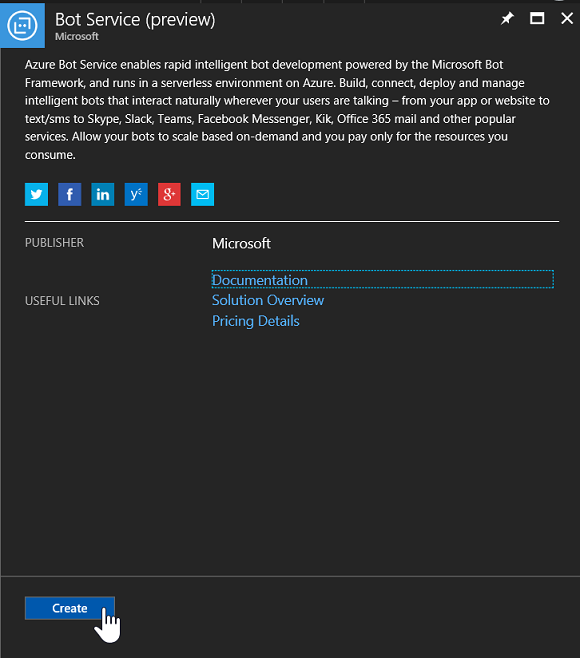
Click on Create
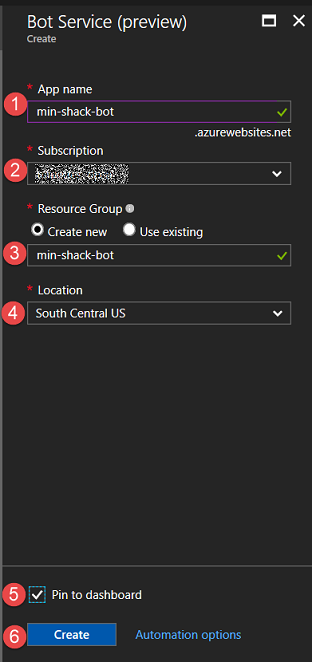
To create the bot:
-
Add a name for the bot. This needs to be a unique name and it will indicate with the green check mark on the right, if its accepted or not.
-
Select the subscription you want to use.
-
Create a new resource group or use an existing one.
-
Select the region where you’d like your bot to reside.
-
I usually pin my stuff to the dashboard just so that I can find it again easily.
-
Click create.
Once the bot is created you will be required to create a Microsoft App ID and Password. This is done in the Application Registration Portal. You will be automatically directed to the portal when you click on the “Create Microsoft App ID and password” button.
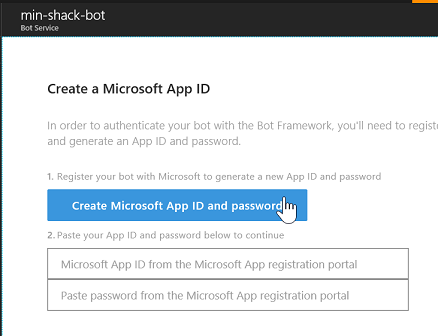
Click on the Create Microsoft App ID and password button. This will require you to login using a live account. Once you completed the login. It will automatically generate an App ID.
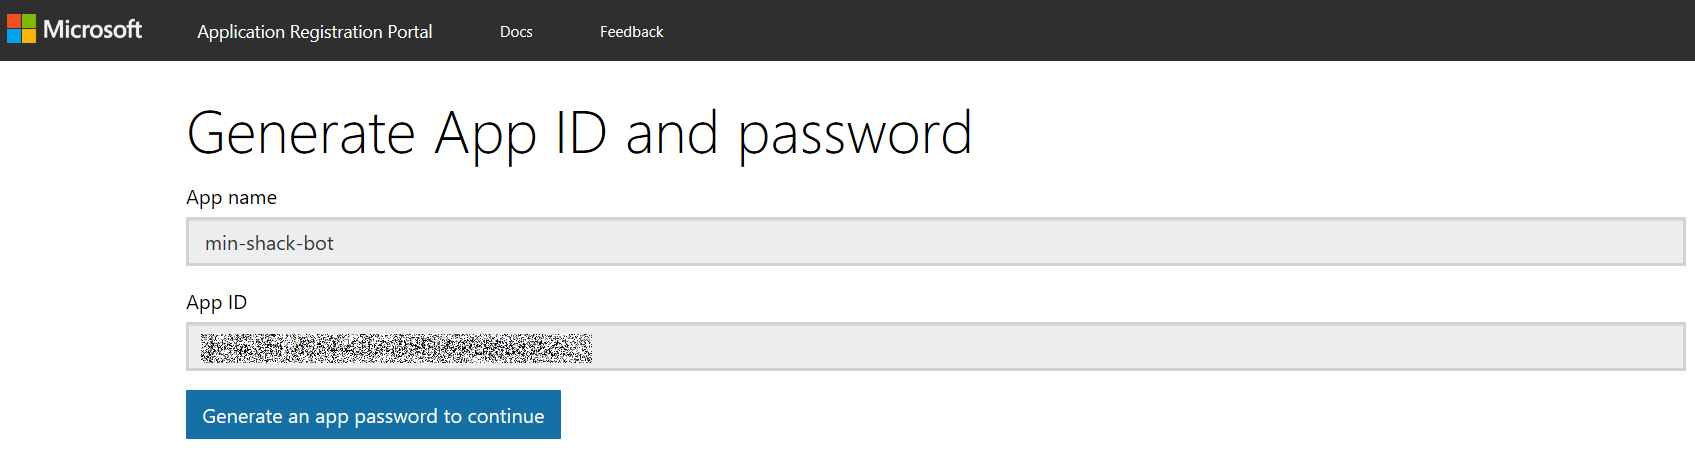
Click on the “Generate an app password to continue”. This will show a popup with your new password. Copy this password and also save it somewhere with the App ID in case you need it again in the future.
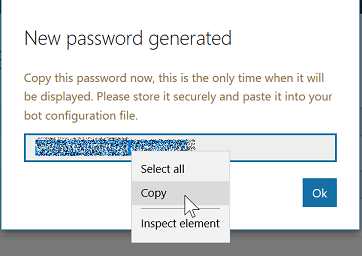
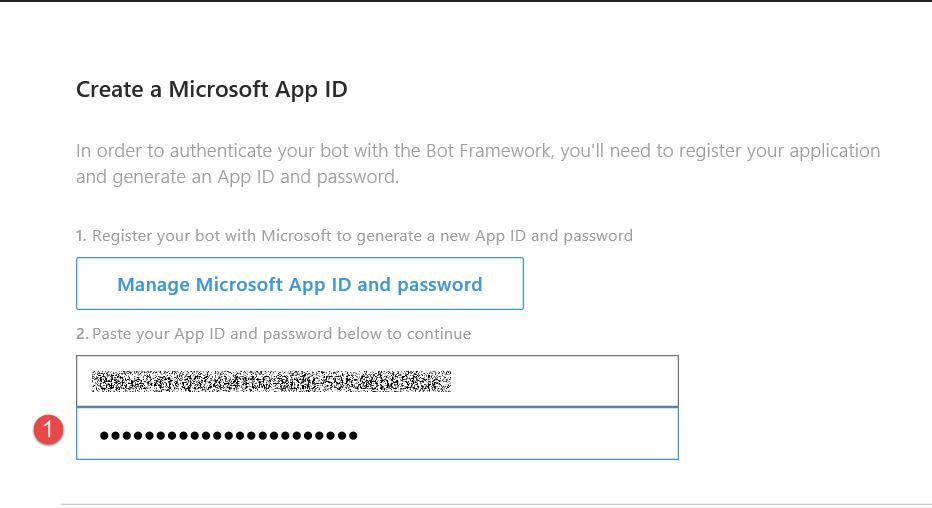
Click ok. And on the next screen click:

This should take you back to Azure where you left off your bot configuration.
-
Paste the password which you just copied into the password field.
-
Choose your preferred language. I prefer C#, but you can use Node.JS as well.
-
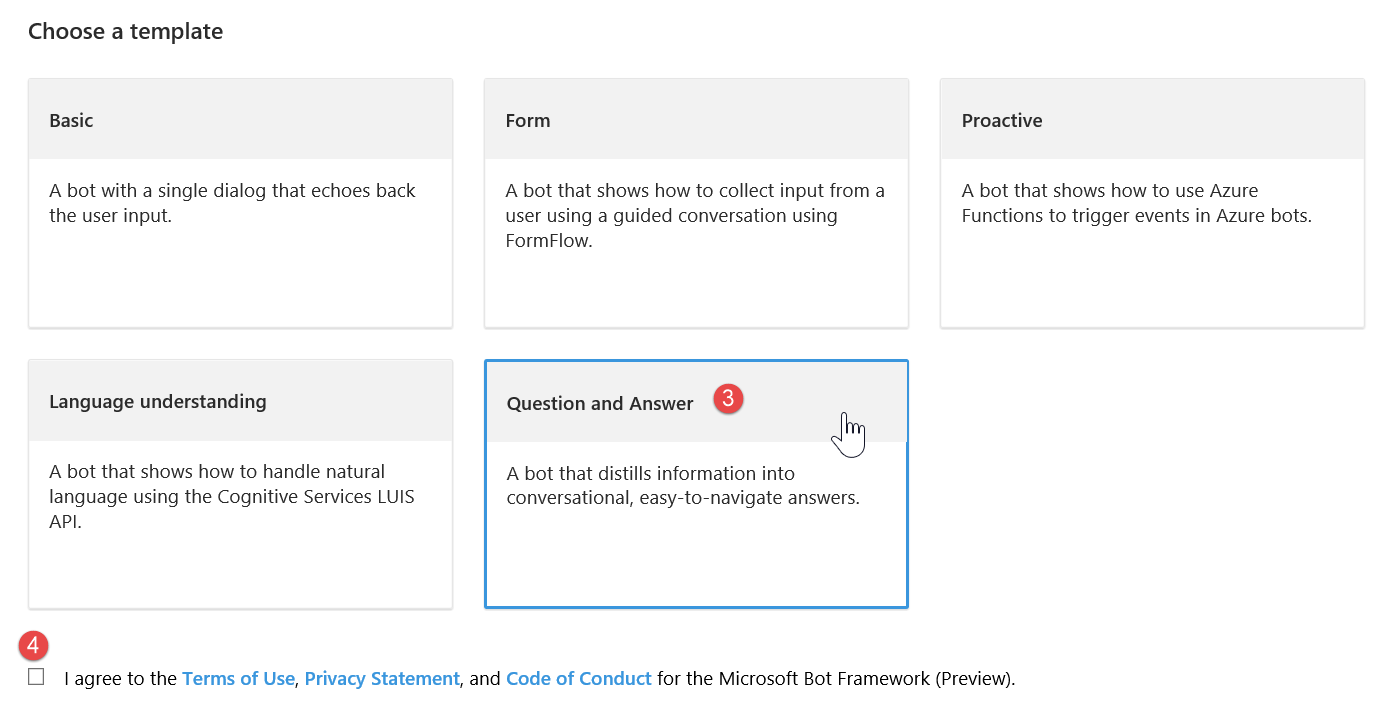
Here you have to choose a template. In this case we will select the Question and Answer Template because it happens to be exactly what we want to do.
-
Agree to terms and conditions.
-
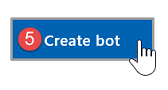
Click on “Create bot”
A popup will appear to connect the bot to the QnA Maker. Because I signed in in both instances with my live account, and I published my knowledge base my knowledge base should be available to select from the dropdown.

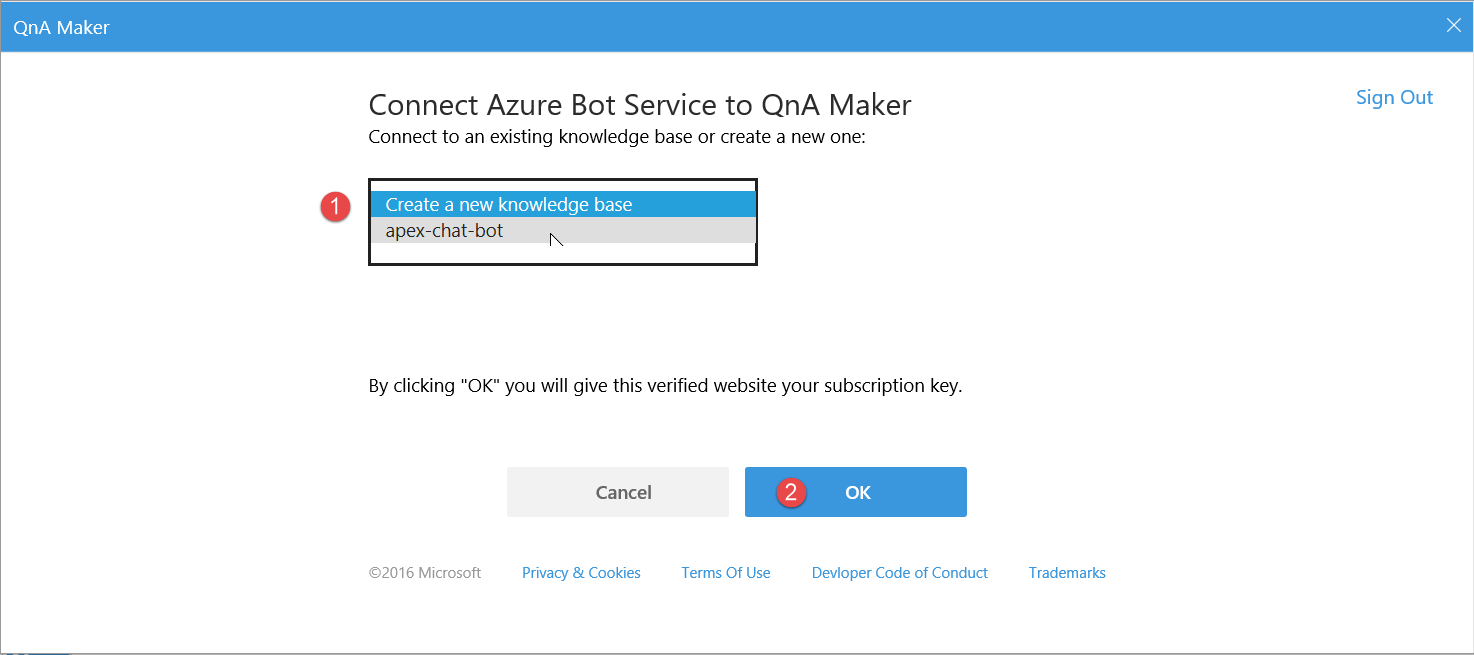
-
Select the knowledge base previously created.
-
Click ok.
Once the bot is created, your screen will look something like this: (I will discuss each briefly but it’s really outside the scope of this article.)
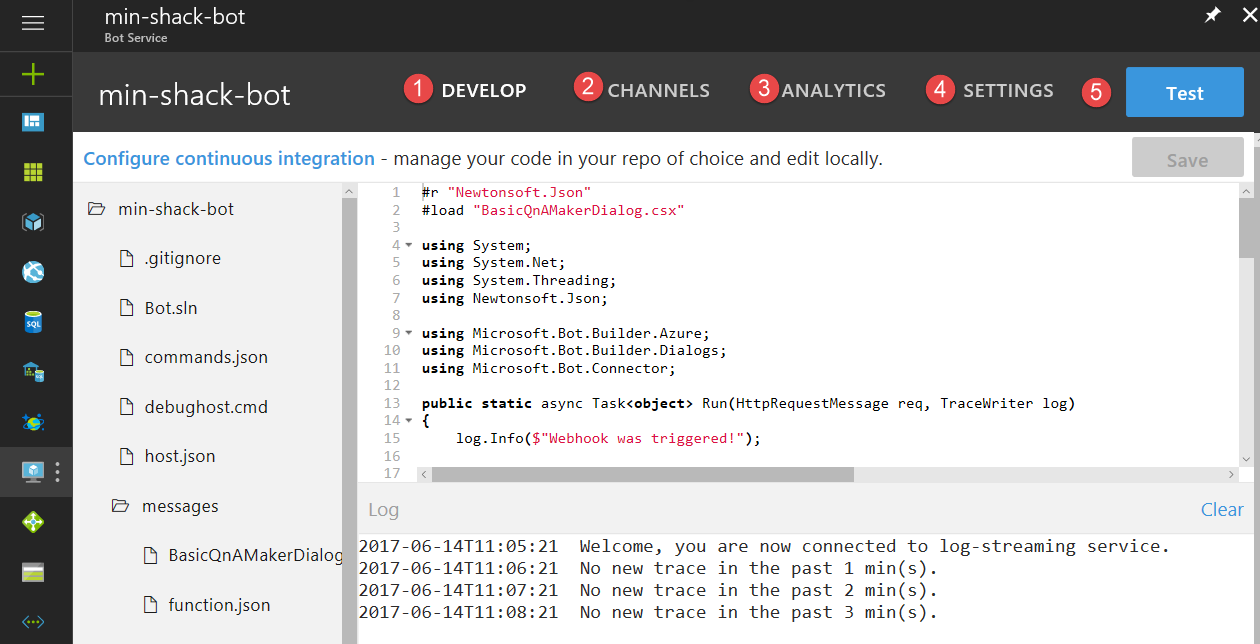
-
This is the current tab, where you can modify the source code.
-
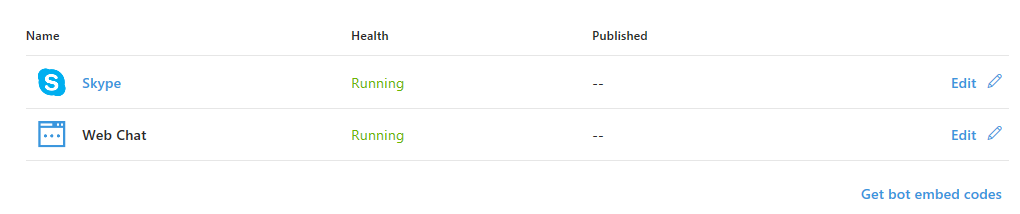
The channels tab allows you to connect your bot to multiple channels, by default it can connect to Skype and Web Chat.
-
The analytics screen gives you basic statistics as to how many users chatted through which channels.
-
The settings tab lets you change the configuration of the bot. Including the name, the icon, the knowledge base, cognitive services, continuous integration etc.
-
The test tab allows you to test the bot. This is different from testing the knowledge base, because it actually tests the knowledge base as it reacts when being called through the bot. So, any changes made to the bot code will also be visible here, whereas those changes will not be visible in the test of the QnA Maker.
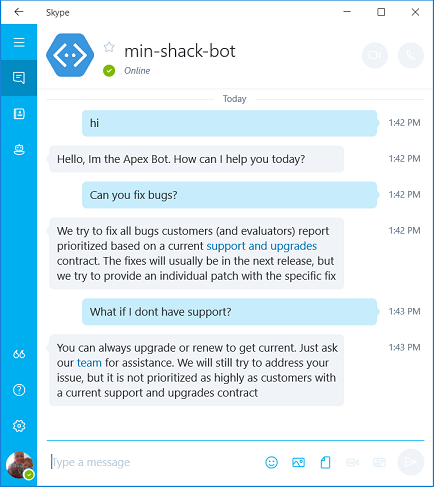
To finish this off I am now going to add this bot to my skype as a contact.
On the channels tab, click on the Skype channel. This will appear:
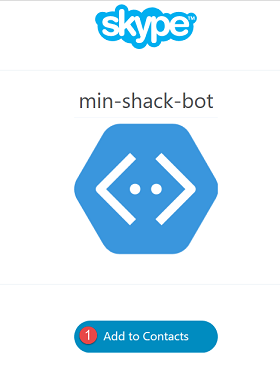
-
Click on add to contacts. It will be added to your skype contacts, and you can then chat with your bot.
Conclusion
I hope that you were able to see just how easy it is to create a Q and A bot and that this will inspire you to play around with bots and expand on this simple one by adding cognitive services and machine learning.

Minette currently works as a Data Platform Solution Architect at Microsoft South Africa.
View all posts by Minette Steynberg
- The end is nigh! (For SQL Server 2008 and SQL Server 2008 R2) - April 4, 2018
- 8 things to know about Azure Cosmos DB (formerly DocumentDB) - September 4, 2017
- Introduction to Azure SQL Data Warehouse - August 29, 2017