

This article explains the process to configure the ODBC driver for oracle 19c. I am covering the following topics:
- How to configure the ODBC driver using ODBC Data Source Administrator
- Create a sample PowerBI report to populate and view the data from the oracle database
Environment setup
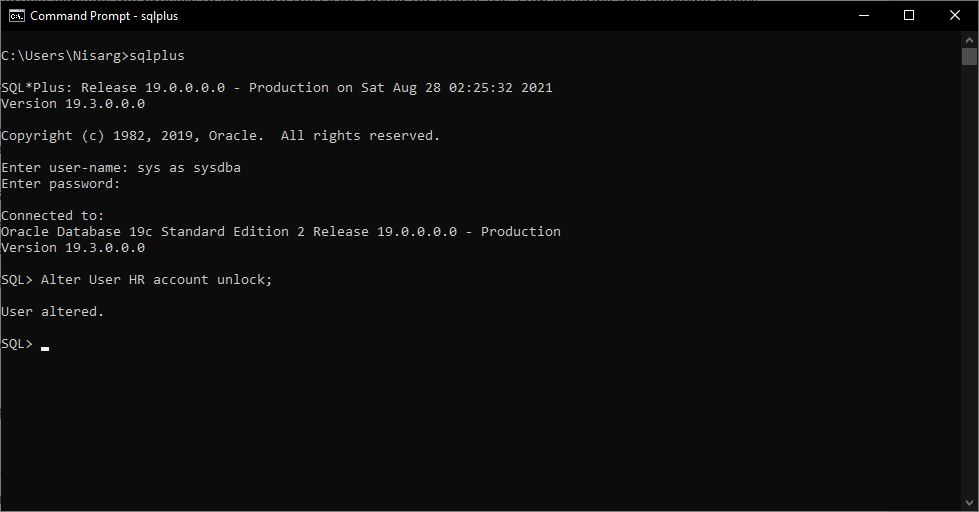
I have installed oracle 19c on my workstation. When we install the oracle database on the workstation and the oracle database, the setup installs the client connectivity tools and drivers. I have created a database named ELTECH. It is a sample database, and it contains the oracle sample schemas. I have enabled the HR schema of the ELTECH database. The HR schema is associated with the HR user, so we will enable the HR user by running the following query.
SQL> Alter User HR account unlock;
User altered.
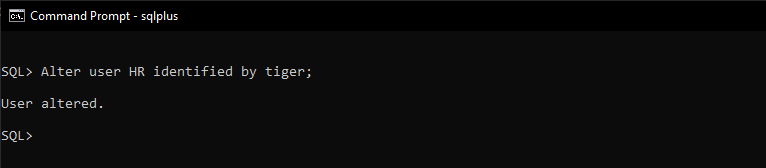
Once the schema is enabled, I have changed the password of the HR user.
SQL> Alter user HR identified by tiger;
User altered.
To view the data populated from the oracle database, I have installed the PowerBI for Desktop on my workstation. First, let us configure the ODBC driver.
Configure ODBC Driver
The DSN is used in any application that uses the ODBC driver to connect to the database. We will create a DSN to access the oracle database using ODBC Driver. We can create a DSN by using the ODBC Data Source Administrator.
The ODBC Data Source administrator MMC (Microsoft management console) is in the Administrative tools directory of the control panel. Open Control Panel 🡪 Administrative tools 🡪 ODBC Data Source Administrator (64-bit) 🡪 Select System DSN 🡪 Click on the Add button on the ODBC Data Source Administrator dialog box.
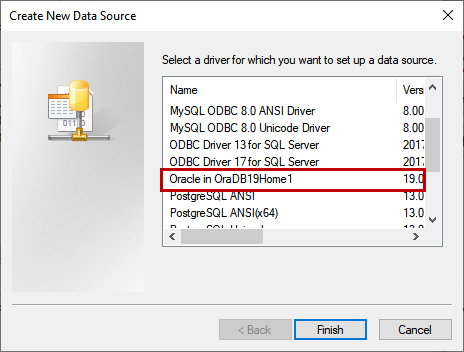
Select Oracle in OraDB19Home1 from the list of data sources listed in Create New Data Source dialog box. Click on Finish.
A dialog box named Oracle ODBC Driver Configuration opens. You can specify the following options in the dialog box.
Data Source Name:
Specify the data source name. The DSN will be used to identify the data source uniquely
Description:
Specify the appropriate description of the data source
TNS Service name:
Specify the location of the oracle database from which the ODBC will populate the data. We can get the TNS Service name from the Oracle Net Configuration Assistant. Alternatively, you can find it by executing the following query:
SQL> show parameter service_name

In our case, the TNS Service name will be ELTECH, so specify it in the TNS Service name drop-down box
UserID:
Specify the User ID that you want to use to connect to the oracle database. In this demo, we are using HR users, so specify it in the UserID textbox

The configuration looks like the following screenshot.
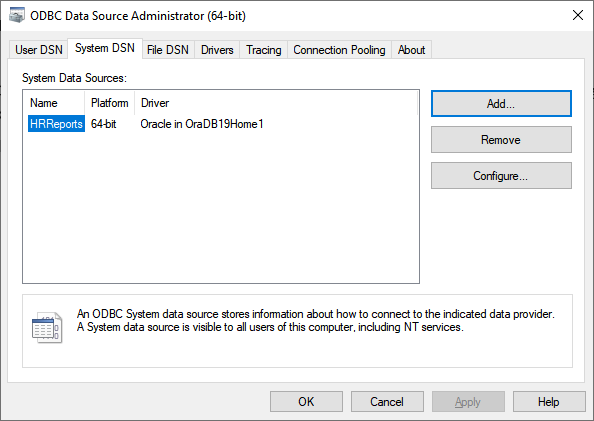
Click OK to save the DSN configuration and close the dialog box. The new DSN is visible in ODBC Data Source Administrator.
Now, let us create a sample report using Power BI.
Create a sample report in Power BI
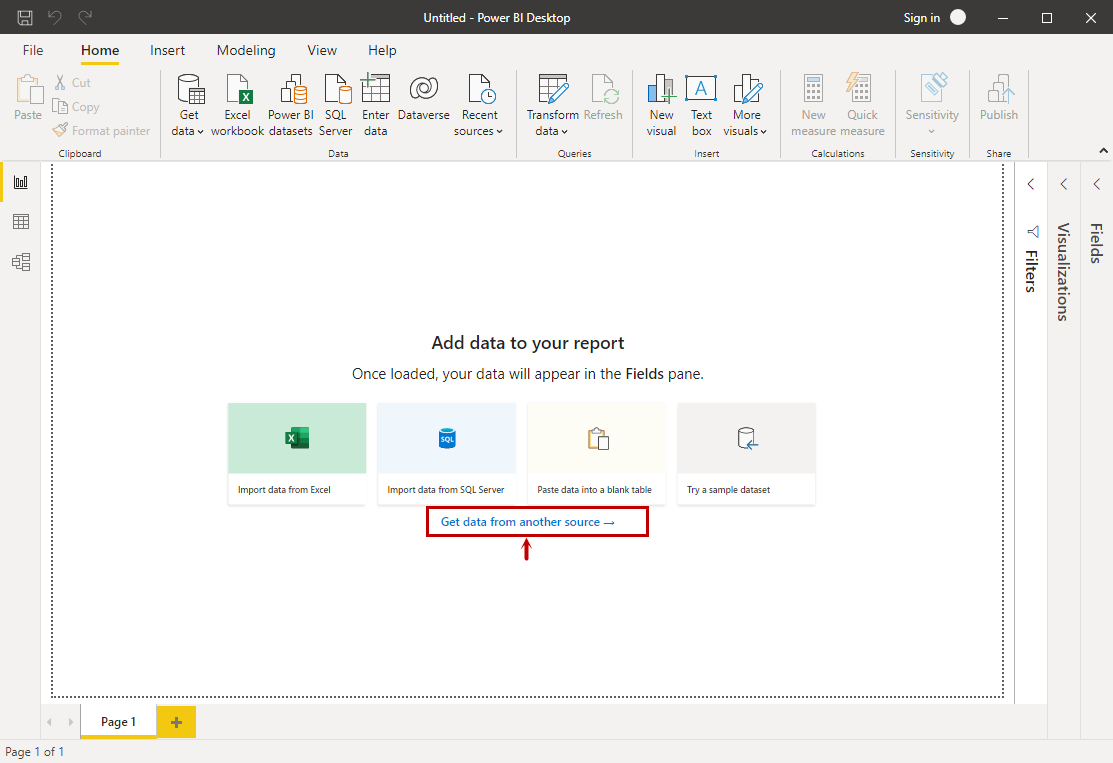
Launch PowerBI Desktop. Click on get data from another source on Add data to your report page.
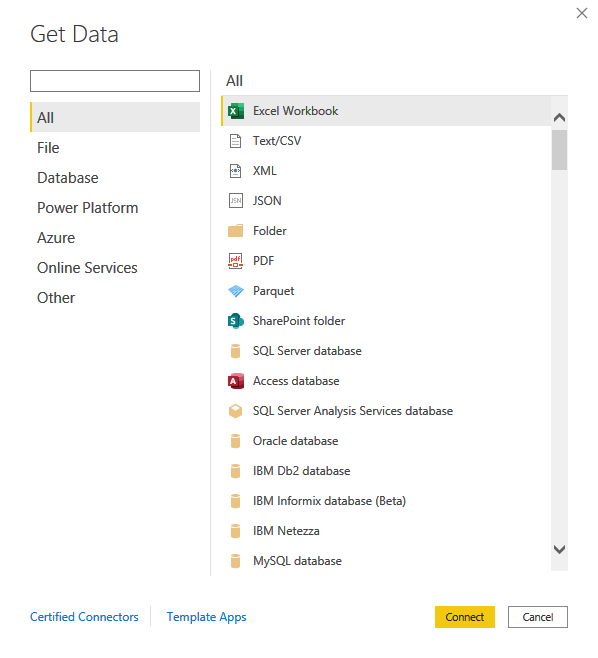
A dialog box Get Data opens. You can view the various data sources in the dialog box.
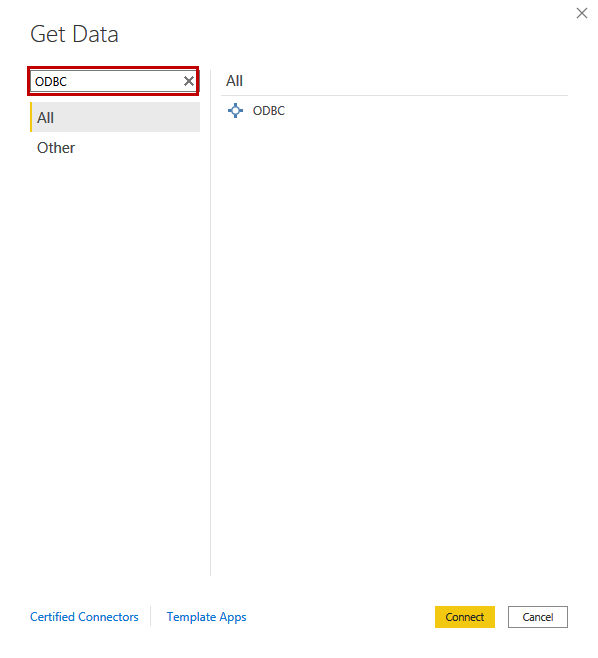
Search ODBC from the list select Connect.
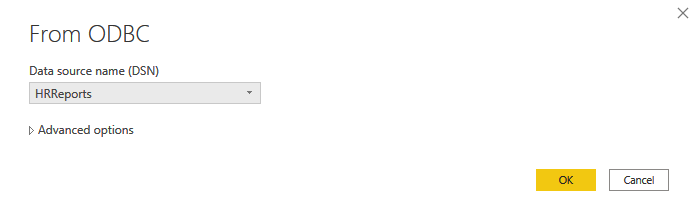
Another dialog box From ODBC opens. You can select the desired data source from the Data source name (DSN) drop-down box. We have configured DSN named HRReports, so select it from the list and click OK.
In the Navigator, you can view the list of the tables and objects created in the ELTECH database under HRReports DSN. We want to create a report using the Employees table, so expand HR and select Employees.
The preview of the Employees table is in the right pan. Click on Load to load the data in the report. Once data is loaded in the report, you can view the Employees table in the fields pan. Expand EMPLOYEES to view the list of the columns.
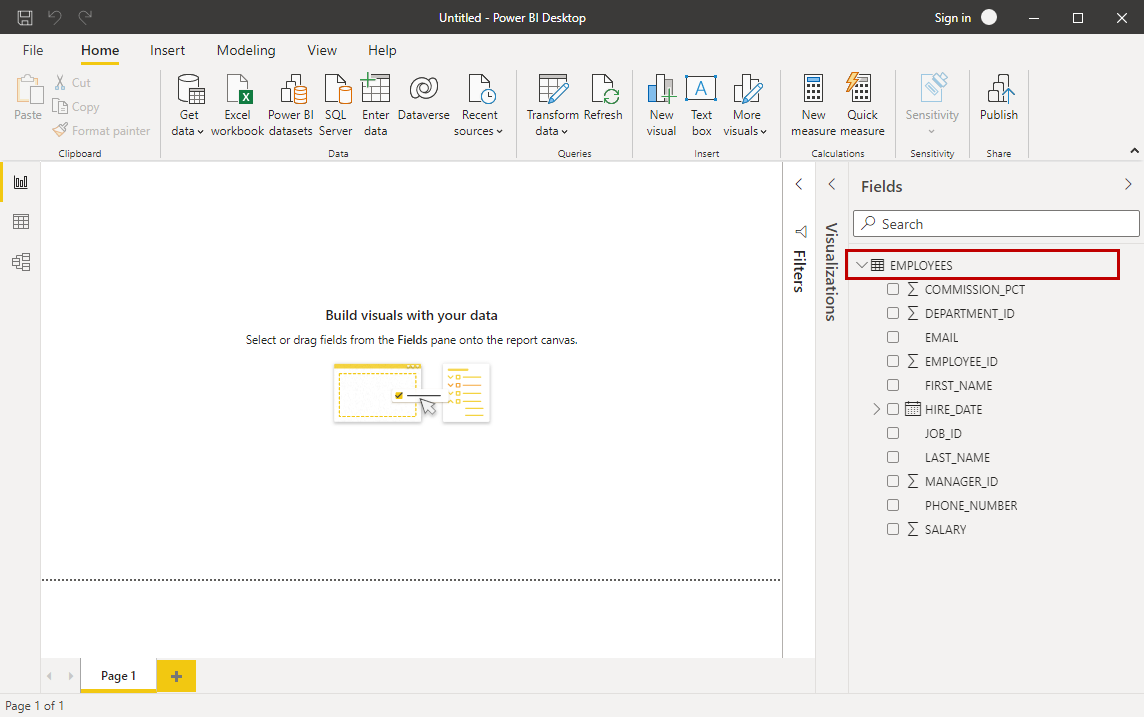
We are going to prepare the report with the following columns:
- First_name
- Last_name
- Job_id
- Phone_number
- Hire_Date
- Salary
When you select the fields, the columns will be added to the report canvas.
As you can see, the data from the employees’ table has been added to the report canvas of PowerBI.
- Note: You can sort the data according to the requirement. You can read Getting started with formatting report visualizations – Power BI to understand how to format the report in Power BI for desktop
Publish the report
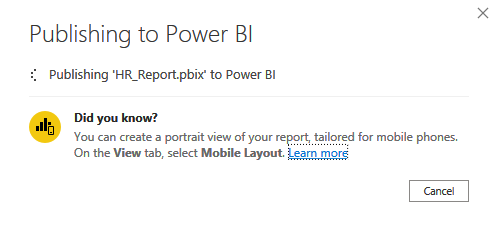
Now, let us publish the report. Click on the Publish button on the menu bar of the Power BI desktop. We have not configured the Power BI services so the reports will be published locally.

The Power BI report starts publishing. You can view the following dialog box.
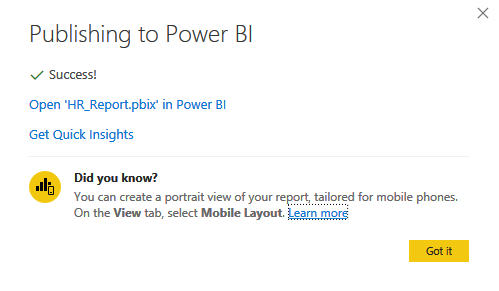
Once the report is published successfully, you can view the following dialog box.
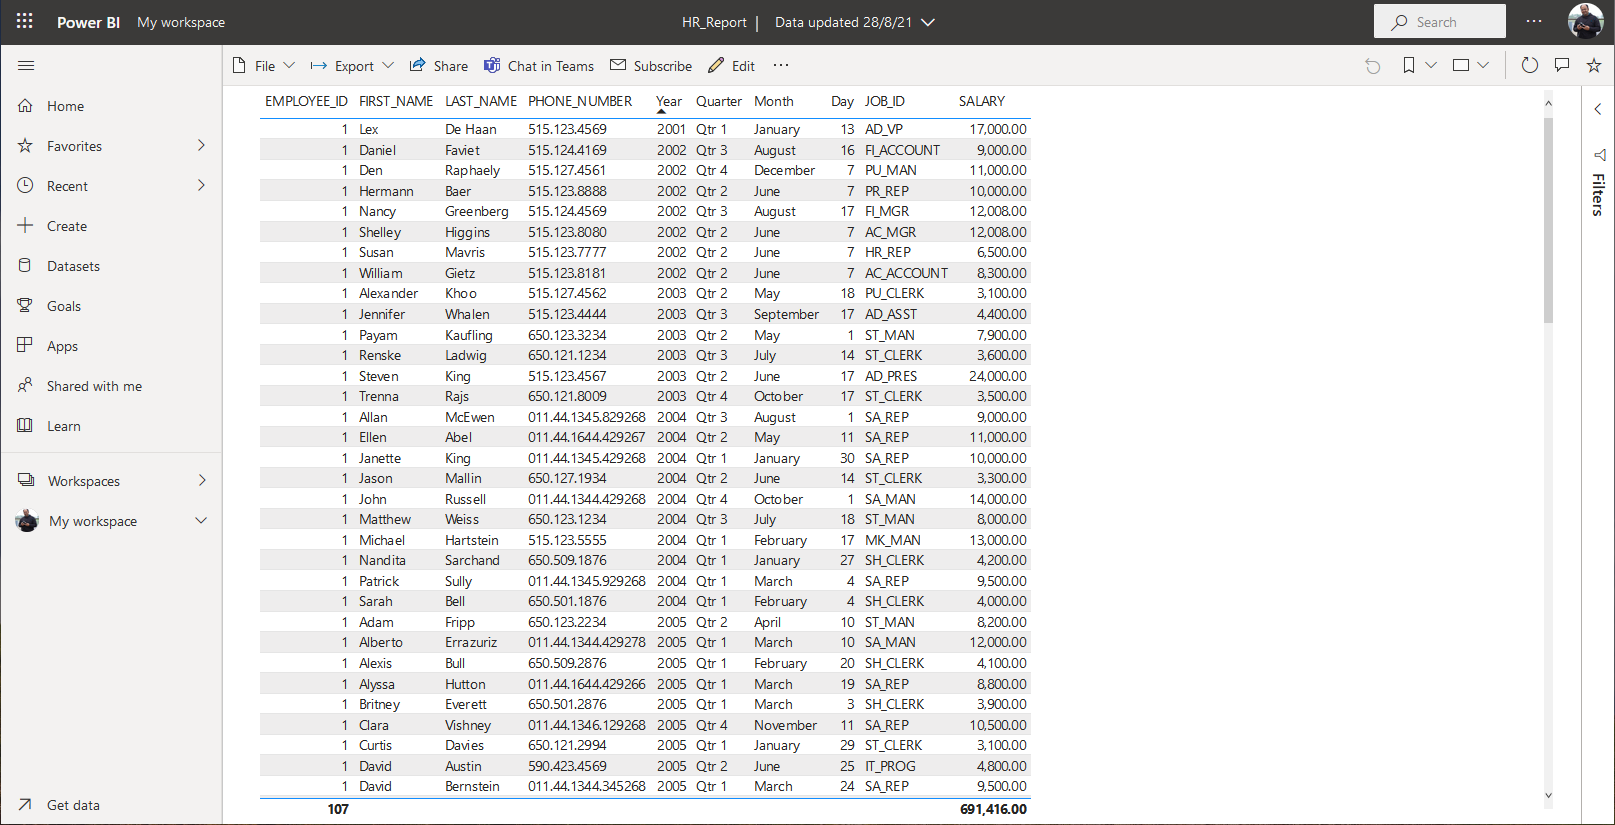
You can view the report in the Power BI workspace. It looks like the following:
Summary
In this article, we learned how we could configure the data source name for the oracle database. This article gives a basic idea of creating a DSN using ODBC Driver of the oracle 19c. I have also explained how we can utilize the ODBC driver to display the Power BI report.

He has expertise in database design, performance tuning, backup and recovery, HA and DR setup, database migrations and upgrades. He has completed the B.Tech from Ganpat University. He can be reached on nisargupadhyay87@outlook.com
- Different ways to identify and change compatibility levels in SQL Server - July 22, 2024
- Copy SQL Databases between Windows 10 and CentOS using SQL Server data tools - October 19, 2022
- Changing the location of FILESTREAM data files in SQL Database - October 14, 2022