
In this article, we will deploy Azure Analysis Services and create a live connection in the Power BI.
Introduction
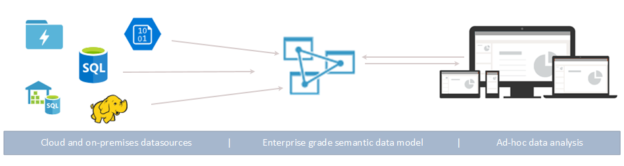
Azure Analysis Service (AAS) is a Platform-as-a-Service (PaaS) offering for the SQL Server analysis services. If you plan to migrate analysis service to the cloud infrastructure, it can be the best solution. It provides an analytical data engine for preparing the business analytics models based on your data. You can utilize multiple data sources, define metrics, and prepare tabular semantic data models. These data models can be leveraged by client applications such as Power BI, MS Excel, and Tableau.

Image reference: Microsoft Docs
In the article, An Overview of Power BI Data models, we discussed live connections in a Power BI report that integrate AAS and Visualization of Power BI capability. In this article, let’s implement AAS and work on the tabular data models.
Implementation of Azure Analysis Services
AAS provides compatibility with the SQL Server Analysis Service enterprise edition features. It supports the tabular models; however, it should have a compatibility level of 1200 or higher.
Compatibility levels
|
Compatibility level |
Server version |
Cloud Service |
|
1200 |
SQL Server 2016-2019 |
Azure Analysis Service |
|
1400 |
SQL Server 2017-2019 |
|
|
1500 |
SQL Server 2019, Power BI premium |
- Note: It does not support Multidimensional models and PowerPivot for SharePoint
In the tabular model, it supports both DirectQuery and In-memory models. The default model is in-memory in which it caches model data for providing the faster query response and flexibility for complex datasets.
Before we implement the AAS instance, we need to know the following.
Service tiers
It supports Developer, Basic and Standard tiers according to the Query Processing Units (QPUs), and memory size. Initially, while configuring as Azure Analysis Service, we need to define the service tier. You can scale up and down resources as per your requirement.
|
Tier |
Tier |
Query Processing Units (QPUs) |
Memory(GB) |
Recommended use cases |
|
Developer |
D1 |
20 |
3 |
Evaluation, development, and test scenario |
|
Basic |
B1 |
40 |
10 |
1. Smaller tabular models, limited user concurrency. 2. Limited functionality. It does not support DirectQuery and multiple partitions features |
|
B2 |
80 |
16 |
||
|
Standard |
S0 |
40 |
10 |
1. Suitable for mission-critical production applications 2. Supports all tabular data models features |
|
S1 |
100 |
25 |
||
|
S2 |
200 |
50 |
||
|
S4 |
400 |
100 |
||
|
S8 V2 |
640 |
200 |
||
|
S9 V2 |
1280 |
400 |
In this article, we will use the developer service tier for demonstration purposes.
Deploy an Azure Service instance
Launch the Azure portal and connect with your credentials. In the Services, search for Analysis Services. Currently, I do not have an instance of the analysis service. Therefore, it does not display any server.
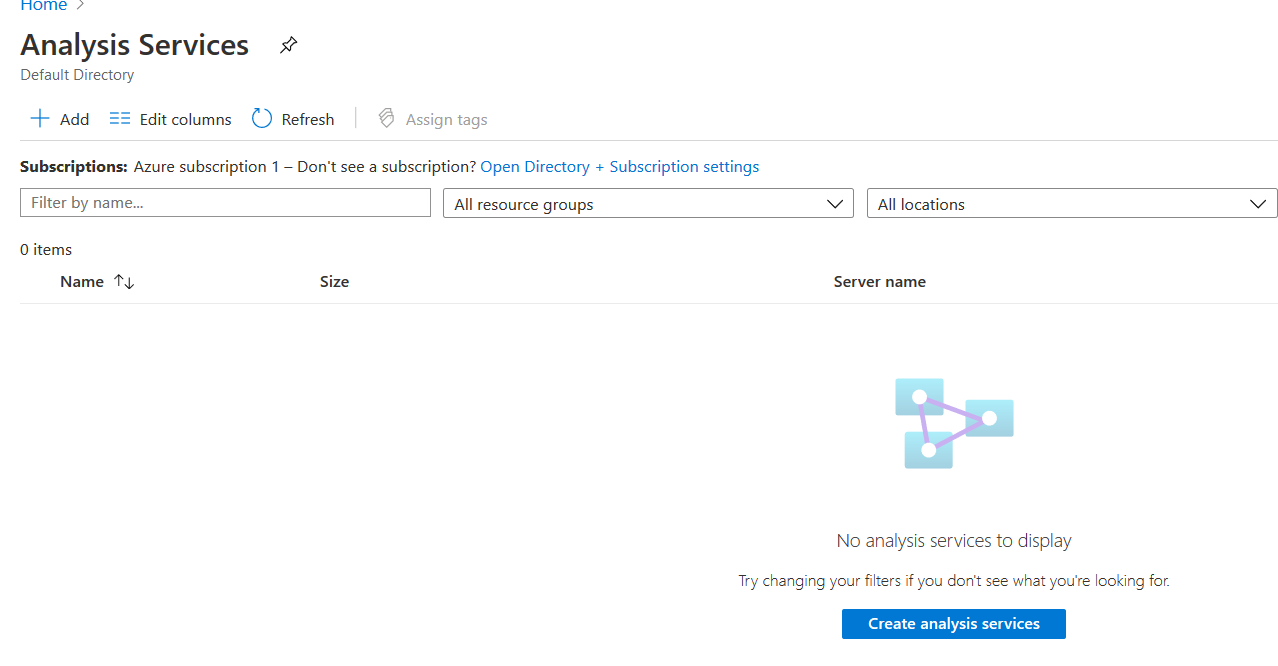
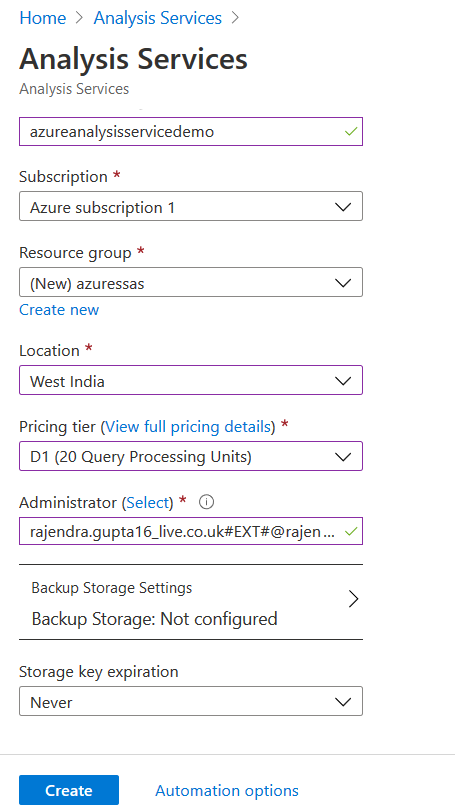
Click on Create analysis services and fill out the required details as below.
- Analysis service server name
- Azure subscription
- Create a resource group for Azure resources
- Select the location. You can refer to Availability by region for the supported region for AAS
- Pricing tier: Select the service tier as per the table specified above
- Administrator: Select the administrator account for the AAS
- Configure backup Storage and storage key encryption
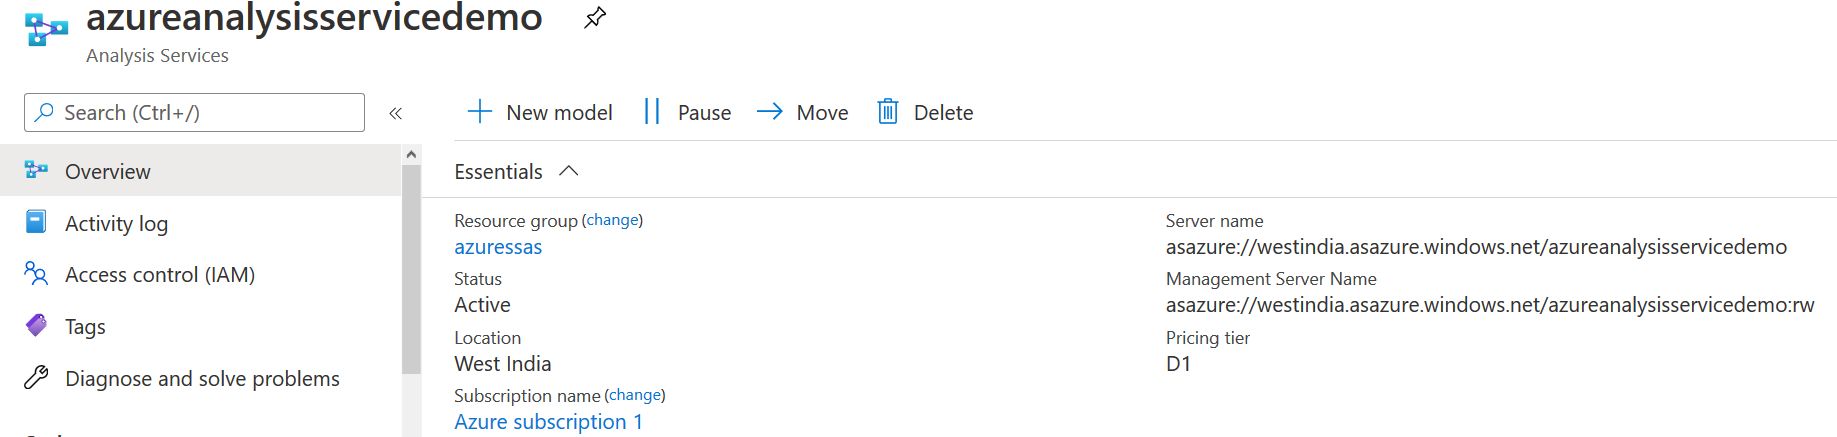
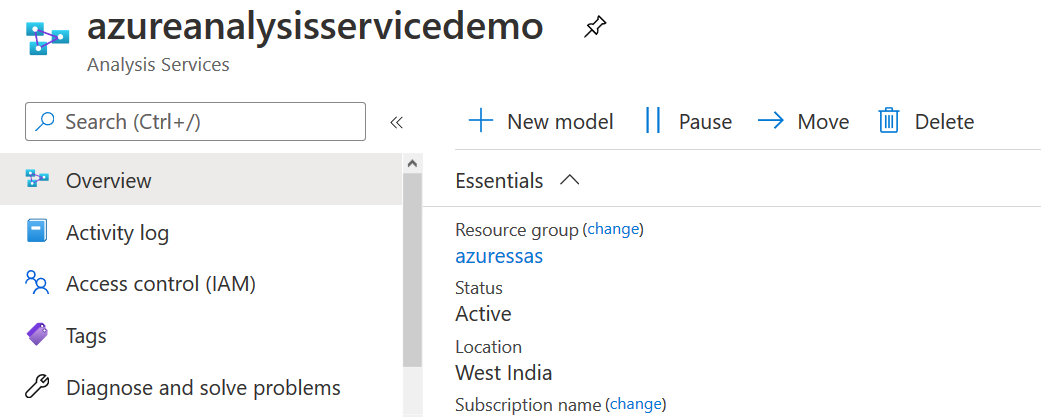
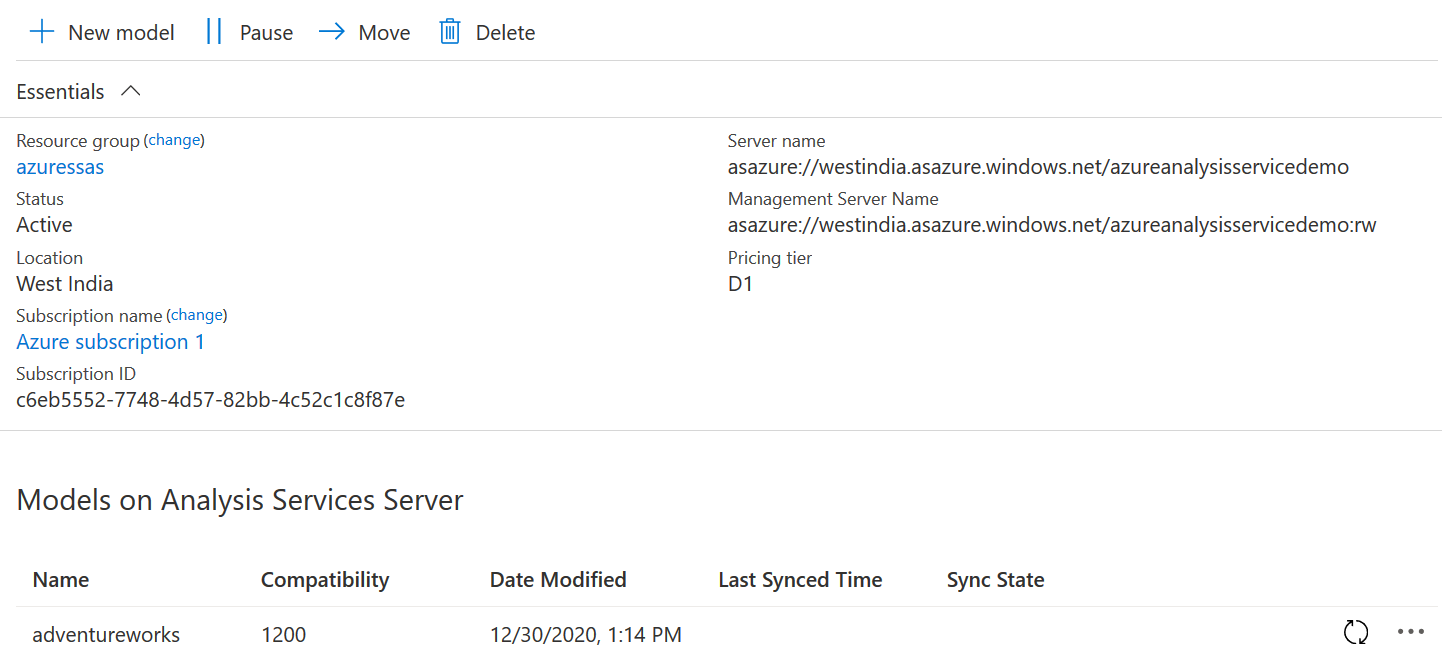
Click on Create, and it deploys the analysis service, as shown below. You can note-down the server name for connecting to Azure Analysis Service and deploy your tabular models in the dashboard.
- Server name: You can use the server name in your reports, it provides read-only connections for your models
- Management Server Name: You can use the management server connection string for deploying your data models
- Status: Current status is active for analysis service
Create a sample model for Azure Analysis Services
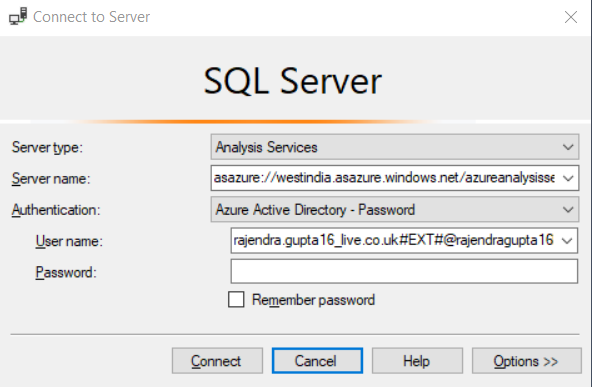
Currently, we do not have any data model in the AAS instance. You can verify it by connecting it through SSMS. To connect it through SSMS, enter the following details.
- Server Type: Change it to Analysis Services
- Server name: Copy the analysis server name from the Azure portal
- Authentication: Select Azure Active Directory – Password
- User name: Enter your default domain administrator account
- Password: Keep it blank
Do not put any password in SSMS; click on Connect.
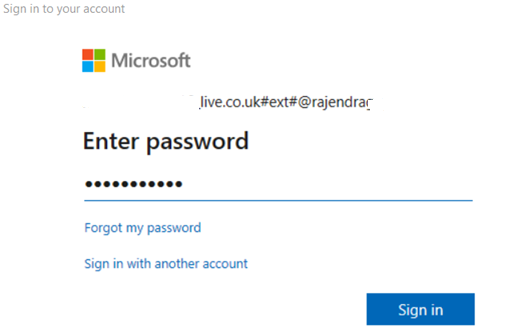
It asks for your credentials for the Azure portal as shown below.
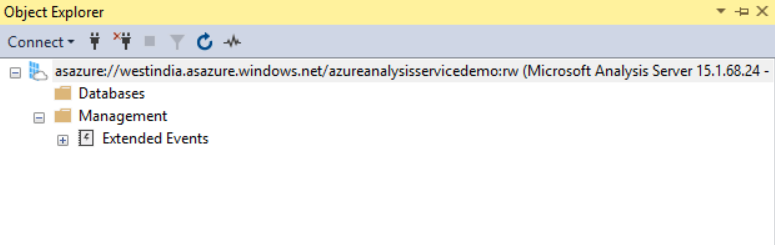
Once authenticated, SSMS shows the databases and management folder for the analysis server. Right now, we do not have any tabular database model. Therefore, the database folder is empty.
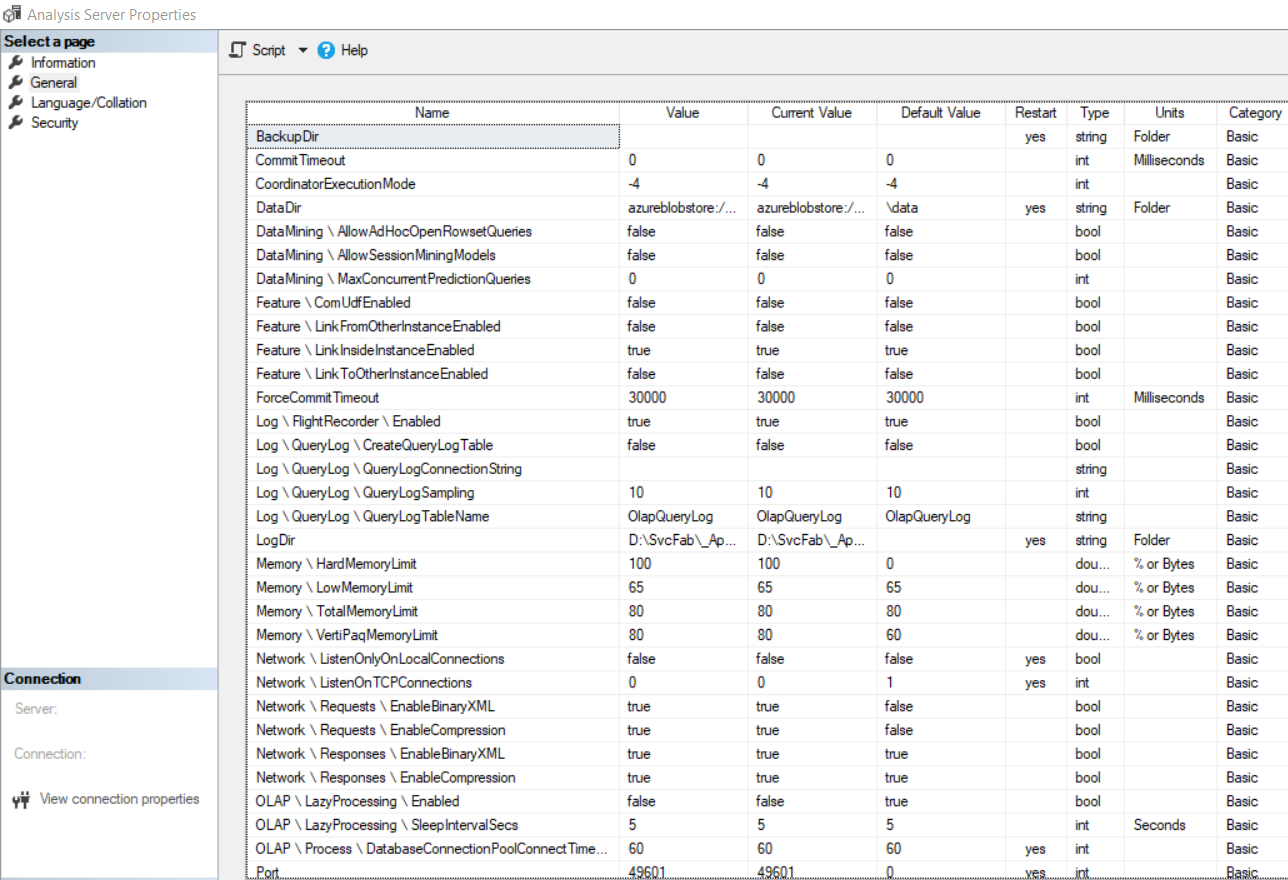
Right-click on the analysis server and view its properties. It shows the current version, compatibility level, server mode (tabular) and supported compatibility levels. It shows 1100, 1103 compatibility levels in the list; however, the AAS does not support these compatibility levels.

Similarly, you can click on general and view analysis server configurations.
We can deploy a sample tabular model from the Azure portal. In the analysis server dashboard, click on the New Model.
In the new model, select the sample data in the data source.

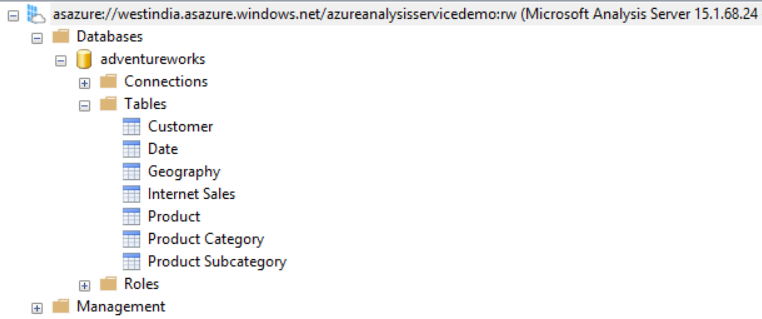
It quickly deploys [adventureworks] model in 1200 compatibility level for your azure analysis server.
Refresh your analysis service connection in SSMS and view tables in the tabular model [adventureworks]
Deploy a tabular model in Azure Analysis Services from Visual Studio 2019
Visual Studio 2019 is a popular tool among developers for creating analysis service models. We can deploy the model to both on-premise and Azure cloud using it.
- Note: You should have Visual Studio 2019 and SSDT tools to create and deploy analysis service models.
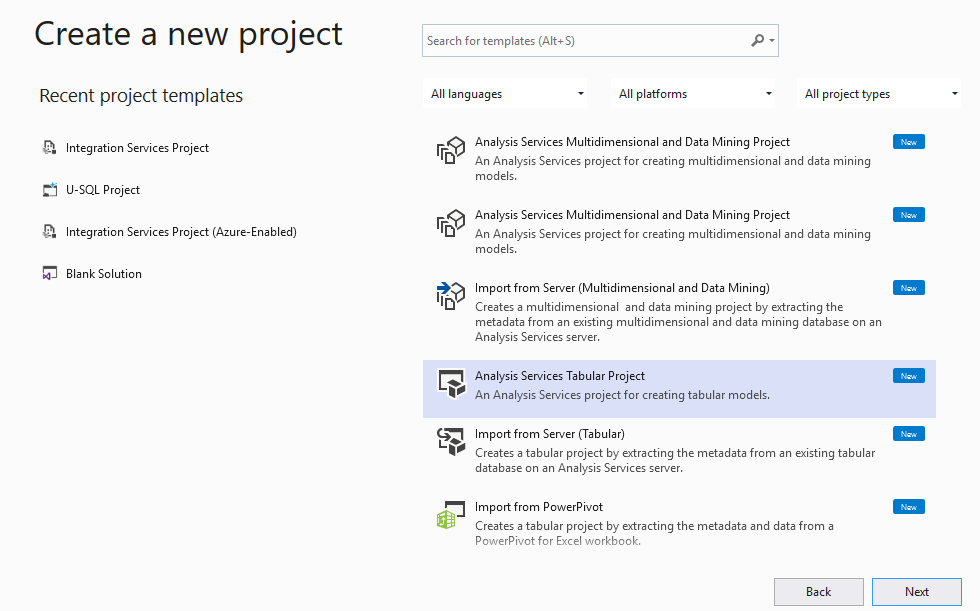
Launch Visual Studio 2019, Create a new Analysis Services Tabular Project.
In the tabular model designer, select integrated workspace (Recommended, Visual Studio’s internal instance) and compatibility level.
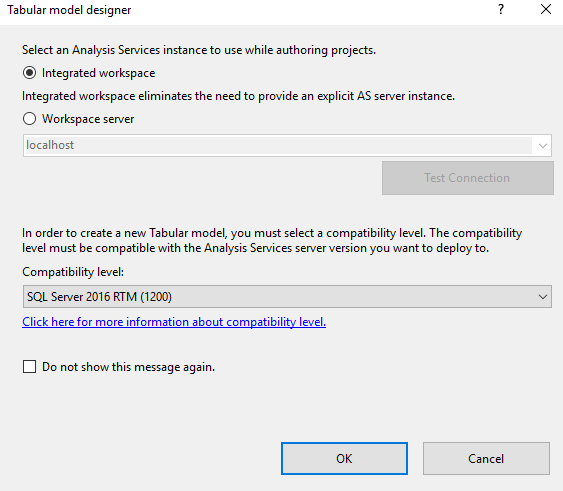
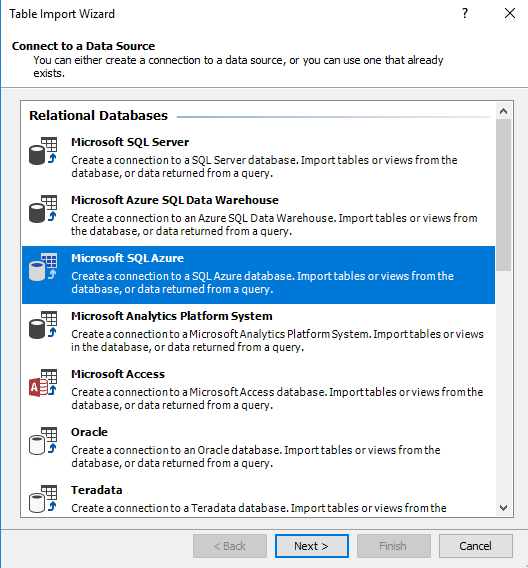
Click Ok. Now, we require data in the analysis service model. You can use relational databases such as SQL, Oracle, Microsoft Access, Teradata, Excel or text file.
This article connects to Azure SQL Database; therefore, we choose to click on Microsoft SQL Azure from the data source list.
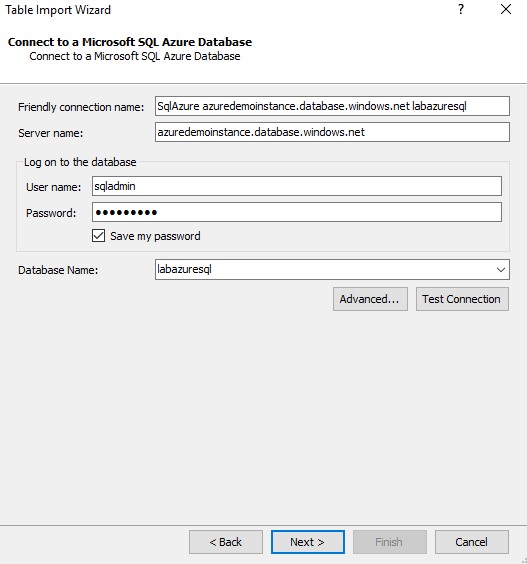
Enter your Azure SQL Database server name, credentials, database name in the table import wizard.
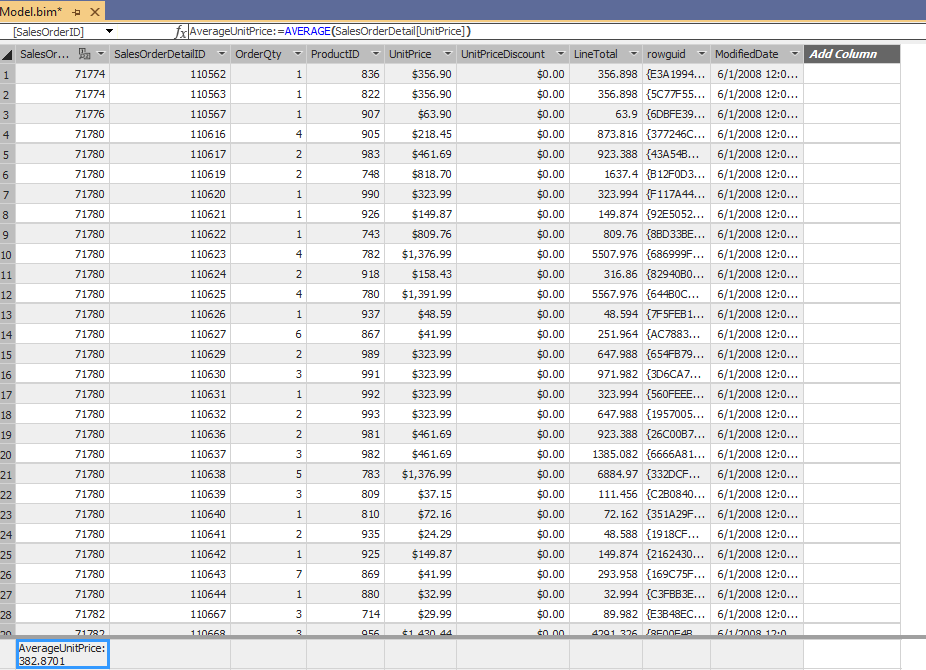
Select the required table or views for preparing your data model in the analysis service. I choose [SalesOrderDetail] and [SalesOrderHeader] tables from the azure SQL database data source for demonstration purposes.
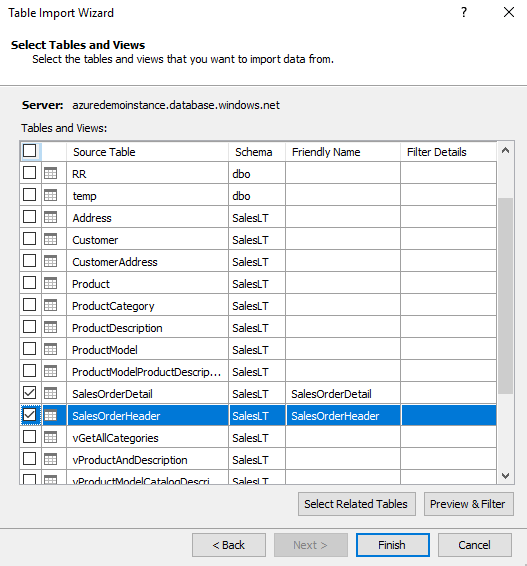
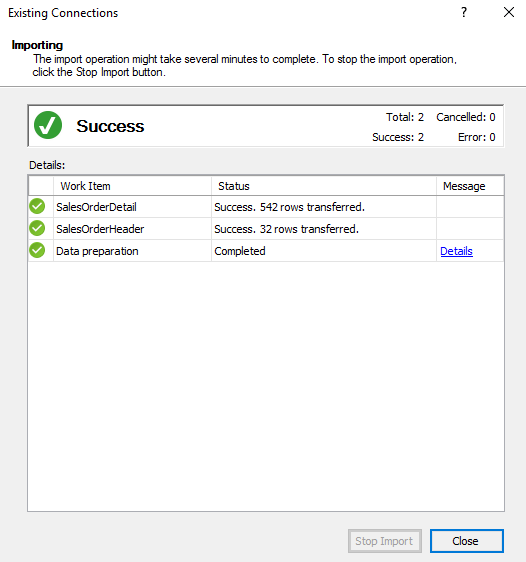
Click on Finish, and it starts data import for a model.
For the demonstration purpose, I created a measure for calculating the average of the unit price. You can refer to an article for understanding the measures in the Power BI desktop.
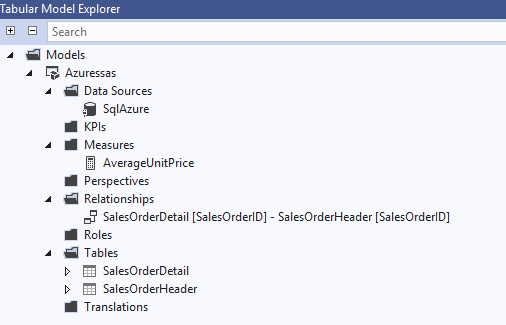
In the below screenshot, we see the newly created measure in the tabular model explorer.
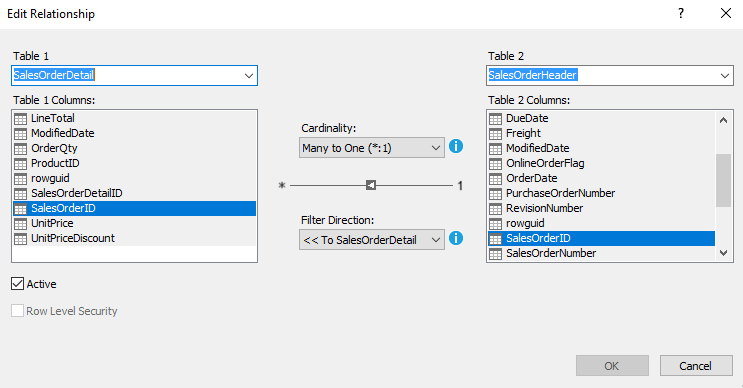
It automatically establishes relationships between the objects. We can modify the relationship according to our data model. As shown below, both tables are linked together in many to one cardinality using the [SalesOrderID] column.
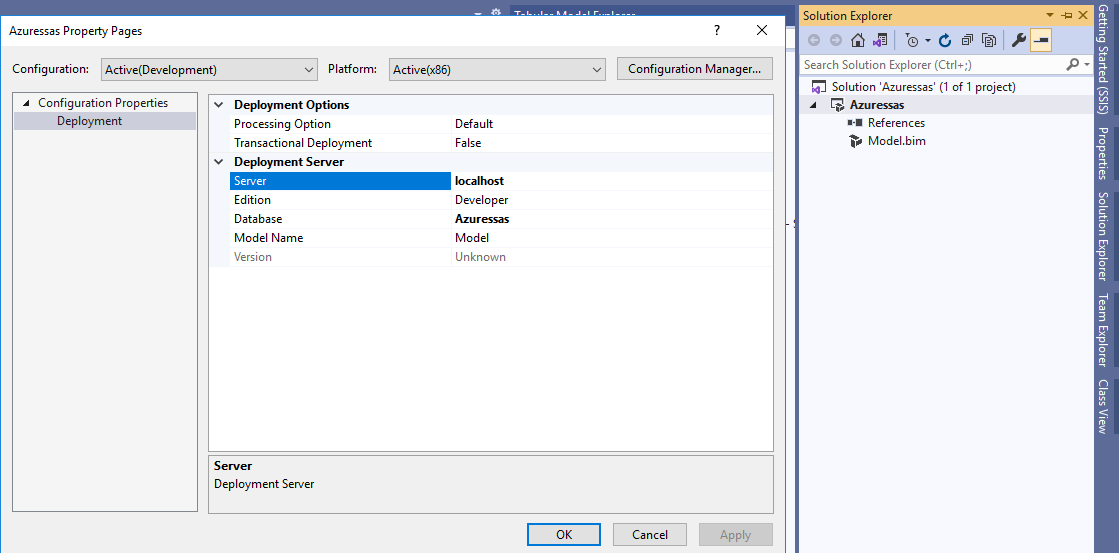
Now, we will deploy the model created from the Visual Studio on the AAS. In the visual studio, right-click on your project in solution explorer and open properties. It has the deployment server as localhost as of now.
Modify the server name from localhost to azure analysis server. Here, you can use the connection string for the management server from the analysis service portal.
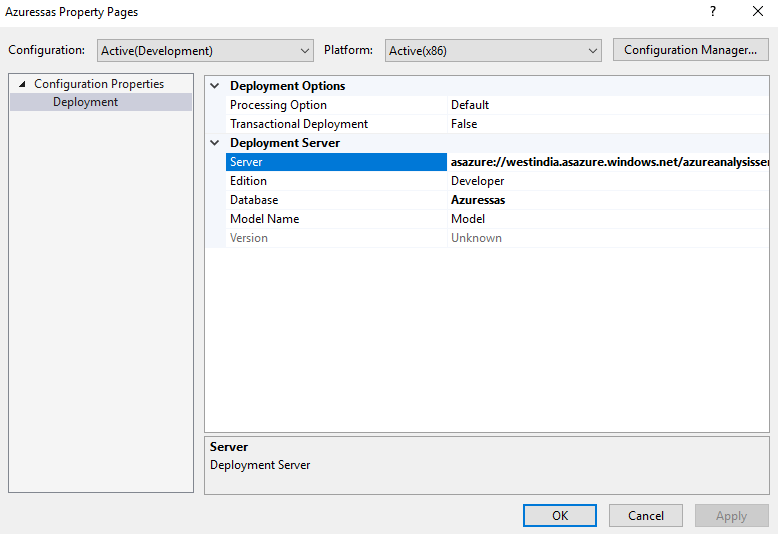
Click Ok. To deploy the project, Right-click on the project in solution explorer and click on Deploy. You need to provide azure credentials for authentication to the analysis server.
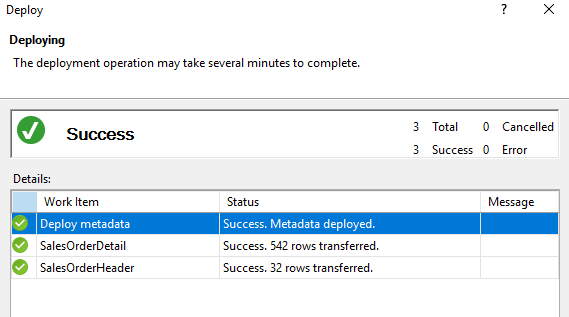
As shown below, it deployed the metadata and tables successfully in AAS. The deployment time might vary depending upon your objects.
Refresh analysis service server dashboard, and here, we have two models.
- [adventureworks]: sample model
- azuressas: The model that we deployed from the Visual Studio

Refresh your analysis server connection in SSMS, and you get both tabular model databases.

Azure Analysis Services and Live connections of Power BI
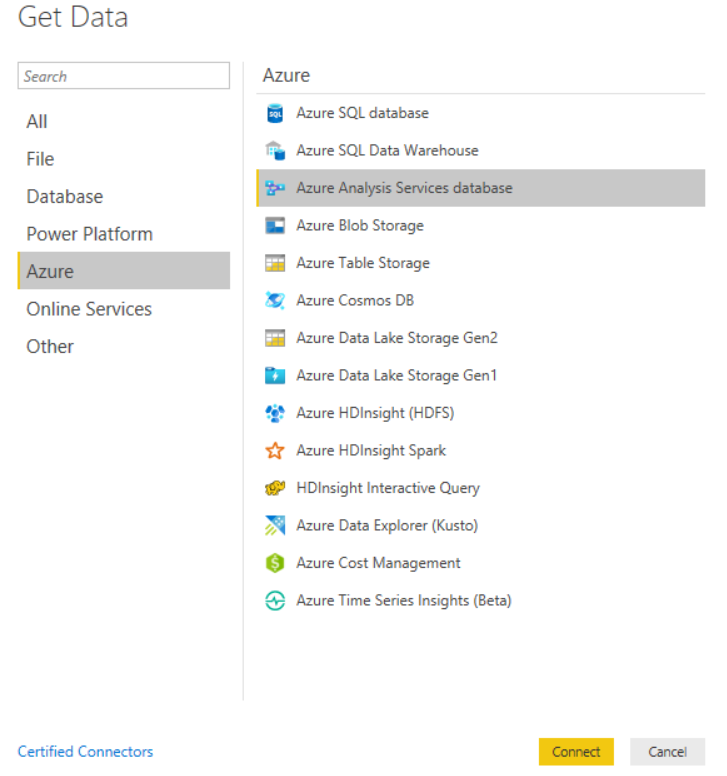
As highlighted earlier, we can create live connections for AAS in the Power BI desktop. If we use a live connection, Power BI does not store any data, and it acts as a data visualization tool. In the Power BI Desktop, Click on Get Data -> Azure -> Azure Analysis Services databases.
Select Connect Live in the connection mode and enter the analysis server name in the connection window.
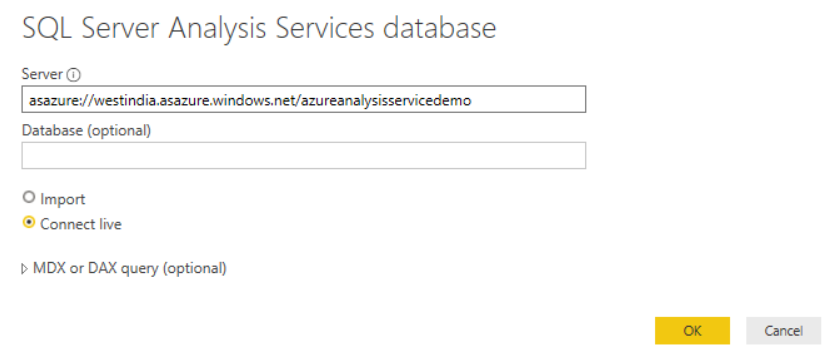
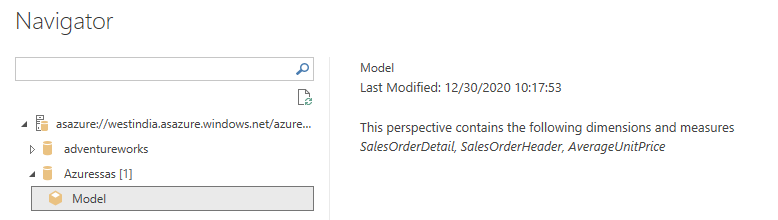
Click Ok, provide your azure credentials for the analysis server, and select the required model for that we wish to create a visualization. Once you select the model, you get the last modified data, a description for the model such as objects, measures.
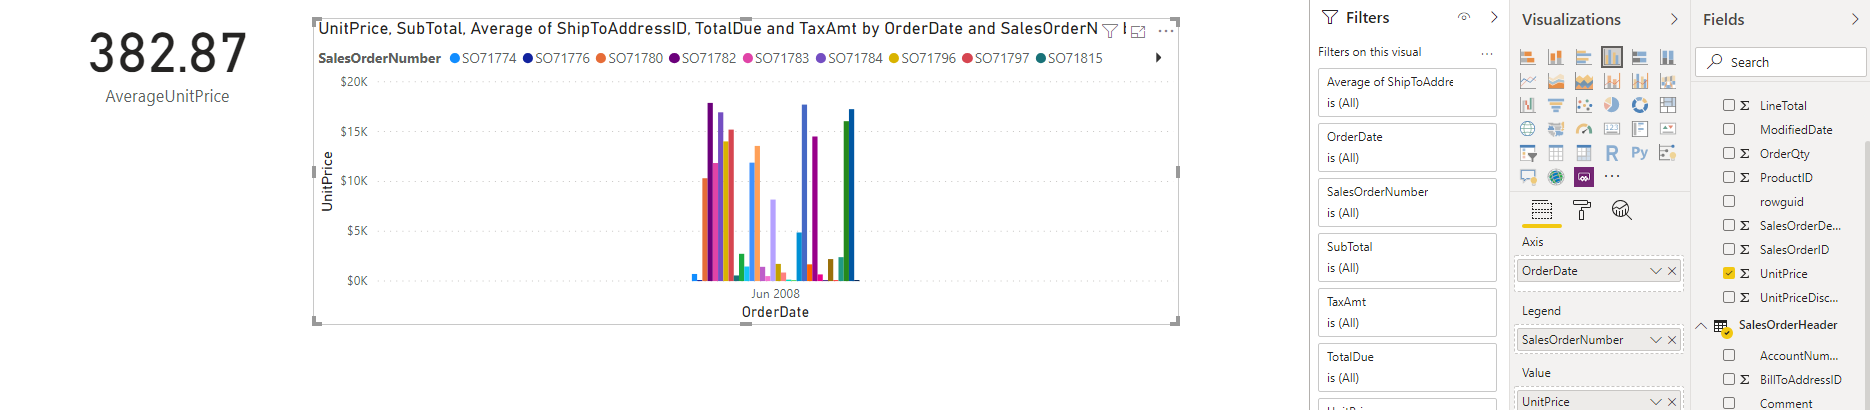
It connects to an azure analysis server, populates the model in Power BI Desktop. You can quickly create data visualization ( sample visualization below) from objects, measures in your model.
Pause and Resume Azure Analysis Services
Suppose you have a development model on the AAS. You don’t need that model to be up and running 24*7. Therefore, you can pause service to save the cost during off business hours. Similarly, you can resume it whenever required. Once the analysis server runs, you get an option – Pause in the analysis service portal.
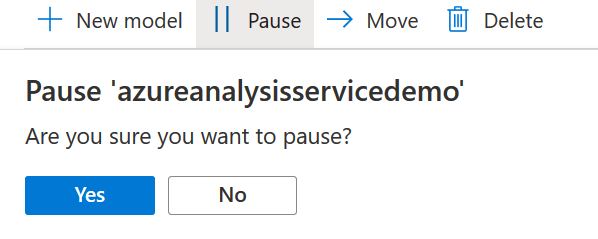
Click on Pause, and Azure asks you a confirmation before proceeding further. Click on Yes.
Once the analysis service server is paused, you get another option – Start to resume the services.
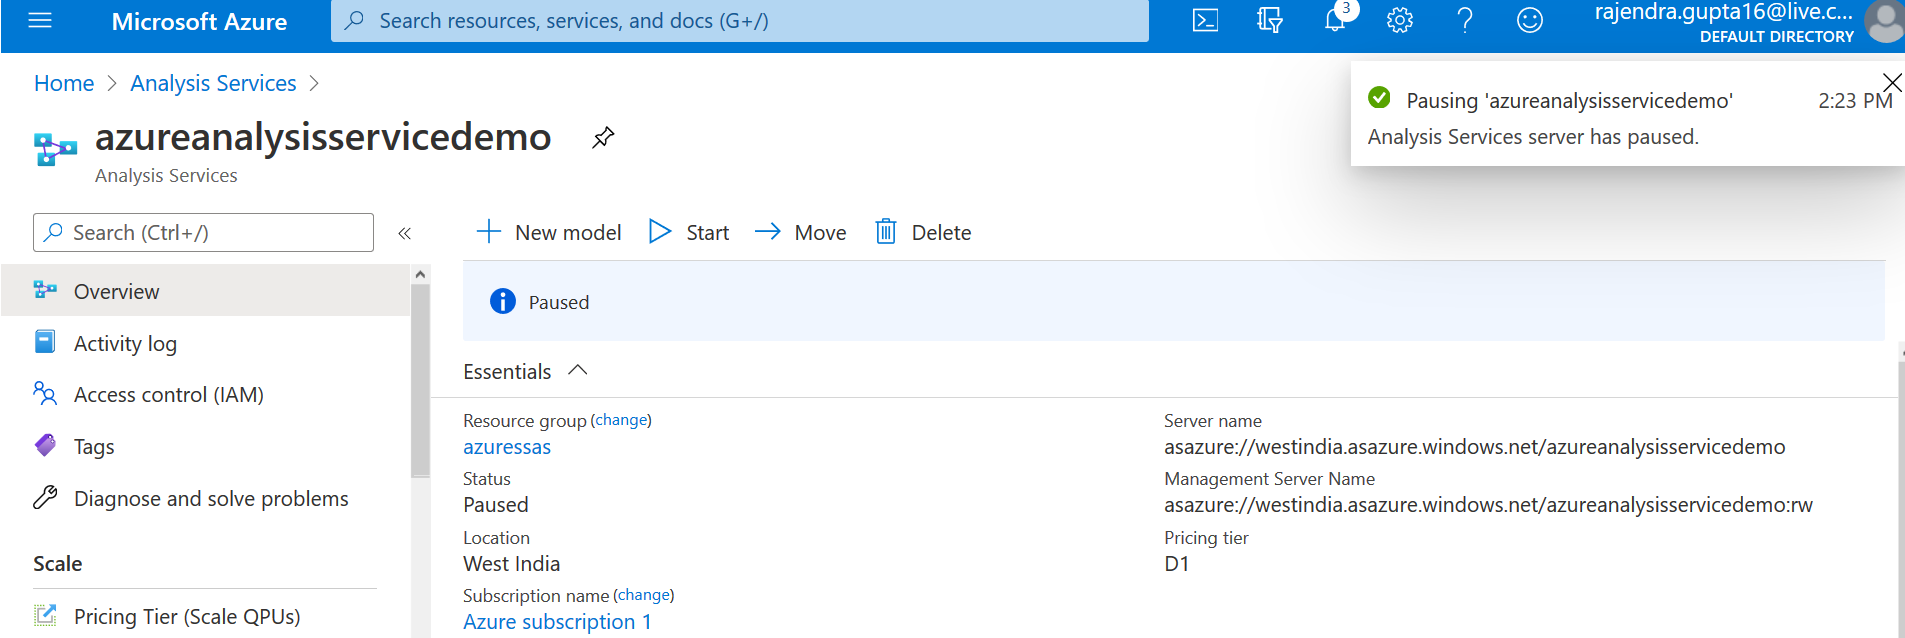
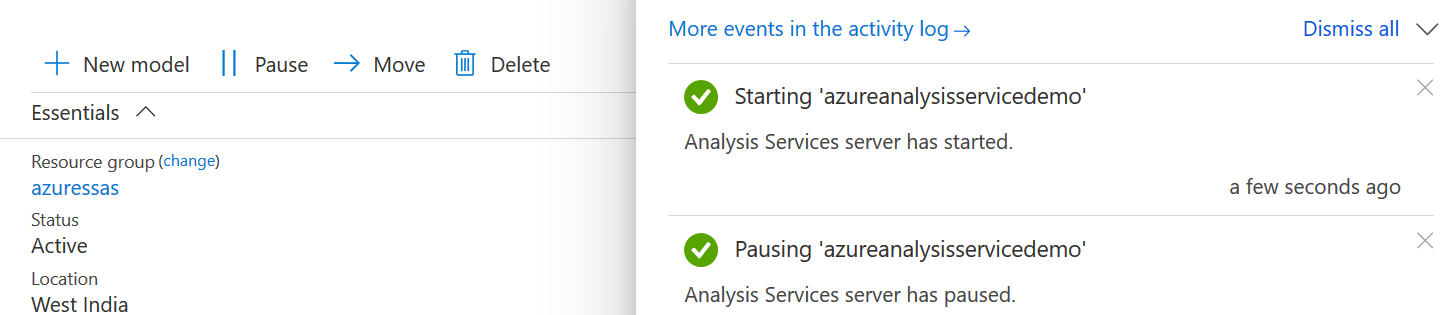
In the dashboard, the status changes from active to paused, as shown below.

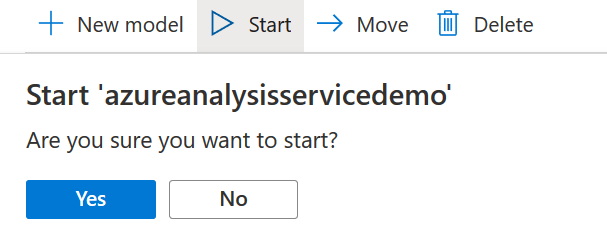
Click on Start, and confirm by clicking on the Yes button.
It starts resuming the analysis service server.
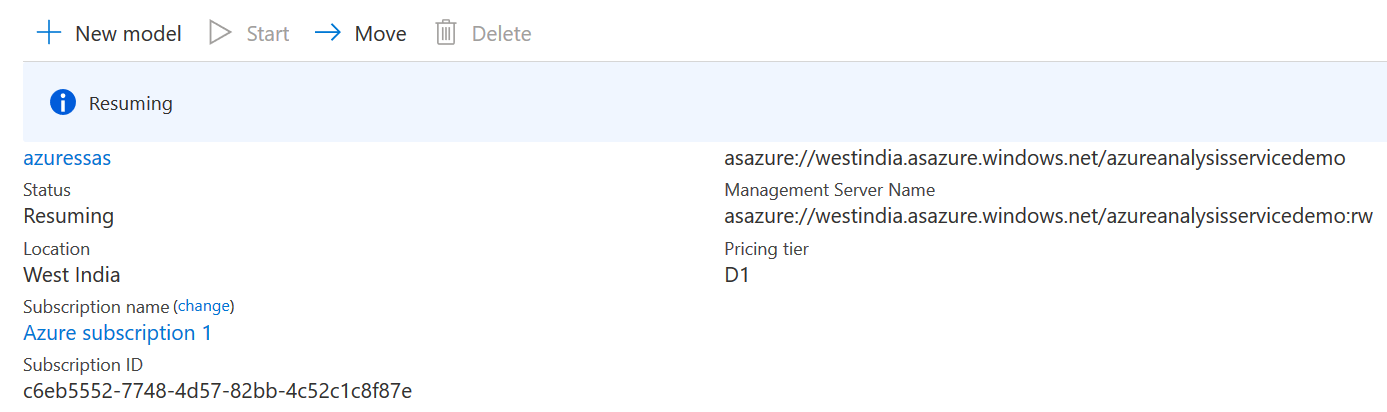
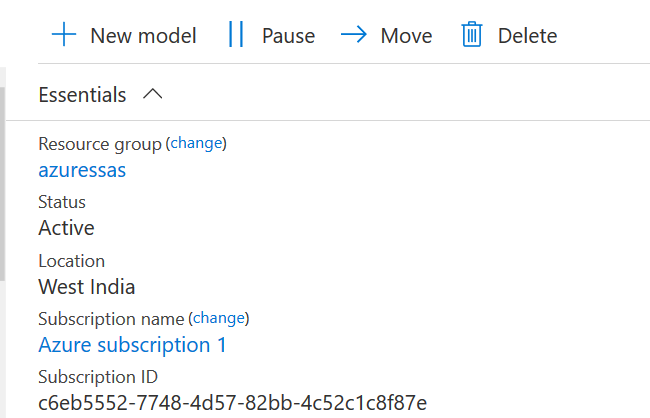
The AAS server is in the active state again, as shown below.
Conclusion
In the article, we explored the PaaS solution Azure Analysis Service for deploying your tabular models in the cloud. You can deploy models and connect them with visualization tools such as Power BI, Tableau, and MS Excel to prepare reports.
Table of contents
| An overview of Power BI data models |
| Azure Analysis Services and Power BI Live connections |
| Direct Query Mode in Power BI for Azure Analysis Services |

I am the author of the book "DP-300 Administering Relational Database on Microsoft Azure". I published more than 650 technical articles on MSSQLTips, SQLShack, Quest, CodingSight, and SeveralNines.
I am the creator of one of the biggest free online collections of articles on a single topic, with his 50-part series on SQL Server Always On Availability Groups.
Based on my contribution to the SQL Server community, I have been recognized as the prestigious Best Author of the Year continuously in 2019, 2020, and 2021 (2nd Rank) at SQLShack and the MSSQLTIPS champions award in 2020.
Personal Blog: https://www.dbblogger.com
I am always interested in new challenges so if you need consulting help, reach me at rajendra.gupta16@gmail.com
View all posts by Rajendra Gupta
- Understanding PostgreSQL SUBSTRING function - September 21, 2024
- How to install PostgreSQL on Ubuntu - July 13, 2023
- How to use the CROSSTAB function in PostgreSQL - February 17, 2023