
This articles gives an overview of the Azure Cloud Shell.
Introduction
Database professionals work with many environments, platforms, cloud infrastructure such as Amazon Web Services, Microsoft Azure. In the cloud solution, you can either work on their web portal or use the command-line interface (CLI). The CLI commands are an easier way to manage cloud resources with a set of scripts and parameters. However, you need to install, configure the CLI tools locally on systems. If you use multiple systems, servers, you might want to configure them on the individual server.
Similarly, to manage the Azure resources, we either use the Azure portal or Azure PowerShell or the Azure CLI’s. In this article, we will explore another useful way of managing Azure resources, i.e. Azure Cloud Shell.
Azure Cloud Shell overview
The Azure Cloud Shell is an integrated, interactive, browser-based shell for creating, and managing Azure infrastructure. You can directly access the cloud shell from Azure Web Portal or browse to URL https://shell.azure.com. You can choose to use the PowerShell or Bash experience using it.
-
Using Azure Web Portal

-
Direct access using the https://shell.azure.com

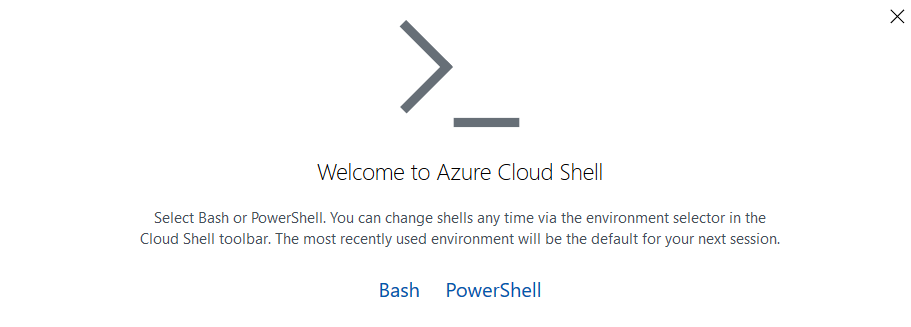
Once you launch the Cloud Shell first time, it asks for a default option from either Bash or PowerShell. You can change the shell anytime; however, it launches the default shell for your subsequent sessions.
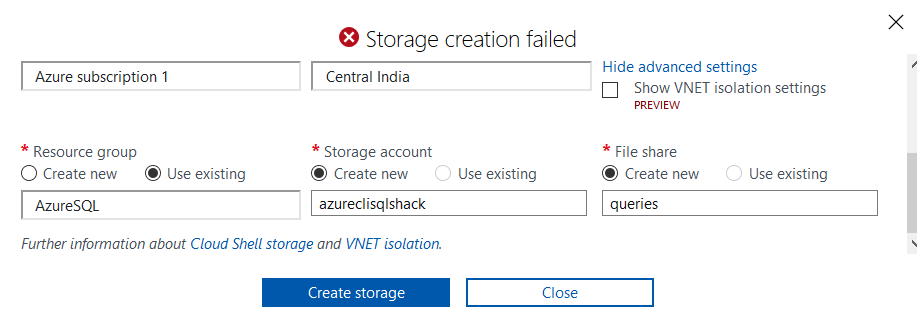
Select PowerShell as the default shell. It opens the following page for the resource group, storage account and file share details. You can choose existing configurations or create a new resource group, storage account and file share

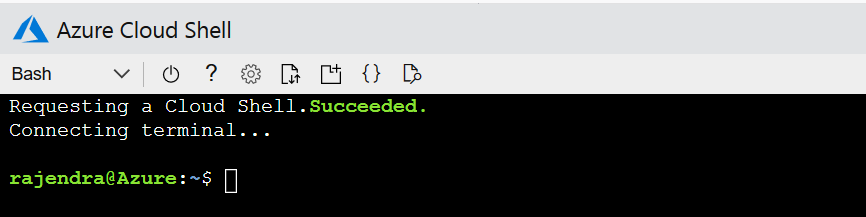
Click on Create Storage. It creates the Azure resources and launches the default shell, as shown below.
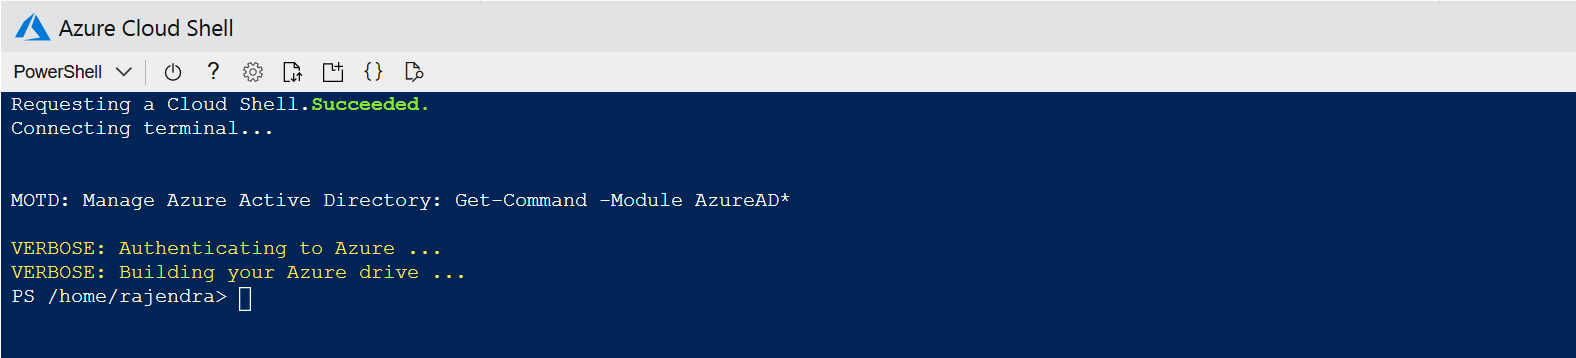
In the top corner, it displays the current shell, whether it is PowerShell or Bash.
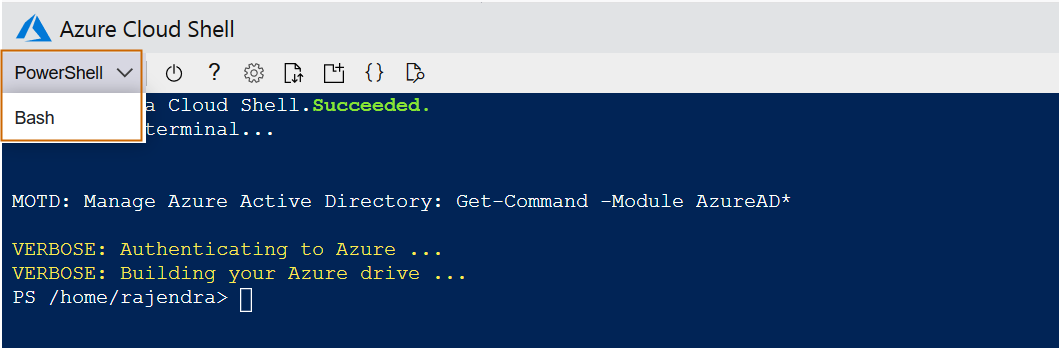
Choose Bash to switch from the default Azure Cloud Shell.
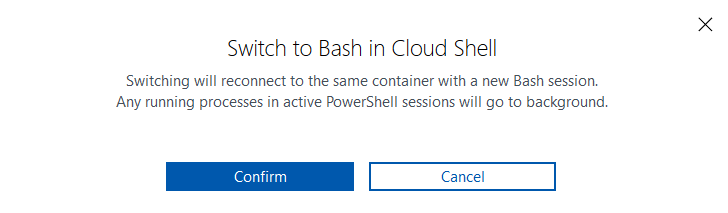
Click on Confirm, and it connects to the Bash session. It uses the containers and attaches an Azure file share for the container. It makes sure that data is persistent between different Azure Cloud Sessions,
Azure Cloud Shell configurations
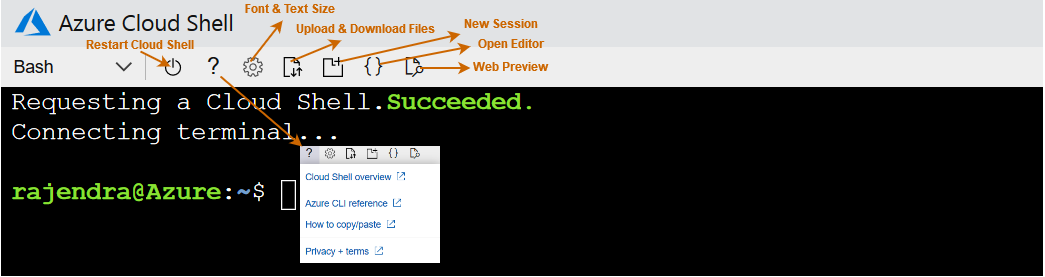
You can customize the cloud shell for both PowerShell and Bash terminals. It has the following configurations.
- Restart Cloud Shell: You can restart the cloud Shell container. If you have any unsaved work, you don’t get it back
- Help: Hyperlinks for Cloud Shell overview, Azure CLI reference, How to copy-paste, Privacy & terms
- Fonts: You can do font selection and text size as Small, Medium, Large
- Upload and download files: You can upload a file from your local machine to the /home/user directory. Similarly, you can download a file available in the /home/user directory
- New cloud shell session: You can launch multiple concurrent sessions, and each session runs as a separate process
- Open editor: It opens an interactive file editor, and it is built upon open-source Monaco Editor
- Web Preview: It allows running web applications on the Cloud Shell container and preview them directly from here. You can configure port 1025-8079 and 8091-49151 for HTTP requests
In the initial configuration, it requires Azure subscription, region, resource group, storage account and file share. You can use existing resources as well. If the storage account already exists with a similar name, you get an error message.
Upload and download files using Azure Cloud Shell drive
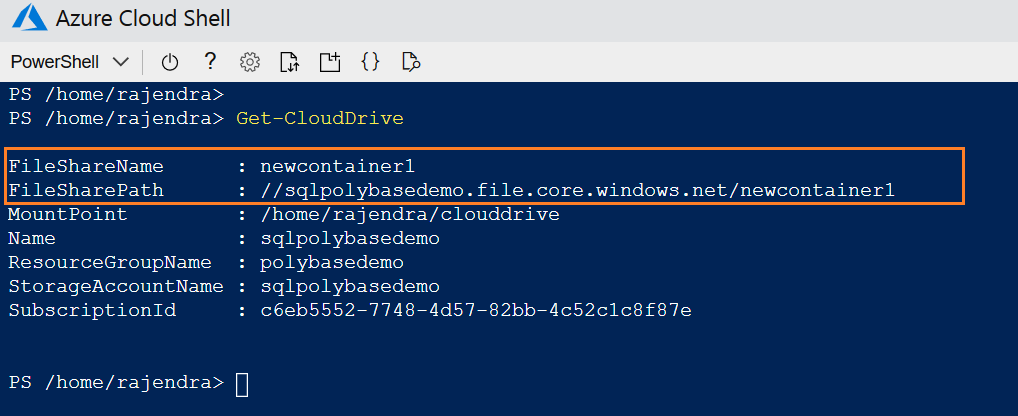
Cloud Shell uses the cloud drive for storing the files in the home directory. You can run the Get-Cloud Drive in PowerShell, and it returns the following things.
- File Share name
- File share path
- Mount point
- Name
- Resource Group Name
- Storage account name

The file share contains an image file of the 5 GB size that automatically persists data in the $home directory. You can view the image file in the Azure portal, as shown below.

To upload a file, click on Upload and select the file from your local system.
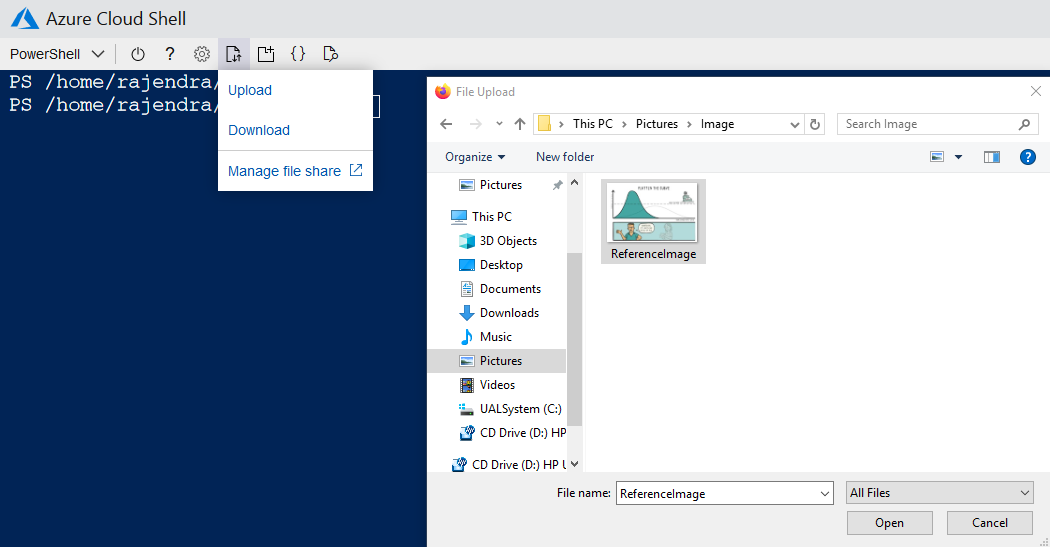
It uploads the file in the $home directory and shows the status in a pop-up box.

You can copy this file to the cloud drive using the cp command.

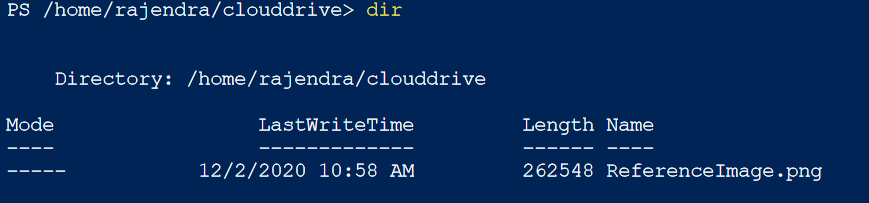
You can browse the uploaded file into the cloud drive.
You can also view, download the file from the Azure Web Portal.

You can download a file from the $home directory or the cloud drive using the Download button in the Cloud Shell.
In the download, a file page, enter the fully qualified path. You can only download the persisted files from the file share.
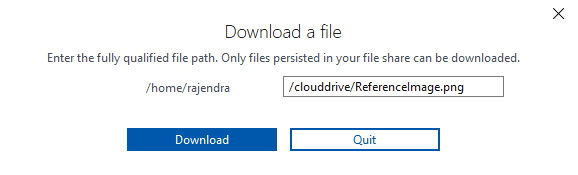
Click on Download, and you get the file in your downloads folder.
Supported storage regions for Azure Cloud Shell
You can query the $env:ACC_LOCATION variable to check the storage location for your Cloud Shell. In my environment, the storage region for Azure resources is in central India.

The cloud shell machine might exist in the following locations.
- Americas: East US, West US, South Central US
- Asia Pacific: Central India, Southeast Asia
- Europe: North Europe and West Europe
Run the following command to check the File Share location.
(Get-CloudDrive | Get-AzStorageAccount).Location

In the Azure cloud shell for PowerShell, you can also run the Linux commands directly. For example, use the df command to check the file shares, used space, available space and % use space for the drive mounted as the cloud drive.

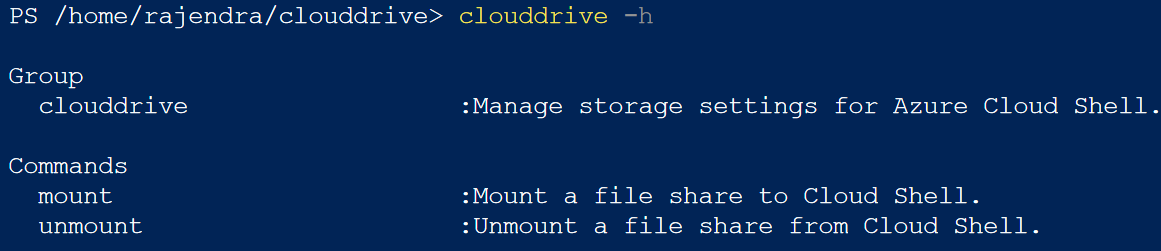
You can use the cloud drive -h command, and it lists the available commands. It shows two commands in the list:
- mount
- unmount
Suppose we want to modify the drive for your Azure Cloud drive. In the below script, we use the following argument.
- -g: resource group name
- -n: the storage account
- -f: file share name
>clouddrive mount -s c6eb5552-7748-4d57-82bb-4c52c1c8f87e -g polybasedemo -n sqlpolybasedemo -f newcontainer
You get a warning message before it proceeds to attach a new file share. Enter Y for proceeding with the new Azure drive container.

You can verify your new Azure drive container using the Get-CloudDrive cmdlet.
Integration of Microsoft docs and Azure Cloud Shell
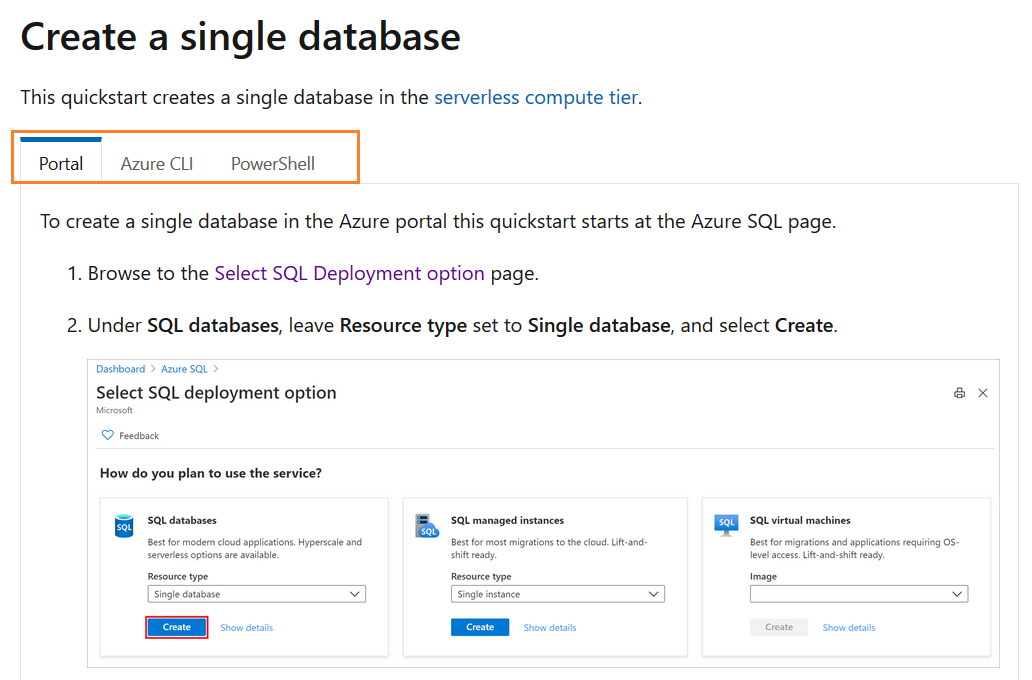
Have you noticed a change in the Microsoft documentation for the Azure resources? For example, I opened the web page for Quickstart: Create an Azure SQL Database single database.
It lists out three sections with detailed instructions:
- Azure Portal
- Azure CLI
- PowerShell
Click on the PowerShell, and you get two options for the codes.
- Copy
- Try it
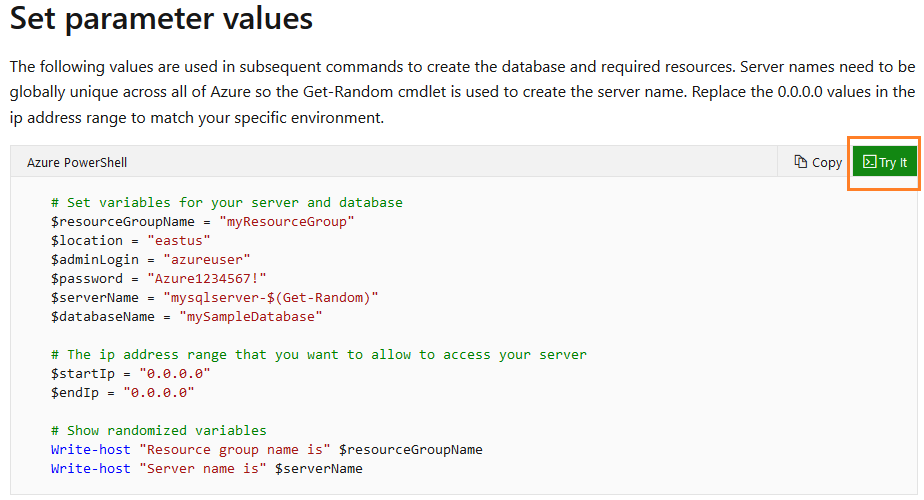
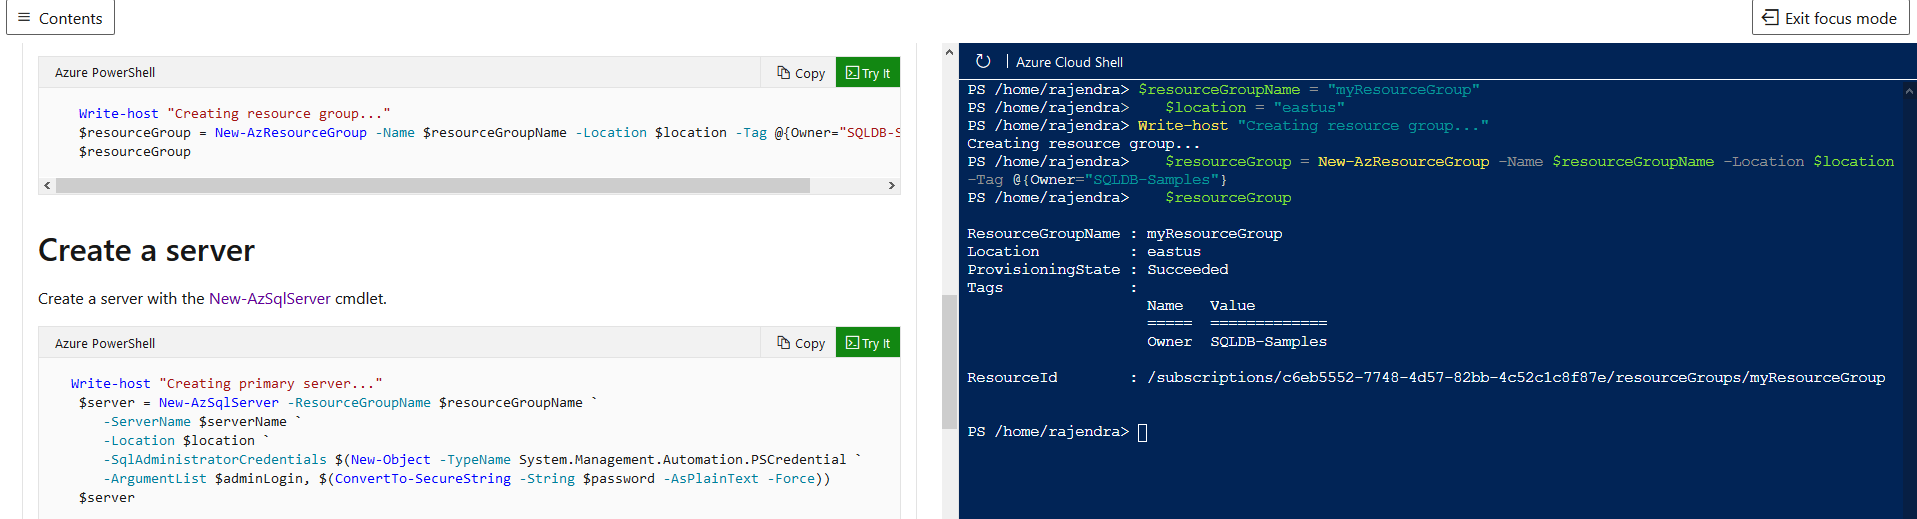
Click on Try it. It connects to your Azure subscription and launches the Cloud Shell.
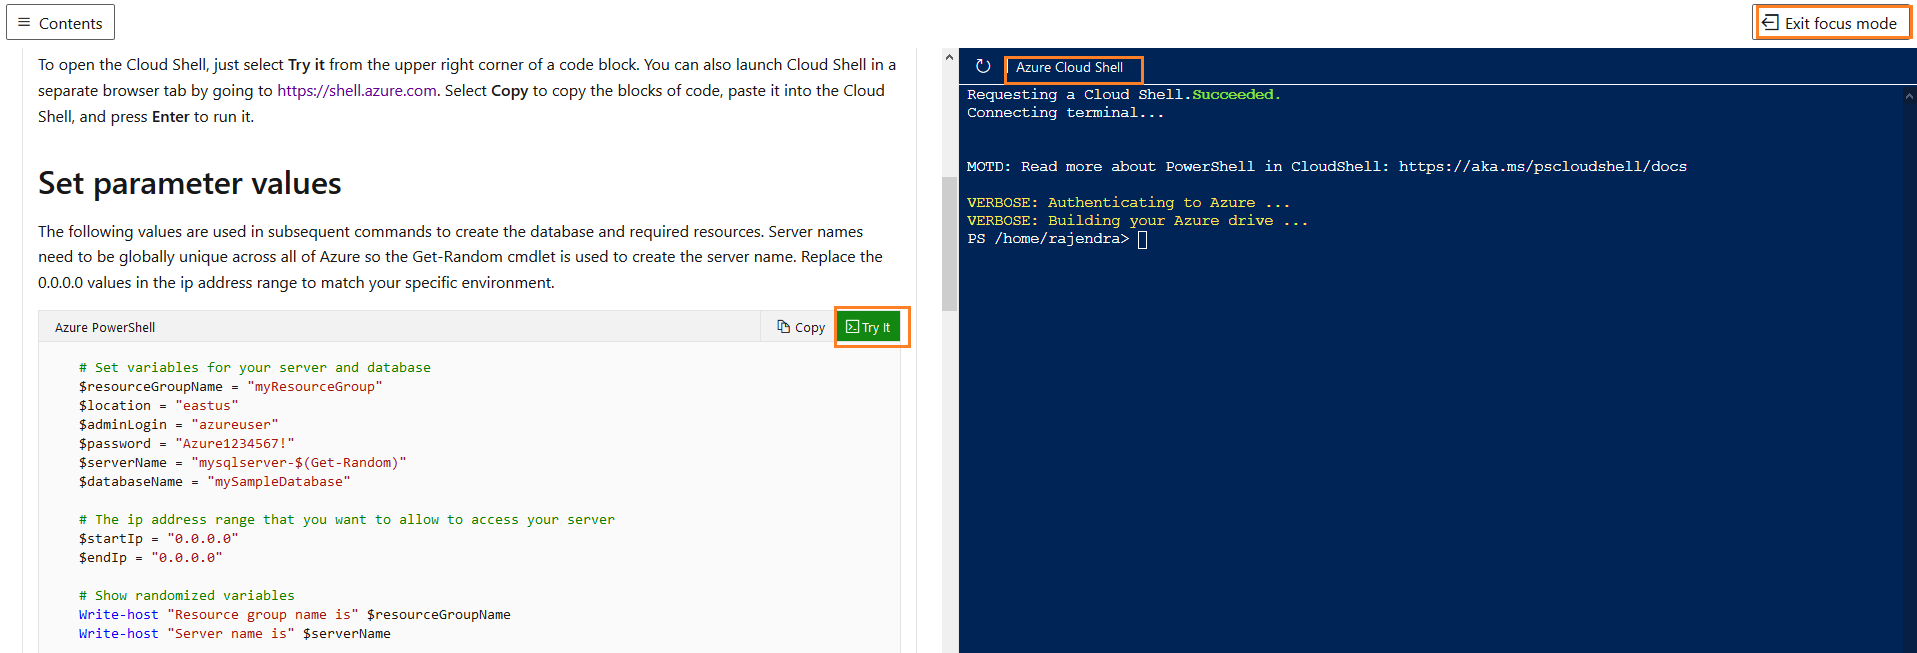
It gives you the feasibility to copy the code directly from the Microsoft docs and execute it in the cloud shell. It enhances your learning experience where you do not require to set up specific tools before executing any code.
For example, suppose I want to learn Azure PowerShell way of creating a resource group. I copied the script and executed it in the cloud shell directly within the Microsoft docs page.
It creates the resource group using my custom configurations.
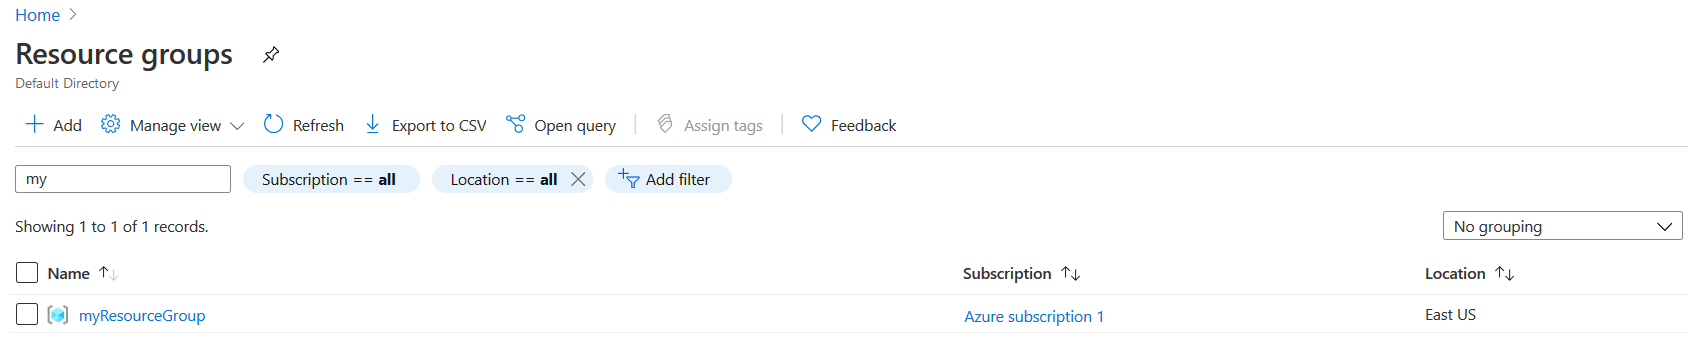
Later, you can refresh resource groups in the Azure portal and validate things. It shows a resource group [myResourceGroup] in the [East US] location. It matches with our script parameter values.
Similarly, you can clean up resources with the integrated cloud shell within the Microsoft docs.
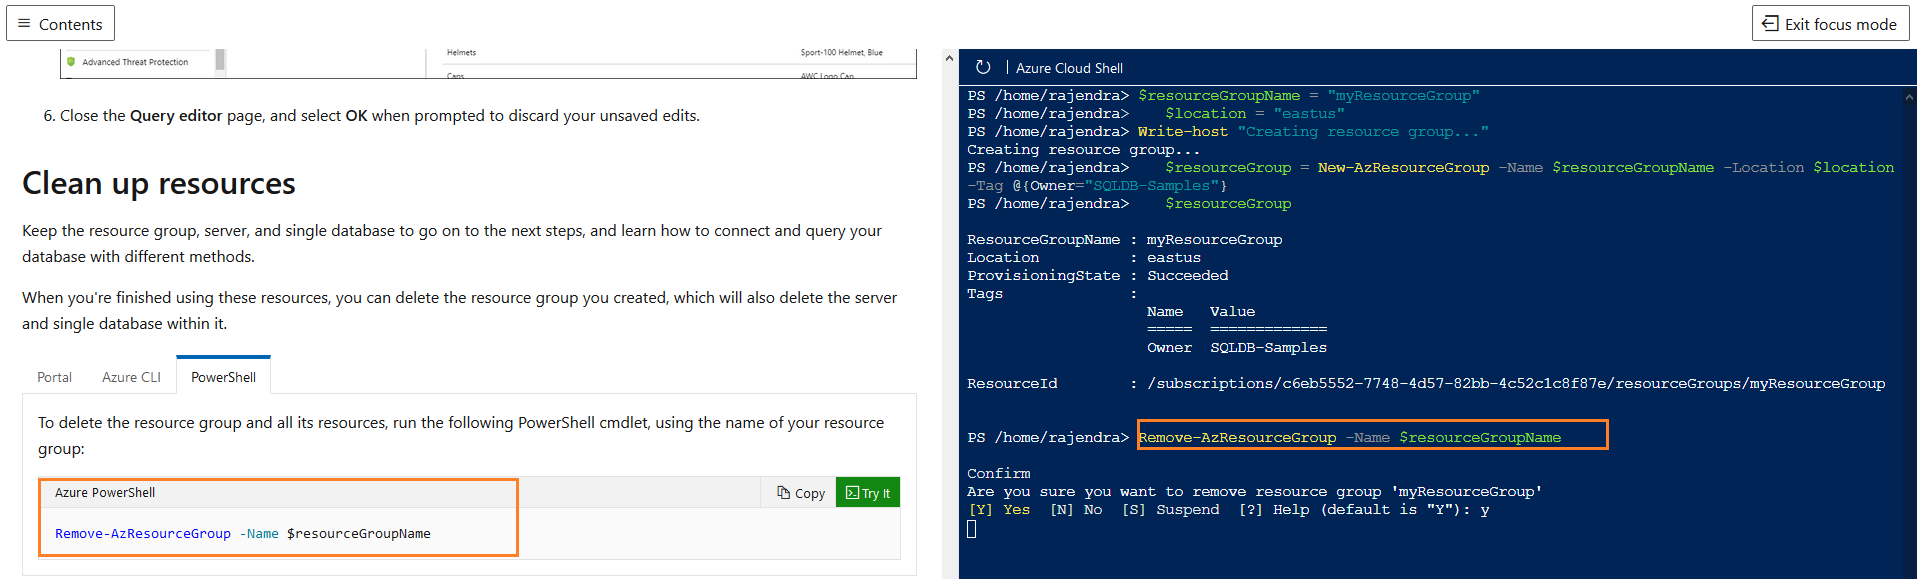
To skip the cloud shell integration, click on Exit focus mode in the top right corner and you get a regular web page.
Integration of Cloud Shell in Visual Studio Code
Azure Cloud Shell works well with the Azure portal, Microsoft docs, Azure Mobile App, or directly from the https://shell.azure.com. Visual Studio Code is a famous editor, and it works with most of the query languages. You can explore Getting started with Visual Studio Code (VS Code) for getting familiar with it.
Launch Visual Studio Code and navigate to Command Palette -> Azure: Sign In to Azure Cloud.
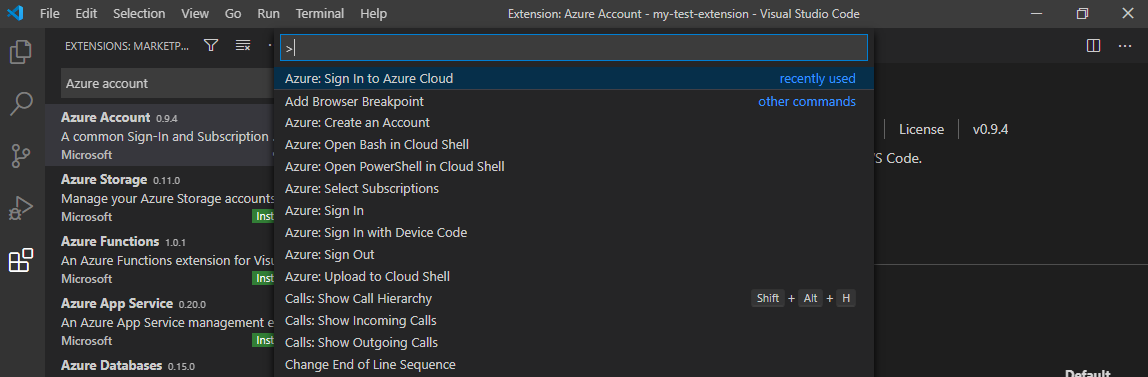
You get options to choose the Cloud we want to sign it.
- Azure
- Azure China
- Azure Germany
- Azure US Government
Select the Azure Cloud for authentication with your credentials.

It gives you a security code for authentication purposes.
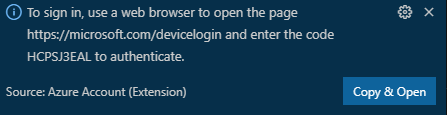
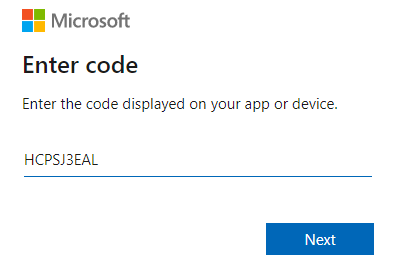
Click on Copy & Open and enter the code you get in VS Code as shown below.
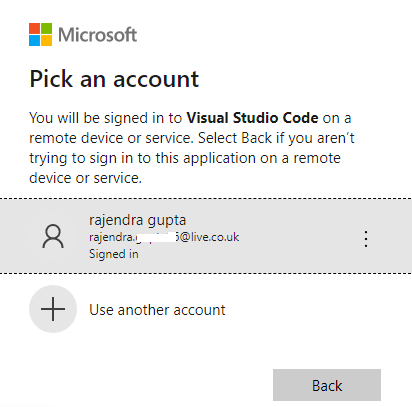
Now, pick the Microsoft account for signing to the Azure portal using your credentials.
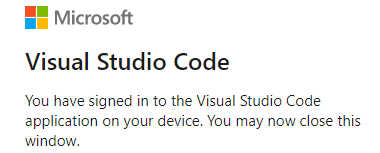
Once you signed in using the Visual Studio Code, you get the following message.
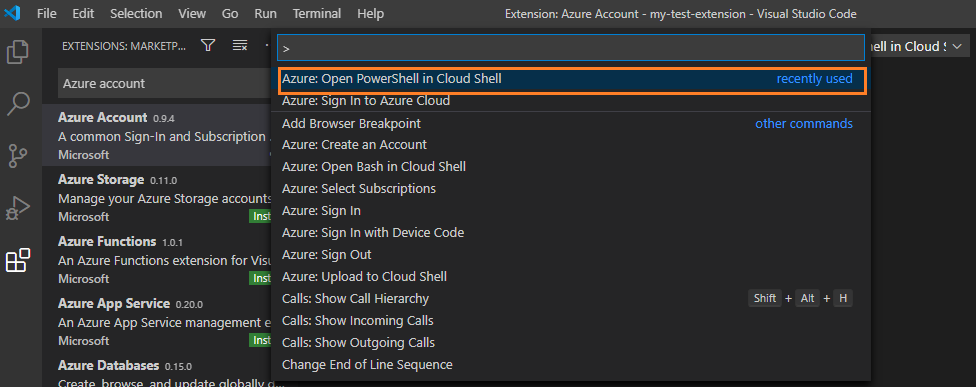
In the Visual Studio Code, navigate to Command Palette and Azure: Open PowerShell in Cloud Shell.
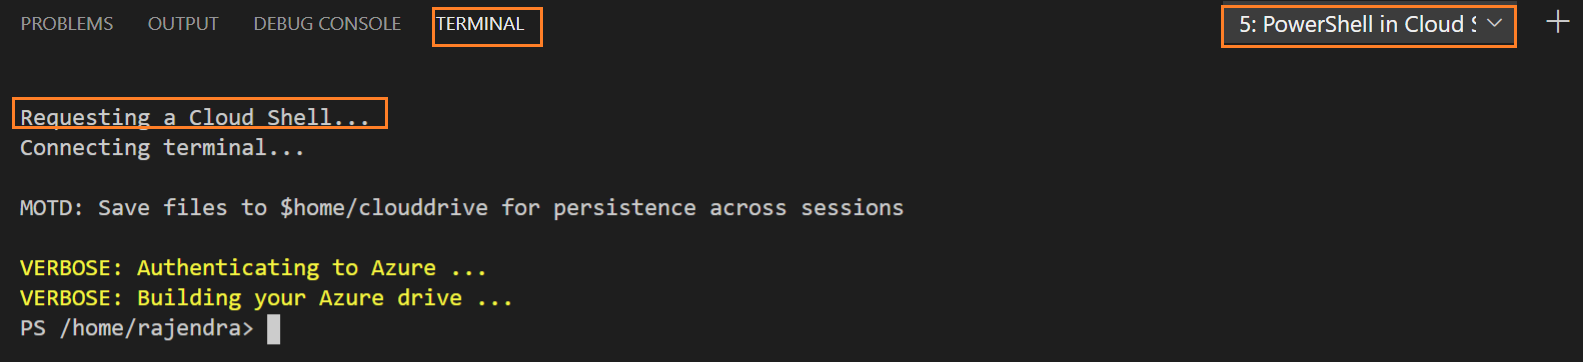
It connects to the default shell by authenticating to Microsoft Azure. In the output, it gives you the default Azure drive.
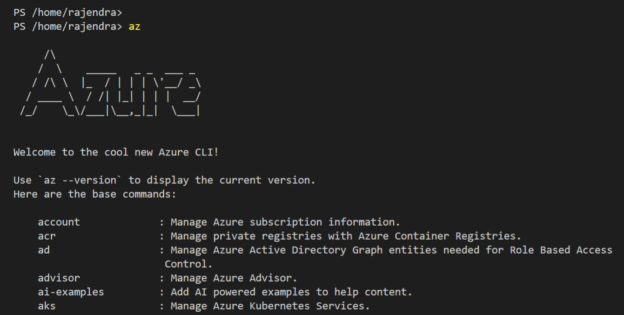
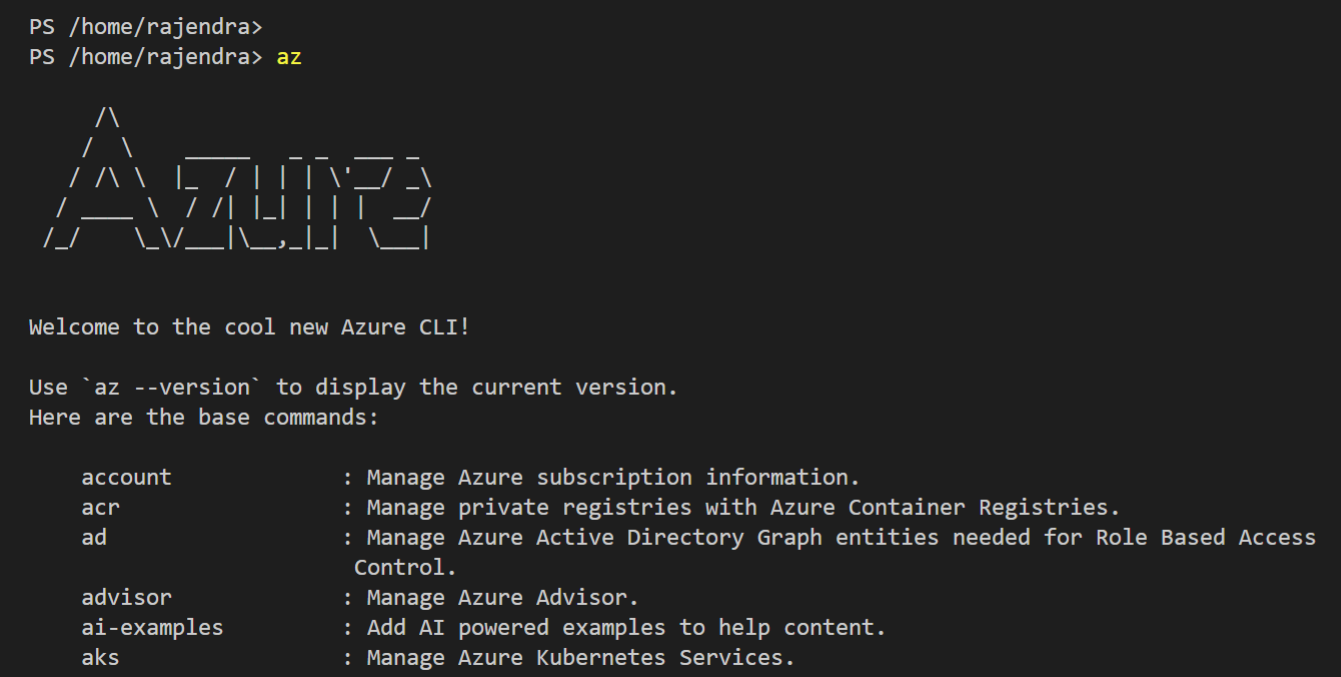
Enter Az, and it takes you to the Azure CLI screen as shown below. You can deploy, manage Azure resources using the Az cmdlets.
If you want a bash terminal in the Visual Studio Code for Azure, select Azure: Open Bash in Cloud Shell from the command palette.

As shown below, it launches the bash terminal integrated into Visual Studio Code.

Conclusion
In this article, we explored Azure Cloud Shell for configuring and managing Azure resources in the Cloud. You can also use an integrated cloud shell from the Microsoft docs for learning and executing the scripts.

I am the author of the book "DP-300 Administering Relational Database on Microsoft Azure". I published more than 650 technical articles on MSSQLTips, SQLShack, Quest, CodingSight, and SeveralNines.
I am the creator of one of the biggest free online collections of articles on a single topic, with his 50-part series on SQL Server Always On Availability Groups.
Based on my contribution to the SQL Server community, I have been recognized as the prestigious Best Author of the Year continuously in 2019, 2020, and 2021 (2nd Rank) at SQLShack and the MSSQLTIPS champions award in 2020.
Personal Blog: https://www.dbblogger.com
I am always interested in new challenges so if you need consulting help, reach me at rajendra.gupta16@gmail.com
View all posts by Rajendra Gupta
- Understanding PostgreSQL SUBSTRING function - September 21, 2024
- How to install PostgreSQL on Ubuntu - July 13, 2023
- How to use the CROSSTAB function in PostgreSQL - February 17, 2023