
In this article, I am going to explain how we can install SQL Server 2012 express edition using the SQL Server installation center. Additionally, I will also explain how we can use the SQL Server installation configuration file to perform an unattended (silent) installation. First, download the SQL Server express edition from this location. Once the installation file is downloaded, let us begin the installation process.
Install SQL Server using SQL Server installer
To start the installation, execute the setup file by double-clicking on it. The installation process will be started. On the first screen choose “New SQL Server stand-alone installation or add features to the existing installation” option. See the following image:

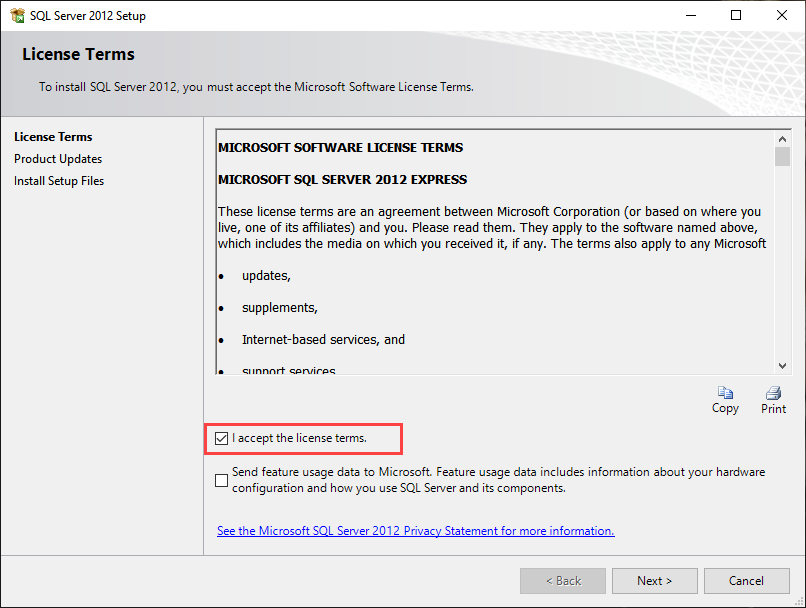
On the License terms screen, select “I accept the license terms” See the following image:
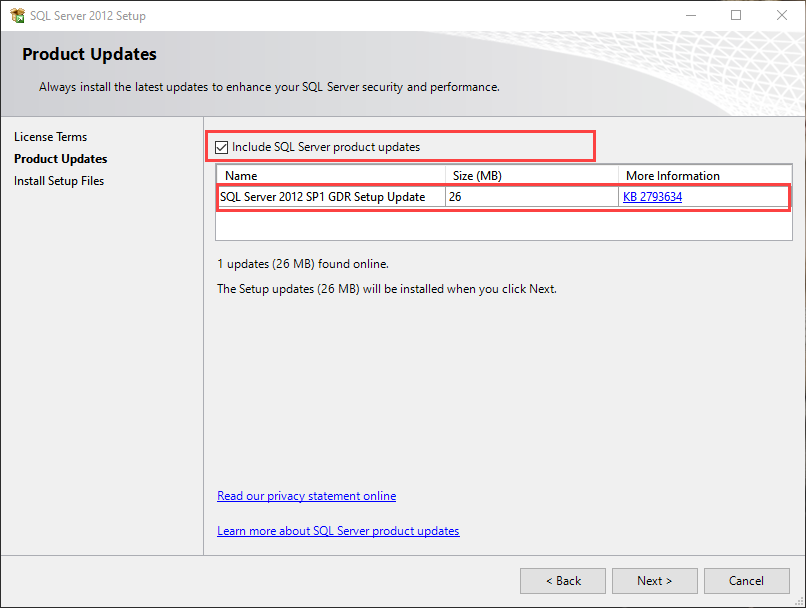
If you want to install the SQL Server product update, select “Include SQL Server product updates” on the “Product Updates” screen. It is always recommended to keep the SQL Server up to date, but before applying the update on the production server, you must test it on the test server. I am installing the SQL Server on my workstation; hence I will install the update. See the following image:
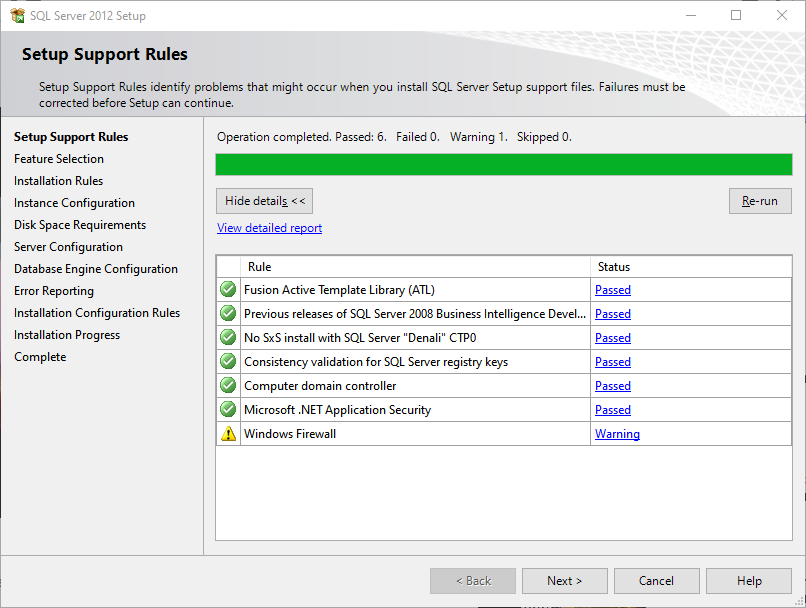
On the Setup Support Rules screen, the installer checks all the mandatory rules which are required to be passed. If you receive any error, then fix it and click on next.
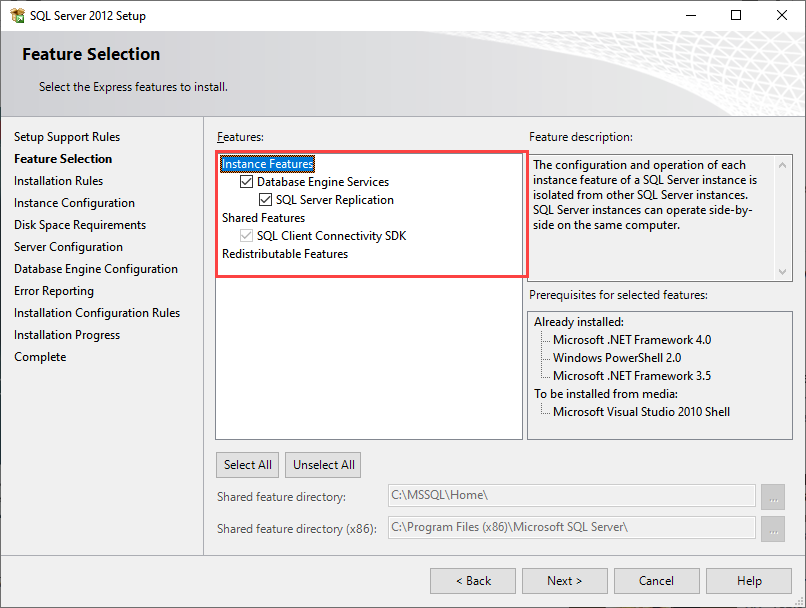
On the feature selection screen, select the features that you want to install on the computer and click on Next.
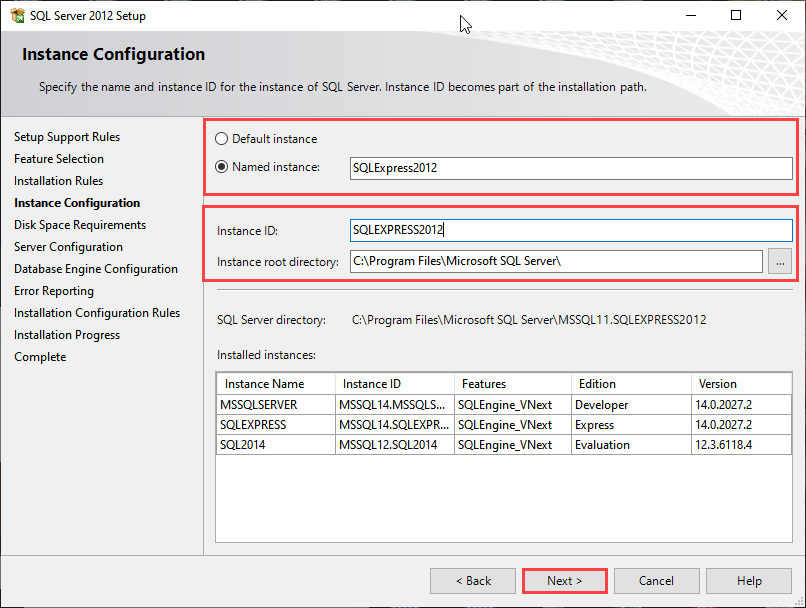
On the Instance configuration screen, you can choose to install a default instance or named instance. You can also change the instance root directory. Select desired options and click on “Next.”
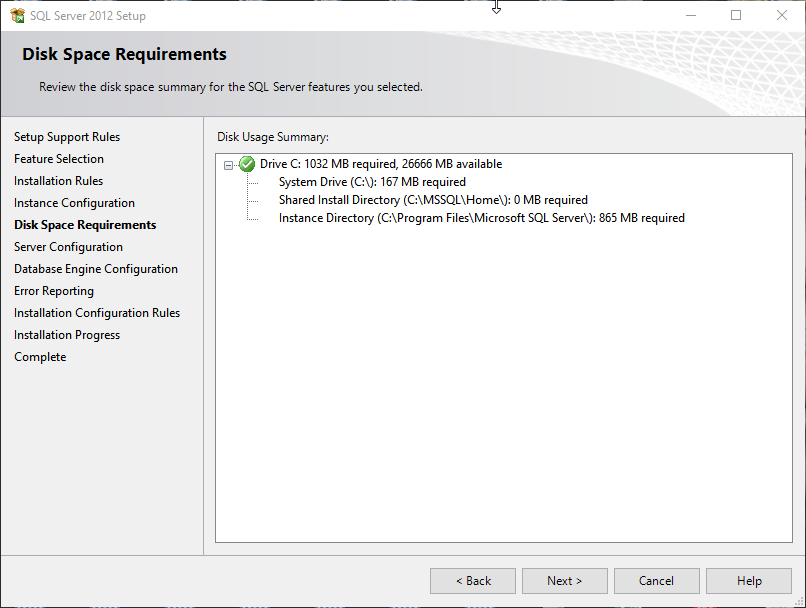
On the Disk space requirement screen, the installer checks the available space on the instance root directory. If sufficient space is available, then it skips the screen.
On the server configuration screen, you must specify the credentials of the SQL Server service account. You can also change the SQL Server service startup type.
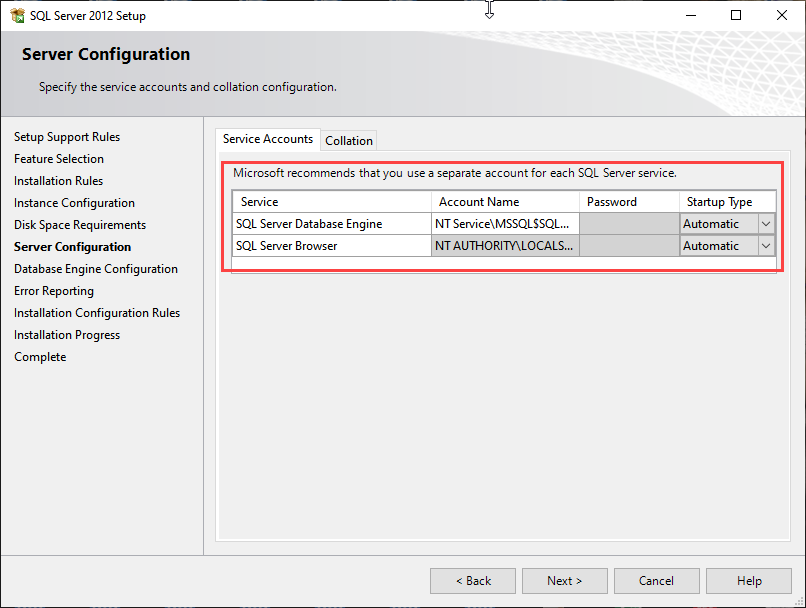
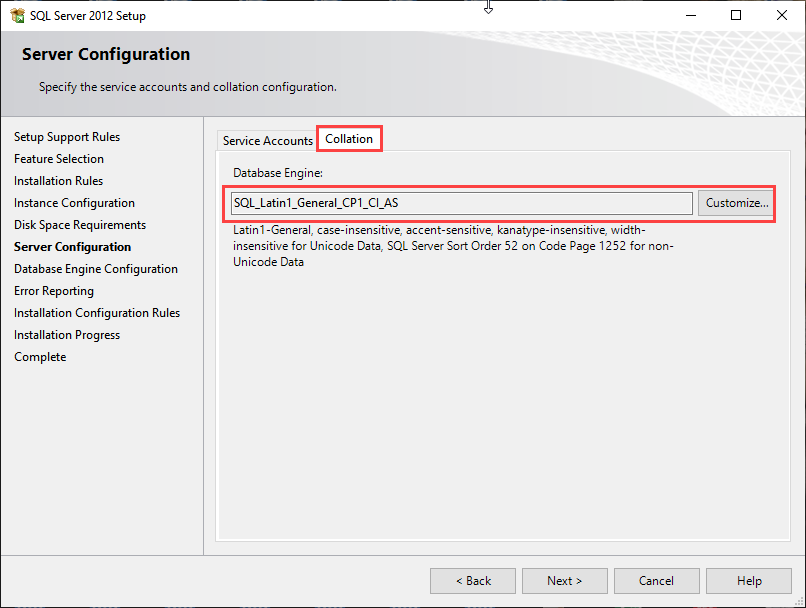
Under the collation tab, you can customize the database collation.
On the database engine configuration screen, you can perform the following configurations
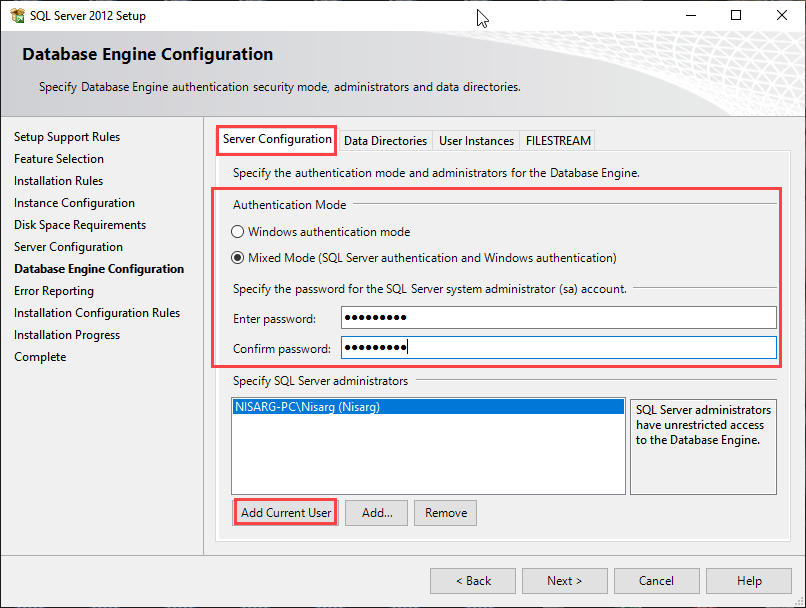
You can configure the authentication mode and specify the default SQL Server administrator from the Server configuration tab. You can choose Windows Authentication or mixed authentication (Windows authentication + SQL Server authentication). If you enable the Mixed mode, then you must provide the password of the “sa” user. Also, you must specify at least one SQL Server administrator. If you want to add yourself as a SQL Admin, then click on “Add Current Users.” See the following image:

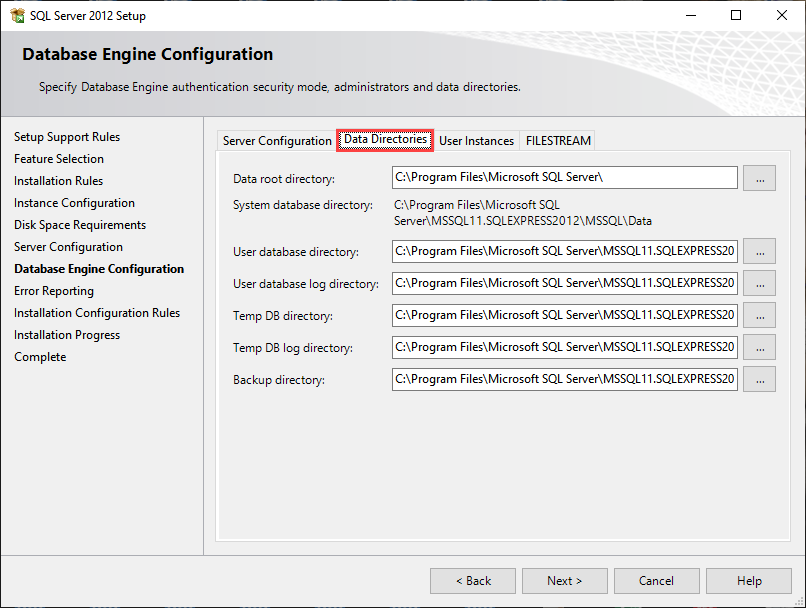
Change the default location of User database files and log files, tempdb data files, and log files and default backup directory. See the following image:
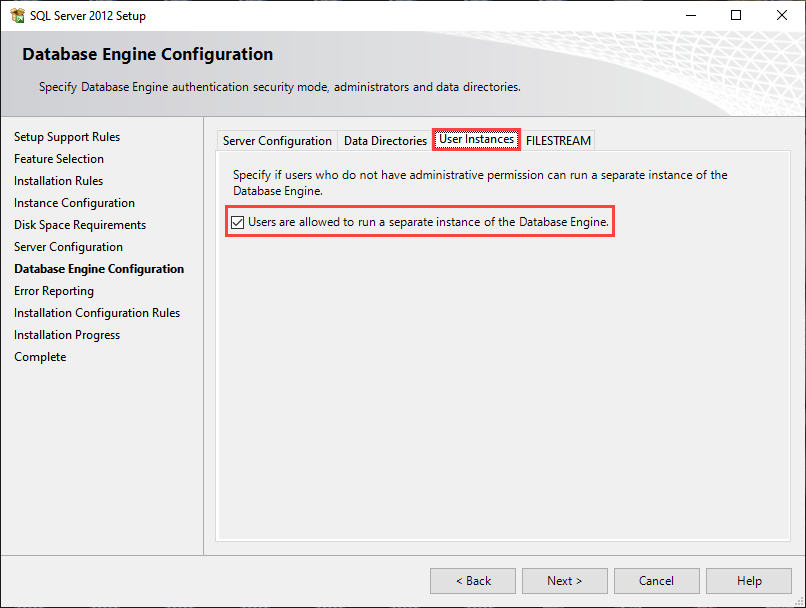
Enable User instance feature of SQL Server express edition. You can read more about it in this article. See the following image:
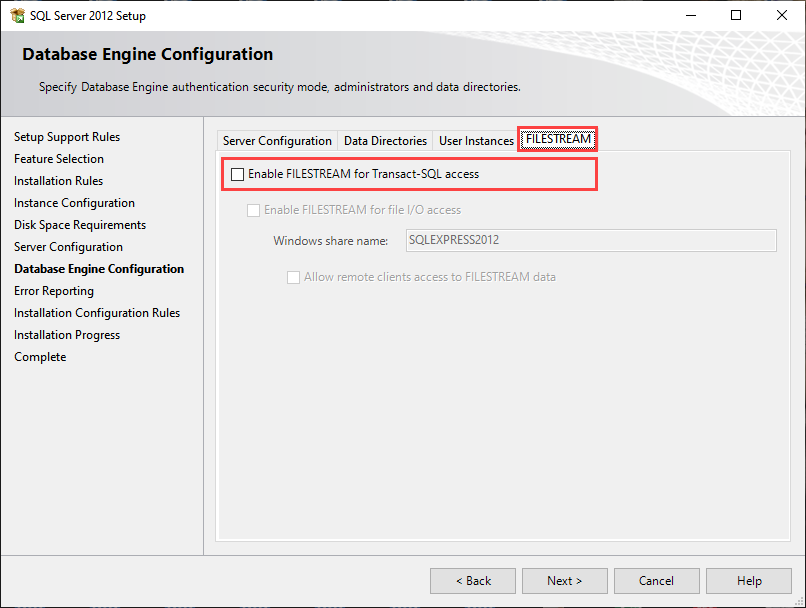
Enable FILESTREAM. See the following image:
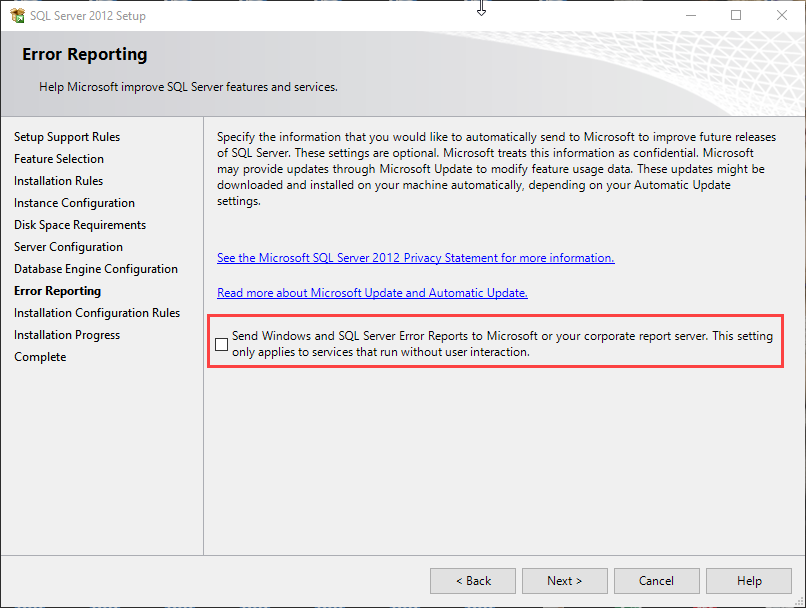
On the Error reporting screen, you can choose to send error reports to Microsoft to improve future releases.
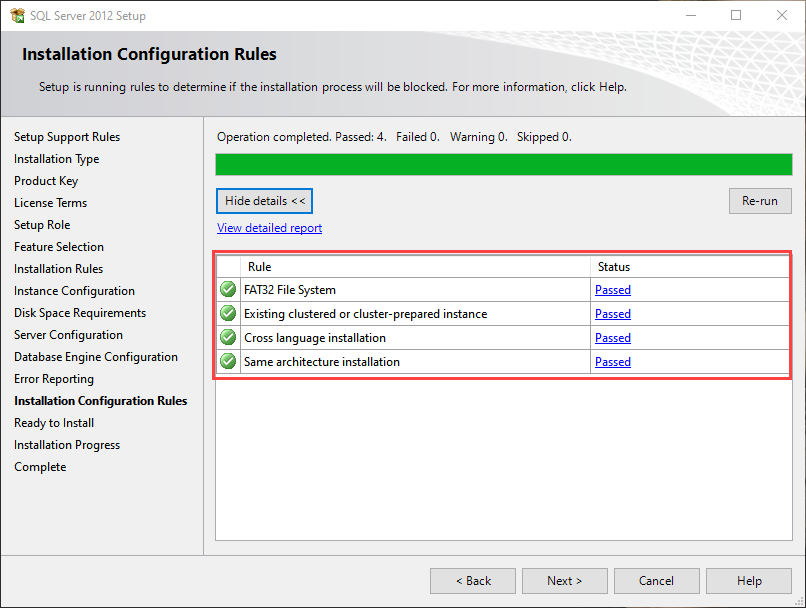
The installer will check the installation configuration rules. All rules must be passed without error.
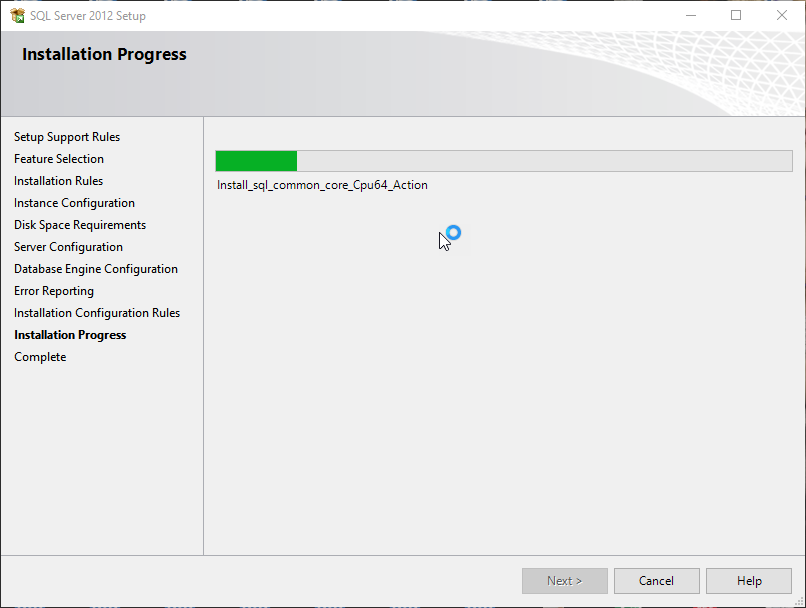
Once all the configuration rules passed successfully, the installation process will begin.
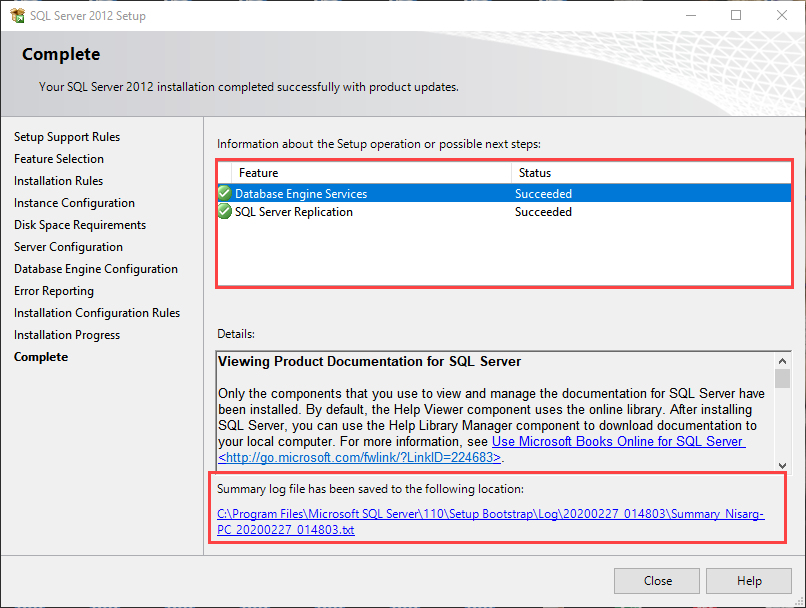
Once installation completes successfully, you should review the list of installed features and components. If you face any error during the installation process, you can review the installation logs. See the following image.
Silent installation of the SQL Server 2012 express edition
SQL Server Express edition does not create a configuration file automatically; hence we have to run the SQL Server installer by executing the following command in PowerShell or DOS.
|
1 |
C:\Softwares\SQLEXPR_x64_ENU.exe /ACTION=INSTALL /UIMODE=Normal |
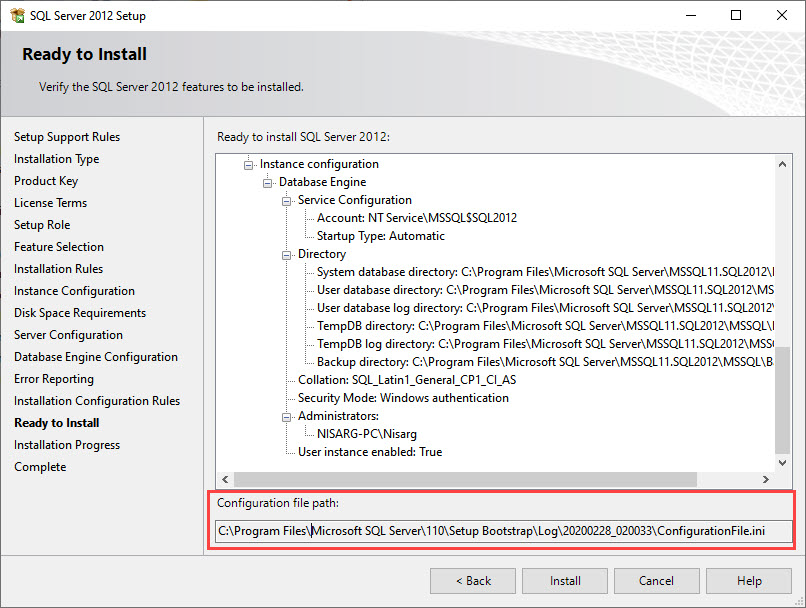
The above command runs the SQL server installer. On the “Ready to install” screen, you can see the path of the configuration file.
The file location:

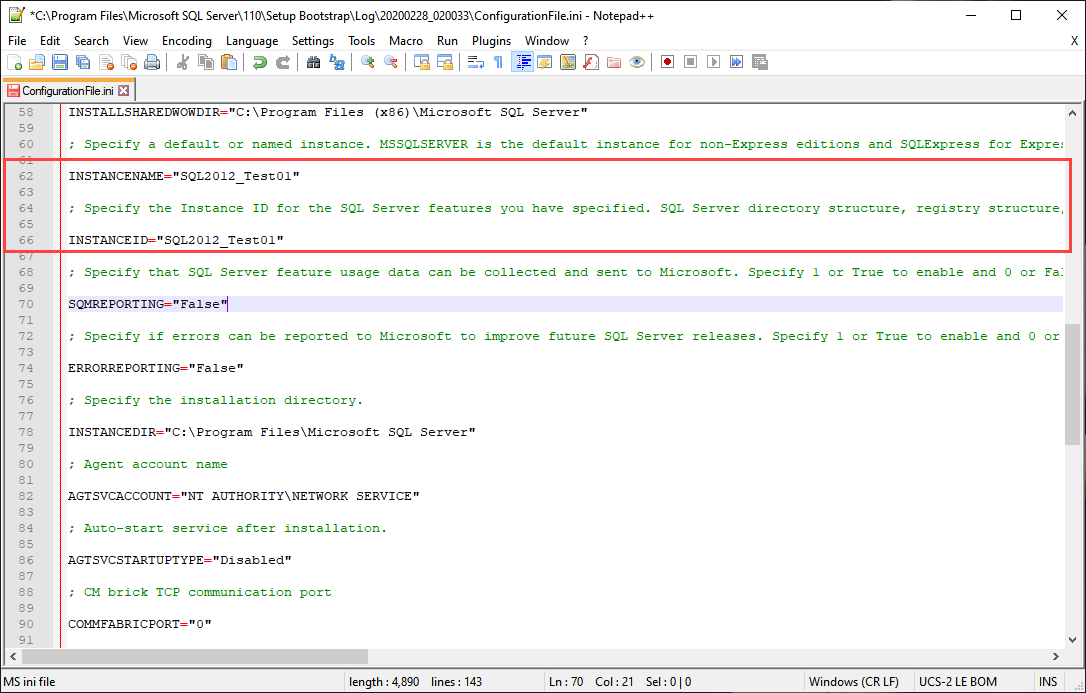
Open the configurationfile.ini in notepad or other text editor file. The configuration file looks like the following:

You can configure the parameters according to the requirement. The following is a description of all parameters.
|
Parameter Name |
Description |
|
Action |
This option specifies the task that needs to be performed. It could be any of the following
|
|
ROLE |
This option specifies whether to install using a setup role or feature selection page. Valid values are following
|
|
UIMODE |
This option controls the UI behavior. The valid options are following
|
|
QUITE |
The setup will not display any user interface. |
|
QUITESIMPLE |
Setup will display progress only without user interaction. |
|
UpdateEnabled |
This option specifies whether to install SQL Server product updates. Valid values are
|
|
FEATURES |
It specifies the list of features that will be installed. The top-level features are following
|
|
UpdateSource |
Specify the location where the SQL Server setup will obtain the product updates. Valid options are following
|
|
X86 |
This option specifies that the setup should be installed into WOW64. |
|
INSTALLSHAREDDIR |
Root installation directory of the shared components |
|
INSTALLSHAREDWOWDIR |
installation directory for the WOW64 components |
|
INSTANCENAME |
Specify the name of the instance. |
|
INSTANCEID |
Specify the instance ID |
|
SQMREPORTING |
Specifies that the feature usage data can be collected and sent to Microsoft. |
|
ERRORREPORTING |
This option specifies whether errors can be reported to Microsoft.Valid values are the following:
|
|
INSTANCEDIR |
Specify installation directory |
|
AGTSVCACCOUNT |
Service account for SQL Agent |
|
AGTSVCSTARTUPTYPE |
The startup type of agent service after installation. |
|
SQLSVCSTARTUPTYPE |
The startup type of SQL Server service after installation. |
|
FILESTREAMLEVEL |
Enable filestream |
|
ENABLERANU |
Enable RANU (SQL Server user instance) for SQL Server express. |
|
SQLCOLLATION |
This option specifies the collation of SQL Server. |
|
SQLSVCACCOUNT |
Its an account used as a SQL Server service account. |
|
SQLSYSADMINACCOUNTS |
It’s an account provision as SQL Server administrator |
|
ADDCURRENTUSERASSQLADMIN |
Add current user as a SQL Server system admins (sysadmin) account. |
|
TCPENABLED |
Enable TCP IP protocol. Valid values are zero (disabled) or one (enabled). |
|
NPENABLED |
Enable Named Pipe protocol. Valid values are zero (disabled) or one (enabled). |
|
BROWSERSVCSTARTUPTYPE |
Startup type for SQL Server browser service. Valid values are the following:
|
To identify the instance correctly, I have changed the value of the InstanceID and InstanceName parameters.
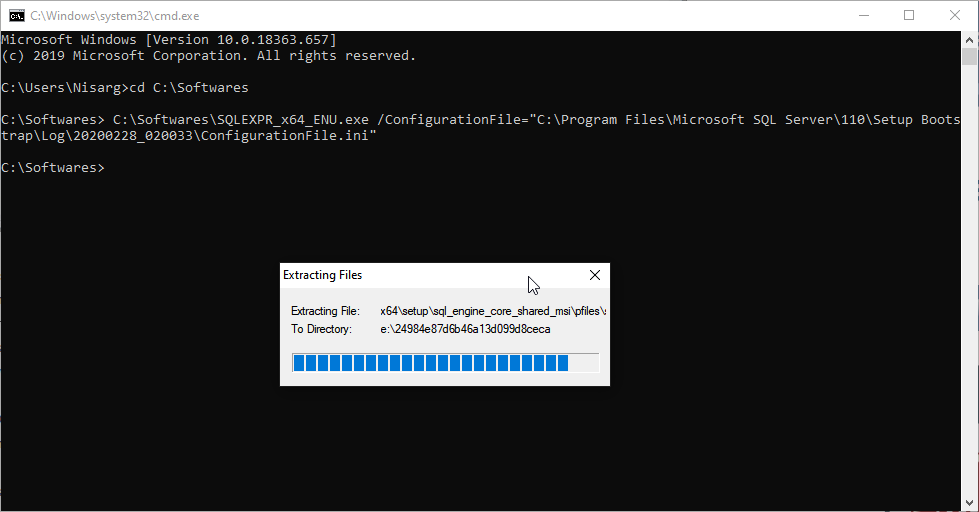
Once the values of all the parameters are set, save the file and run the following command in DOS or PowerShell to install SQL Server.
|
1 |
C:\Softwares\SQLEXPR_x64_ENU.exe /ConfigurationFile="C:\Program Files\Microsoft SQL Server\110\Setup Bootstrap\Log\20200228_020033\ConfigurationFile.ini" |
Once you run this command, the installation process starts. See the following screenshot.
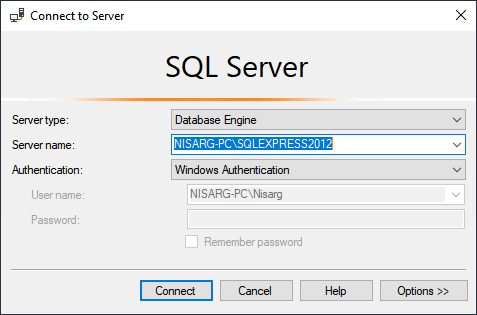
Connect to SQL Server
Once the installation completes successfully, Open SQL Server management studio and on “Connect to Server” dialog box, choose the appropriate Server name, Authentication method, and click on the Connect button. See the following image:

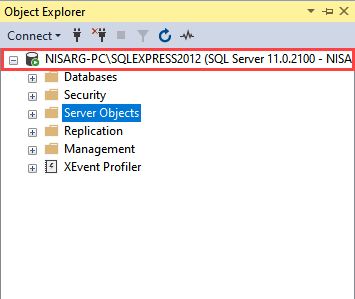
As you can see that we are able to connect to the SQLExpress2012 instance which shows that the installation was successful.
Summary
In this article, I have explained the installation process of the SQL Server 2012 express edition using the SQL Server installer and command prompt (Unattended installation).

He has expertise in database design, performance tuning, backup and recovery, HA and DR setup, database migrations and upgrades. He has completed the B.Tech from Ganpat University. He can be reached on nisargupadhyay87@outlook.com
- Different ways to identify and change compatibility levels in SQL Server - July 22, 2024
- Copy SQL Databases between Windows 10 and CentOS using SQL Server data tools - October 19, 2022
- Changing the location of FILESTREAM data files in SQL Database - October 14, 2022