

Introduction
The Database Experimentation Assistant (DEA) is a new Experimental solution provided by Microsoft used to help upgrading databases from older SQL Server versions (MSSQL 2005 or higher versions) to the more recent ones (MSSQL 2012 or higher versions). It accomplished this based in a given workload that is previously captured from the source database and later replayed on the target SQL Server instances for comparison.
The tool offers the following capabilities for workload comparison analysis and reporting:
- Automated script to set up workload capture and replay of production database (using existing SQL server functionality Distributed Replay & SQL tracing)
- Perform statistical analysis model on traces collected using both old and new instances
- Visualize data through analysis report via rich user experience
The analysis metrics provided by the tool, for queries, compatibility errors and other workload comparison data will allow you to conduct experiments and performance tests across two SQL Server versions using production workloads providing you the necessary reports to give you an higher confidence to perform the upgrade by minimizing the risks.
NOTE: In the time I’m writing this article, DEA still in Technical-Preview release, meaning that things can slightly change in future releases but in general things should be kept as described in this article.
Installation
The Database Experimentation Assistant tool is available as an .msi file for 32bit and 64bit architecture. Following are the system requirements and the install instructions.
System Requirements
- Windows 7 or superior, Windows Server 2012 or superior
- The Microsoft .NET Framework version 4.5 or a later version.
Install Instructions
Elect a computer that meets the above system requirements and proceed with the next steps:
The first thing to do is to download the necessary files to be installed and then run each one to perform the install. Follow the below step-by-step instructions:
- There are two versions available, so download the file that you need depending on the architecture you have (32bit or 64bit) from here
- Copy the respective DatabaseExperimentationAssistant_xnn.msi downloaded file to the computer which you will perform the upgrade steps (can be your desktop computer and not necessarily the target server).
- Double-click on the DatabaseExperimentationAssistant_xnn.msi file.
-
Click Next in the Welcome page.

-
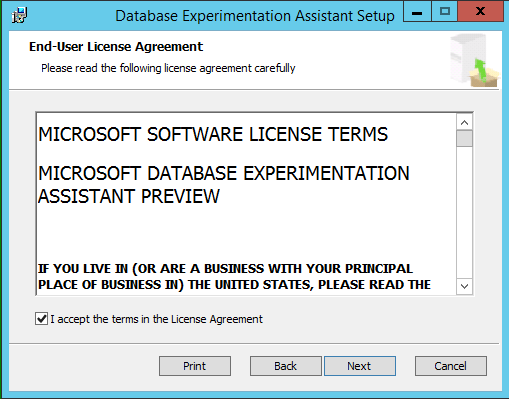
In the ‘End User License Agreement’ page select “I accept the agreement” option and click Next.
-
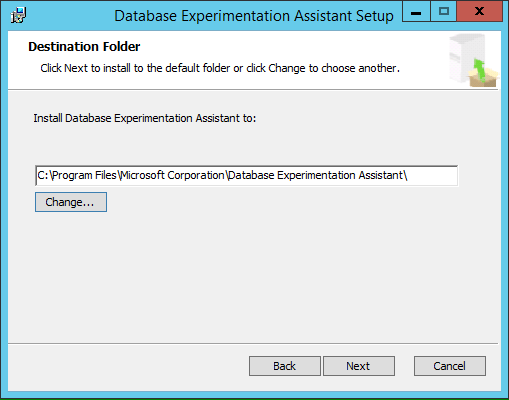
Accept the default installation path suggestion or for change the installation path for DEA, click on Change… and provide the new location. Press Next to continue:
-
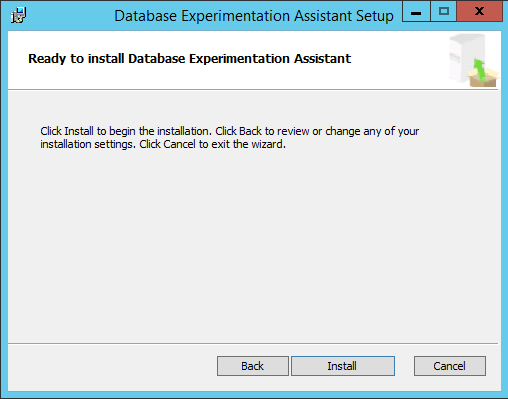
Click Install.
-
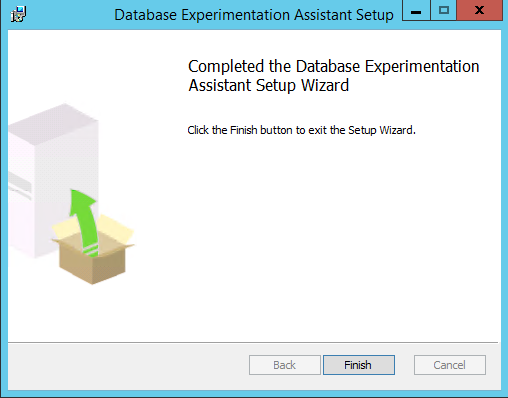
And in the last screen click Finish to exit from the installation wizard.
-
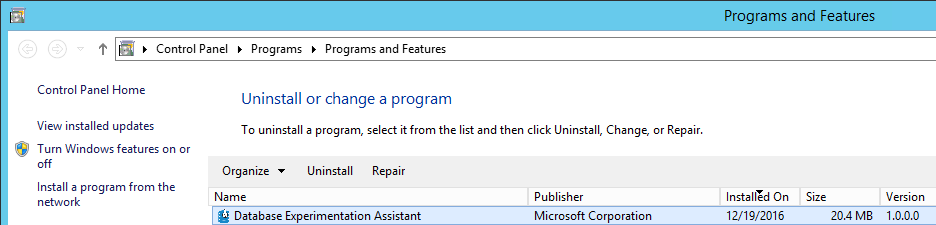
You can now confirm in Control Panel / Programs and Features that Database Experimentation Assistant is installed

With these we have done with the DEA’s installation and it can be immediately used if the prerequisites have been fulfilled (see the next section).
Requested components
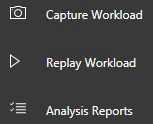
After DEA has been installed you can click on the icon in the desktop area to start the application:

Database Experimentation Assistant has three main features:
For the Capture Workload and Replay Workload options there is no need for extra components but Analysis Reports has prerequisites that requires extra components to be installed in the same computer. When choosing this option without having one or more of those components installed a screen similar to the below one will be presented to you:
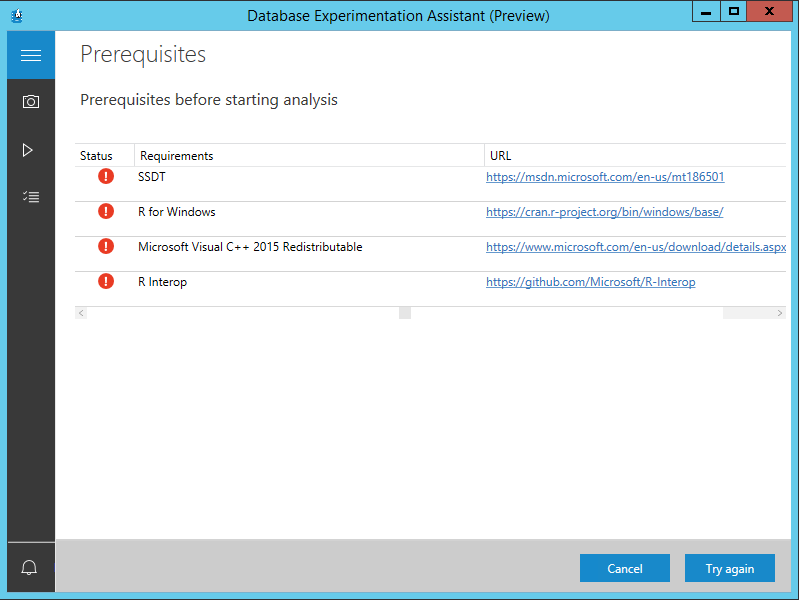
NOTE: If your computer already has those components installed you won’t be able to see the above screen, meaning that you can immediately use the Analysis Reports option so no need to follow the below instructions.
For each of those necessary components there are, on the right side, direct links to download them.
SSDT
SSDT stands for SQL Server Data Tools and can be downloaded from here. SSDT it’s also included in MS Visual Studio 2015.
You can download an installer or the complete ISO from the above link. When downloaded the installer (SSDTSetup.exe) the computer where you are going to install SSDT requires access to the internet so it can download the rest of the necessary files from the installer. The ISO contains all the components needed by SSDT so after downloaded and copied into the target machine you just need to run the setup file (SSDTSetup.exe) to have it installed.
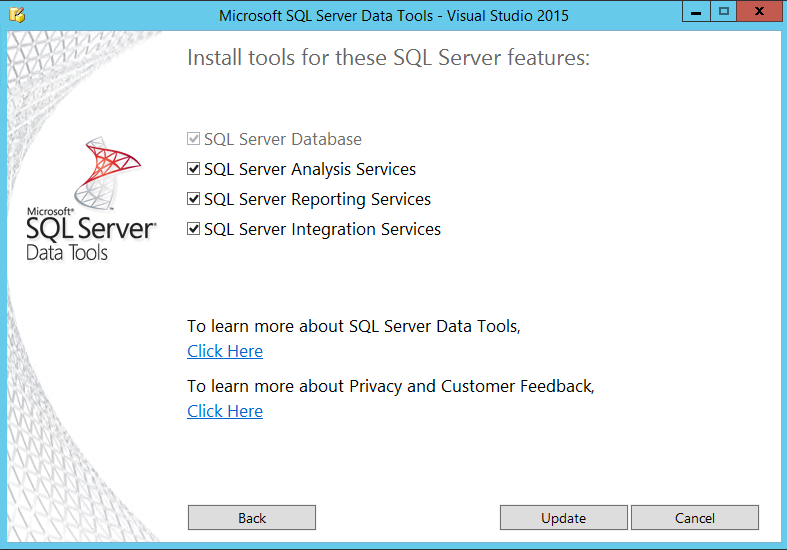
When executing SSDTSetup, all necessary features should be already checked. If not, check them all. Click Next to start those features installation:
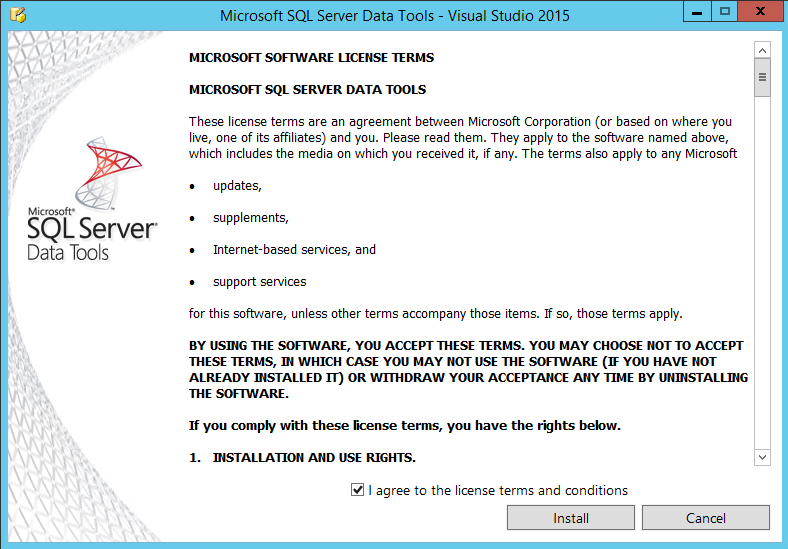
Next screen is the licensing agreement. Check the “I agree to the license terms and conditions” and click on the Install button to proceed:
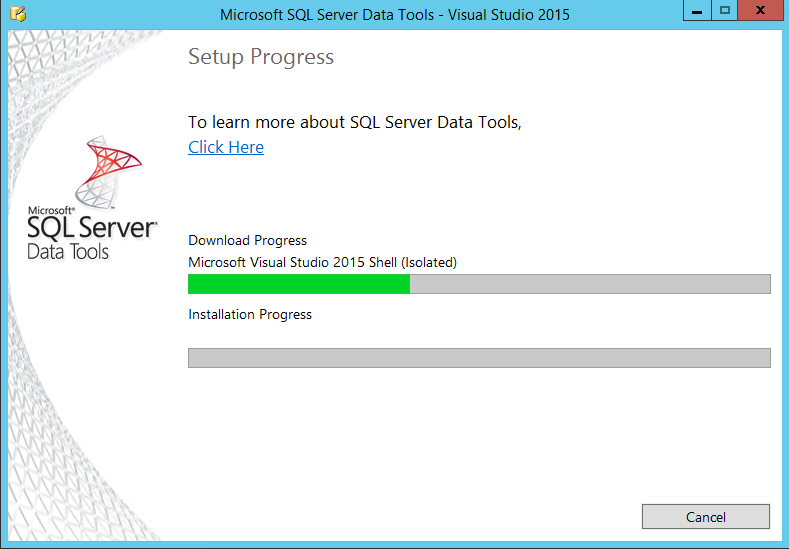
Wait for the installation to finish. If you are running from the ISO the Download Progress should be run faster because the files are already in the ISO file:
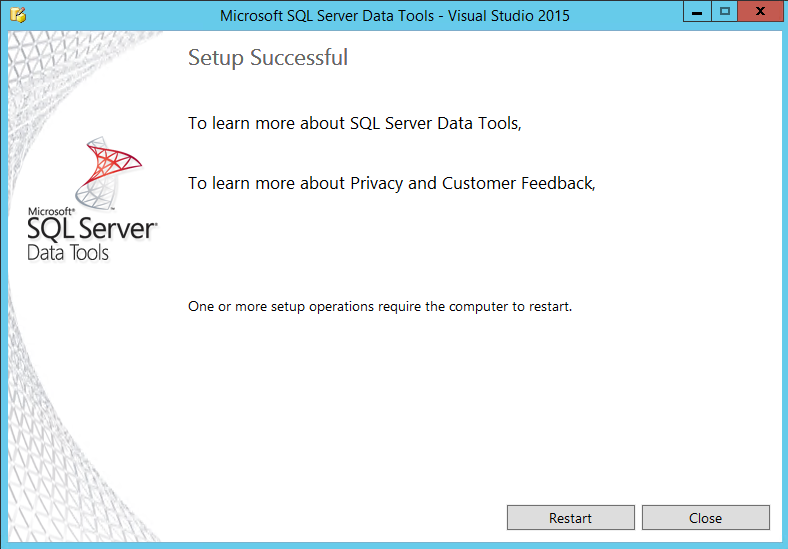
When finished it will be presented an option to Restart the machine or just Close the installation window and perform the restart later:
R for Windows
R is a free open-source language for statistical computing and graphics and you can get the last version for Windows (R-3.3.2) 32bit and 64bit, from here.
After downloaded and copied into the target machine, execute the installation file (R-3.3.2-win.exe).
A window will pop-up requesting to select the setup language:
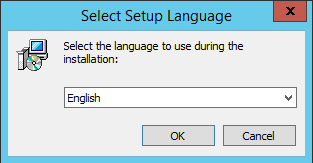
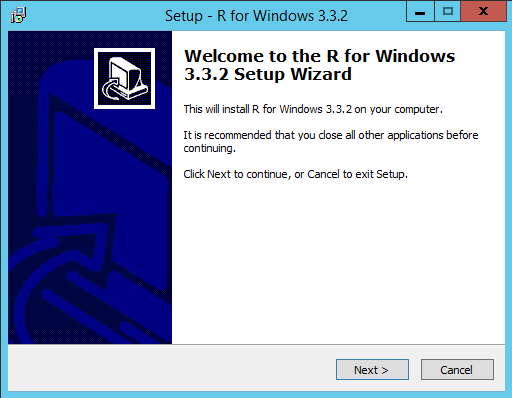
I will proceed with the English language. Your screens may differ from the next ones if you chose any other language. Click on OK button to start the Setup. A Welcome window will be presented:
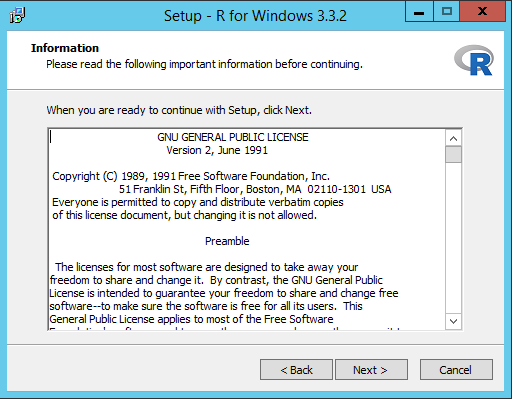
Click on “Next >” button and read the license information and click on “Next >” button again:
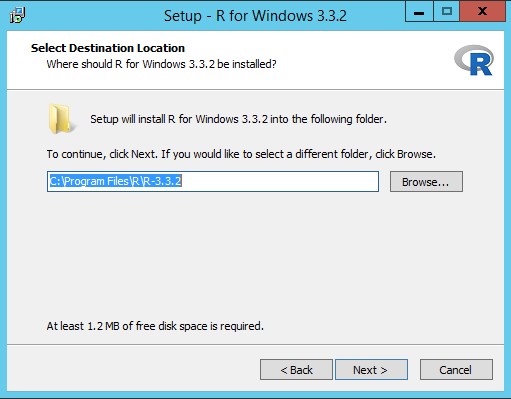
Accept the suggested installation path or provide an alternative one. Click on “Next >” button:
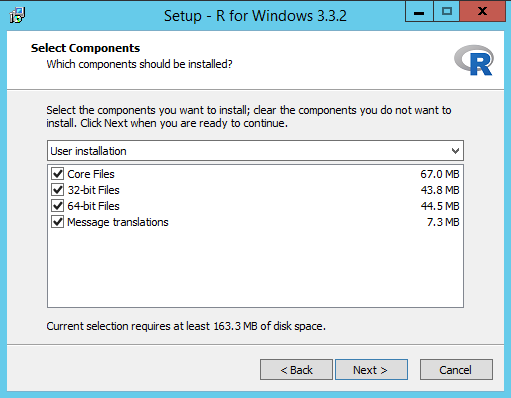
Select the components to install. I will just proceed with all components. Click on “Next >” button:
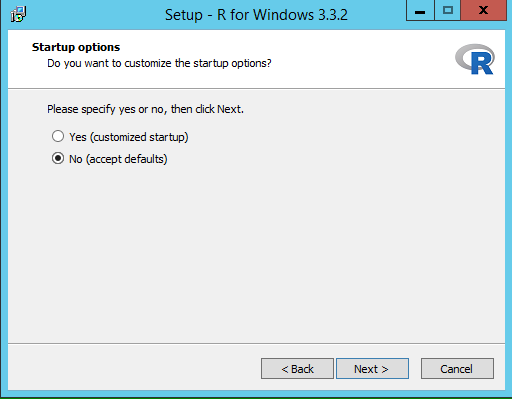
Specify if you want to customize the startup options (select between MDI or SDI interface and Plain Text or HTML for the help style) or not. By default is No (MDI interface and HTML help style) and I will proceed with this option. Click on “Next >” button:
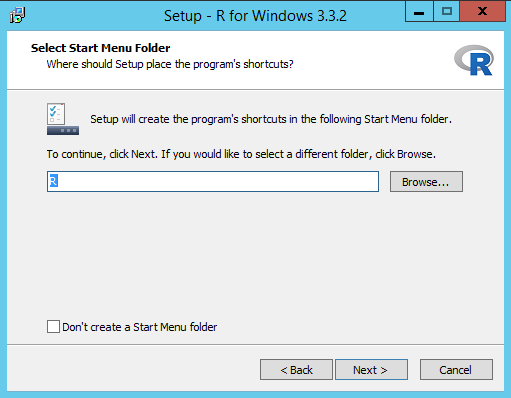
Select the placement for the Start Menu Folder. By default is “R” but you can change it. You also have the option to “Don’t create a Start Menu Folder”(just thick the respective check-box). Click on “Next >” button to continue:
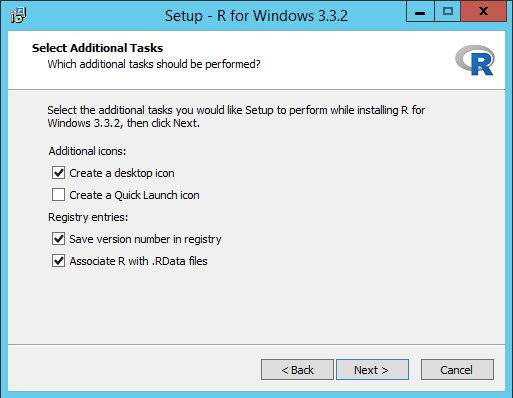
There are additional configurations that can be made. Select those ones from your preference. Below are the default ones. Click on “Next >” button to continue:
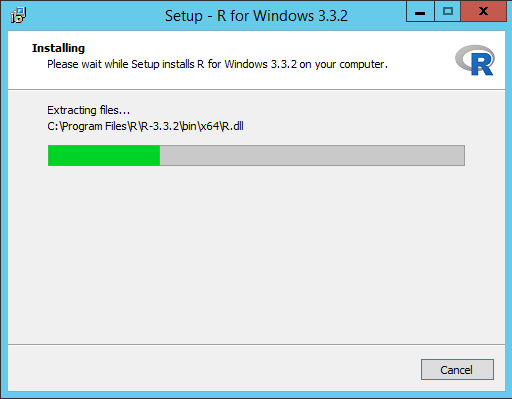
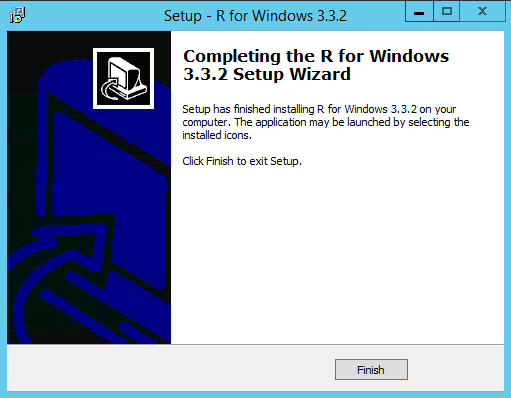
R3.3.2 for Windows will start installing. Wait for the end of the installation.
Click on Finish on the completion screen:
Check in the R installation path (default is: C:\Program Files\R\R-3.3.2\library) for a library called jsonlite. If not present you will need to download it from here and manually copy it to the R library subfolder. This will permit the generation of the reports for the Analysis Report option.
Microsoft Visual C++ 2015 Redistributable
The Microsoft Visual C++ Redistributable Packages are required to run C++ applications built using Visual Studio 2015. Can be downloaded from here and it is available for 32bit (vc_redist.x86.exe) and 64bit (vc_redist.x64.exe) architecture.
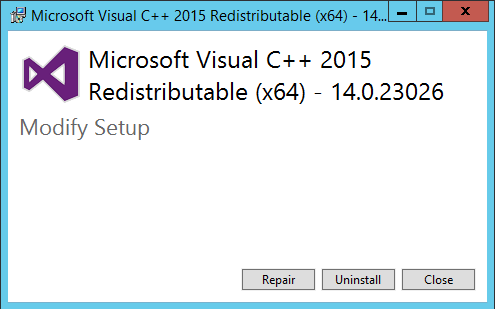
It is also included in MS Visual Studio 2015 and it is also installed when you install some other applications as for example SSMS 2016. So if you are not intended to install any of the previously mention applications, download the Microsoft Visual C++ Redistributable Packages and copy the file into the target machine and run the vc_redist.x64.exe file (or vc_redist.x86.exe file if you are running on a 32bit machine).
In case of it is already installed the following message will pop-up:
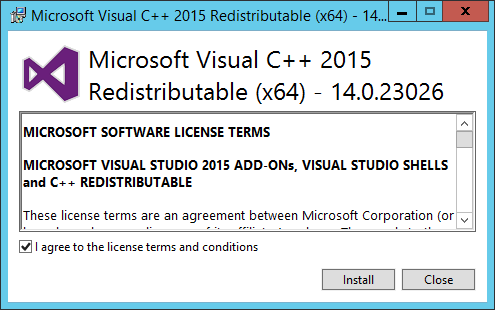
Otherwise accept the license agreement by checking the “I agree to the license terms and conditions” option and click on the Install button:
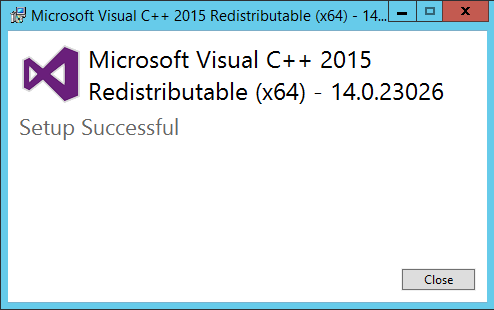
Let the install run and when finish click on the Close button:
R Interop
It is a Microsoft .NET managed abstraction layer for communicating with R and can be downloaded from here
Download R Interop from the above link and copy the file into the target machine and run the RInteropSetup-x64.msi file (or RInteropSetup-x86.msi file if you are running on a 32bit machine).
It will pop-up the license agreement screen. Check the “I accept the terms in the License Agreement” option and press the Install button:
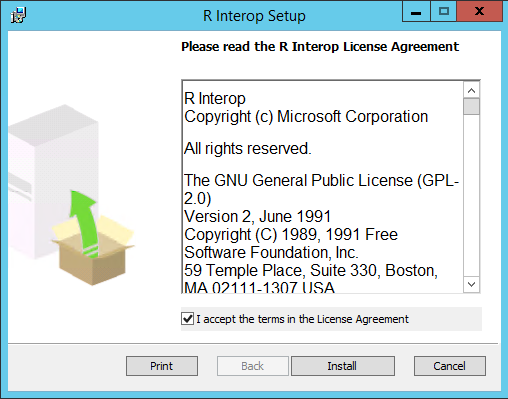
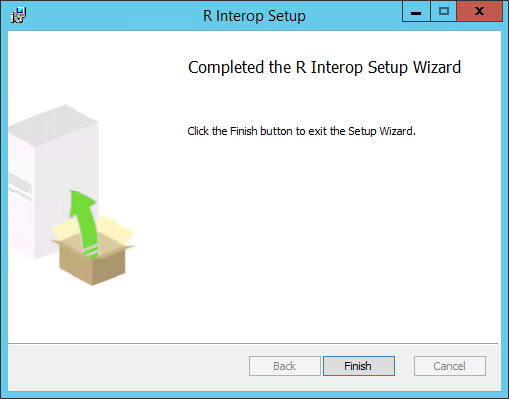
Let the install run and press the Finish button.
With this you should have all prerequisites fulfilled and you can start now working with the Database Experimentation Assistant.
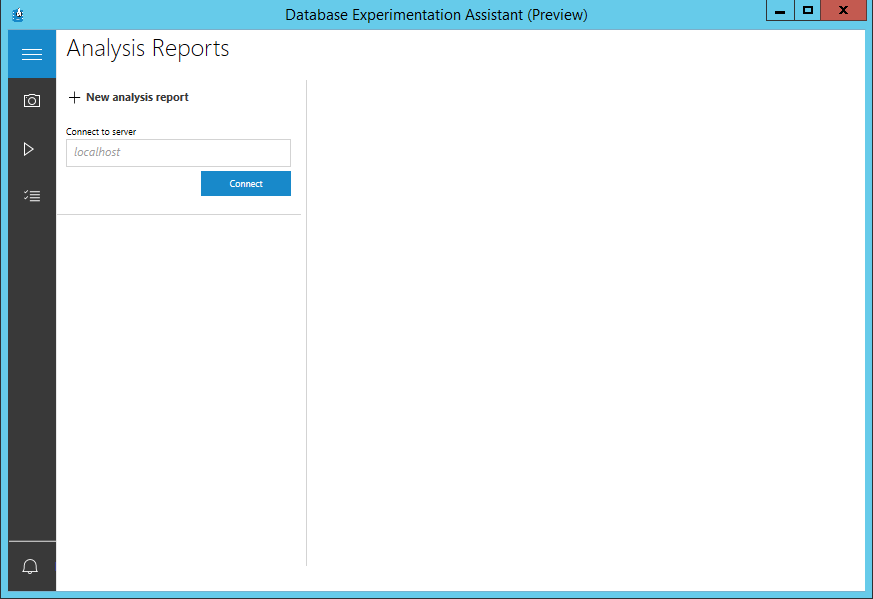
This can be confirmed in the DEA tool by accessing the Analysis Reports option. You should see a screen similar to the following one (the Prerequisites screen should not appear anymore):
Removing the Database Experimentation Assistant
After finishing upgrading databases and if not needed anymore you can uninstall the Database Experimentation Assistant (DEA).
DEA can be uninstalled by using Add or Remove Programs feature following these steps:
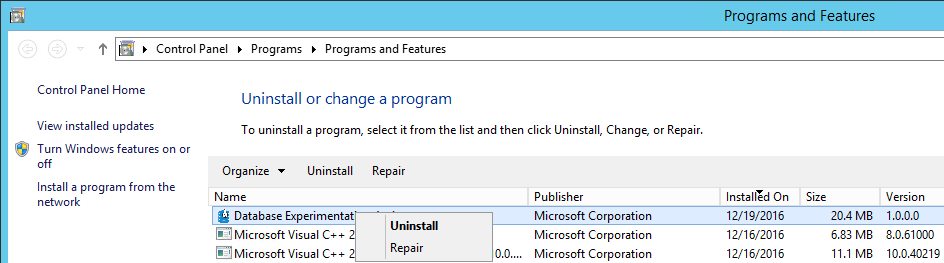
- Go to Control Panel and open Add or Remove Programs.
-
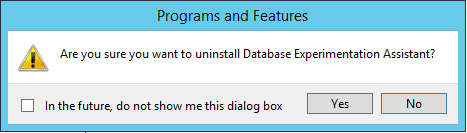
Find the Database Experimentation Assistant, right-click on it and then click Uninstall.
- Click Yes to confirm and proceed with the uninstall.
With that, DEA has just been uninstalled.
Other articles in this series:
- How to use the SQL Server Database Experimentation Assistant (DEA) tool
- How to download and install the SQL Server Database Experimentation Assistant (DEA v2.0)
References:
- Database Experimentation Assistant v1.0 download
- Database Experimentation Assistant – FAQ
- Technical Preview: Database Experimentation Assistant

He participates in some SQL Server forums, helping other professionals solving SQL Server issues and acting as their mentor whenever is possible.
Vitor also has a website with some useful information about SQL Server: https://f1-sqlserver.wixsite.com/f1-sqlserver
View all posts by Vitor Montalvão
- An introduction to sp_MSforeachtable; run commands iteratively through all tables in a database - August 18, 2017
- SQL Server system databases – the model database - August 9, 2017
- SQL Server system databases – the msdb database - July 14, 2017