
Introduction
In the process of doing the round of PASS SQL Saturday’s, I have often been asked how to load data into SQL Server from SharePoint. Naturally and at first glance it should be a ‘no brainer’ however the gotcha is normally related to a security issue. Over the past few days, I have been working on just such an issue. But wait, I am getting ahead of myself!
Getting started
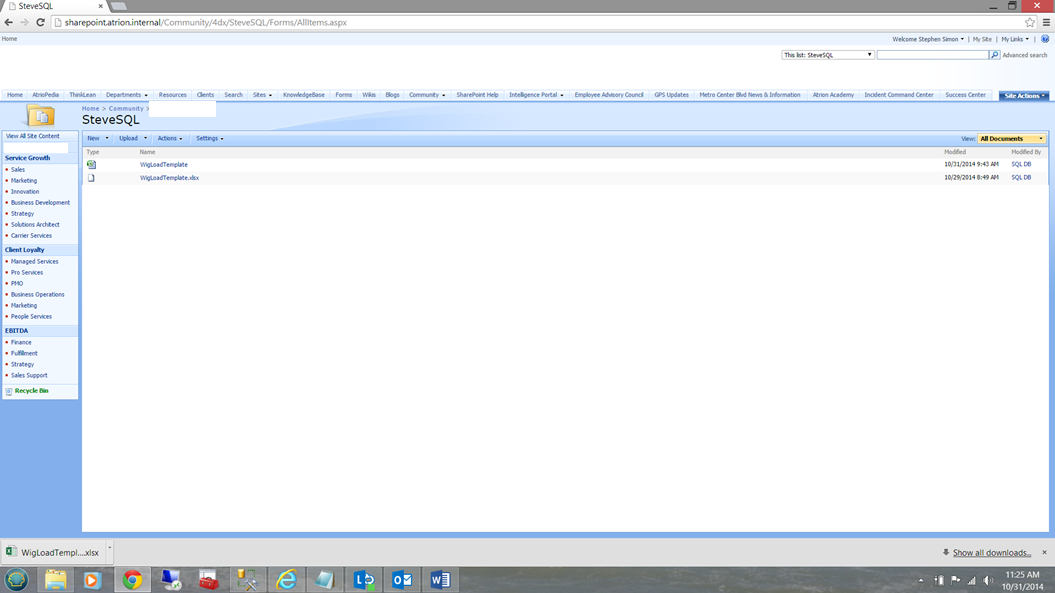
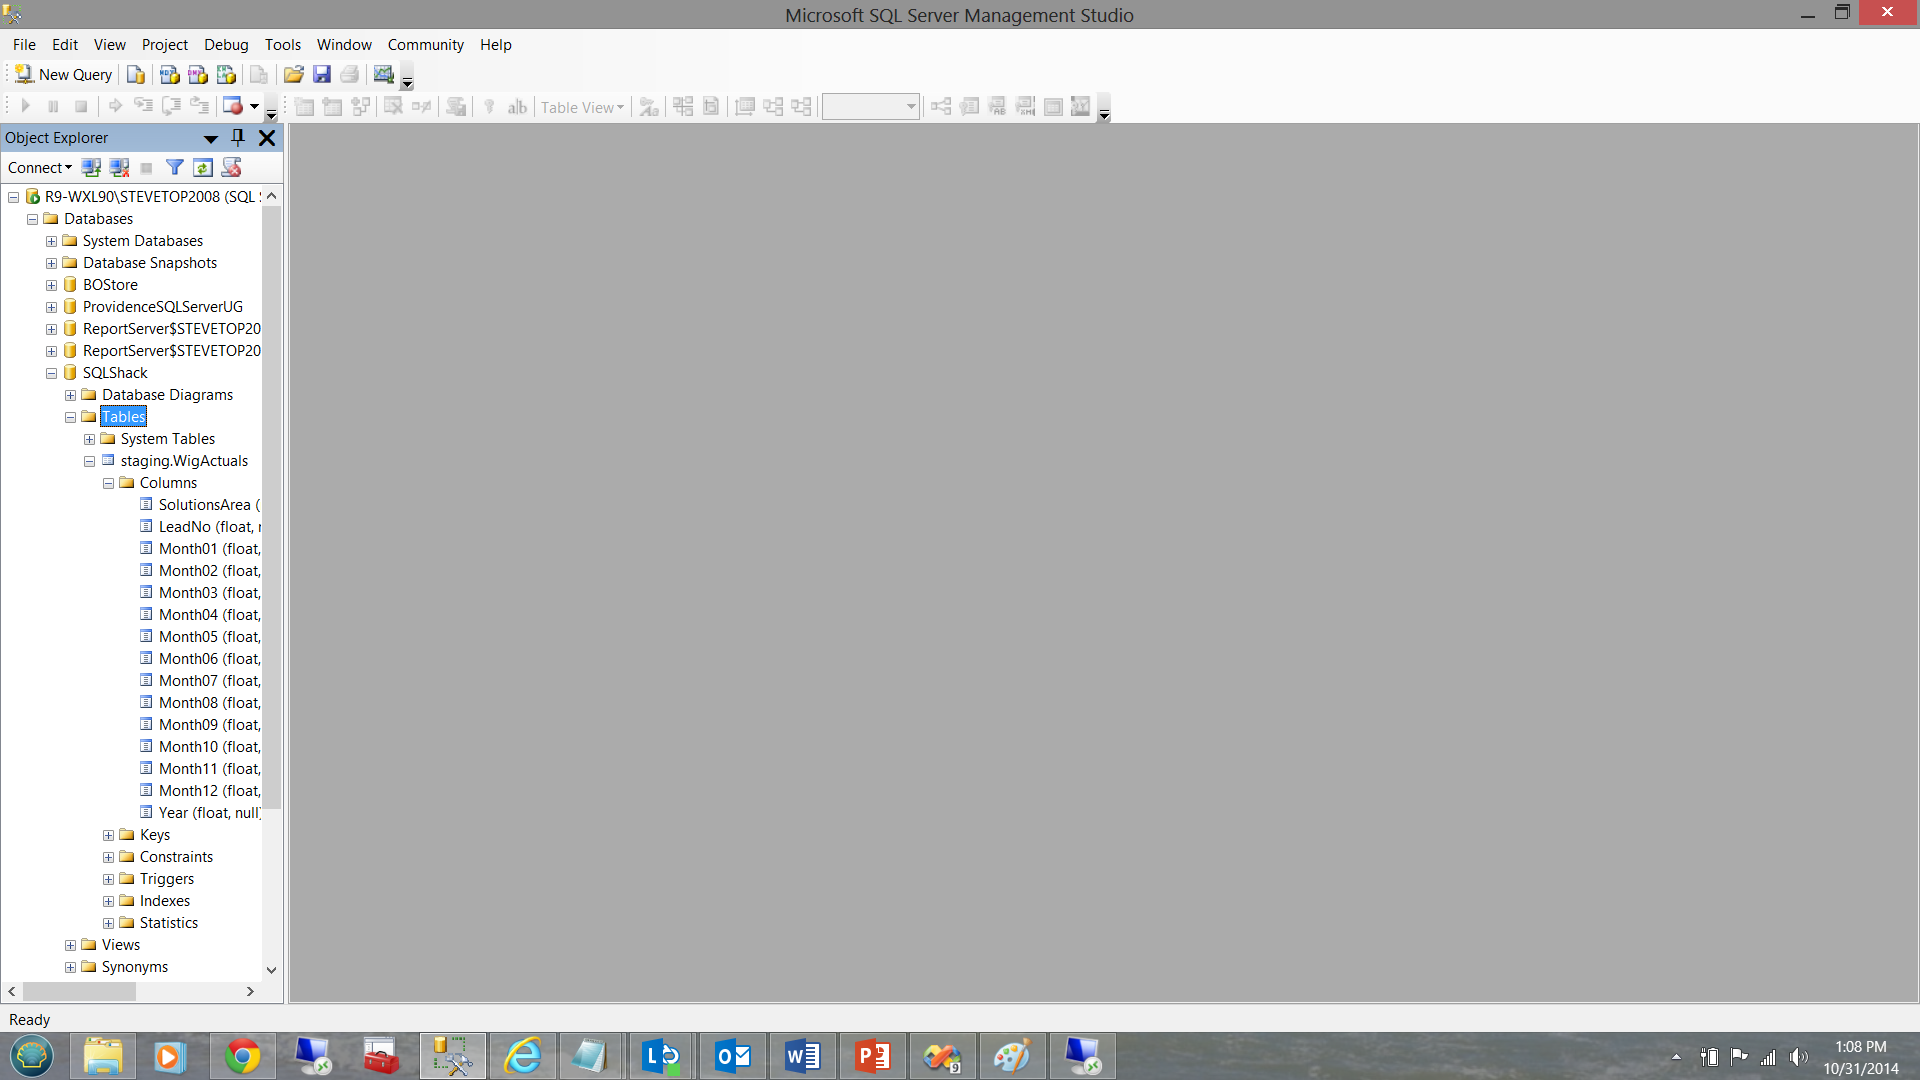
The scenario is fairly simple. The client has a myriad of Excel spreadsheets on a SharePoint instance. The data within one (or more) of these spreadsheets is updated on a daily basis and the client wanted the data within a particular spreadsheet, to be loaded by a nightly process. A view of the SharePoint server may be seen below:
SQL Server Integration Services and our ‘SharePoint’ data
The most efficient and effective manner of getting our data into SQL Server is via SQL Server Integration Services (hence forward referred to as SSIS). As the client is still working with SQL Server 2008 R2, the screen dumps that I shall be showing are created with SQL Server Integration Services 2008 HOWEVER the steps that we shall be using are applicable in SQL Server 2014, which is the version that I use for all code and presentations.
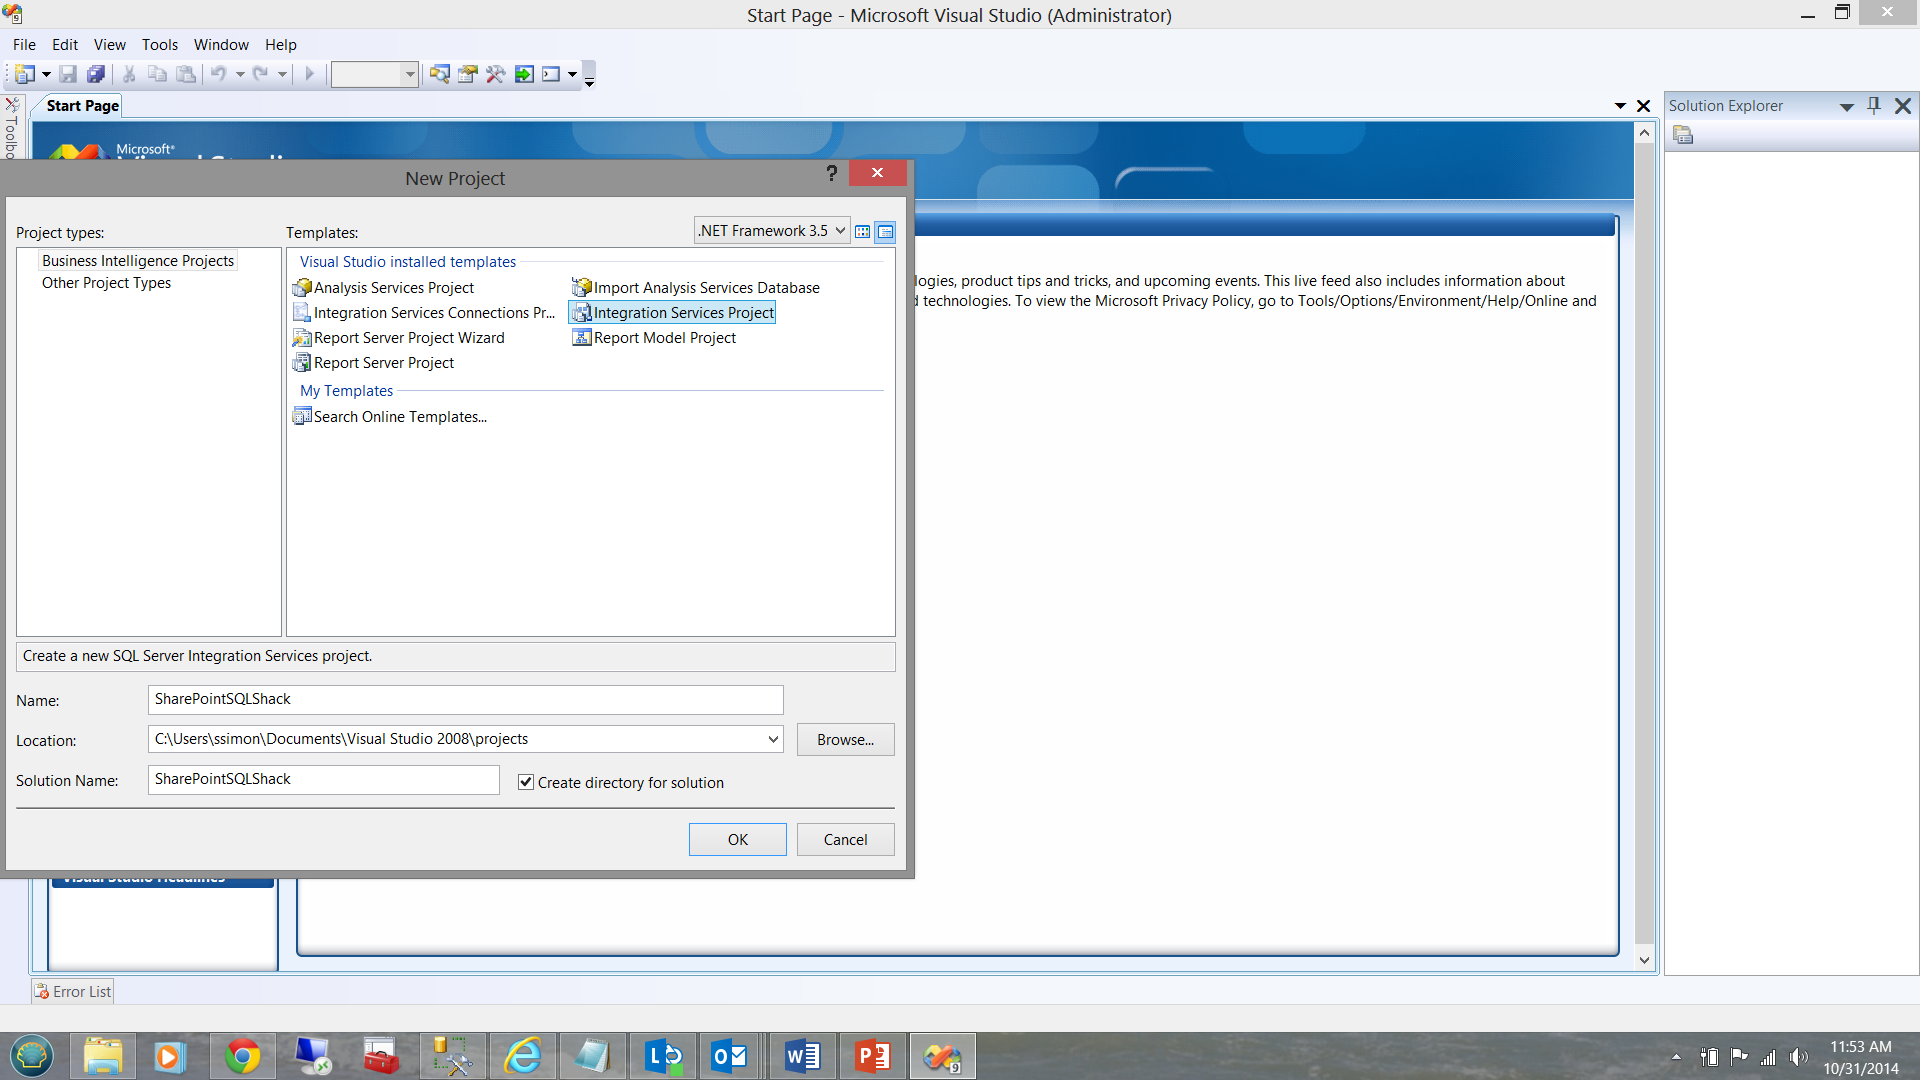
We begin by creating a new Integration Services Project (see below)
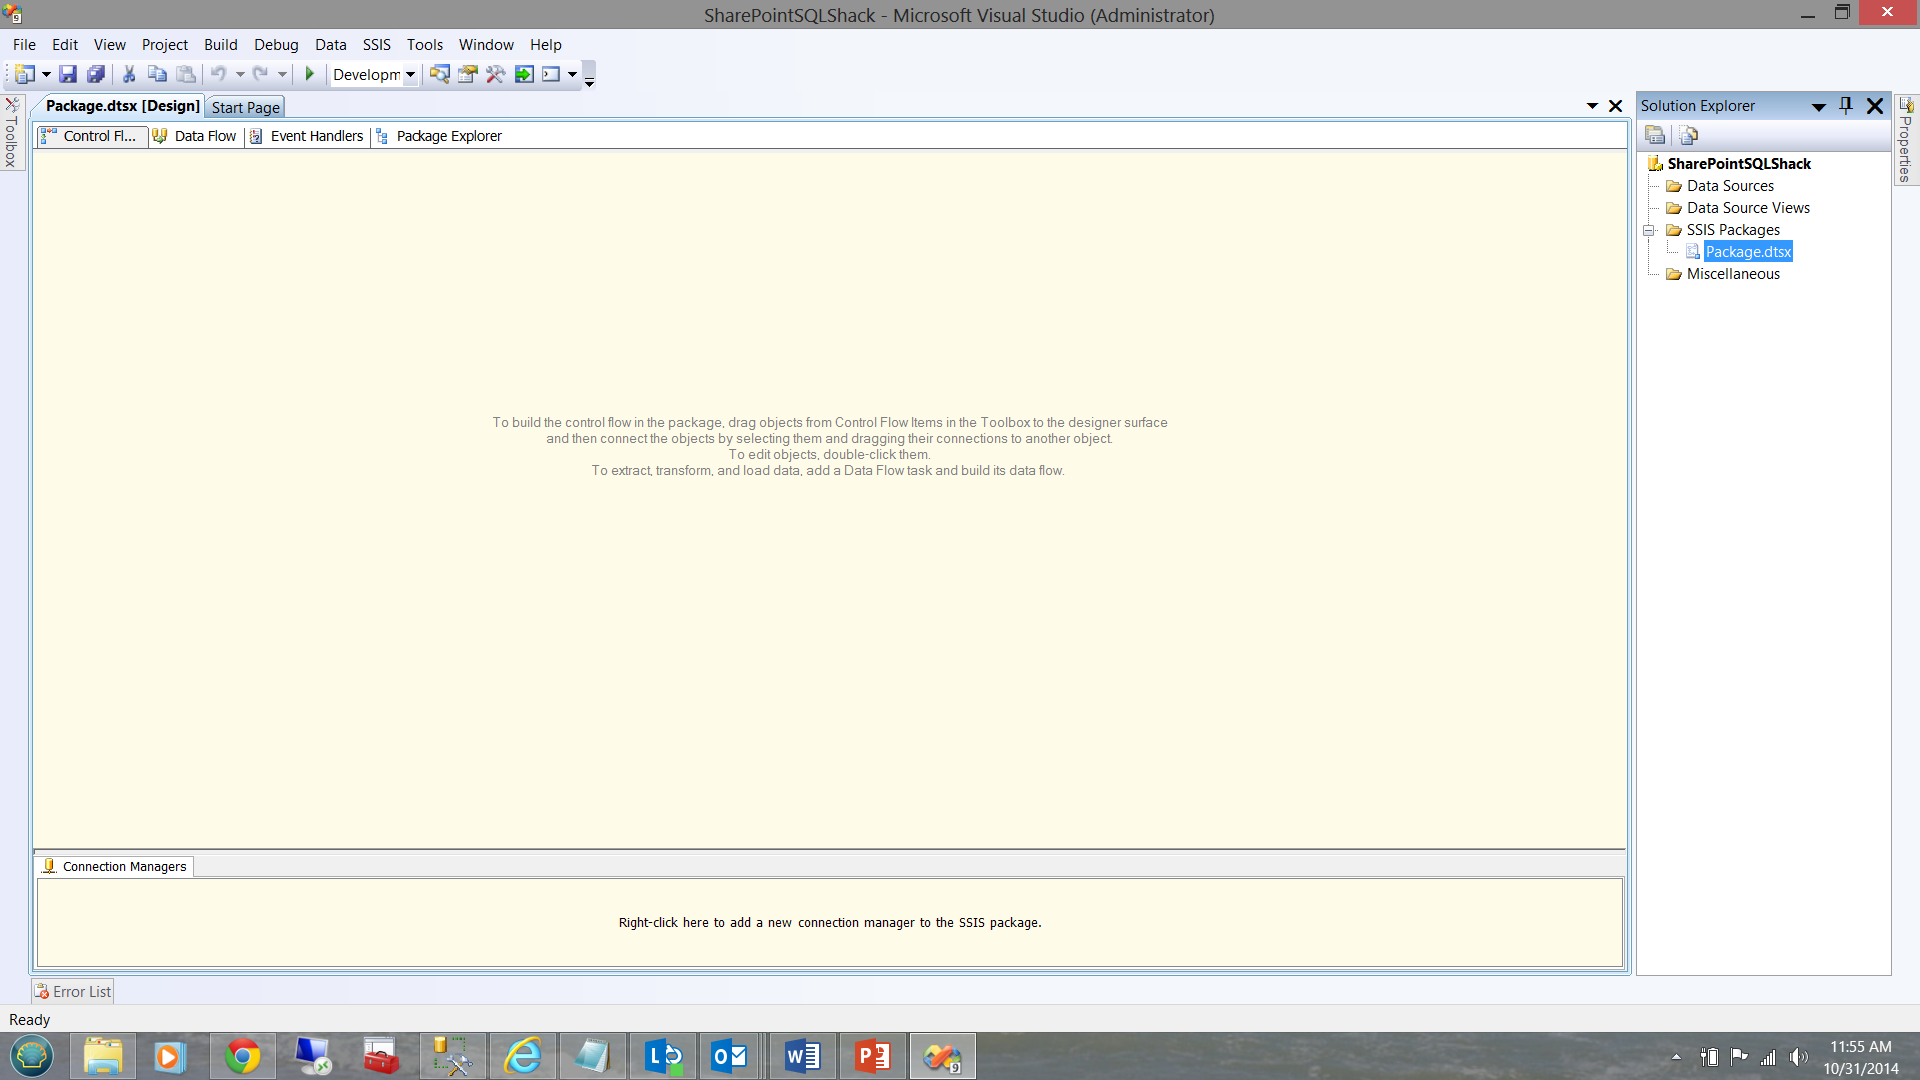
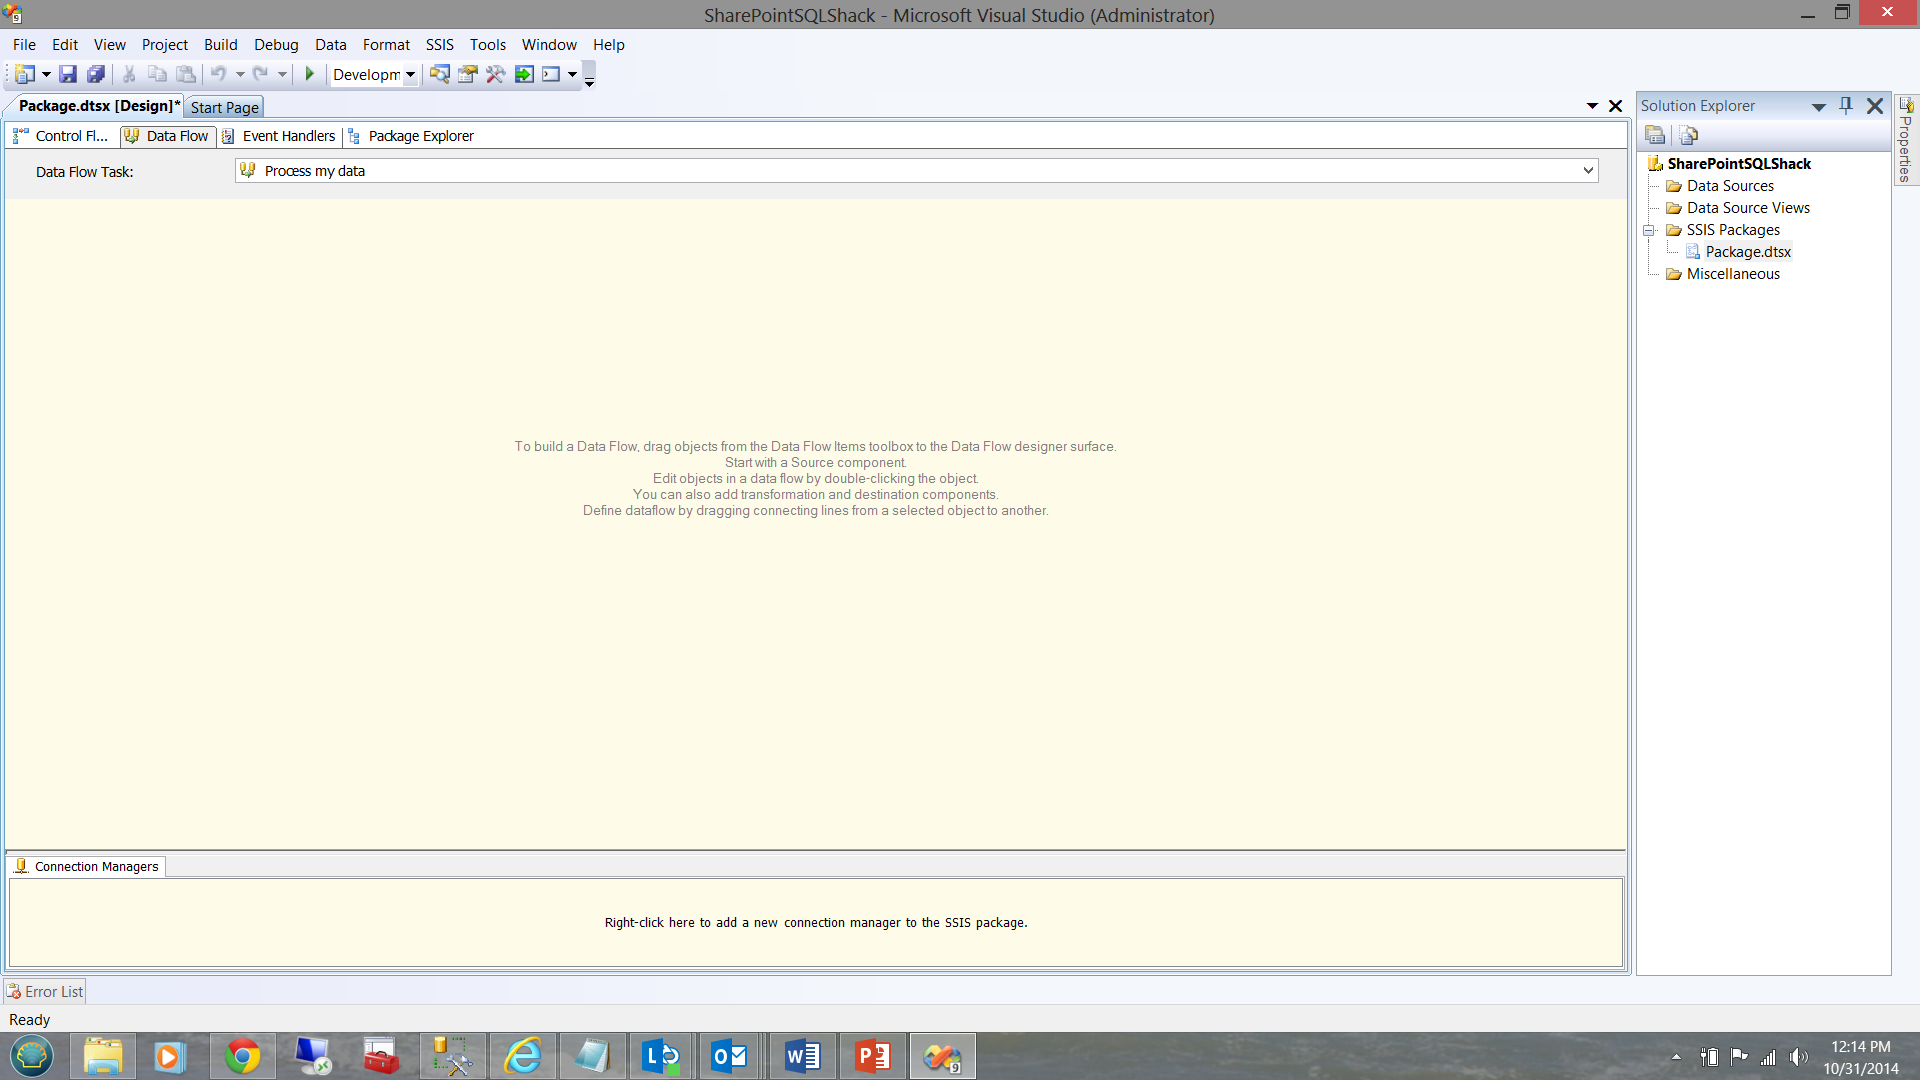
Integration Services opens and presents your working surface.
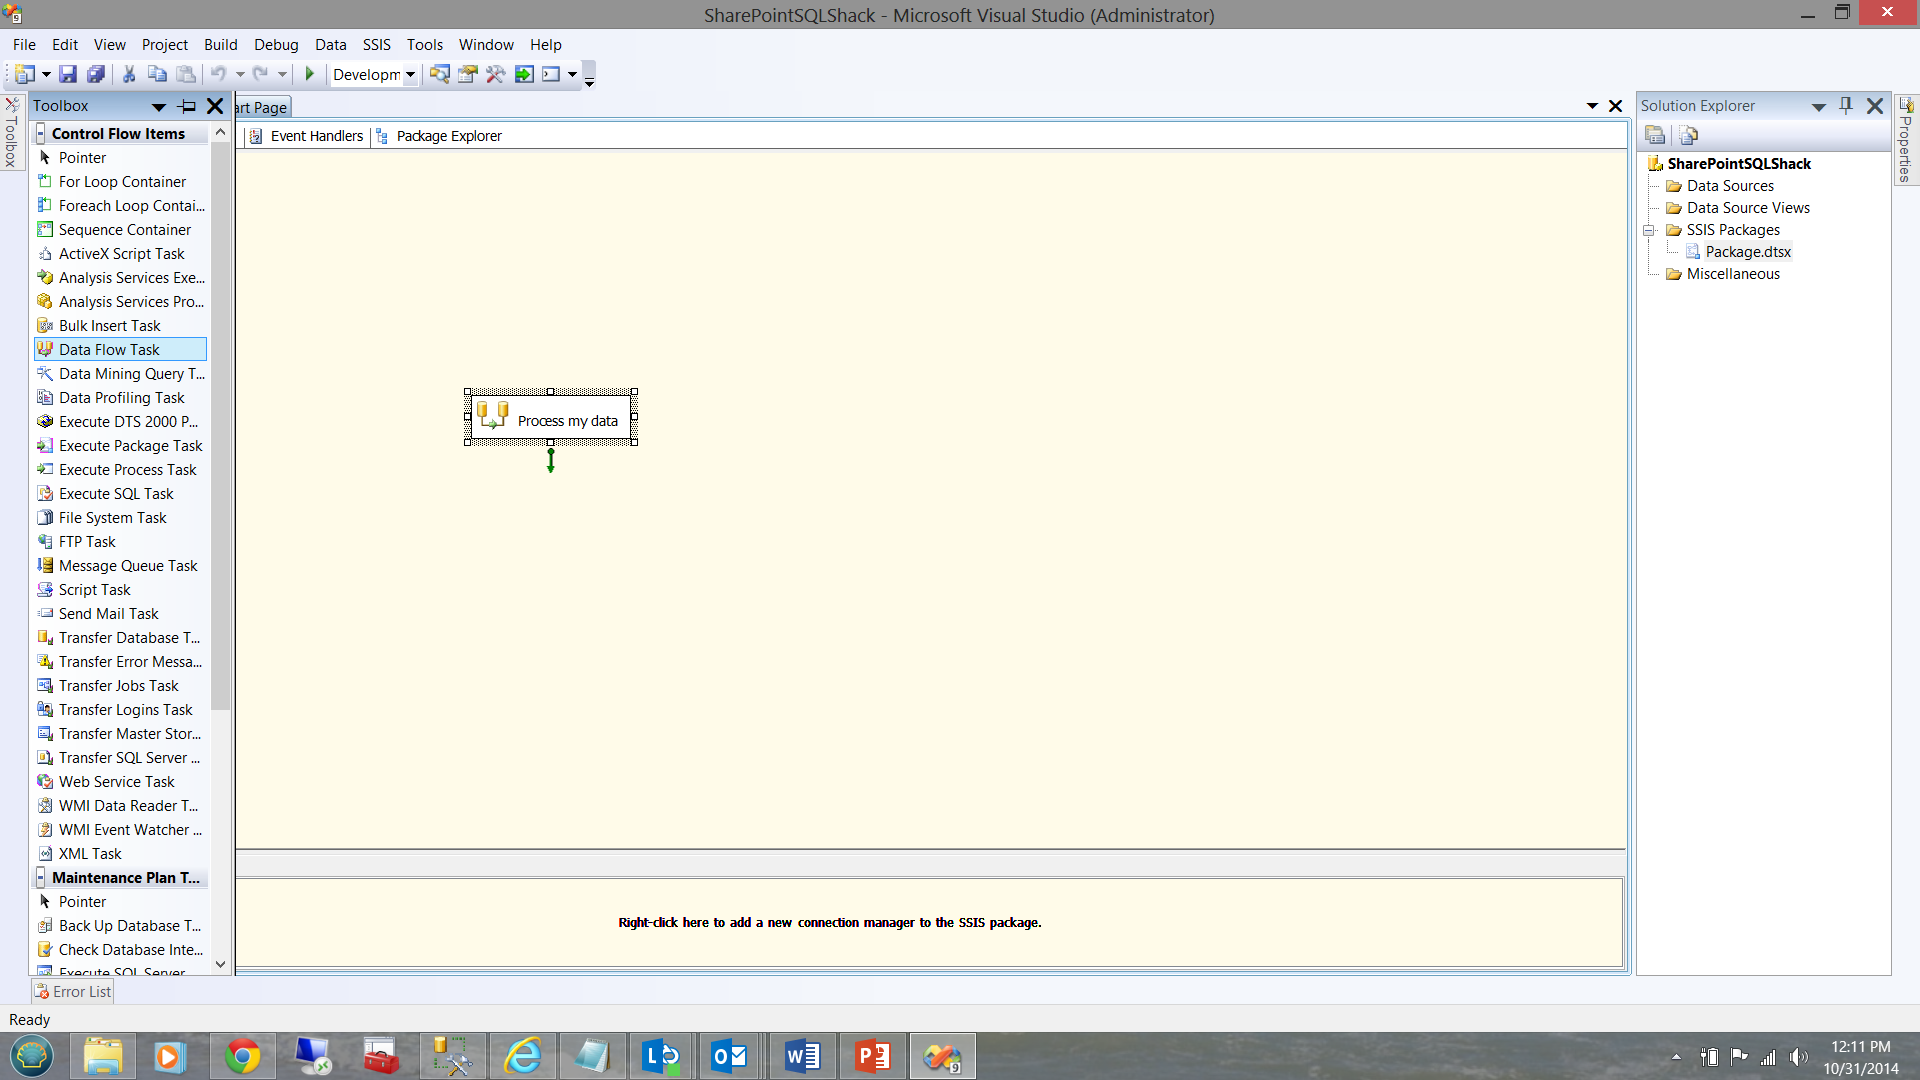
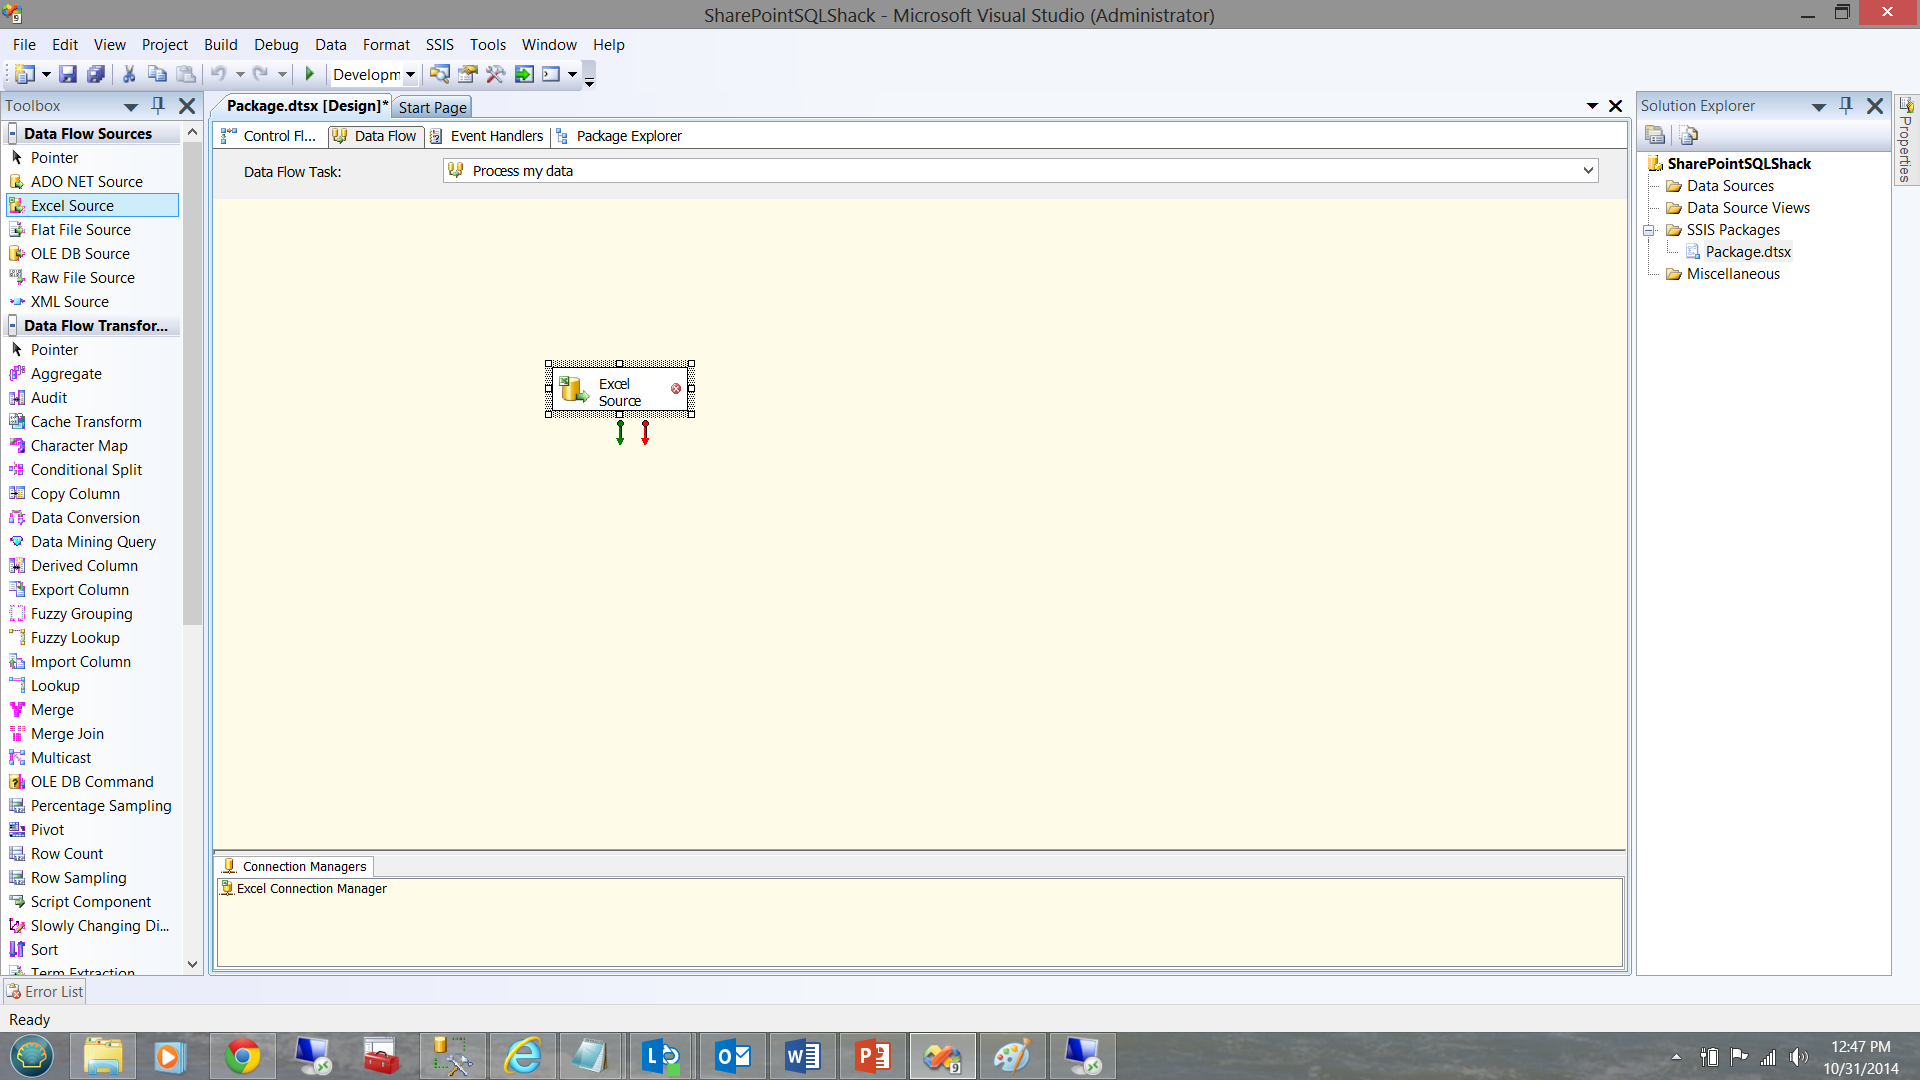
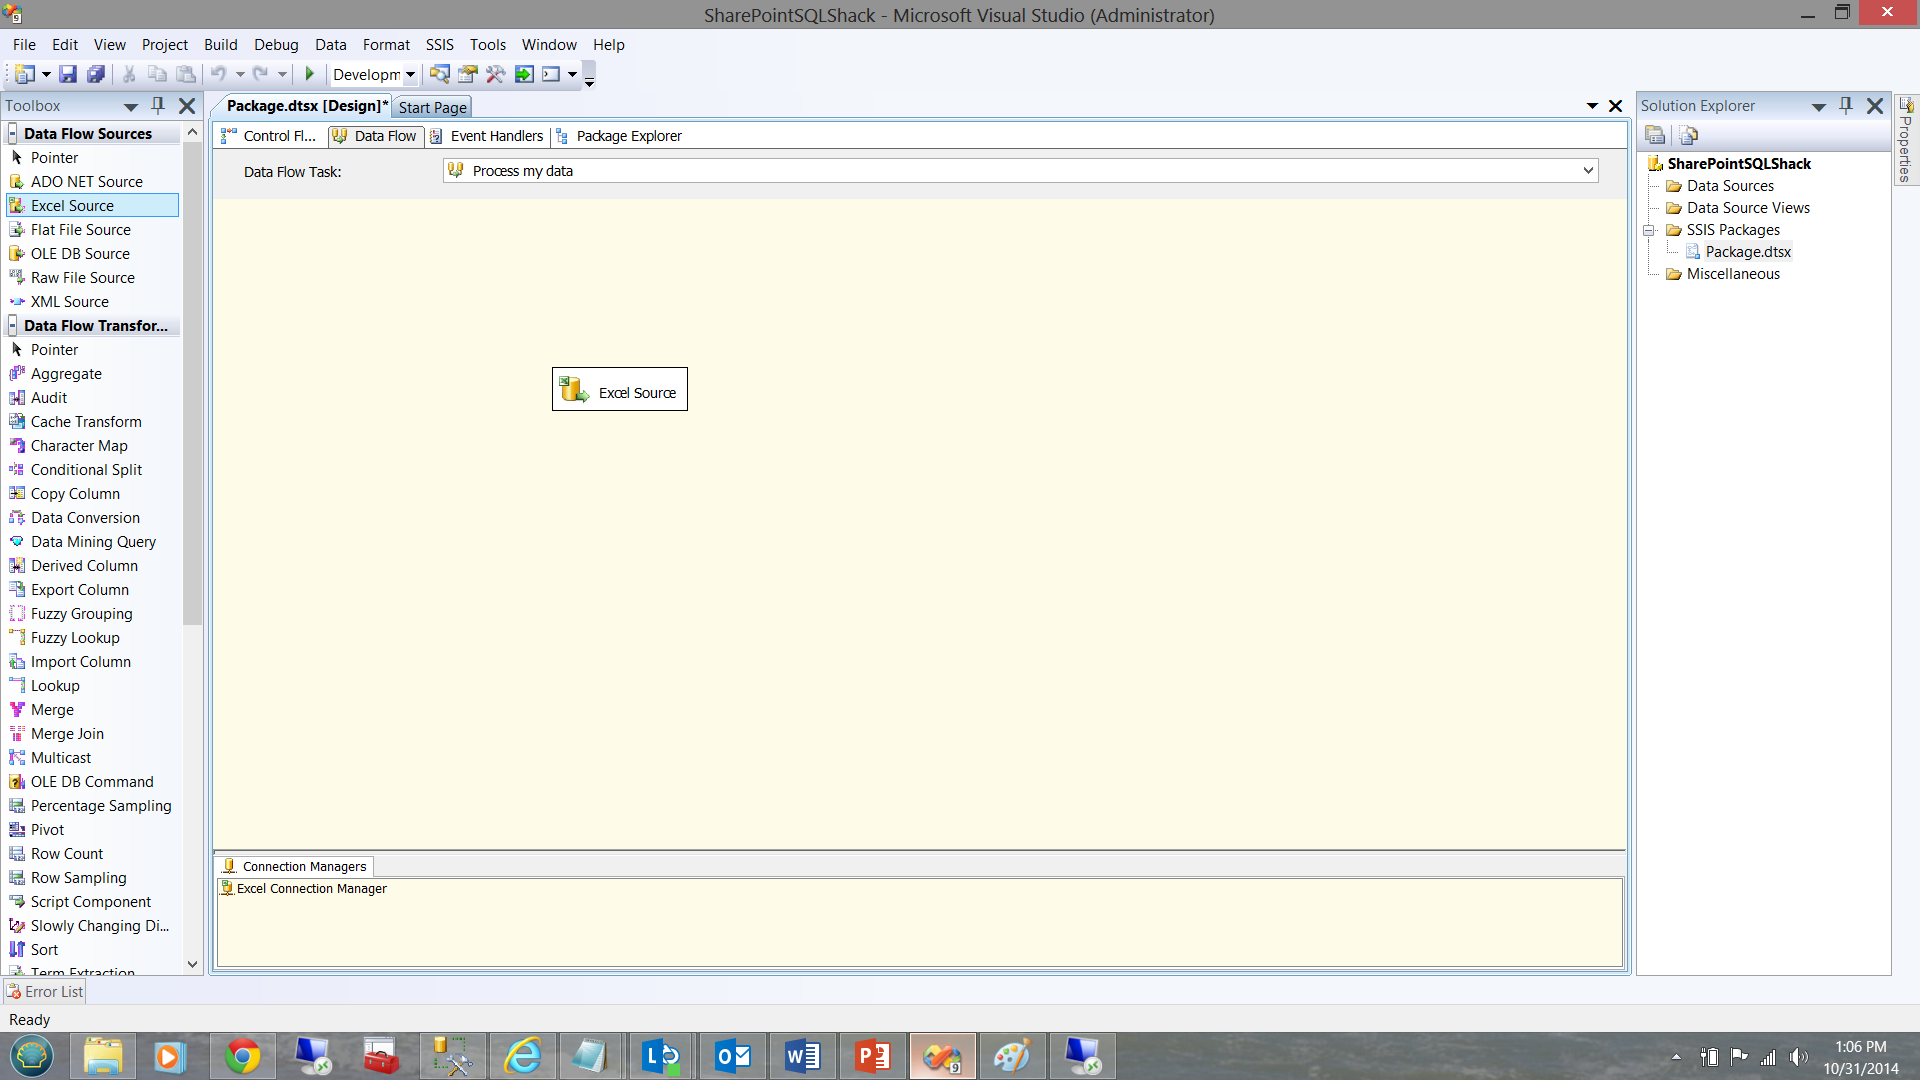
I add a ‘Data Flow’ task to the surface (see below). This will permit me to define the source of my data, in addition to defining the target for my raw data.
Clicking on the ‘Data Flow’ tab (see below), we are taken to the Data Flow design sheet. Here we shall define our source data and define the end repository for our data.
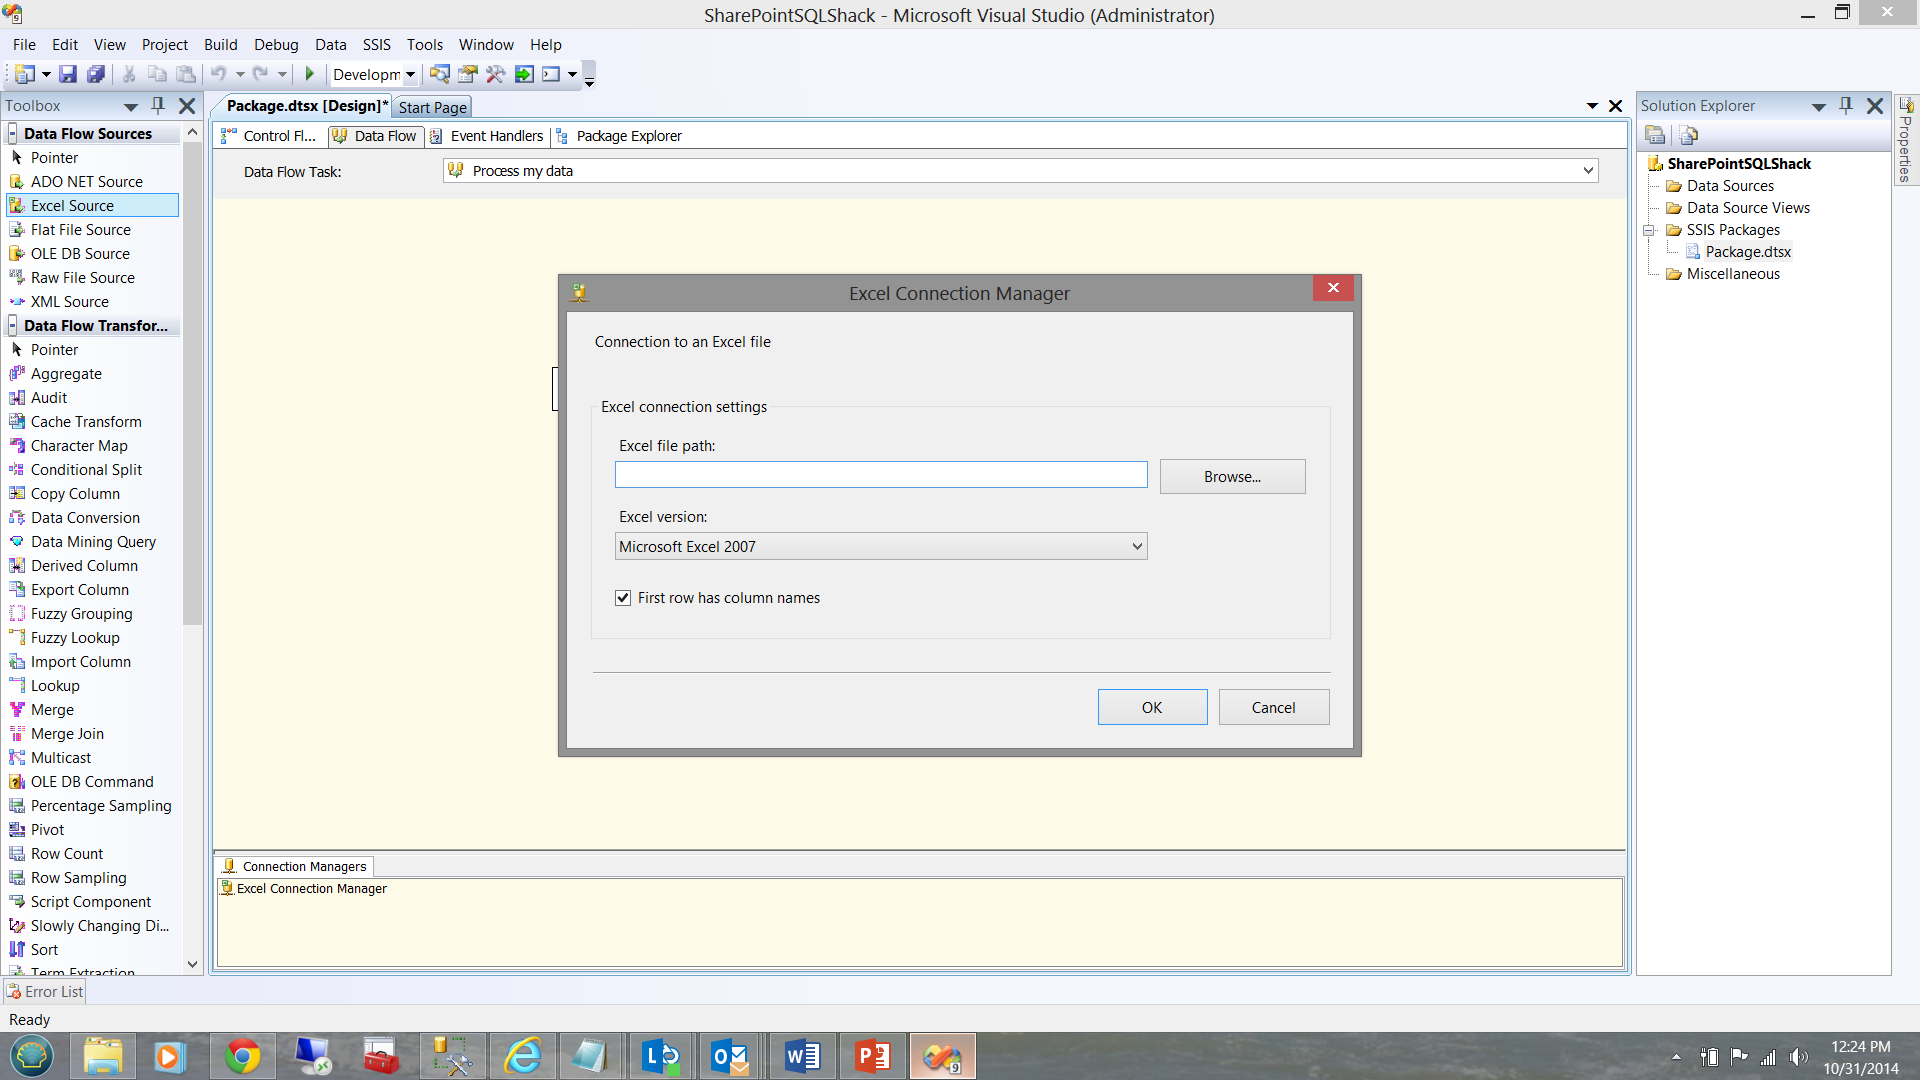
As our data source is an excel spreadsheet, we need to create and configure an ‘Excel data source’.

From the toolbox on the left side of the screen dump above, we drag an Excel data source onto our working surface.
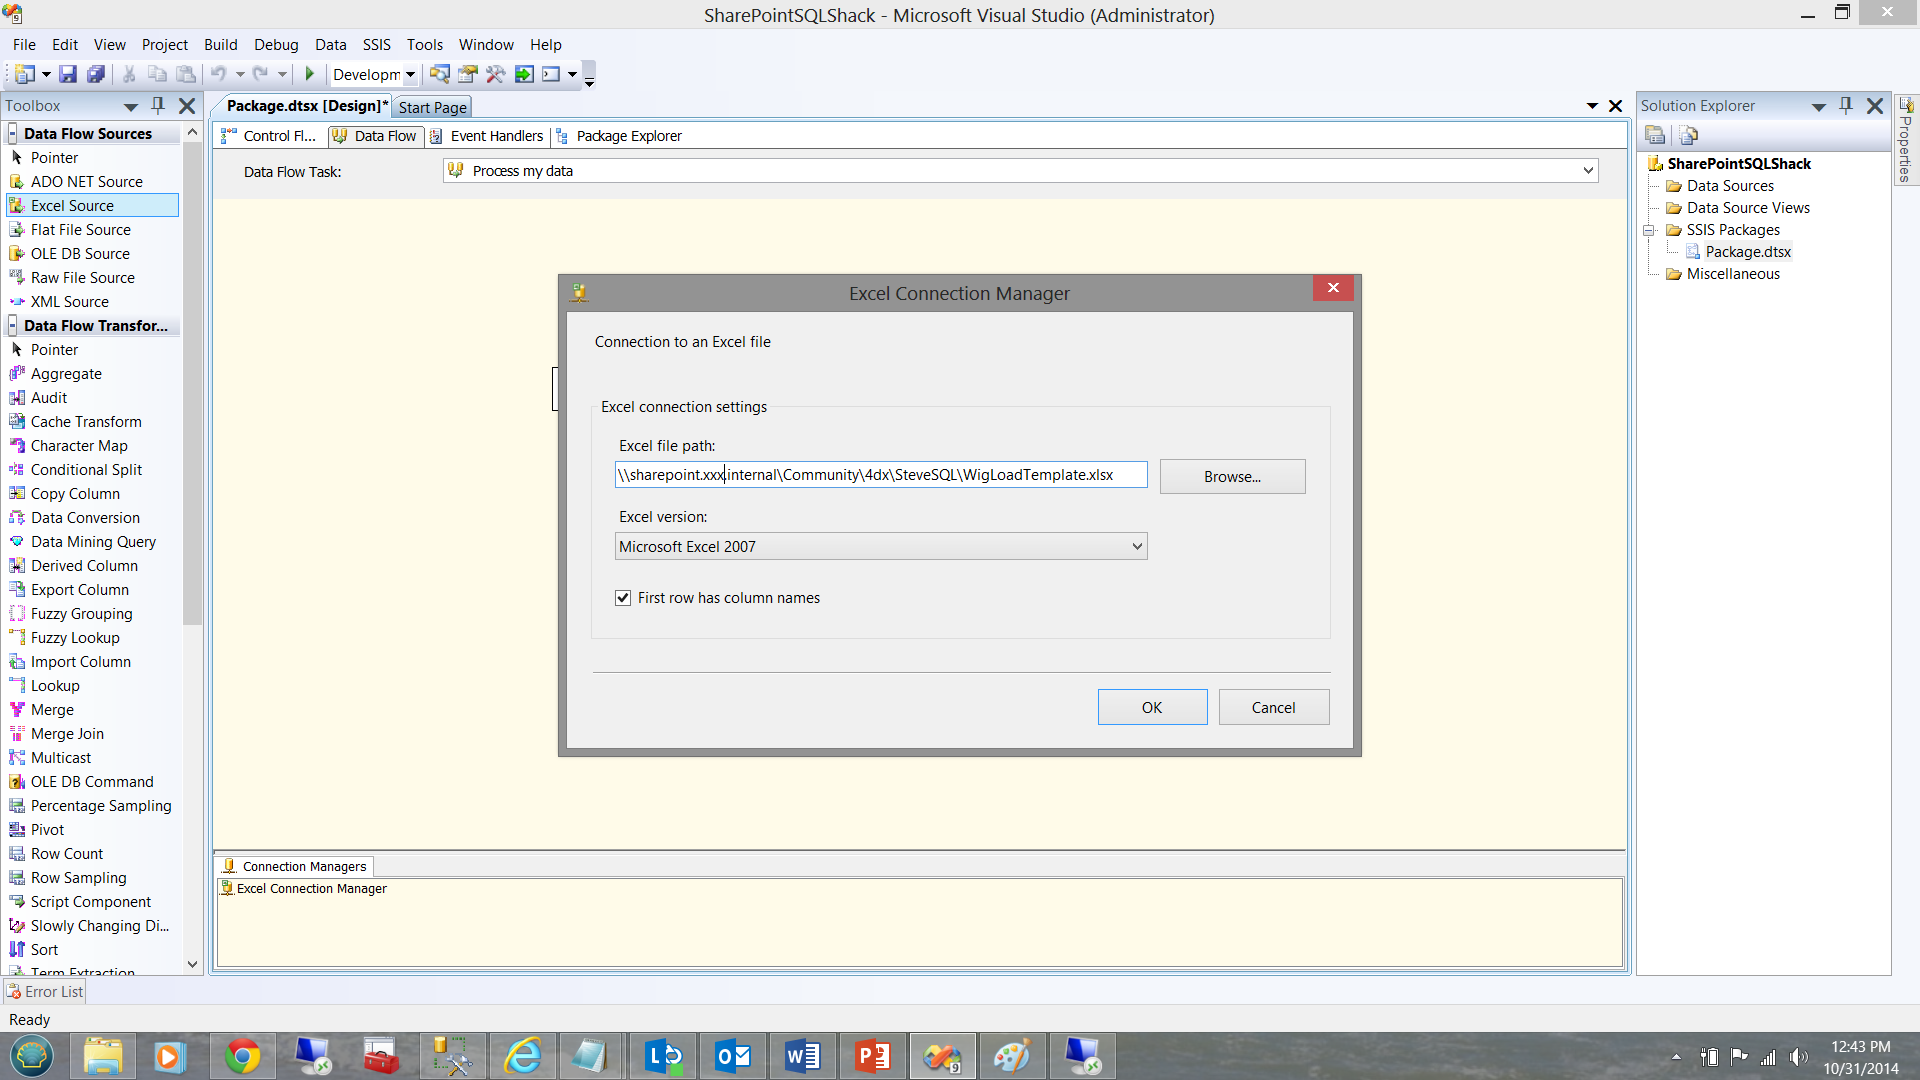
The plot now thickens! As our data source is web based we must configure our data source in a different manner from a normal disk based excel file.
Further, the data source link MUST be in UNC format.
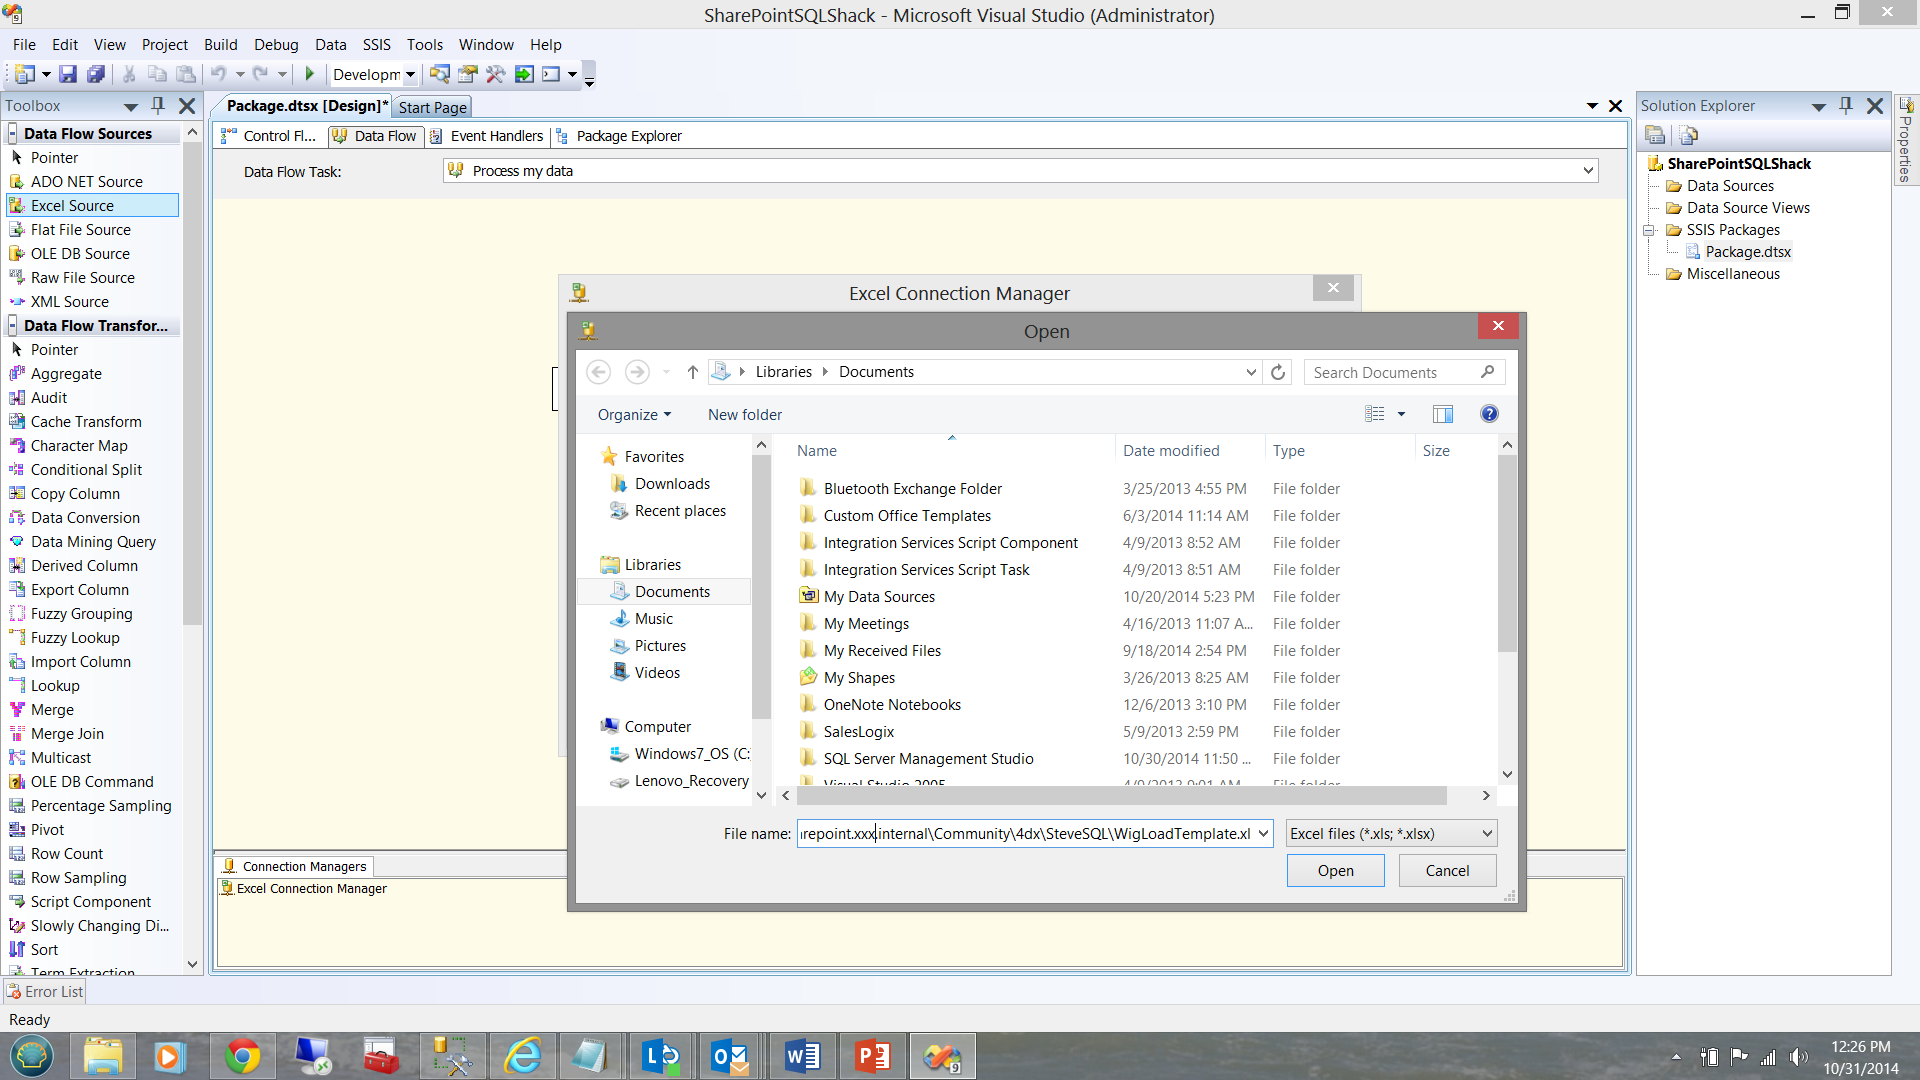
In our case \\sharepoint.xxx.internal\Community\4dx\SteveSQL\WigLoadTemplate.xlsx
We first click the Browse button (see above). Window explorer opens and we paste our UNC format SharePoint link in the File name box (See below)
We now click ‘Open’ and are immediately challenged by our SharePoint sight for our security credentials.
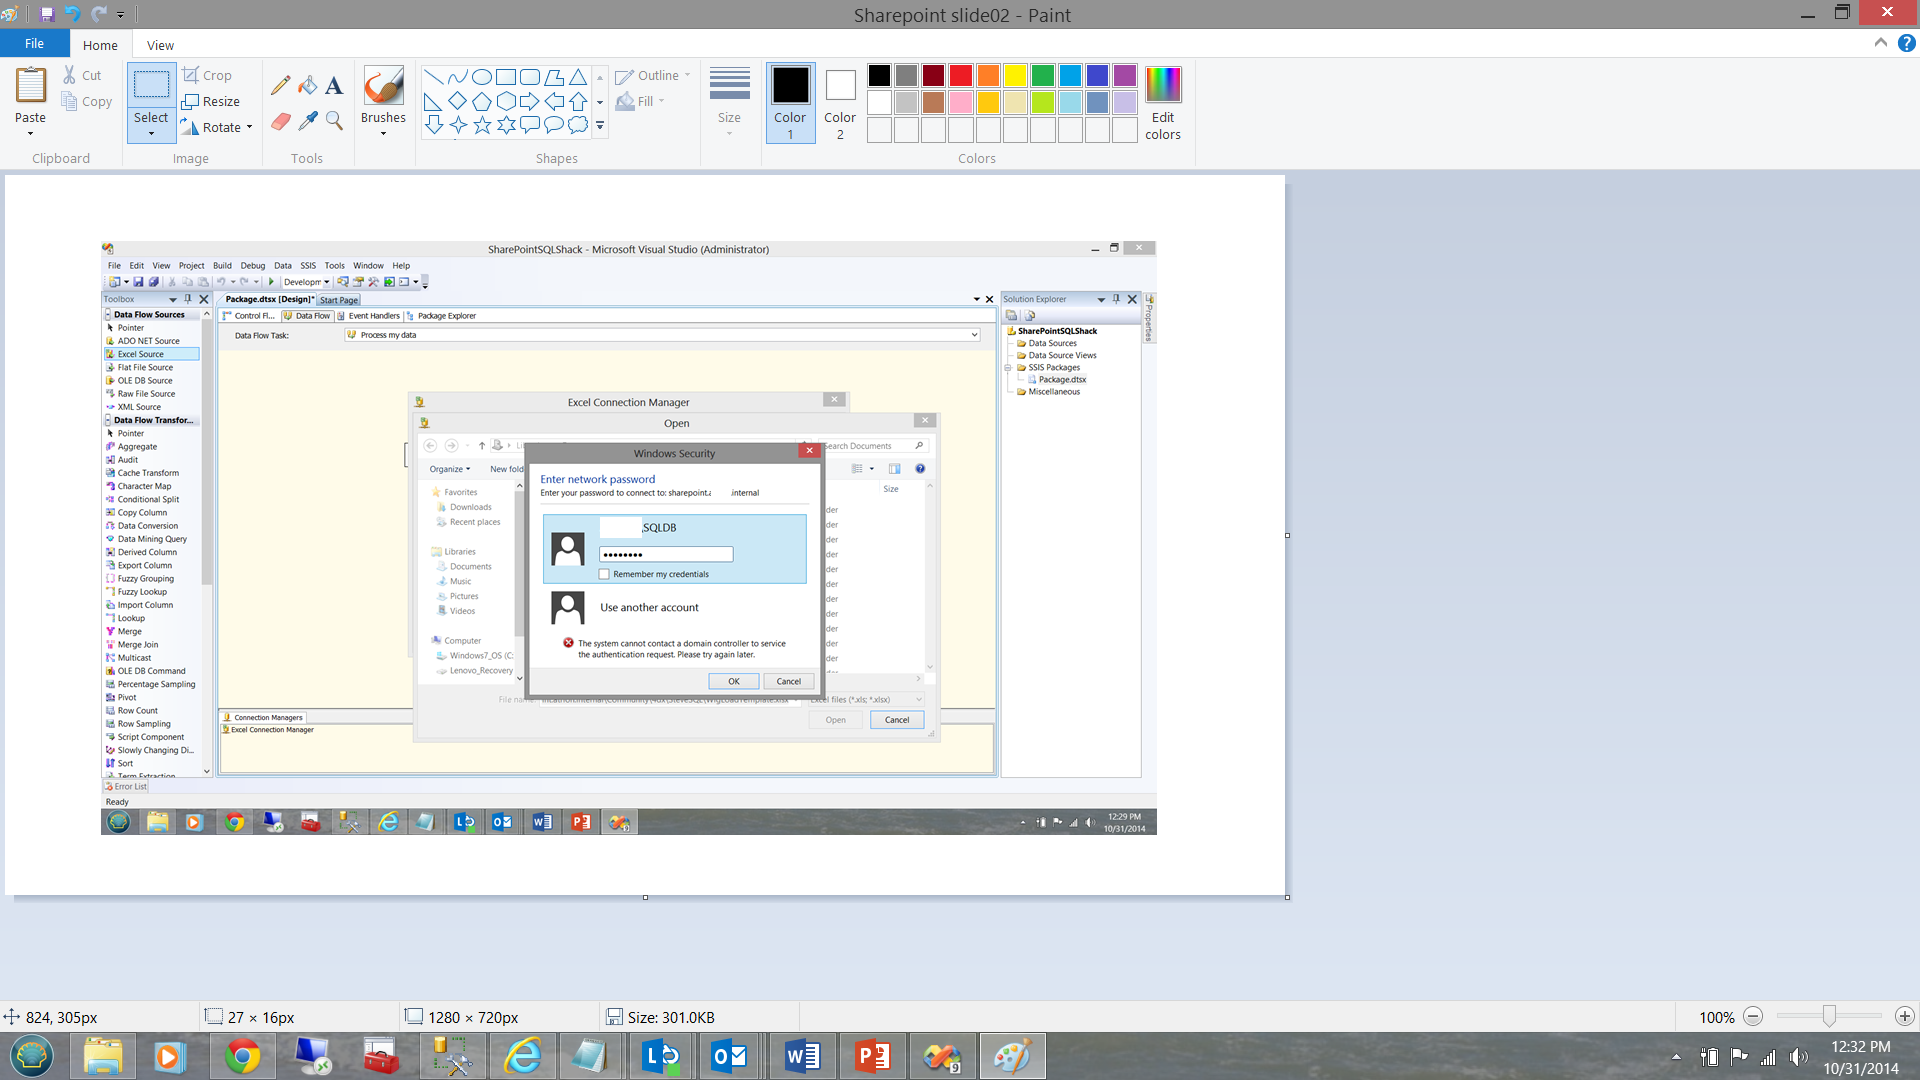
We let SharePoint know who we are (see above) and click OK. We are returned to our Excel Connection Managed Screen (see below).
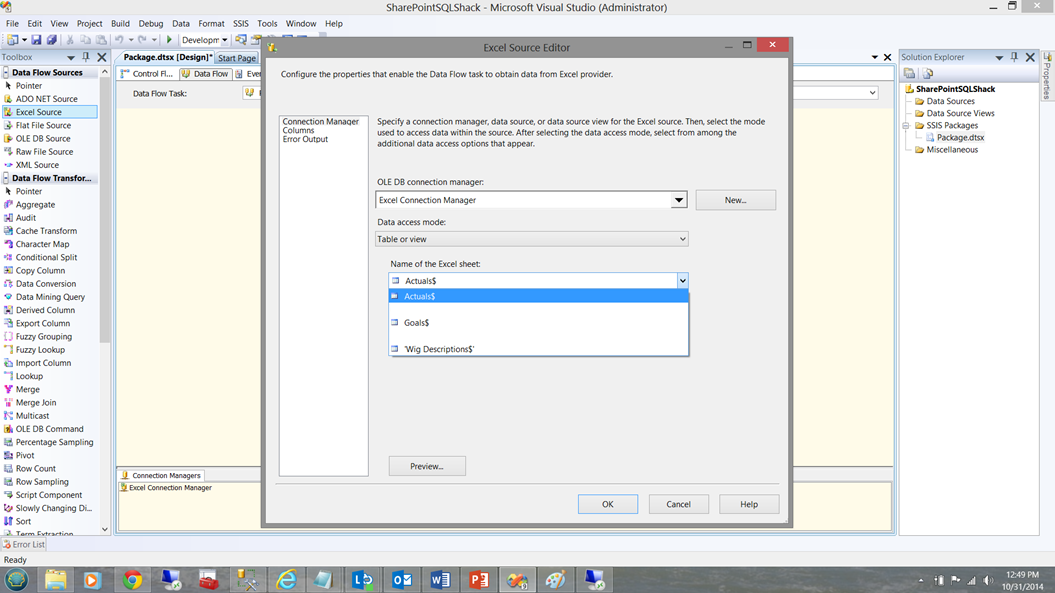
Double clicking the Excel Source control (shown below) permits us to choose the source sheet containing our data to be imported.
Once open, we shall select our ‘Actual’ sheet (see below)
Once selected we can click on the columns tab shown on the left hand side of the screen above. The source columns are now displayed (See below)
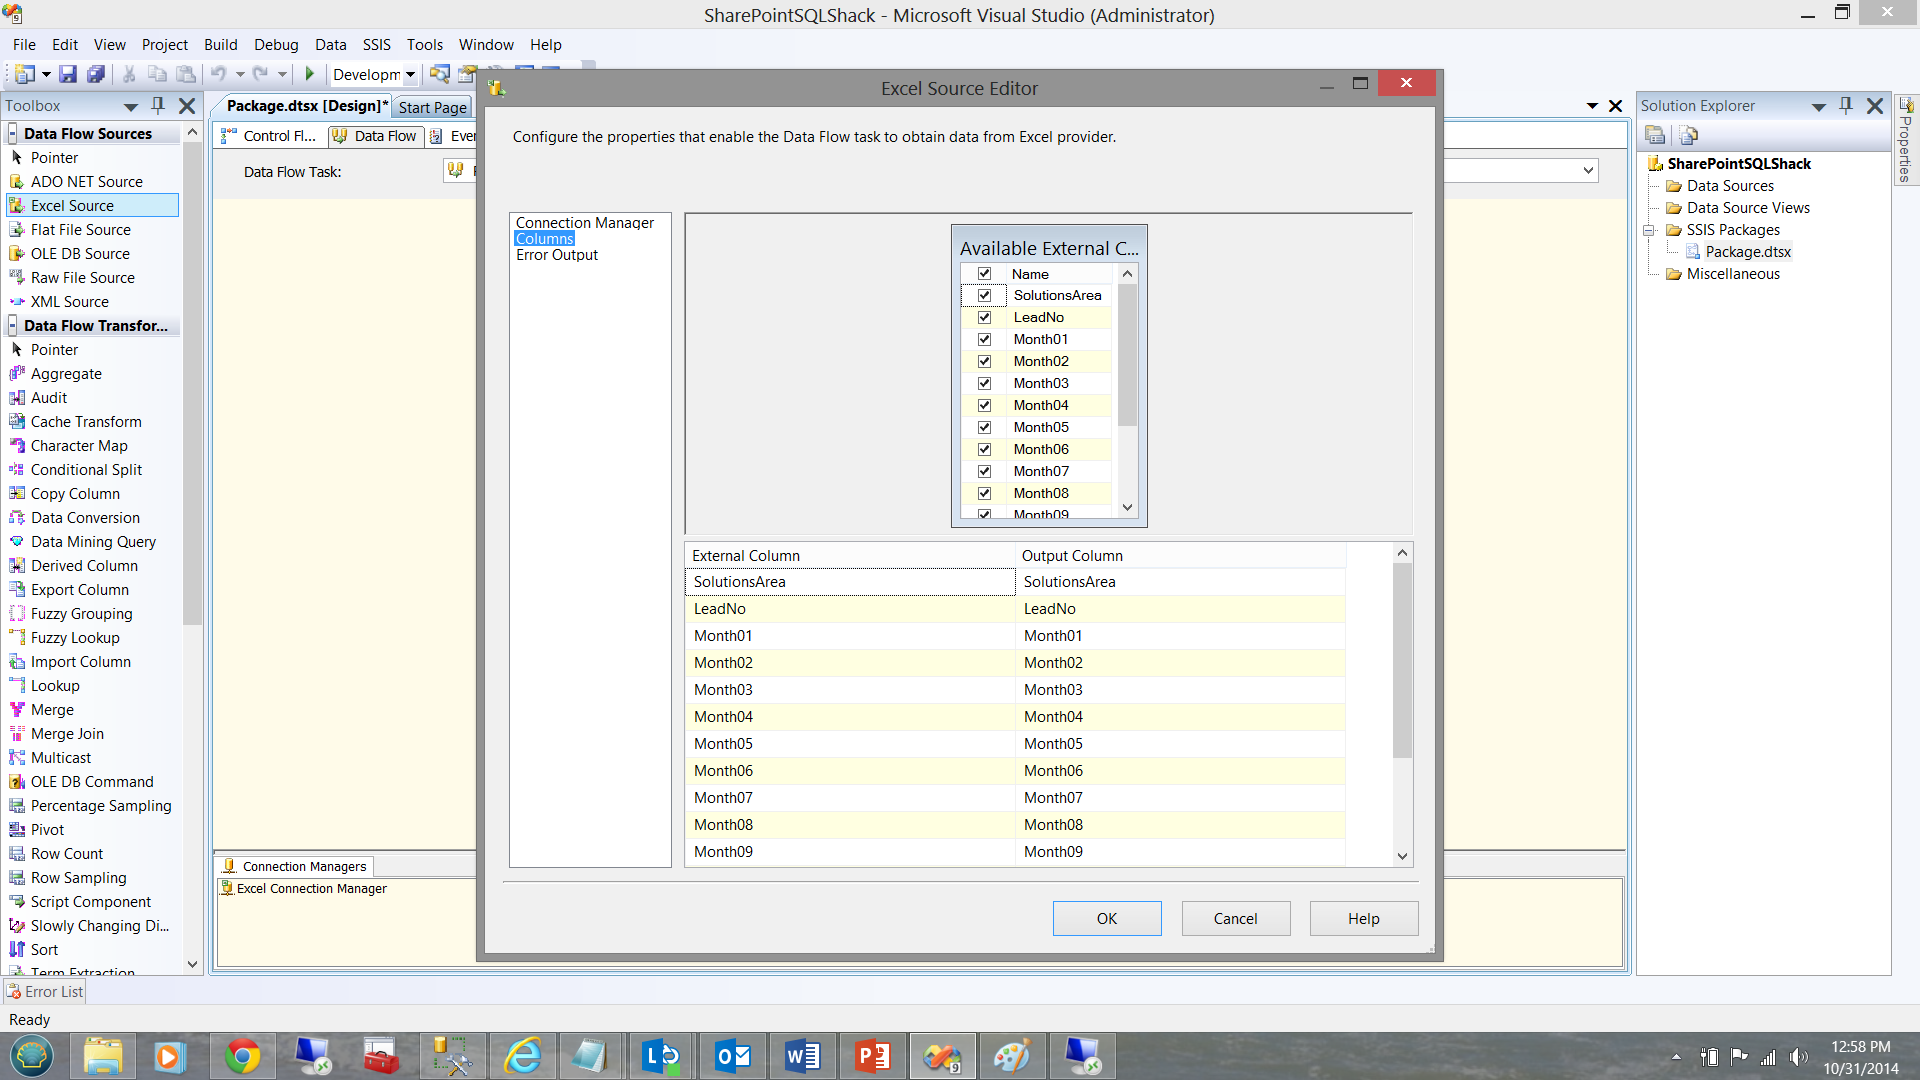
We now click OK to complete this step. We are now returned to our design sheet.
Setting the data Destination
Setting our data destination is a simple matter. I have taken the liberty of creating a staging table in our SQL Shack Database.
Meanwhile back in our project, we add an OLEBD destination to our work screen and create an OLEDB data connection. The data connection is shown below.
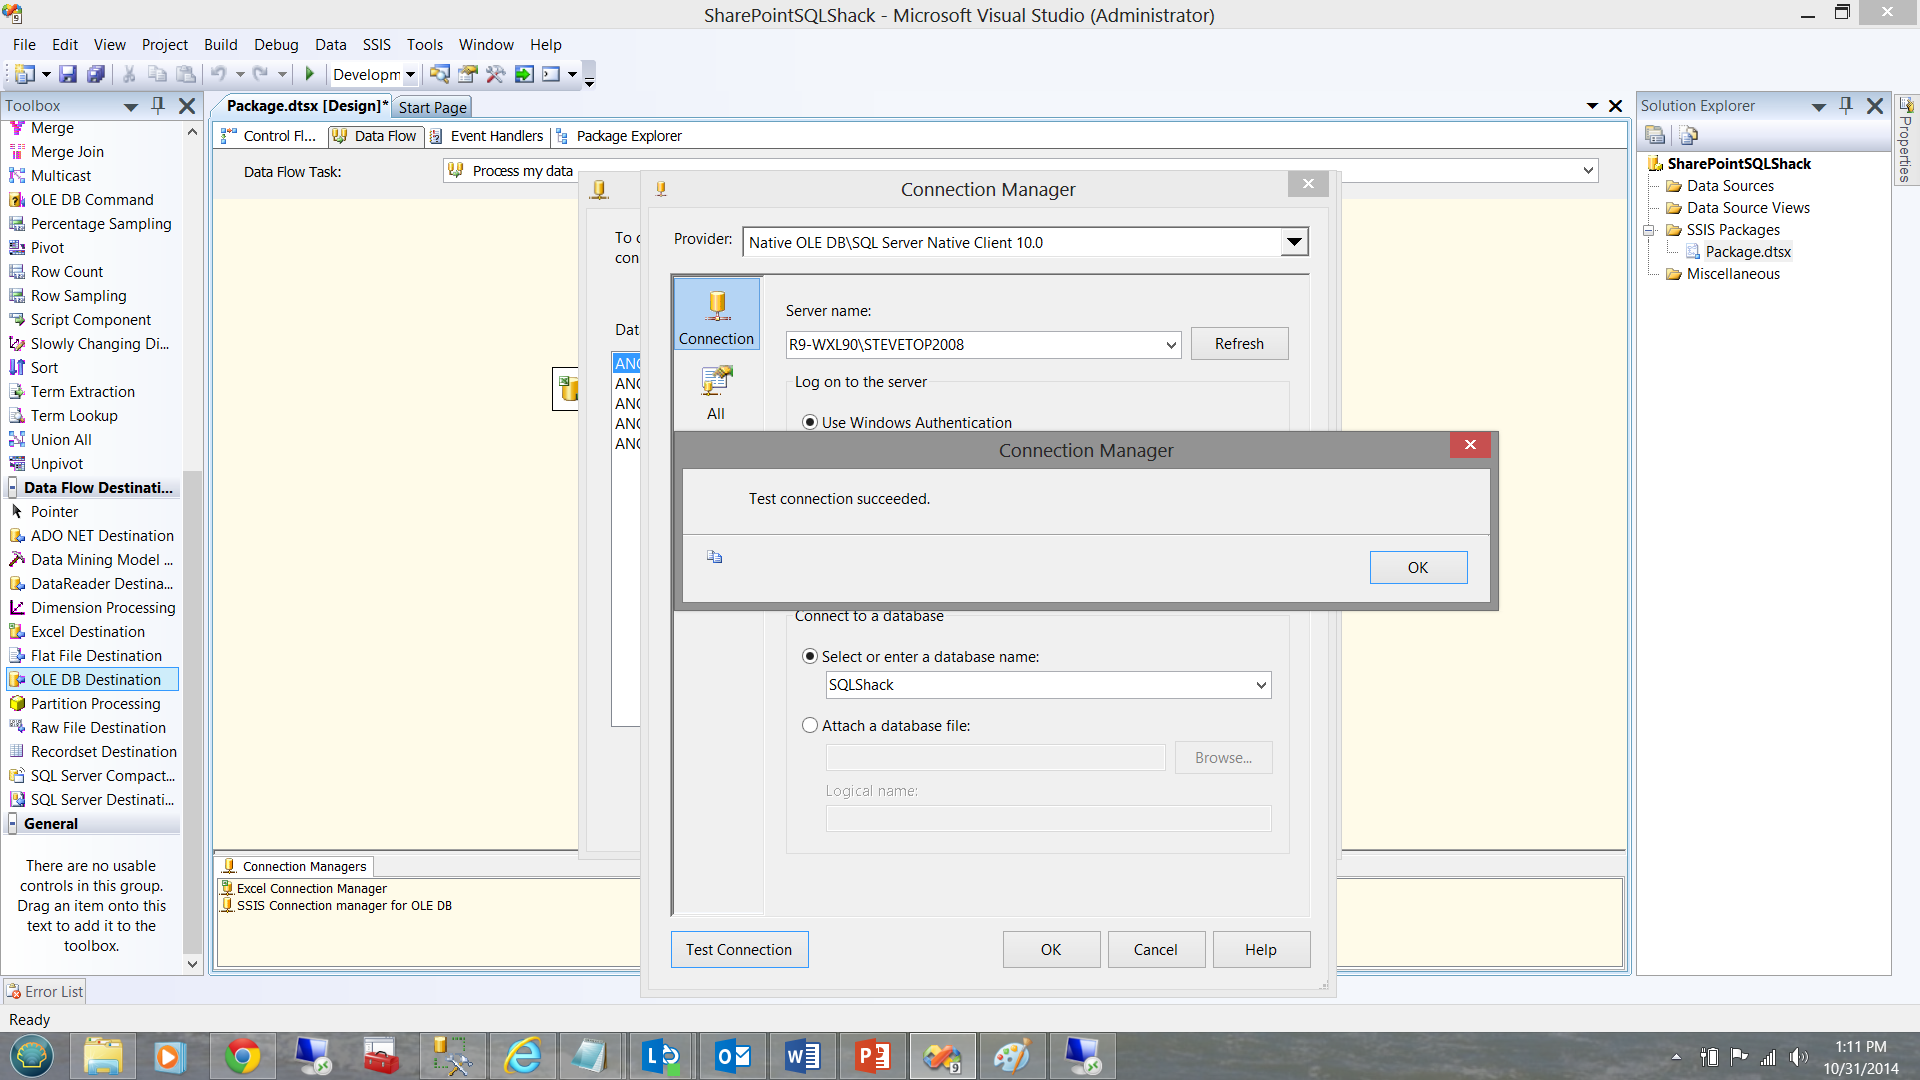
The connection to the SQLShack database having been created, we now drop an OLEDB destination control onto our work surface and configure it.
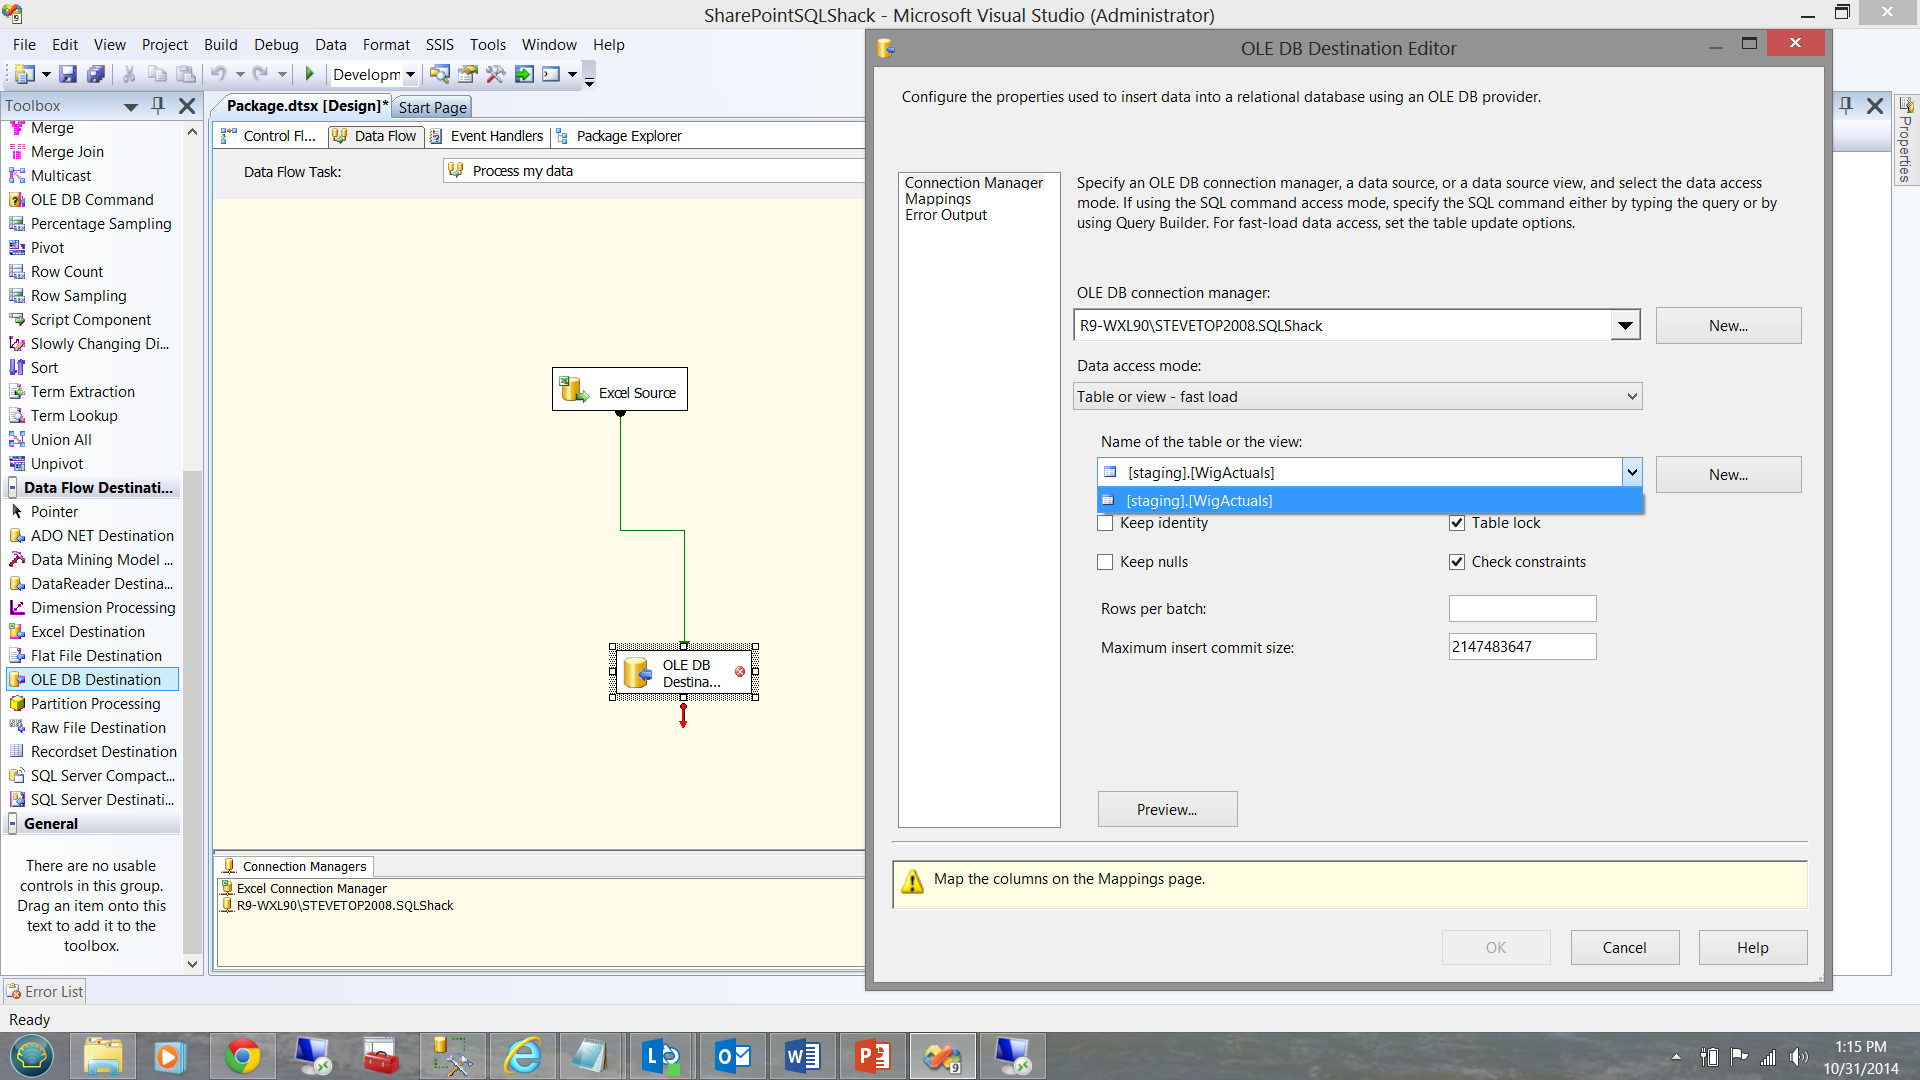
We now set the field mappings between the source spreadsheet and the destination table fields.

We click OK to accept our configuration.
This completes the set up for the first sheet. There were three sheets to be loaded from the clients ‘Excel spreadsheet file’. The process to load the remaining spreadsheets is similar to what has just been covered.
I have taken the liberty of completing our flow and this can be seen below.

Testing our project
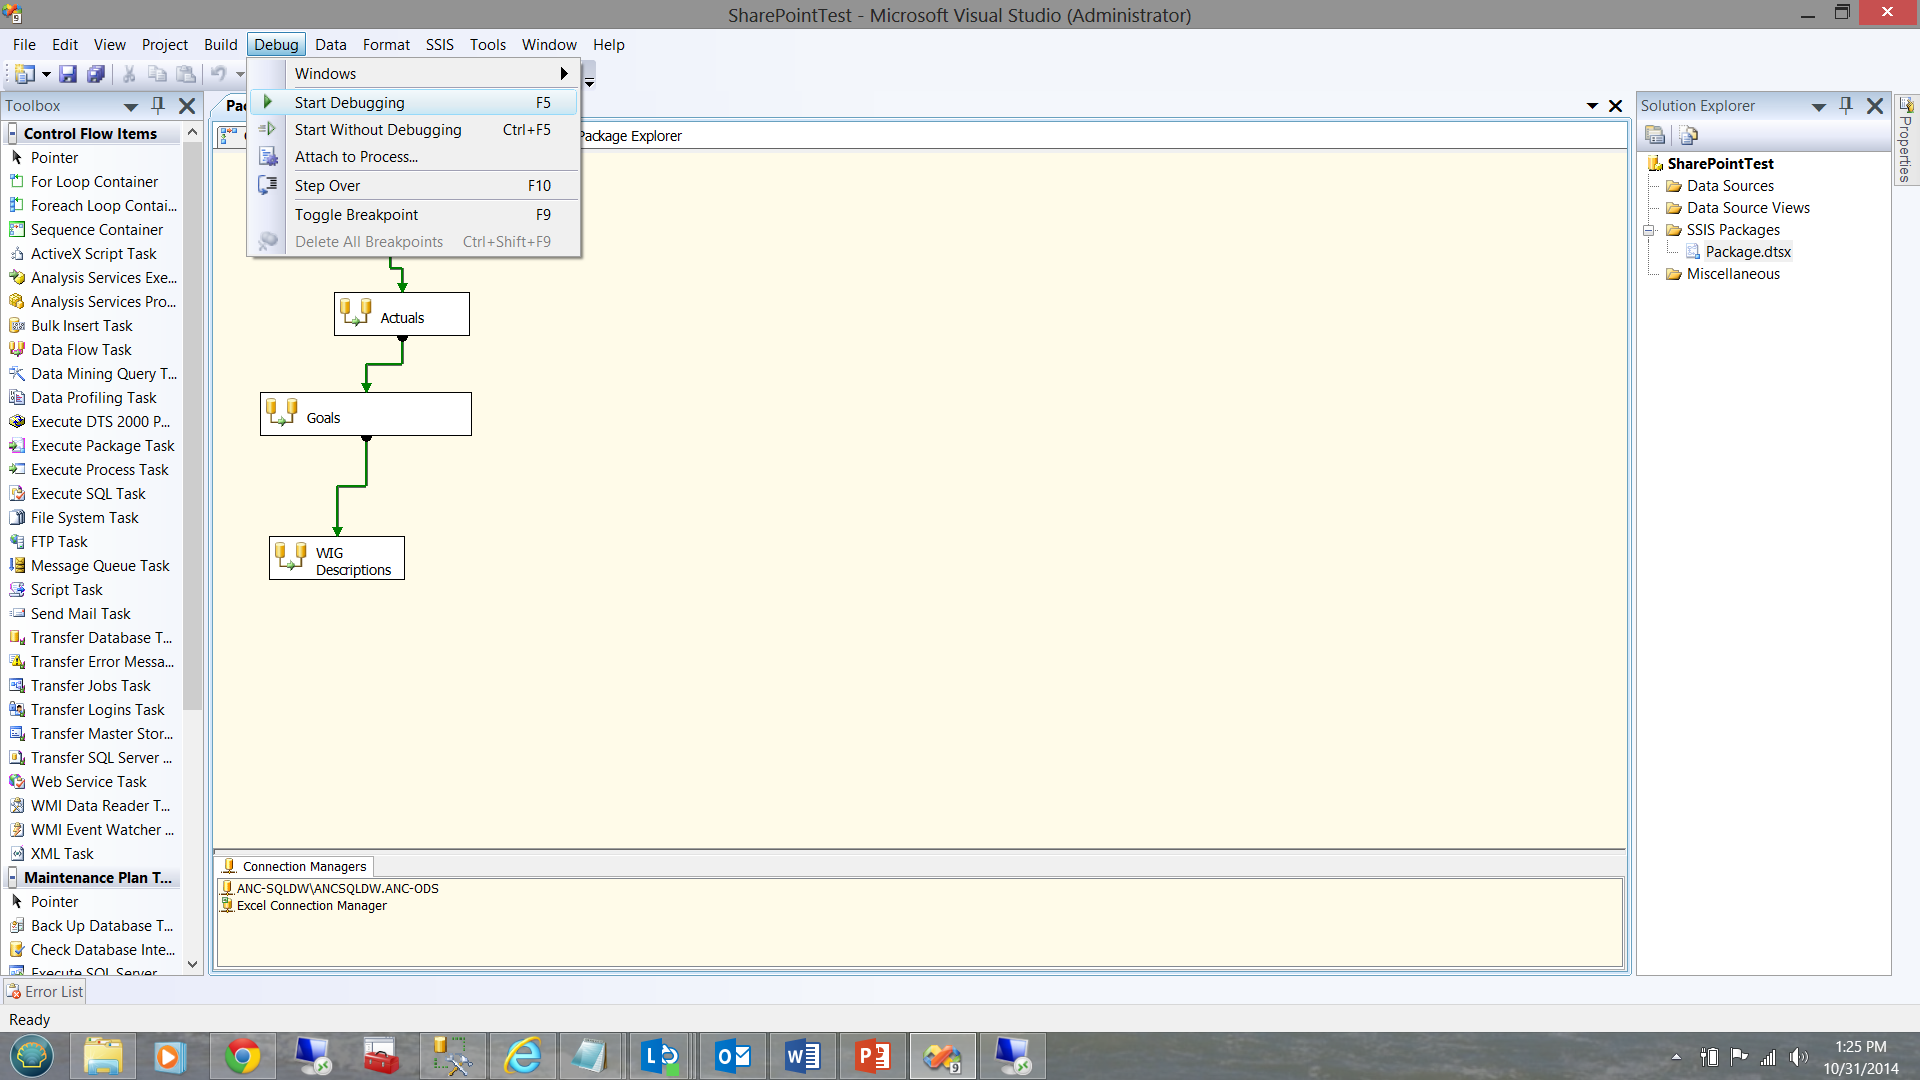
To test our project I choose the debug tab and click ‘Start Debugging’.
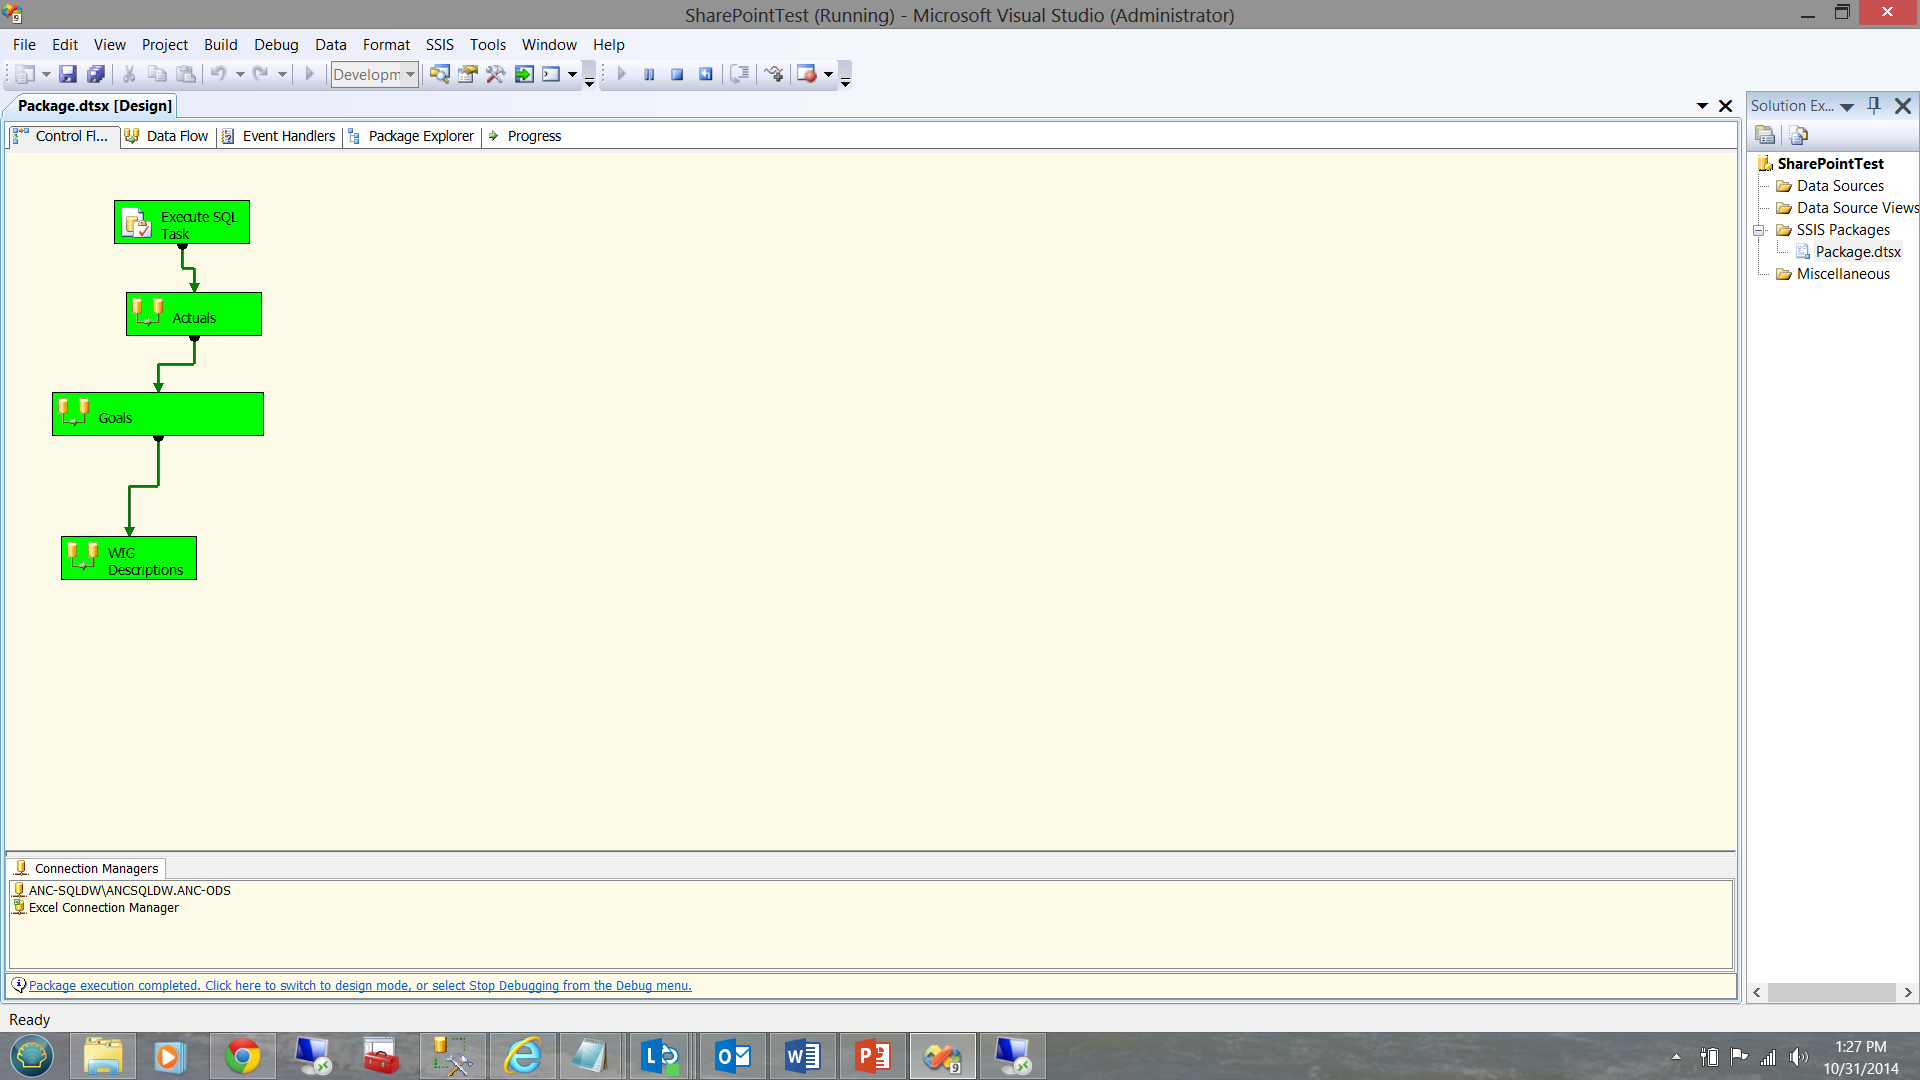
As the eagle-eyed reader will note, our load was successful.
Examining our data
Our loaded table is shown below:

Now the ‘Real’ work begins!!
Working with SharePoint is often challenging due to security issues. As we wish to pull data from the SharePoint site each evening via our package, it is important to prevent SharePoint from challenging the scheduled job each time it is run.
To clarify, while the nightly runs are processed with a process ID and with a non-expiring password, there is also the SharePoint authentication to be taken into consideration. Few client sites will remove the security any SharePoint directory.
In real life this created a challenge. Once the process ID logged on and the package started, it was challenged for a user ID and password. Despite trying numerous ways to encrypt the user ID and password into the package, we came up empty handed.
The work around
One thing that we did notice after having correctly authenticated was that we could run the package manually numerous times without being challenged. FURTHER, when loading the package into SQL Server via the Integration Services option from Management Studio, we were able to run the package without issue so long as we did not log out.
Great!!! The million dollar question was: “Will the same thing happen if we ‘DISCONNECT’ (as opposed to logging out) the process ID and leave it running in the background?” We found that in this manner the security token remained intact.
While manual package execution (from the file system) worked without issues and the package stored in the Integration Services portion of Management Studio worked without issues (both as a file system package and as a package within MSDB), the same could NOT be said for trying to schedule and execute the package from the SQL Server Agent. The reader should note that the SQL Server Agent is run via the SAME process ID discussed above. The reader should also note that:
- The package was ‘developed’ by the process ID
- Testing was done with the same process ID
- SharePoint was ‘told’ that the process ID could have all the necessary rights on the spreadsheet.
This said, one would expect to encounter few access violations or gotcha’s.
Carla Sabotta from Microsoft has super checklist to sort these issues out. Do have a look at the following link
Using DTEXECUI
Having spent days reading and researching the issue we decided to work-around the scheduling issue by not using the SQL Server Agent BUT rather to utilize the Windows Task Scheduler on the Server. When the Process ID was left in disconnected mode, this worked brilliantly.
To do this required an execution string to call the package and execute it. One of the great tools in the SQL Server arsenal is DTEXECUI
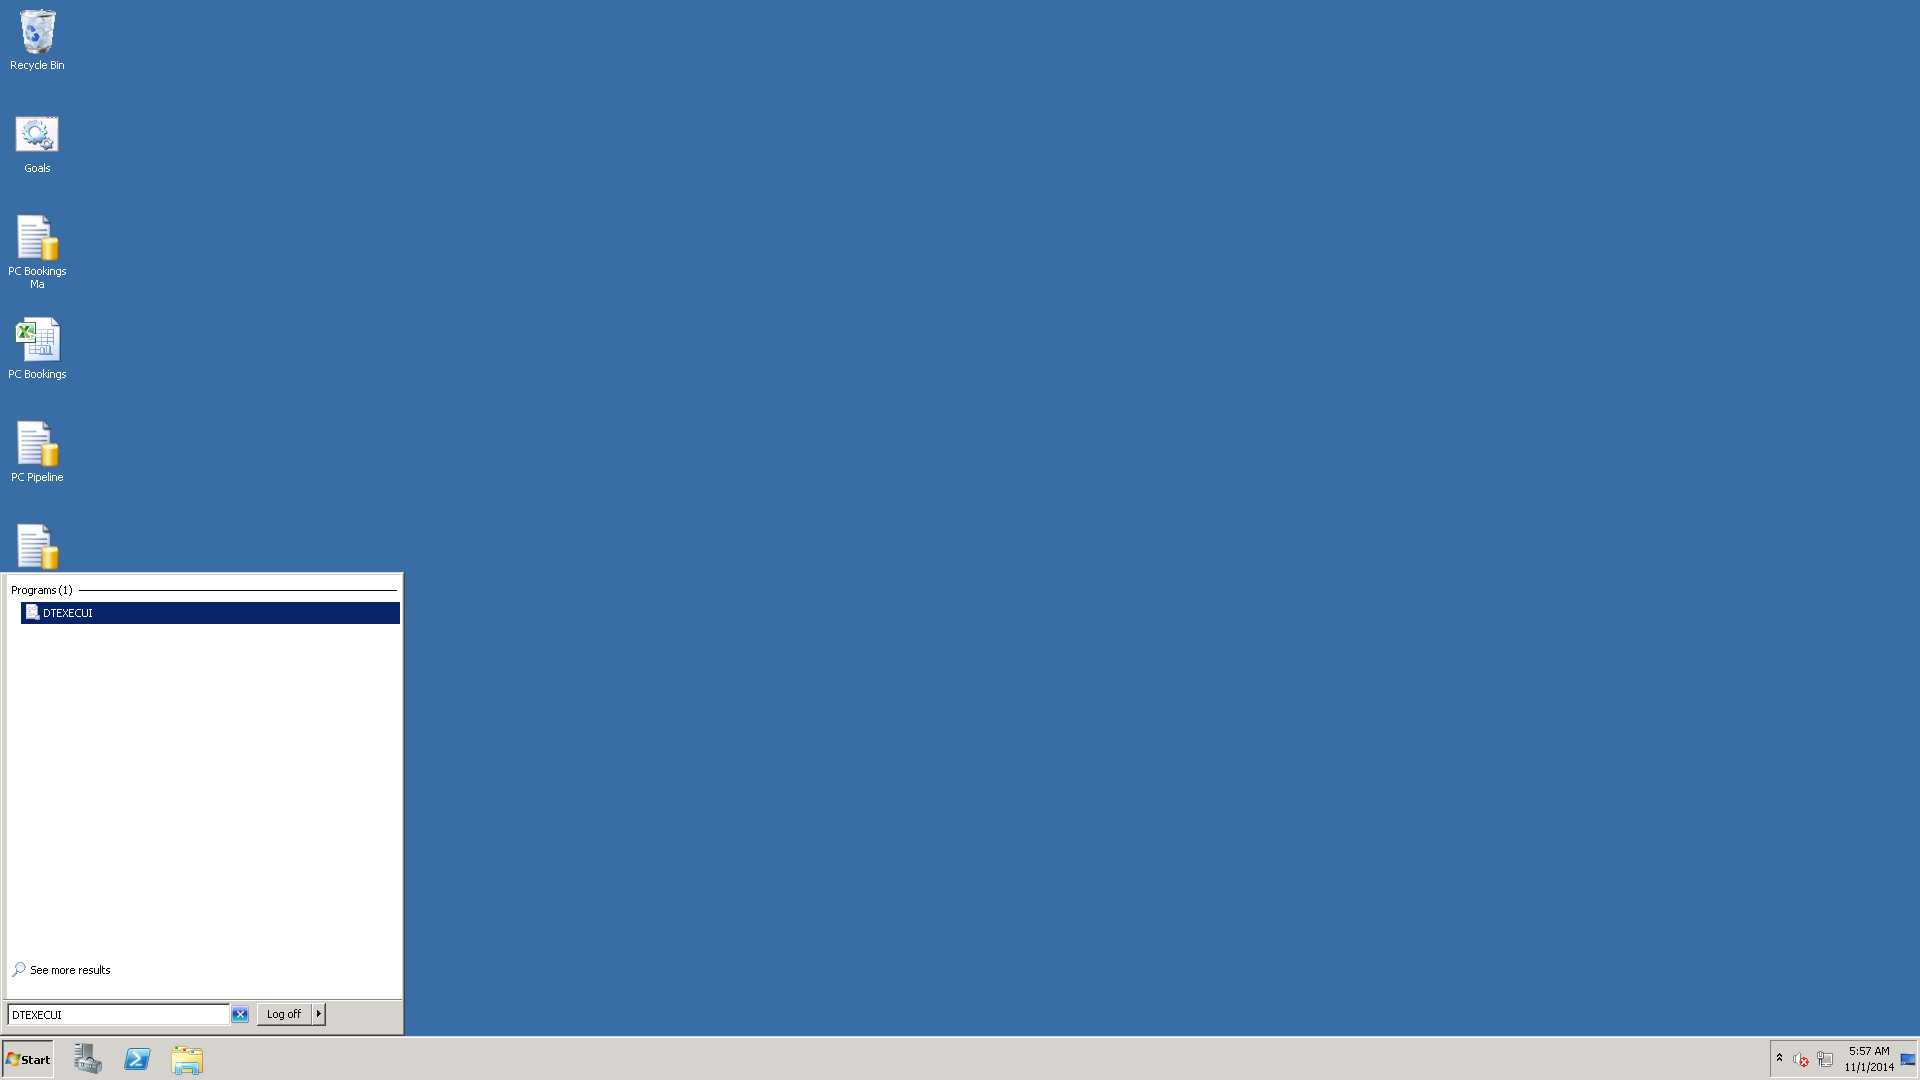
We call DTEXECUI from the command line.
The first data capture screen then pops up.
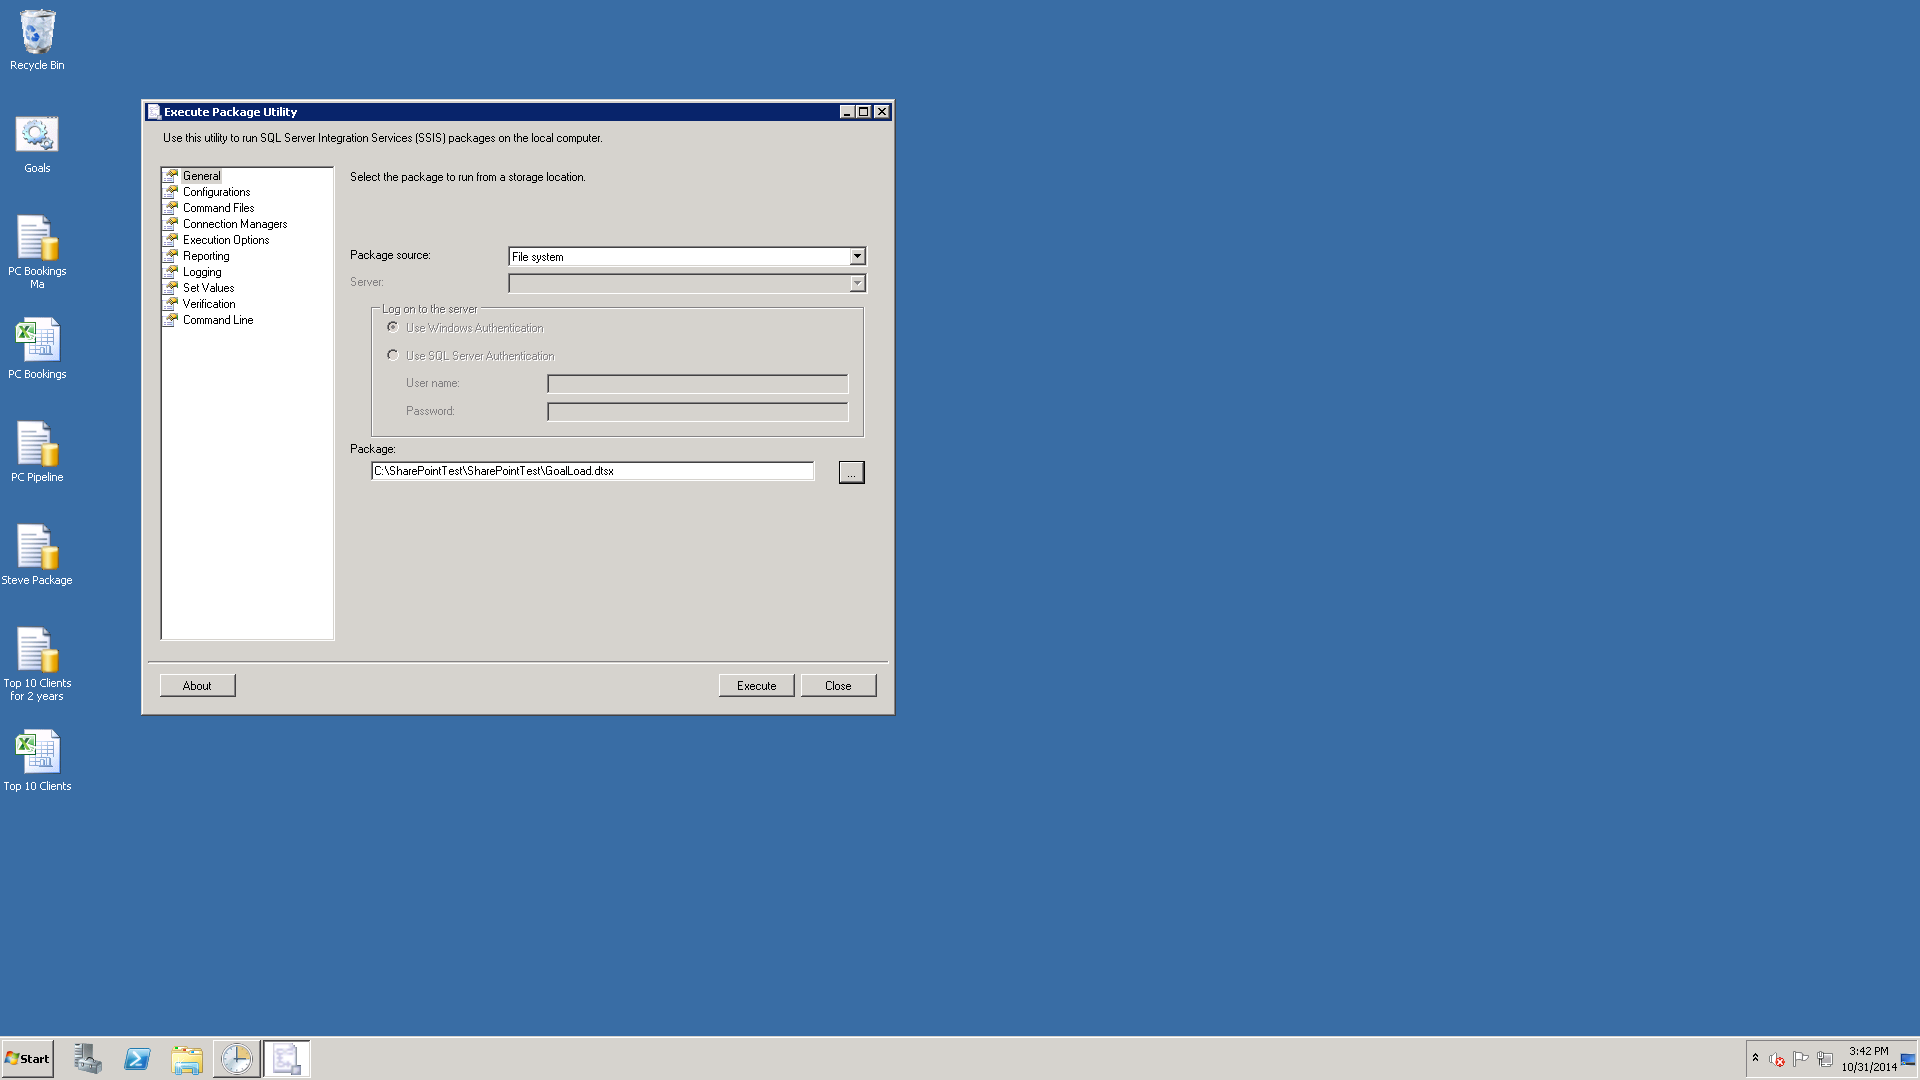
We first set the ‘General’ tab. I have taken the liberty of once again completing this tab. Note that the two properties that are critical are the Package Source and the location of the package (See above).
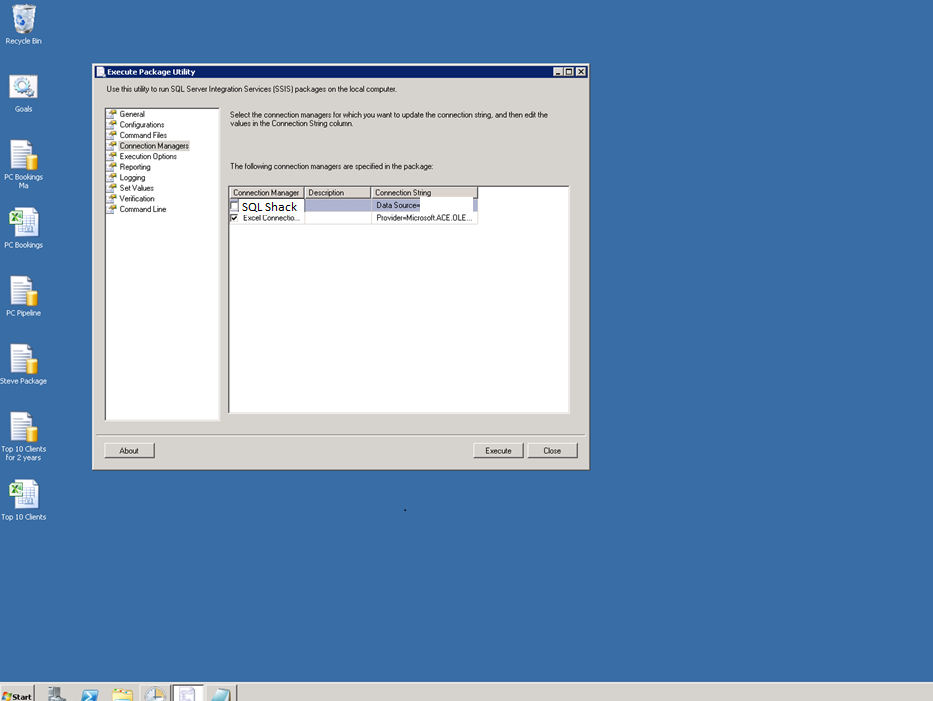
We now jump to the “Connection Mangers’ tab just to have a look at our connections. We select the Excel connection by ‘checking’ it (see below).
Finally, we jump to the ‘Command Line’ tab. NOTE that a command line string has been created!
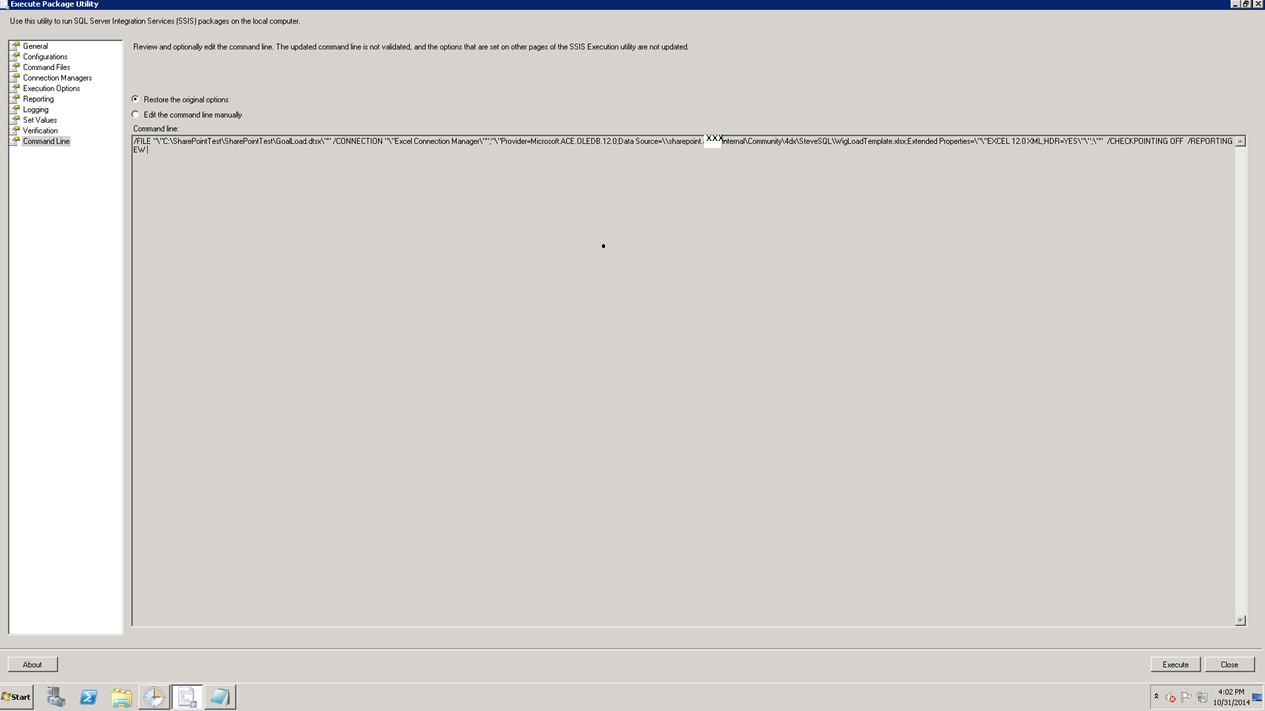
All that we need to do is to cut and paste this into a flat file with a .bat extension, with the words ‘DTEXEC.exe’ before our string.
Thus our final string is placed into that .bat file and the string should resemble the string shown below.
DTEXEC.exe /FILE “\”C:\SharePointTest\SharePointTest\GoalLoad.dtsx\”” /CONNECTION “\”Excel Connection Manager\””;”\”Provider=Microsoft.ACE.OLEDB.12.0;Data Source=\\sharepoint.xxx.internal\Community\4dx\SteveSQL\WigLoadTemplate.xlsx;Extended Properties=\”\”EXCEL 12.0 XML;HDR=YES\”\”;\”” /CHECKPOINTING OFF /REPORTING EW
Scheduling our nightly job in the Task Scheduler!!!
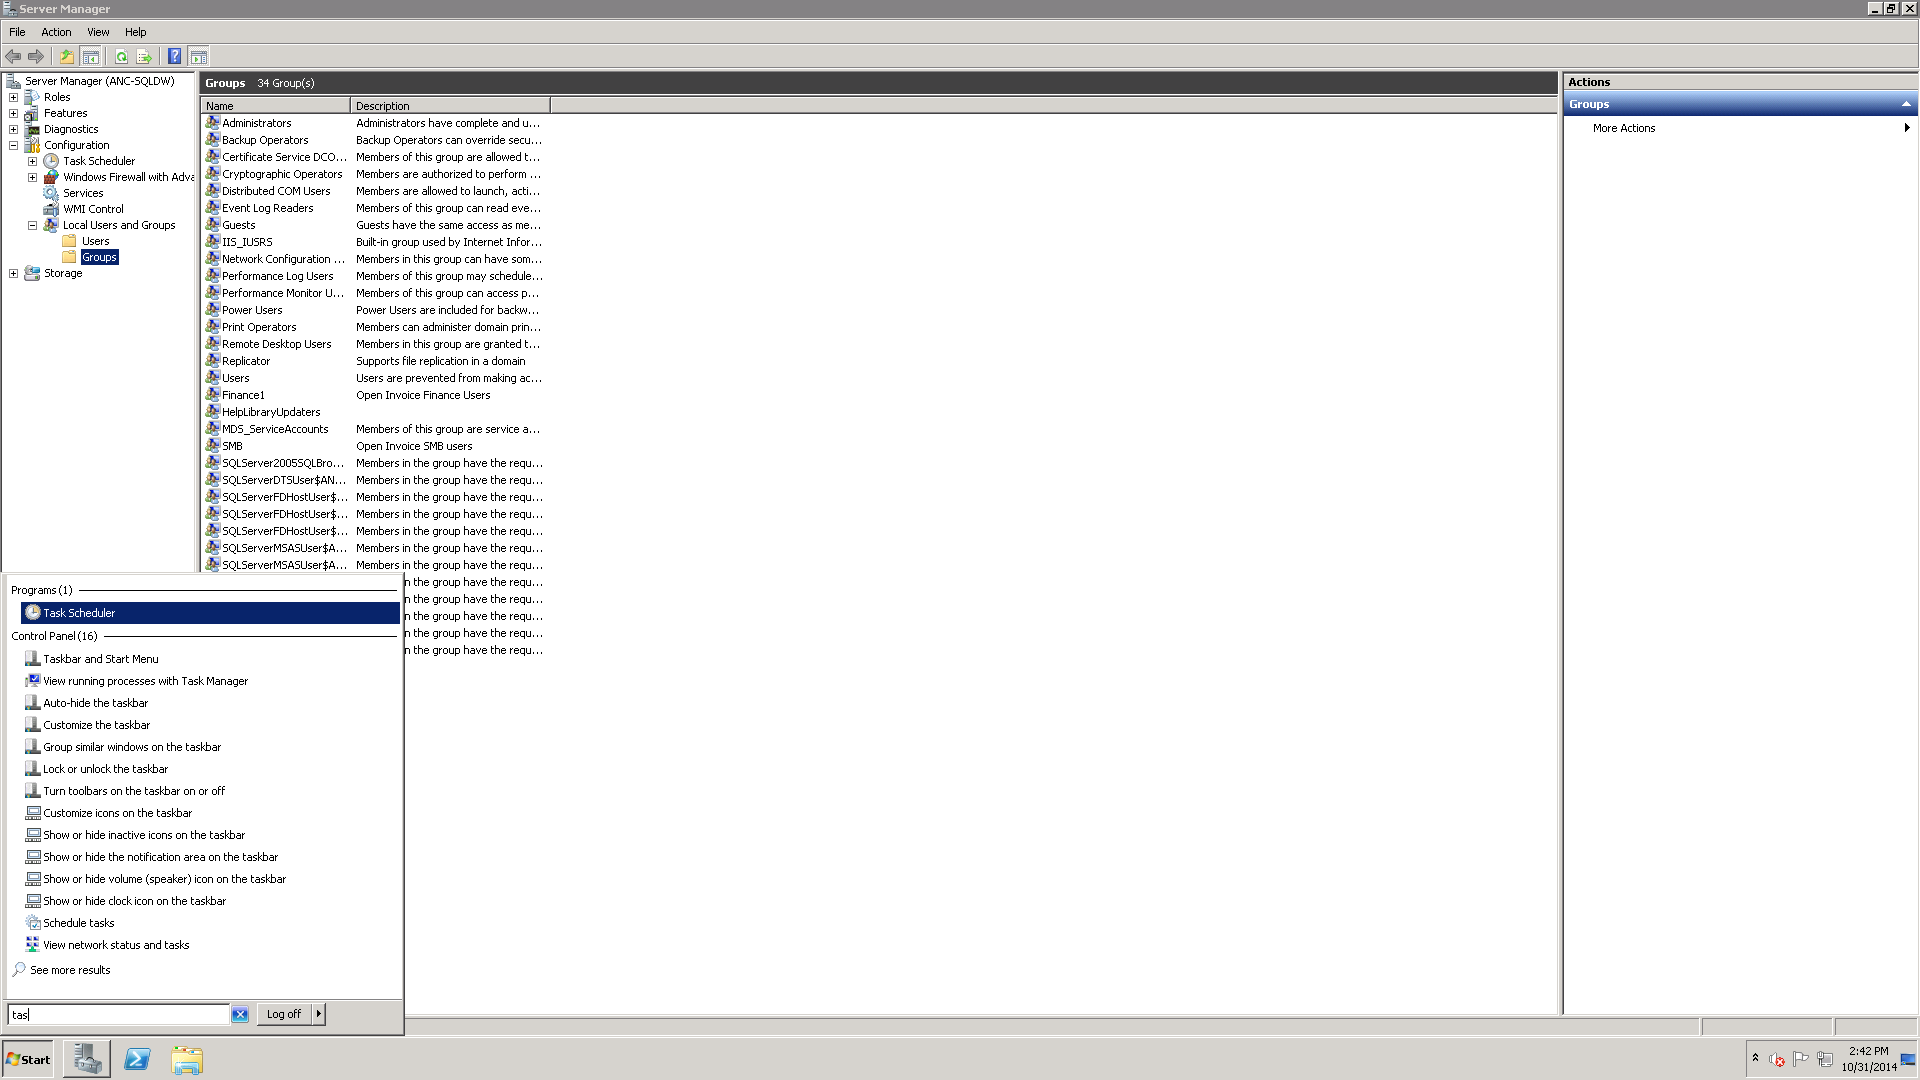
To start the Task Scheduler, one must merely start typing the word ‘Task’ in the search screen (See bottom left in the screen dump above).
The task scheduler opens.
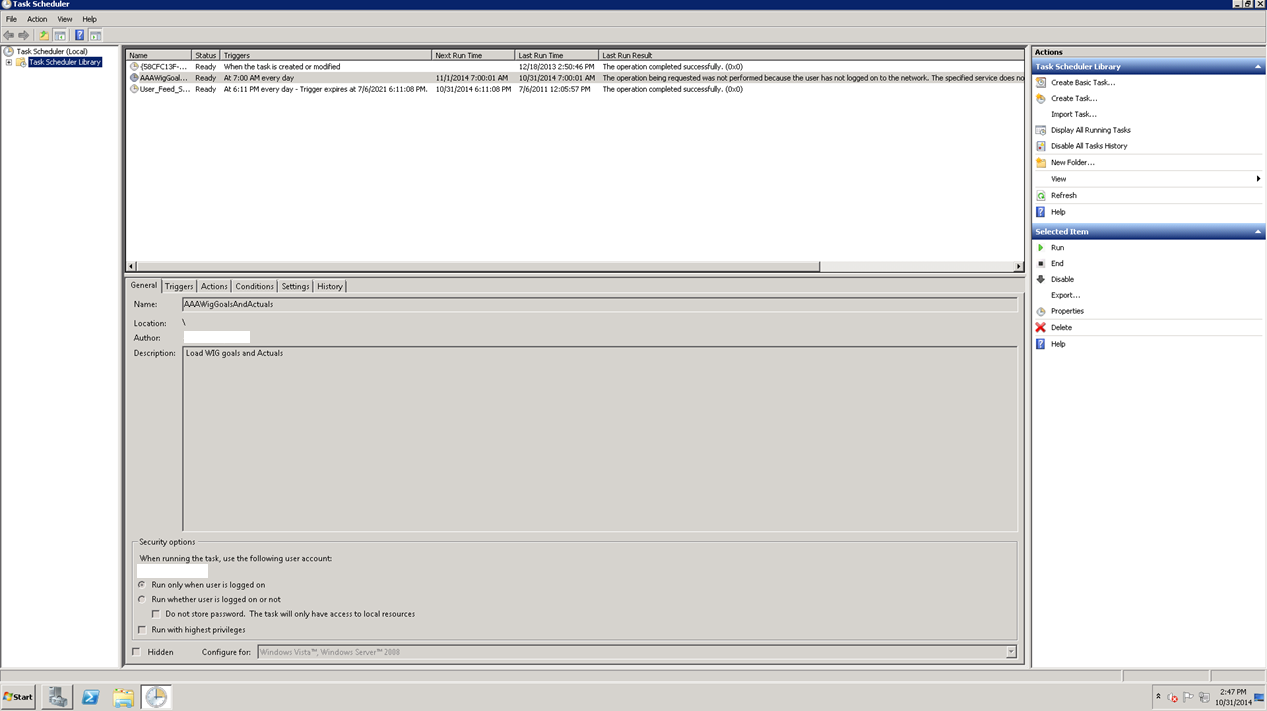
We choose ‘Create Task’ from the menu in the upper right hand corner of the screen dump above. The ‘General’ tab of the ‘Create Task’ is brought up. Once again, I have taken the liberty of completing this screen.
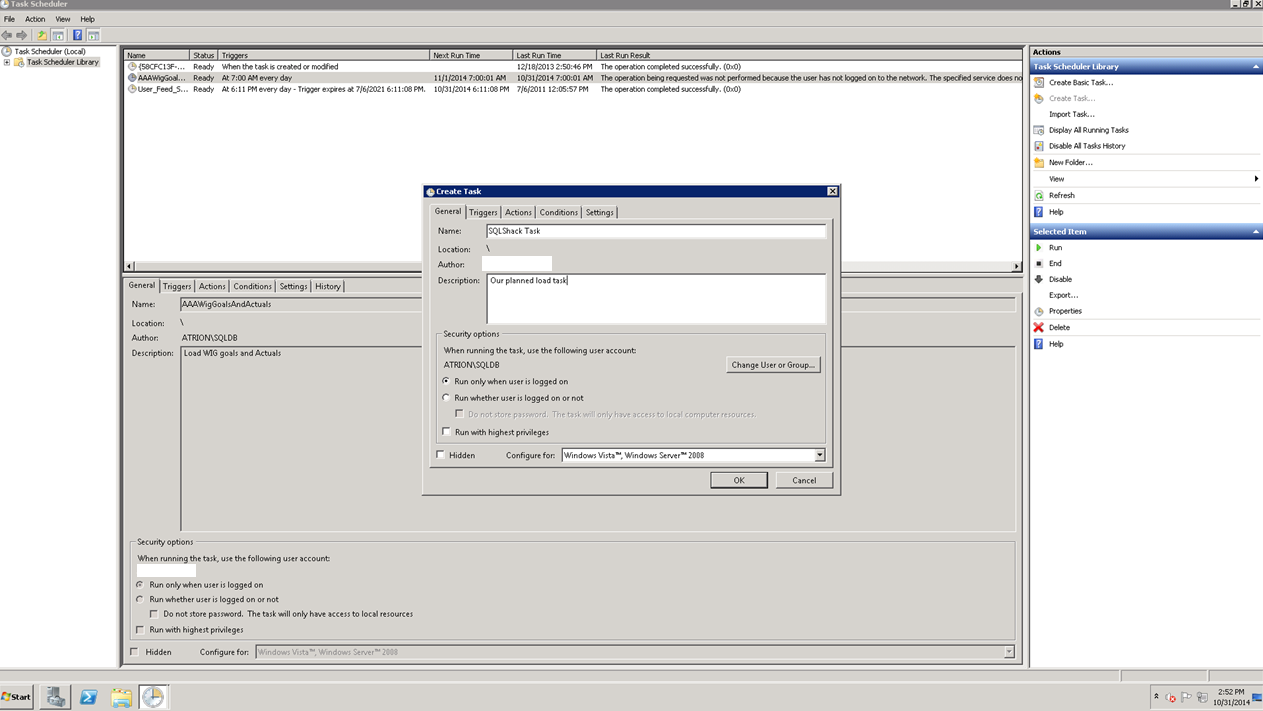
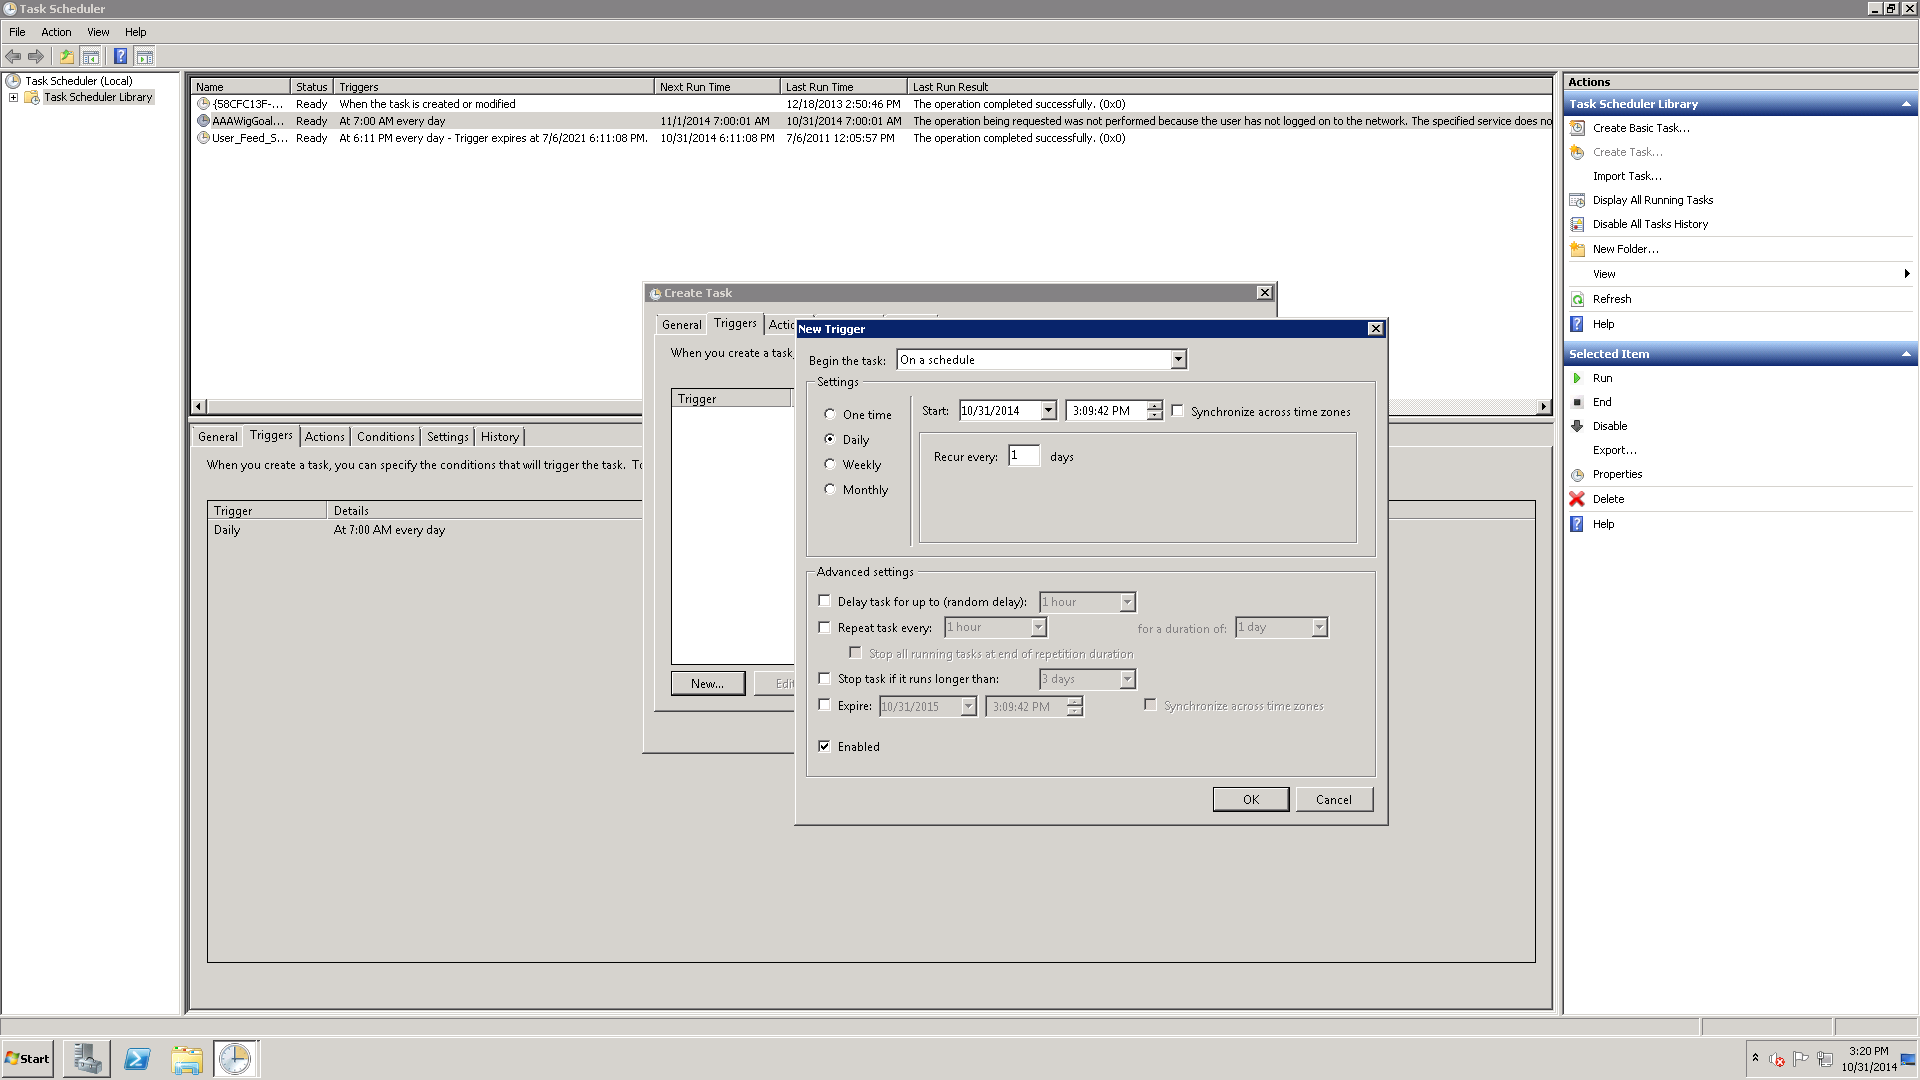
We now click on the ‘Trigger’ tab which is the second tab on the ‘Create Task’ input window. This is where we shall schedule the run time for our job. The name of the job to be run is covered in the next tab section ‘Action’ and for the life of me, it seems like it is putting the ‘cart before the horse’.
Setting the batch file to be run
We now must tell the system which file to run. As we are doing this via the Windows Server Task Scheduler, we choose SQLShack.bat file (which contains the command line string).
We first select the ‘Action’ tab from the ‘Create task’ screen and select a ‘New Action’. The ‘New Action’ menu now appears. By default ‘Start a program’ will appear.
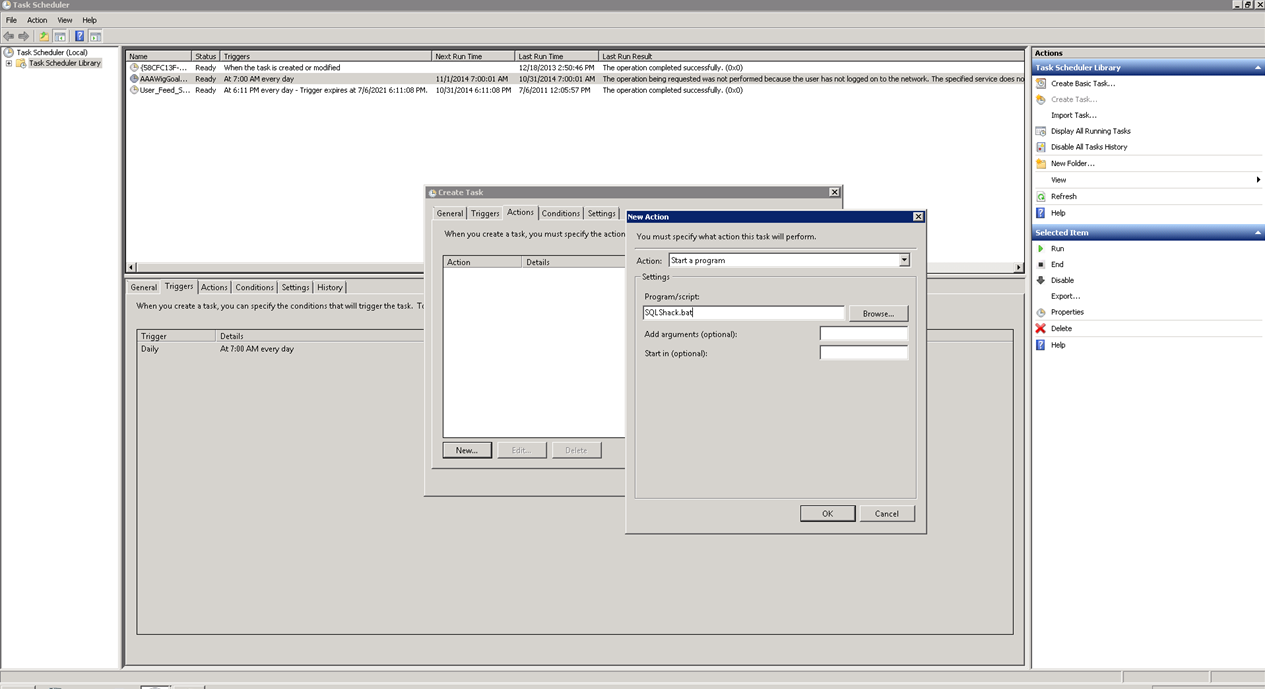
We simply enter the name of our batch file (see above) and we are all done after clicking OK and OK again. Your scheduled job will appear in the list of jobs in the top middle portion of the screen shown above. By ‘right clicking’ on your job, you may run it to confirm that all is correct.
We have now completed what we started out to do!
Conclusions
Moving data from one location to another always presents its own challenges. When the data is located on a SharePoint Server additional complexity comes into play. This is mainly in the form of security-related issues.
We have seen how to create a SSIS package to pull data from an Excel spreadsheet located on a SharePoint server and have it placed in a SQL Server table.
We have looked at some of the security issues involved in creating the process.
We have seen potential workarounds to the myriad of “Gotcha’s”
Finally we saw an alternate way of scheduling our ETL.
Happy programming!
Steve has presented papers at 8 PASS Summits and one at PASS Europe 2009 and 2010. He has recently presented a Master Data Services presentation at the PASS Amsterdam Rally.
Steve has presented 5 papers at the Information Builders' Summits. He is a PASS regional mentor.
View all posts by Steve Simon
- Reporting in SQL Server – Using calculated Expressions within reports - December 19, 2016
- How to use Expressions within SQL Server Reporting Services to create efficient reports - December 9, 2016
- How to use SQL Server Data Quality Services to ensure the correct aggregation of data - November 9, 2016