

In this article, I am going to explain how to start using the SSISDB database, also known as the SSIS Catalog database. In my previous article, I have provided an overview of this SSIS catalog database in detail. I would recommend you read that article, before moving on further with this if you want to understand how the SSIS catalog database works. The SSIS catalog database is one single database in which you can deploy all your SSIS packages and then organize and manage those packages centrally.
Creating the SSIS Package
To begin with, let us start by creating the SSIS package that we will be using to demonstrate how to use the SSISDB database. Head over to Visual Studio and start by creating a new Integration Services project. This will be a very simple package that has a Data Flow Task in it. We will simply read data from a source table in SQL Server and then write it back to a destination table in a different SQL Server database. For demonstrating the use of Environment variables, we will also have two databases for each DEV and PROD as follows.
-
SQLShackDemo_DEV
- SourceTable
- DestinationTable
-
SQLShackDemo_PROD
- SourceTable
- DestinationTable
You can run the following script to create these four tables and insert some dummy data into it.
|
1 2 3 4 5 6 7 8 9 10 11 12 13 14 15 16 17 18 19 20 21 22 23 24 25 26 27 28 29 30 31 32 33 34 35 36 37 38 39 |
CREATE DATABASE SQLShackDemo_DEV GO CREATE DATABASE SQLShackDemo_PROD GO USE SQLShackDemo_DEV GO CREATE TABLE SourceTable( Subject VARCHAR(10) ) GO CREATE TABLE DestinationTable( Subject VARCHAR(10) ) GO INSERT INTO SourceTable (Subject) VALUES ('Maths') GO USE SQLShackDemo_PROD GO CREATE TABLE SourceTable( Subject VARCHAR(10) ) GO CREATE TABLE DestinationTable( Subject VARCHAR(10) ) GO INSERT INTO SourceTable (Subject) VALUES ('Physics') INSERT INTO SourceTable (Subject) VALUES ('Chemistry') INSERT INTO SourceTable (Subject) VALUES ('Biology') INSERT INTO SourceTable (Subject) VALUES ('English') GO GO |
Once you run the above script, you can see the following information being already available in the tables.
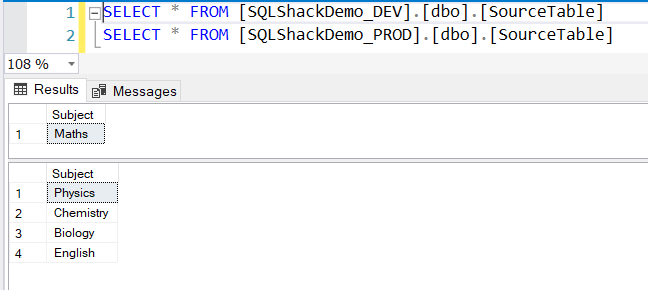
Figure 1 – DEV and PROD tables
Let us begin by adding the connection manager to the SSIS project. Right-click on the panel to create both the connection managers as follows.
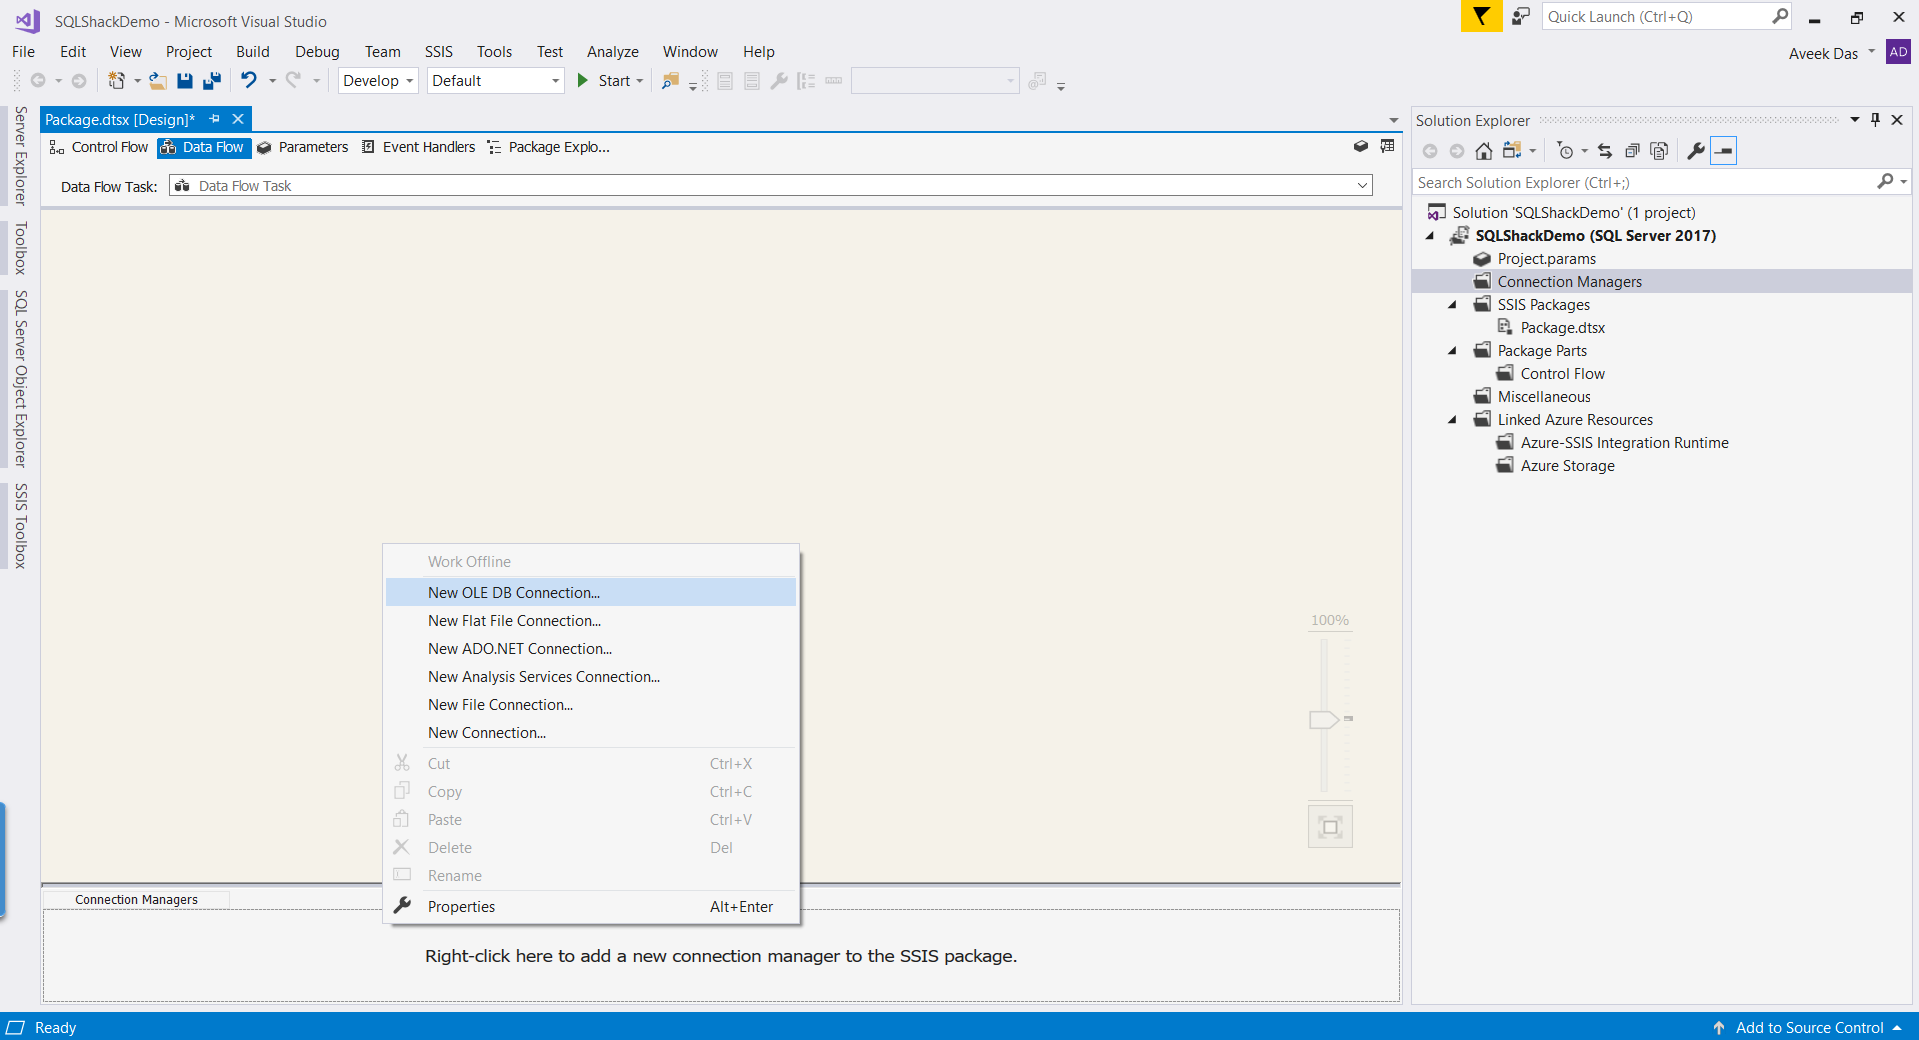
Figure 2 – Creating the OLEDB Connection Manager for Source
Click New to create a new connection manager.
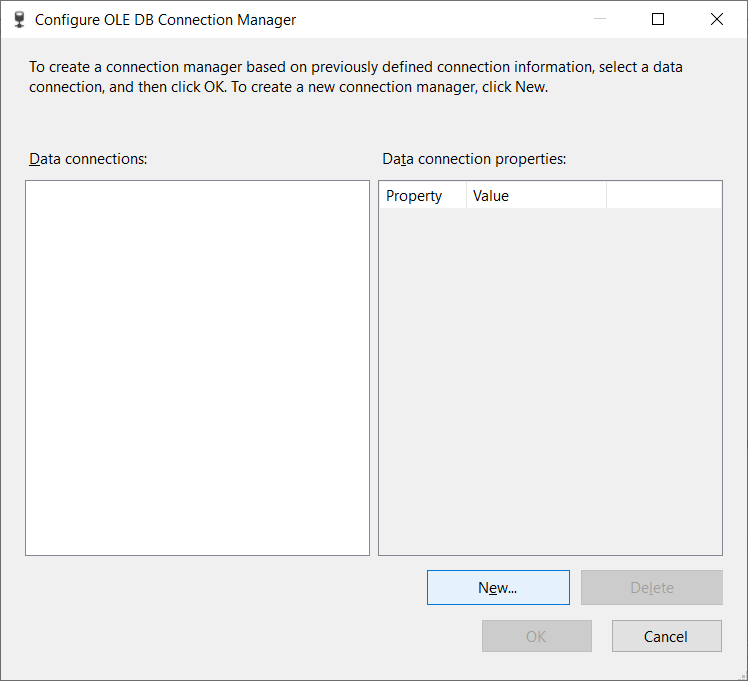
Figure 3 – Creating the new connection manager
Specify the Server name and the database name and click on Test Connection. If the connection is successful, you can click OK and move forward. For now, we will go ahead by selecting the SQLShackDemo_DEV database.
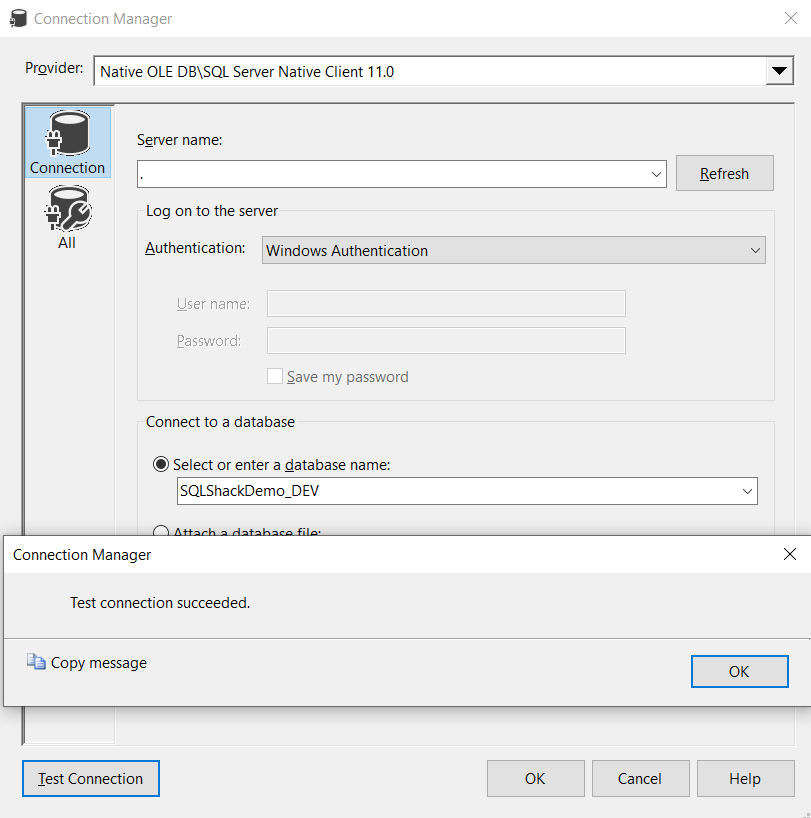
Figure 4 – Connecting to the DEV database
Once the connection manager is created successfully, you can see it on the Connection Managers pane below. Let us now go ahead and create the Data Flow Task.
Creating the Data Flow Task
Drag and drop a Data Flow Task to the Control Flow pane of the SSIS Window. Inside the Data Flow Task, add the following two objects.
- OLEDB Source
- OLEDB Destination
For OLEDB Source, we will select the SourceTable and for OLEDB Destination, we will select the DestinationTable.
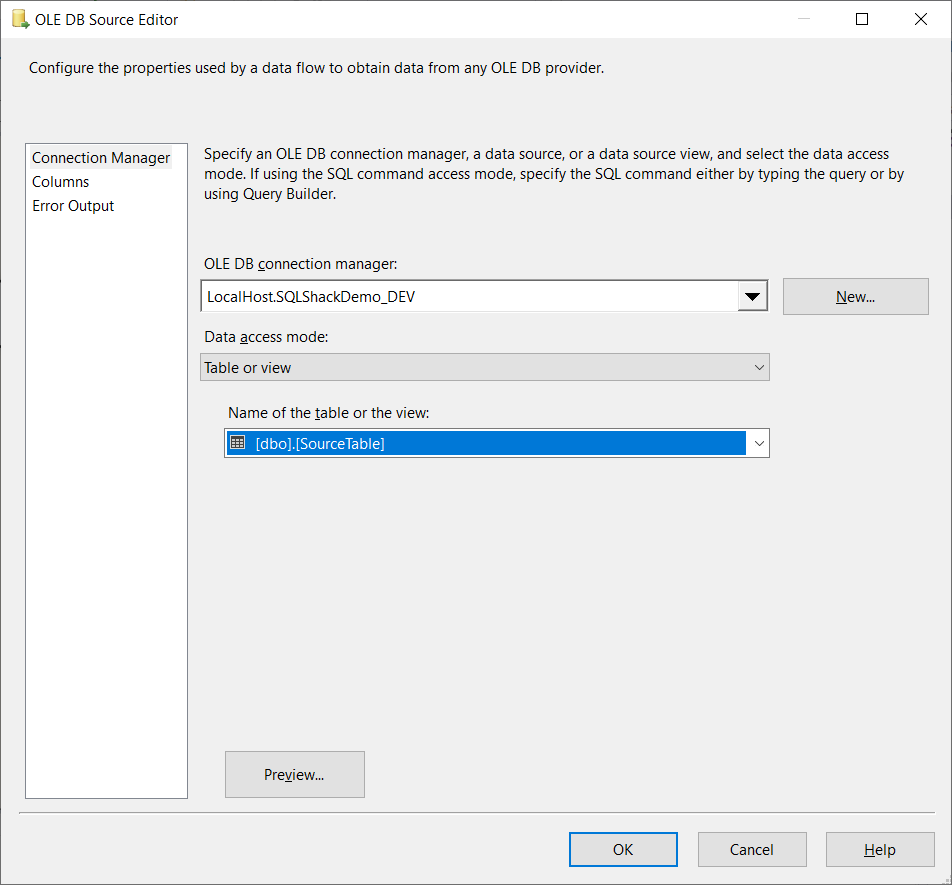
Figure 5 – Selecting the datasource for OLEDB Source
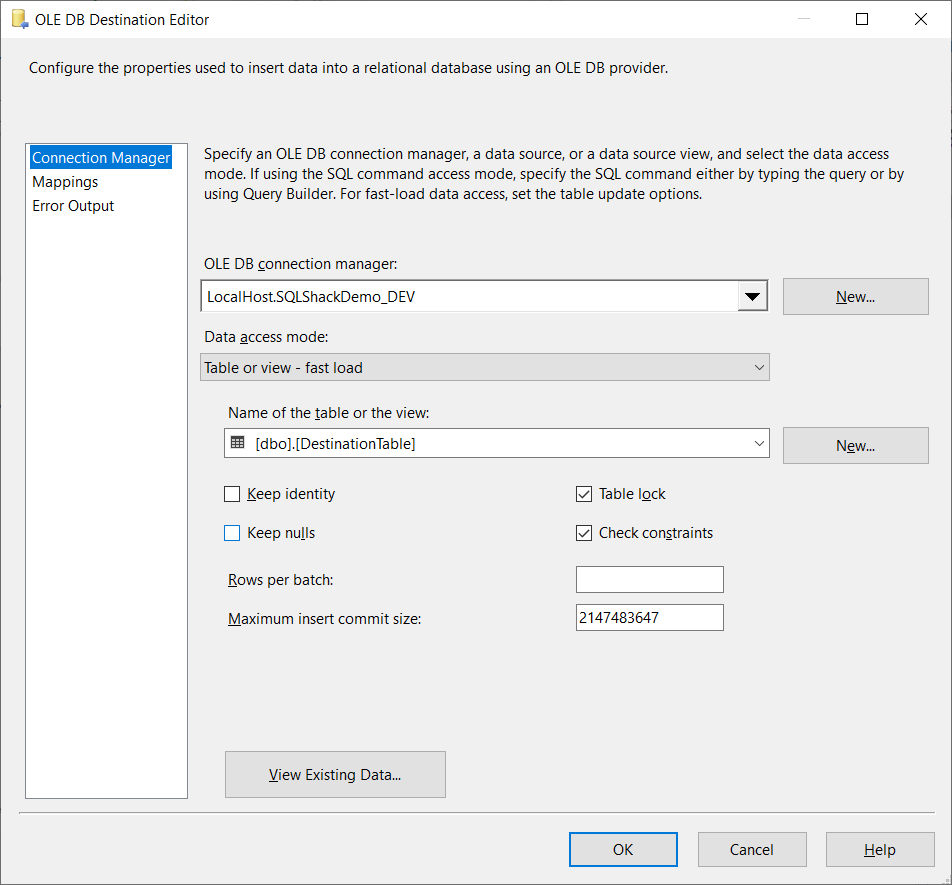
Figure 6 – OLEDB Destination Editor
Once both the objects are set up correctly, you can map the columns accordingly. Finally, you can see the following.
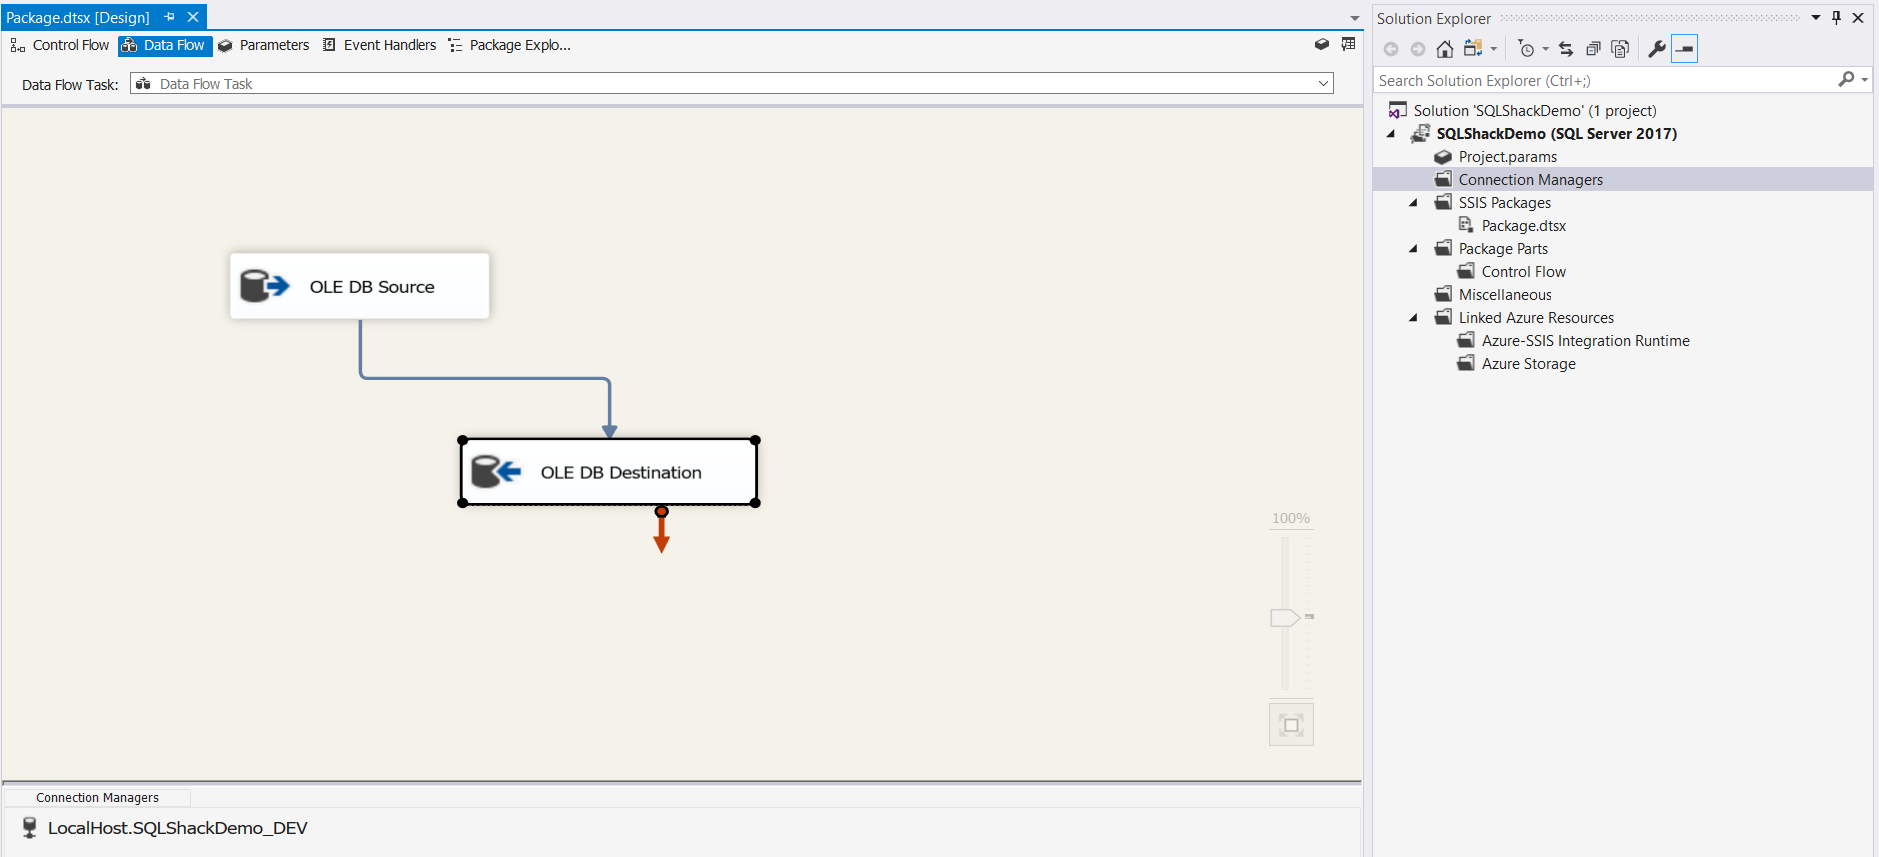
Figure 7 – Data Flow Task Created
Building and Executing the SSIS Package
Now that we are done with building our SSIS Package, let’s go ahead and build it. Select Build from the menu bar and click on Build Solution.
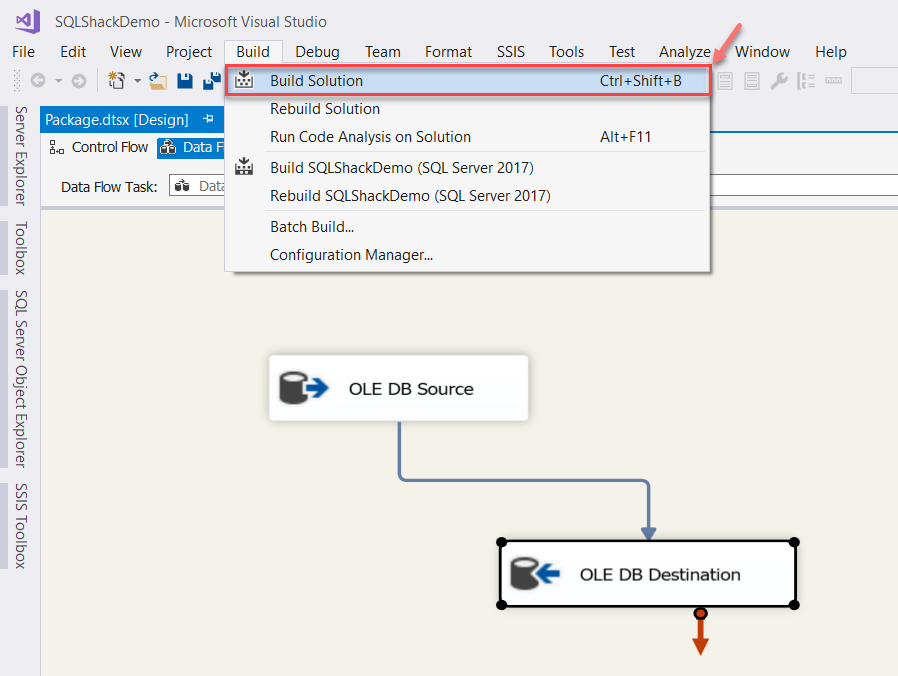
Figure 8 – Build Solution
As soon as you build your project, you can see the build window at the bottom. You can read the messages until it reads Build complete.
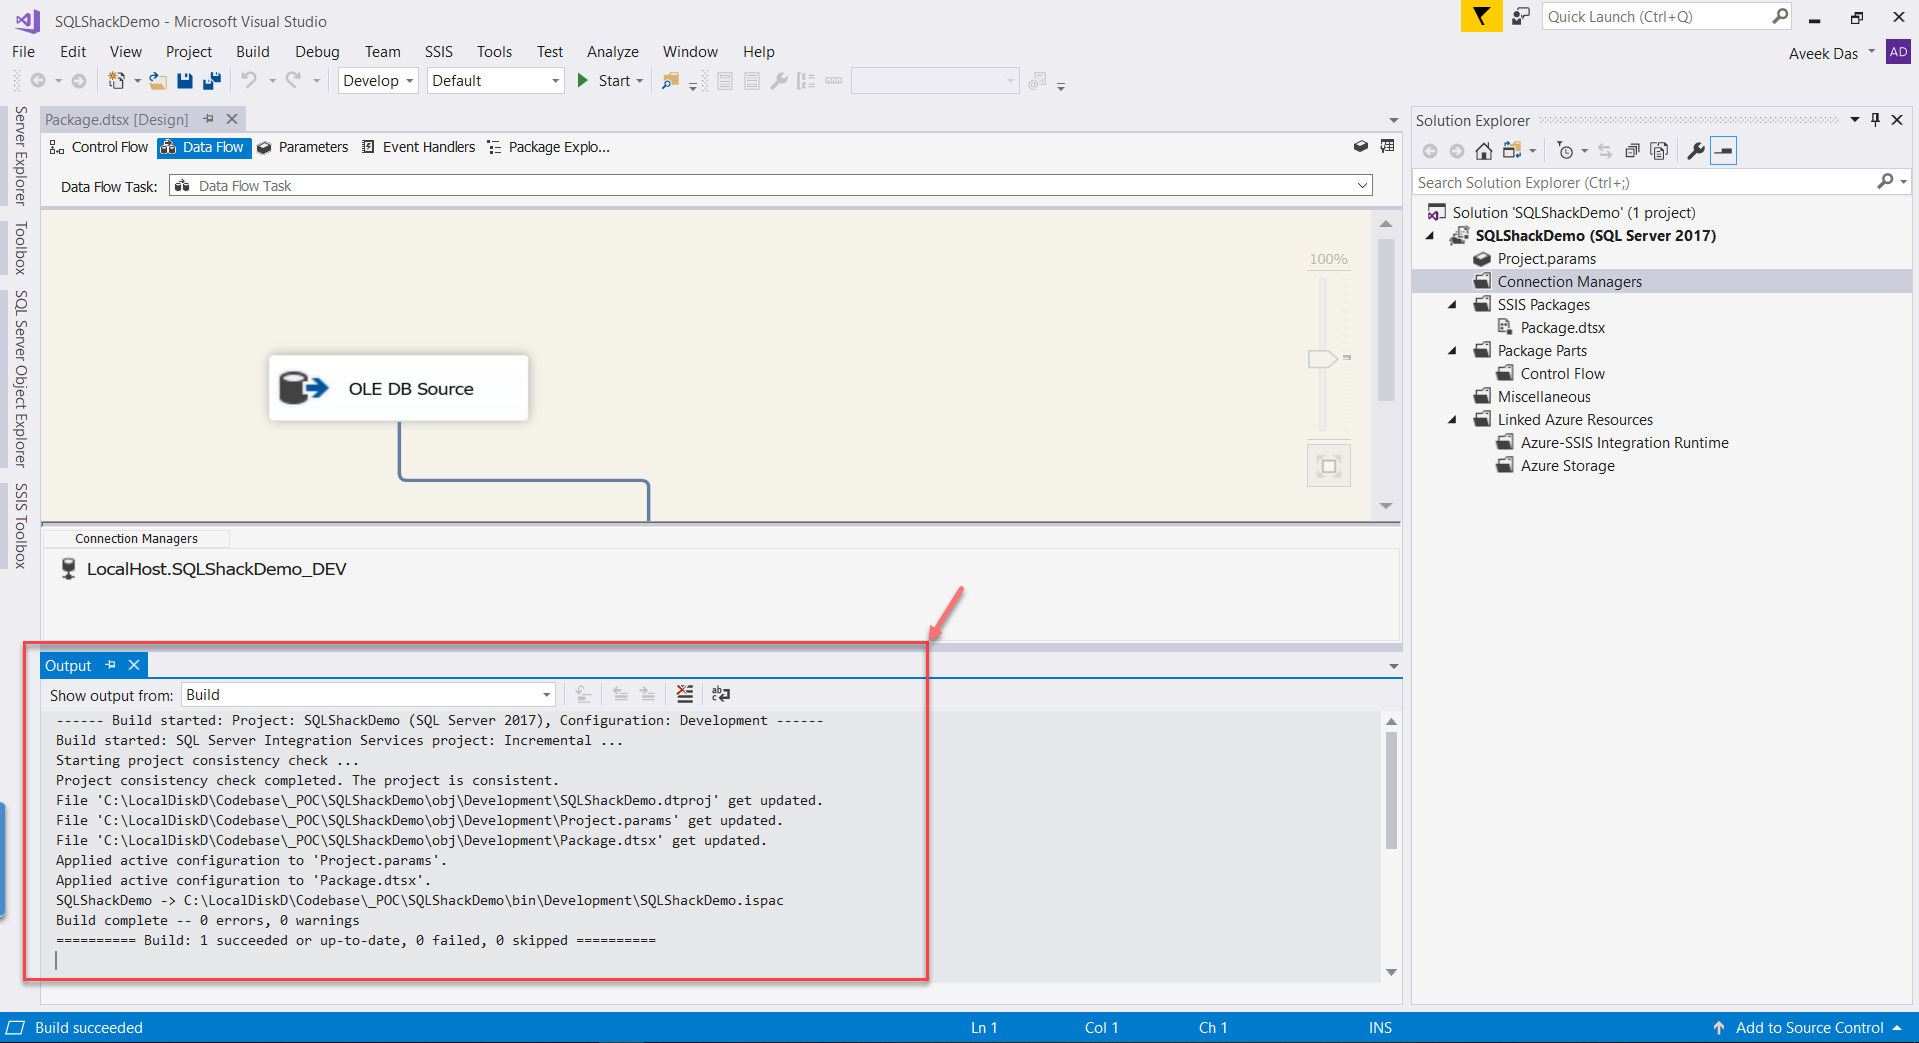
Figure 9 – Build complete
Now that our SSIS package is built, we can go ahead and run this package. Hit F5 on your keyboard or click on Start on the menu bar. As the project executes, it will transfer all the records from your source table to the destination table.
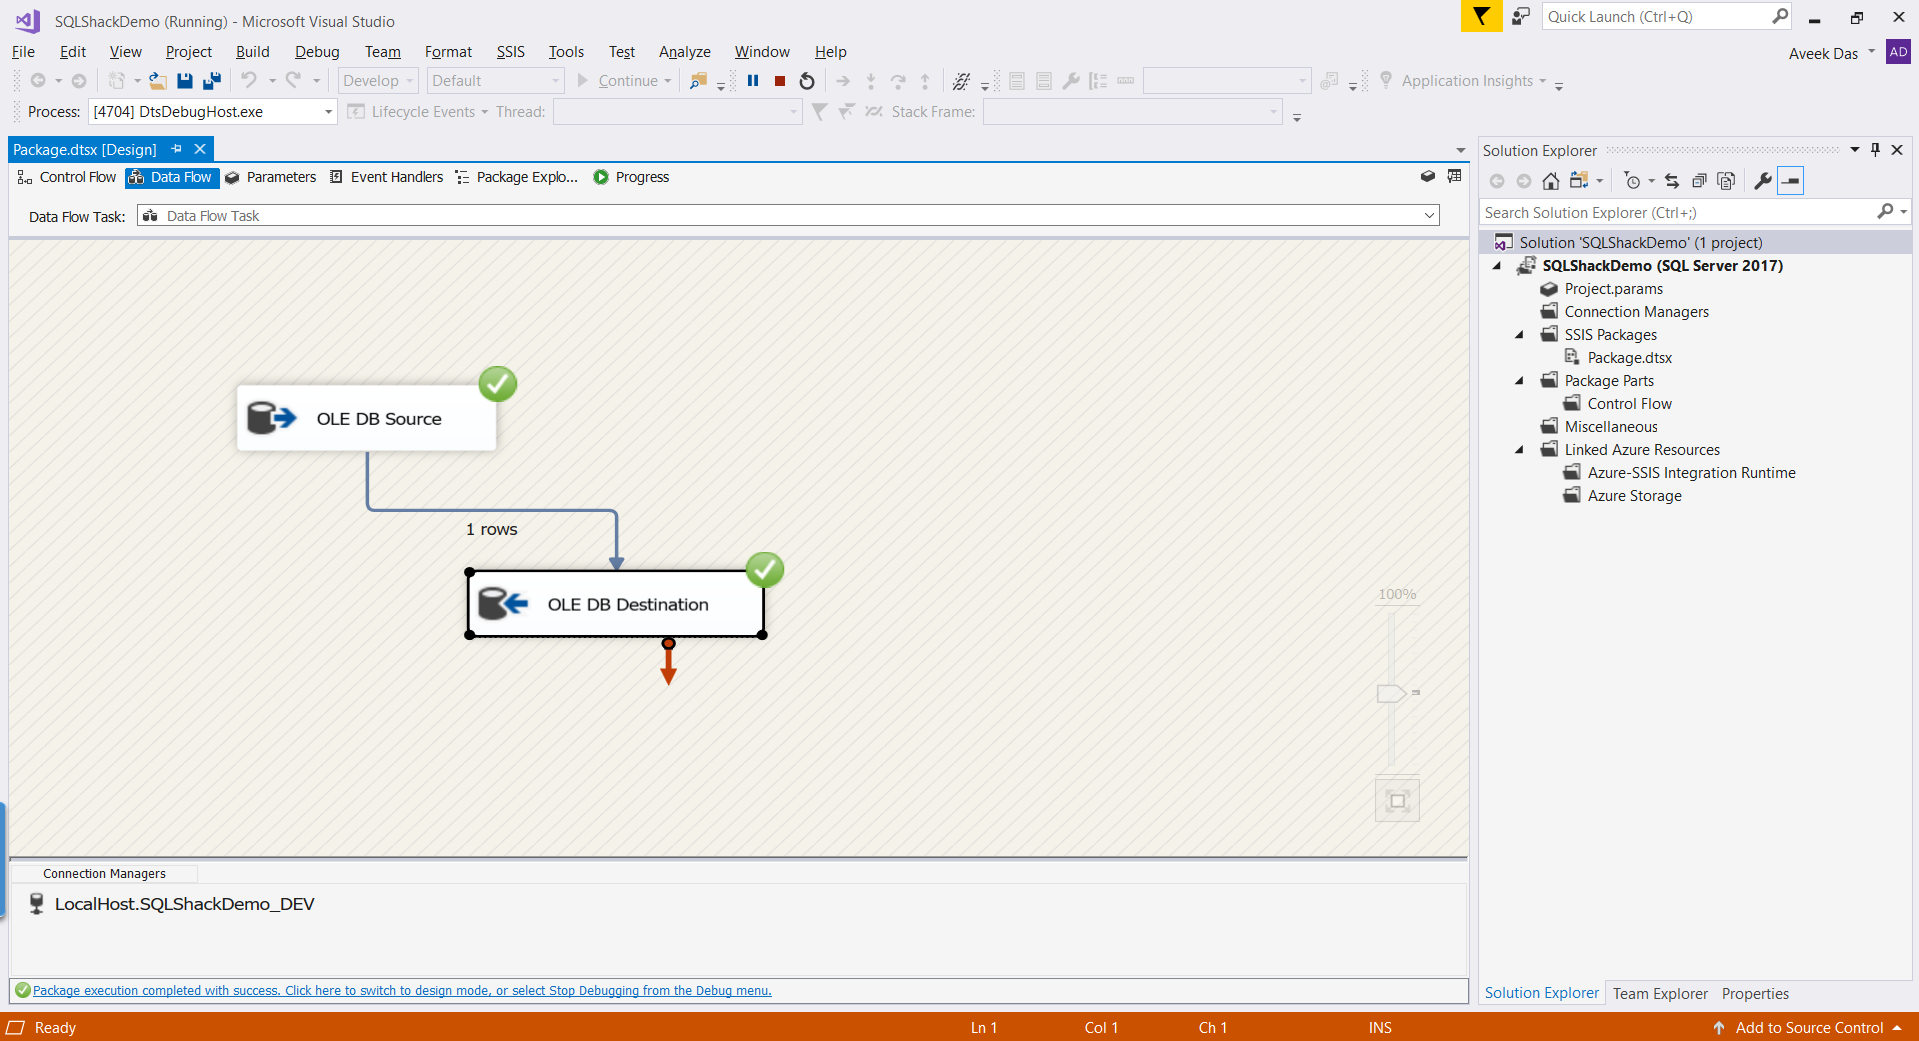
Figure 10 – SSIS Project executed
Deploying the ISPAC File to SSISDB
So far, we have created our SSIS package and executed it in debug mode. Now let us go ahead and try to deploy it. We can then execute the package from the SSISDB database directly. Whenever we build an SSIS project, the output of the build is an ISPAC file, also known as the Integration Services Package file. You can easily find this file by browsing the bin directory of the SSIS solution. If there is a DBA in your organization, you can hand over this ISPAC file to them and then can carry out the deployment in the production environment.
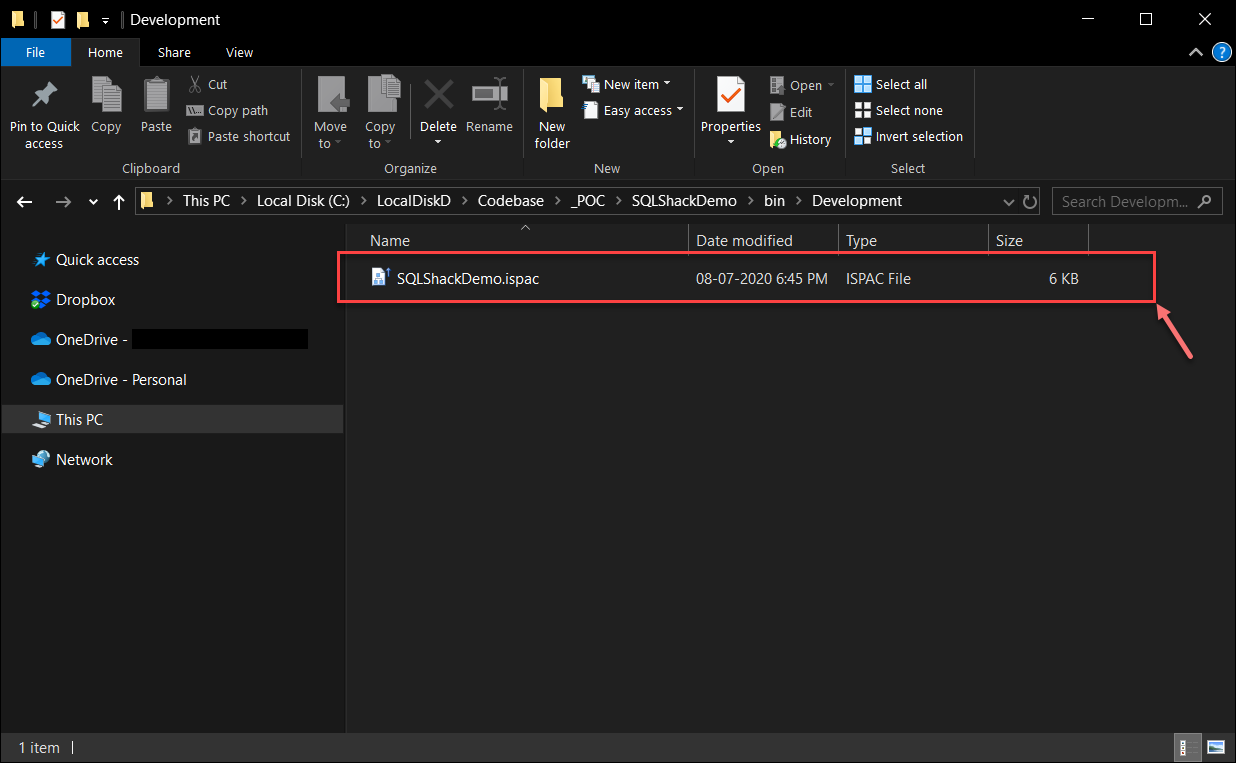
Figure 11 – Browsing the ISPAC file
Now, as mentioned in my previous article, there are multiple steps you can choose to deploy your ISPAC file as follows:
- Using SQL Server Management Studio
- Using the SQL Server Data Tools / Visual Studio
- Using TSQL scripts
For the sake of this tutorial, we will go ahead with the SQL Server Management Studio (SSMS) option. Head over to SSMS and expand the SSISDB database. Right-click and select Create Folder. A folder is a logical group that you may consider which is available in the SSISDB database. You can organize your multiple SSIS projects in these folders. Usually, I try to create a folder for each of the customers I work with. Using this way helps me to isolate all the projects for a customer under one single folder in the SSISDB database. Give this folder some valid name and that’s it.
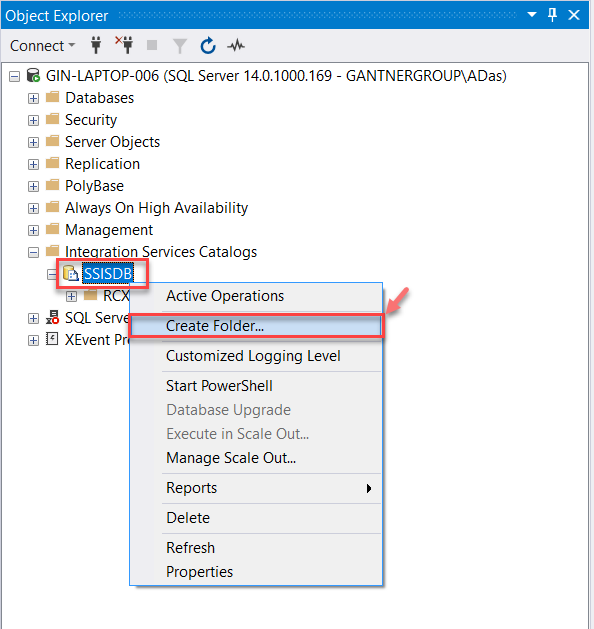
Figure 12 – Creating a folder in SSISDB
You will be prompted to provide a name and a description for this new folder. Please proceed accordingly. Click on OK once done.
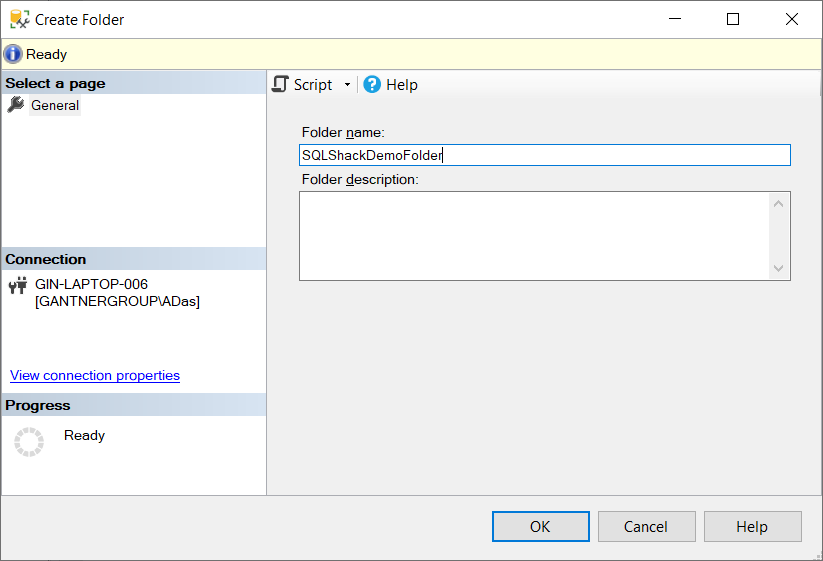
Figure 13 – Creating the SQLShackDemoFolder
You can see that this folder is now present under the SSISDB database. You are now good to deploy the SSIS project. Expand the folder name and there you can see the two objects – Projects and Environments. Right-click on the project and select Deploy Project to deploy our ISPAC file to the SSIS catalog database. This will open up the Integration Services Deployment Wizard where you can specify the location of the package.
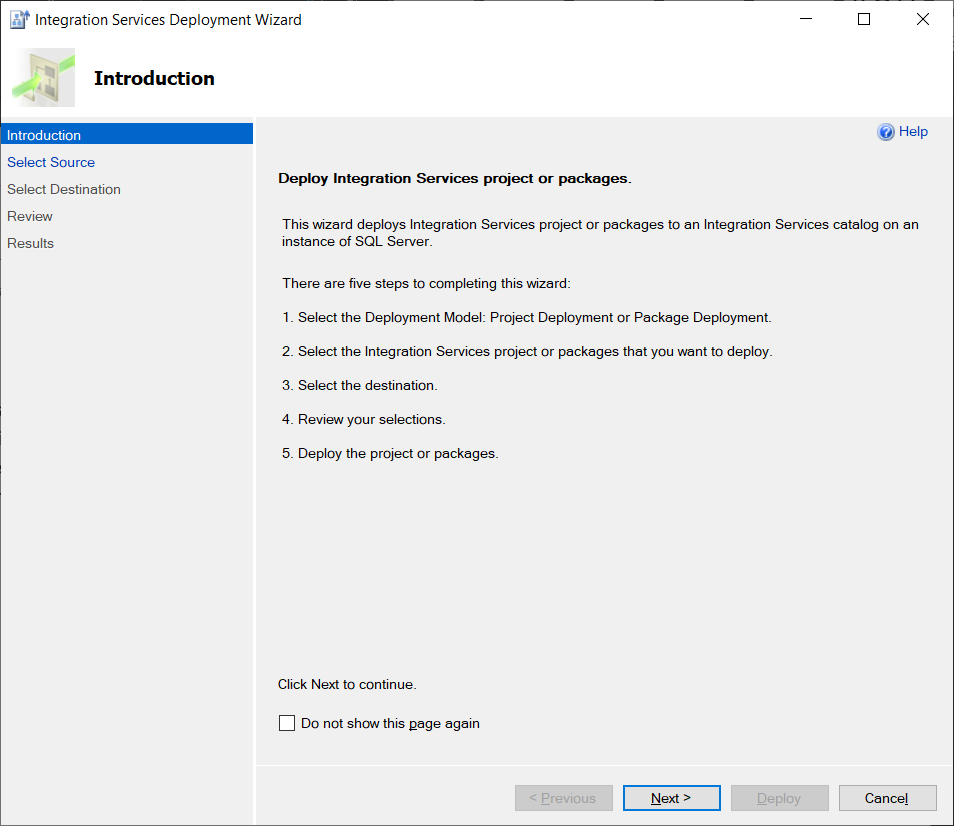
Figure 14 – Integration Services Deployment Wizard
Click on Next to move forward. In the next window that appears, select the deployment model as Project Deployment and enter the path of the ISAPC file from the directory.
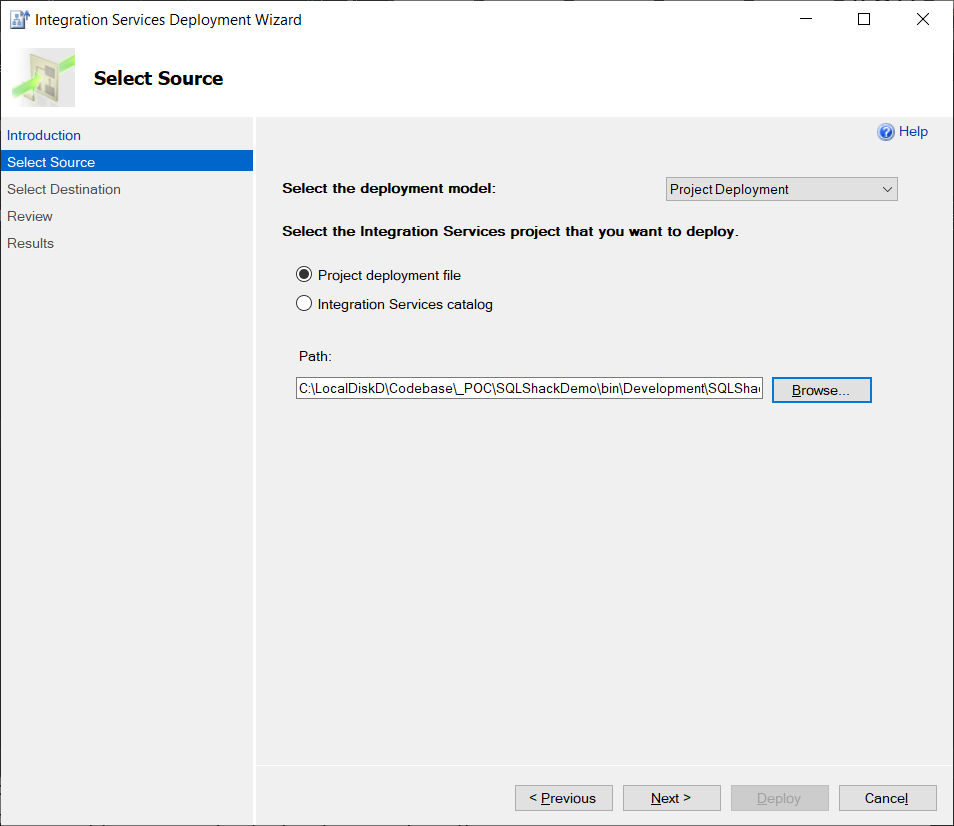
Figure 15 – Project Deployment Model
On the next page, you need to provide the destination where the package is going to be deployed. Enter the Server Name with the correct authentication type and click Connect. You can see that the path of the folder is already available where the ISPAC file is going to be deployed.

Figure 16 – Deploying the SSIS Project
Click on Deploy once done. The wizard will take some time and deploy the project to the selected folder.
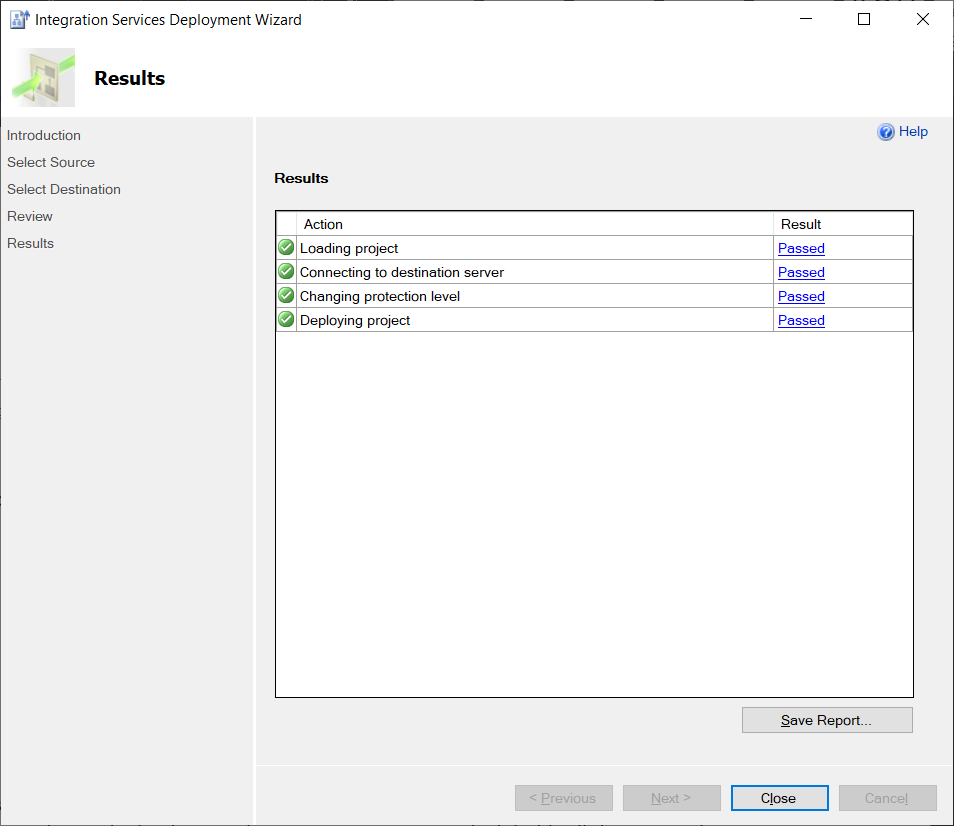
Figure 17 – SSIS Project Deployed
Also, you can refresh the folder and see the project being deployed here successfully. Now let us go ahead and configure this package to execute with the production data. Right-click on the project name and select Configure.
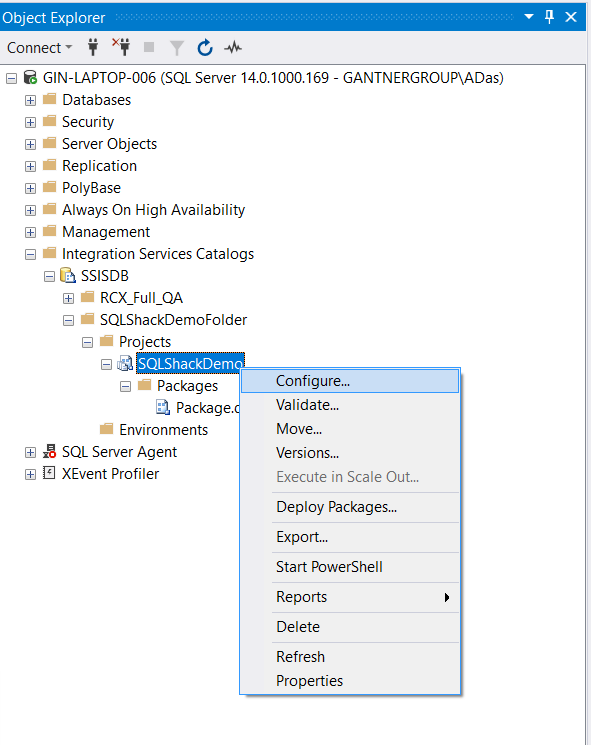
Figure 18 – Configure Project
In the Configure window, select the tab for Connection Managers and update the InitialCatalog value as shown in the figure below and click OK.
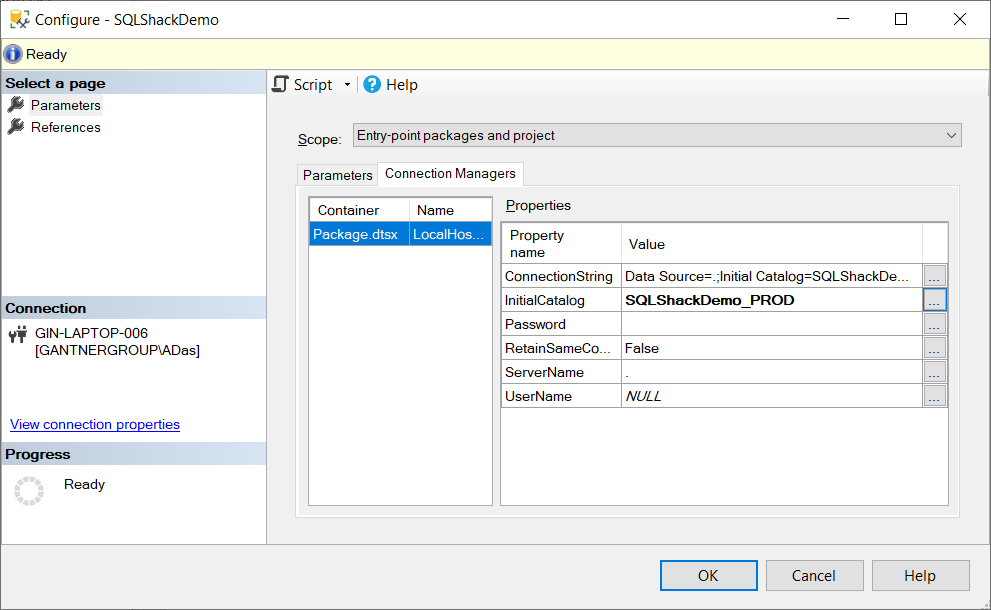
Figure 19 – Configuring the project
Now if you execute the project, you can see the data is being populated into the SQLShackDemo_PROD database.
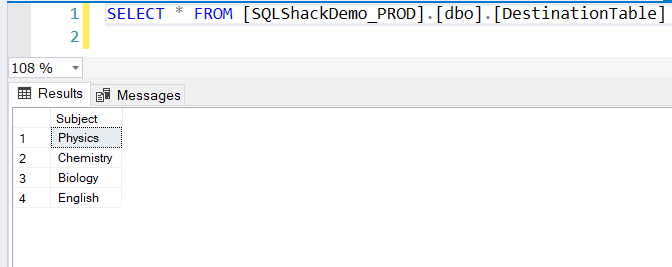
Figure 20 – Destination Table
Conclusion
In this article, I have explained how to start using the SSISDB on SQL Server. This database, also known as the SSIS catalog is the single database in the SQL Server instance which holds all the SSIS packages. With this catalog database, you can easily deploy all your SSIS packages in one central location and administer it easily. You can organize those packages in multiple folders and create projects under each of those folders. I have already talked about the structure of the SSIS catalog database in one of my previous articles. Please feel free to read it once in case you have any doubts understanding the structure and overview of the SSIS catalog database.

He is a prolific author, with over 100 articles published on various technical blogs, including his own blog, and a frequent contributor to different technical forums.
In his leisure time, he enjoys amateur photography mostly street imagery and still life. Some glimpses of his work can be found on Instagram. You can also find him on LinkedIn
View all posts by Aveek Das
- Getting started with PostgreSQL on Docker - August 12, 2022
- Getting started with Spatial Data in PostgreSQL - January 13, 2022
- An overview of Power BI Incremental Refresh - December 6, 2021