
Introduction
The new SSMS 17.2 allows users to authenticate using Active Directory with Multi-Factor Authentication (MFA). This is a secure method for authentication where you have more than one method to validate your authentication. That way, you have a more secure authentication and prevent your Azure Portal or applications to be easily attacked by hackers or other malicious users.
MFA uses a two-step verification. For example, you can authenticate with a login and password, and, receive a code on your cell phone to increase the security and makes it harder to hack your data. Another option is to install an app to verify your password.
With MFA, you do not need to install third party security solution, SSL Certificates or other more complex security solutions.
In this demonstration, we will show how to authenticate in SSMS using the Active Directory Universal – MFA authentication.
To do that, we do the following steps:
- Create an Active Directory user (AD user)
- Enable MFA for the user
- Add the user as an Azure SQL Administrator
- Login with SSMS using the user created (specify your password and cell phone SMS code)
Requirements
- An Azure Account
- A SQL Database in Azure (check out our previous article Working with Visual Studio and SQL Azure databases to create the database)
- SQL Server Management Studio (SSMS) version 17.2 installed
- A firewall activated to connect SSMS to Azure SQL Server.
Let’s get started…
Create an AD user
We will create an Active Directory user in Azure. If you want to get more information about Azure Active Directory, we recommend reading our articles on this topic:
- Working with Azure Active Directory and Azure SQL Database
- How to automate Azure Active Directory (AAD) tasks using the Cloud Shell
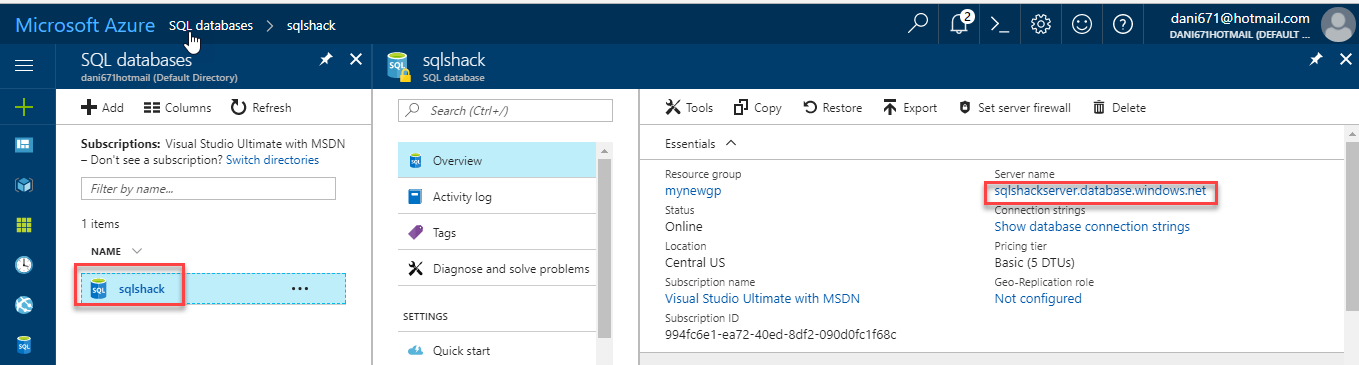
In the web Portal, we have a database named sqlshack and an Azure Server whose name is sqlshackserver.database.windows.net. We will connect to this Azure SQL server using the AAD user later:
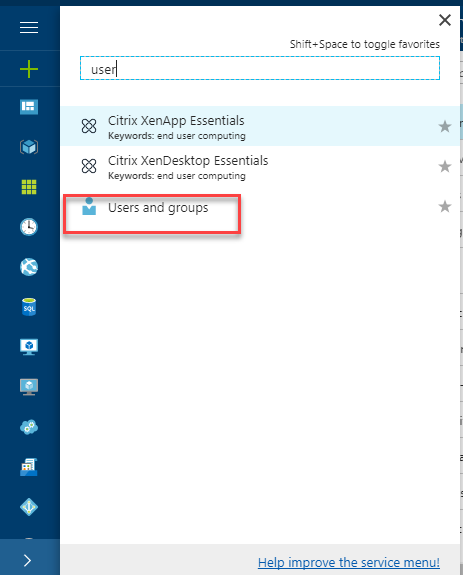
We will create a User for that database. To do that, in the Portal, go to more services>User and Groups:
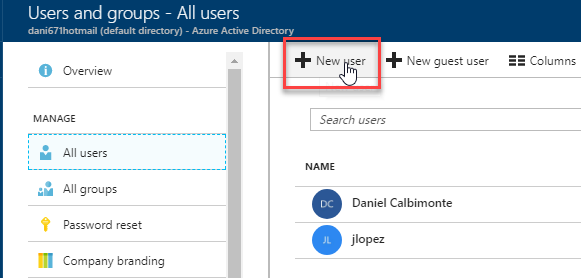
If you do not have an AAD user, you need to create a new one. Select All Users and then select New User:
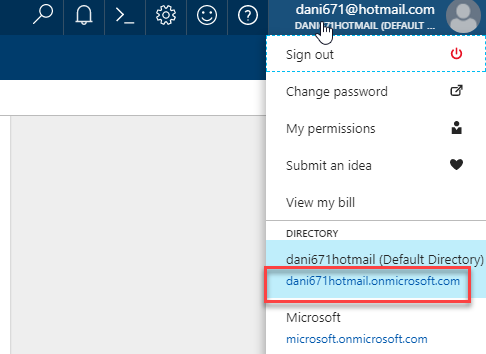
At the top corner, click on your user. You will find your Azure domain name there copy the domain name because it will be used to write the Azure Active Directory User name:
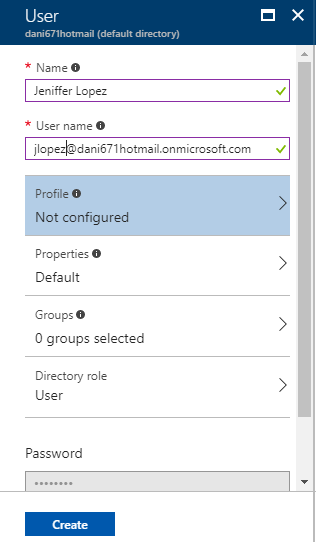
Add the user name and the name. The user name should include the domain name. You can optionally setup the profile, properties, group and other options:
Enable MFA for the user
We will now enable MFA for the user created.
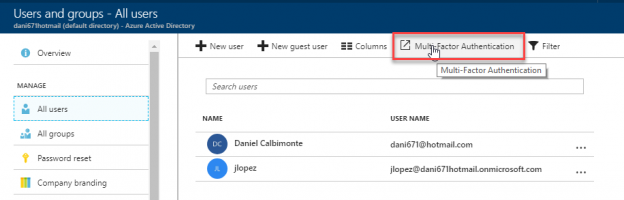
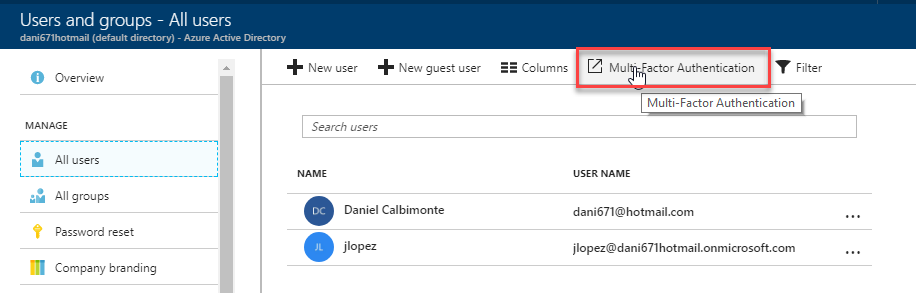
Click the Multi-Factor Authentication icon:
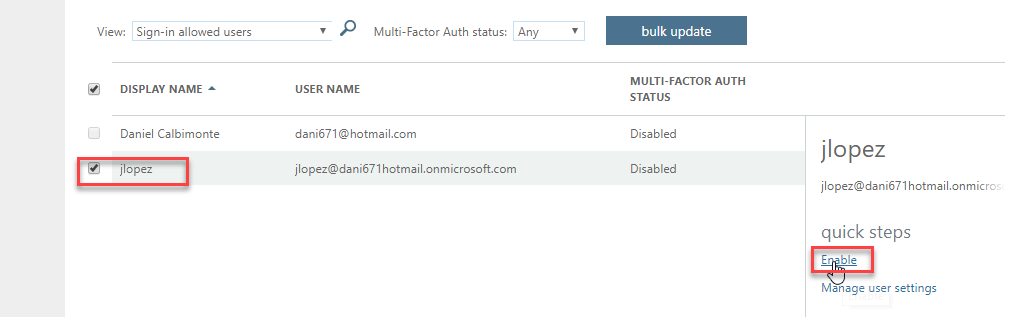
Select the users that you want to update and change the authentication to Multi-Factor Authentication (MFA). You can select multiple users. By default, MFA is disabled for all users:
There is an option for bulk update. This option is useful if you have several users. You can open a CSV file in Excel or any program of your preference to edit and upload the file.
The format is like the following:
Username, MFA Status
chris@contoso.com, Enabled
ben@contoso.com, Disabled
kyle@contoso.com, Disabled
kenny@contoso.com, Enabled
eric@contoso.com, Enabled
The CSV file requires the user name and the status required. You can handle and set thousands of users at the same time using the bulk update option.
In this example, we will just enable the user jlopez just created. When you press the Enable option, you will receive this message. Press the enable multifactor auth button to enable MFA for the user selected:
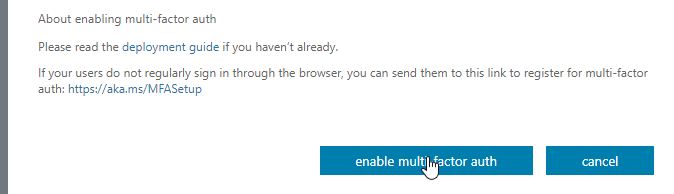
There is also a link to setup the users directly. We will now use this option because we want to activate the user using SSMS.
Add the user as an Azure SQL Administrator
We will add the user created to our Azure SQL Server as an AD Administrator.
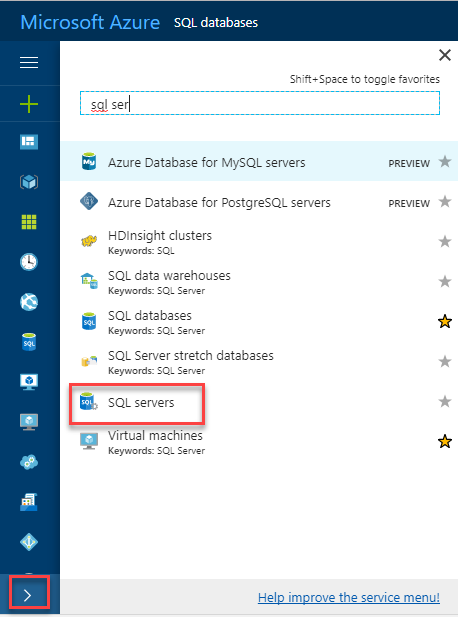
In the Azure Portal, go to more services>SQL servers:
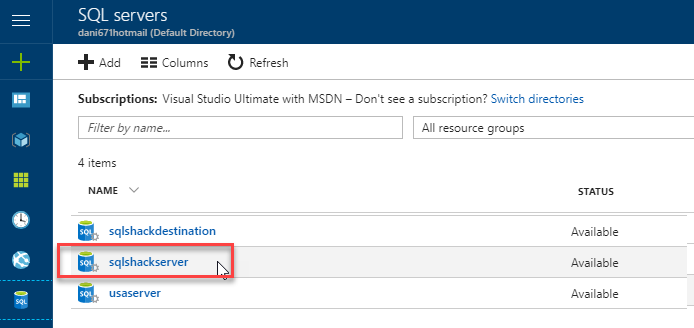
Select the sqlshackserver with the Azure Database that you want to connect to using MFA:
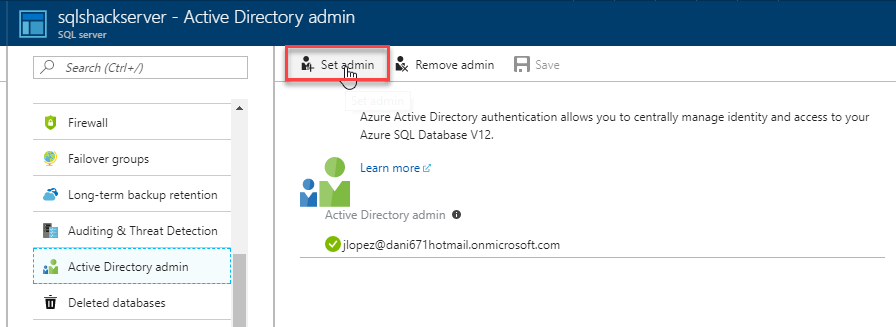
In your Azure SQL Server, go to Active Directory admin, press Set admin and select the Azure Active Directory (AAD) user created. Once that the administrator is set, press Save:
Login with SSMS using the user created
We will finally login with SSMS 17.2 or later using the AAD User just created. In earlier versions, the MFA support was not included.
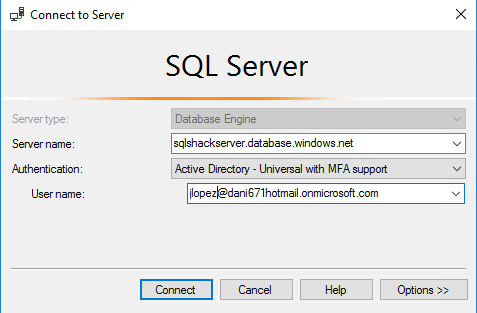
In SSMS, connect to Azure using the new feature Active Directory – Universal with MFA support:
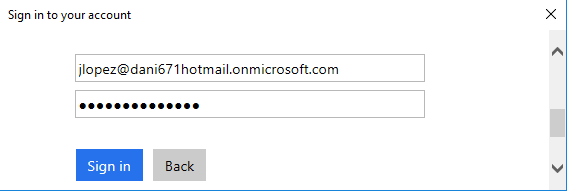
The first time that you try login, you will be prompted to login and specify your password:
After login, press the Set it up now button:

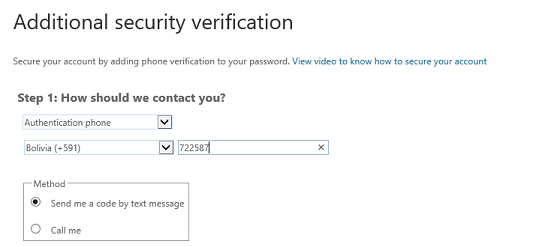
You can receive a call with the code or a SMS message. You do not need a smartphone to authenticate. Specify your country and cell phone number:
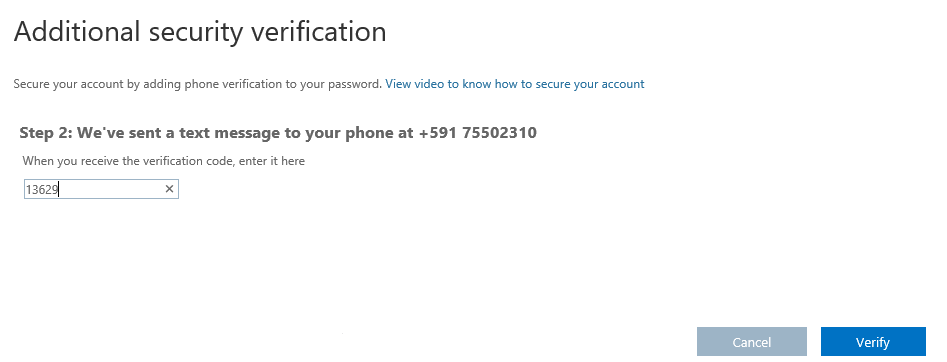
You will receive a confirmation code in a SMS message or a call in your cell phone (according to your settings):
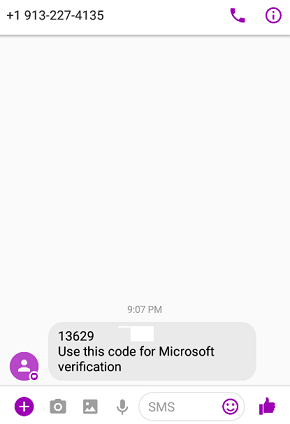
Write the code from your cell phone and press Verify:
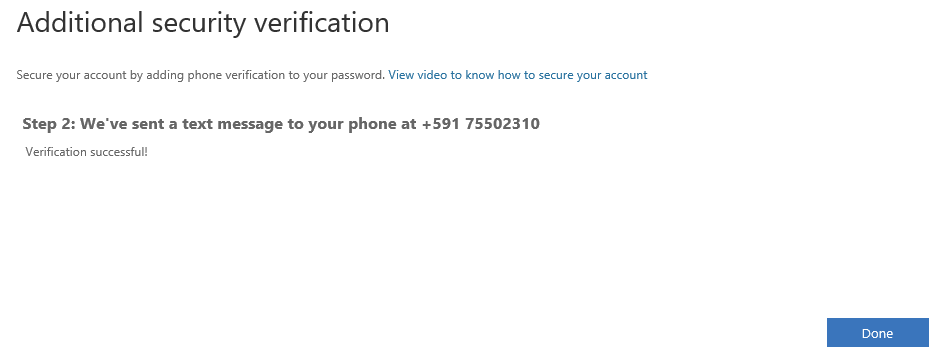
You will receive a successful message. Press Done.
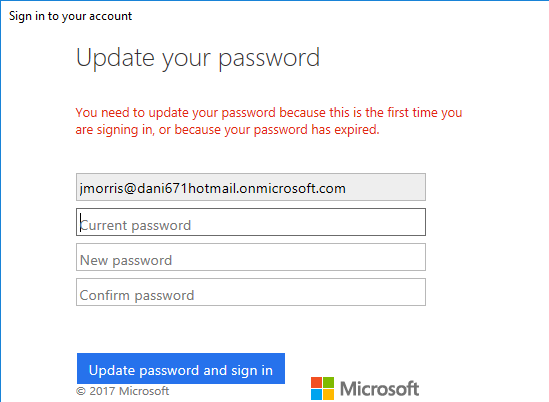
If you did not reset the password before, you may receive a message to update your password:
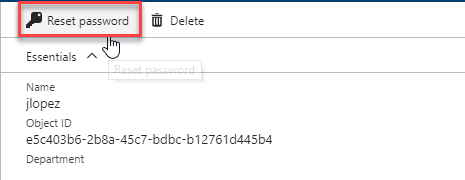
If you do not remember your password, go to the Azure Portal, more services>Users and groups. Click on the user that you want to reset the password:
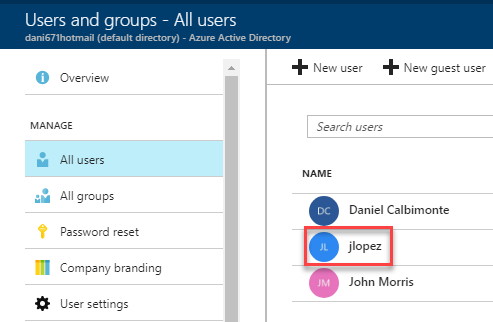
In the user properties, press the reset password option:
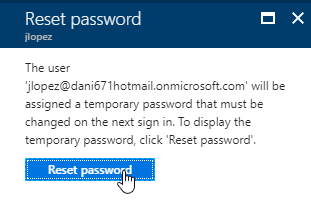
You will receive a message. Press the reset password and use the temporary password to login in SSMS:
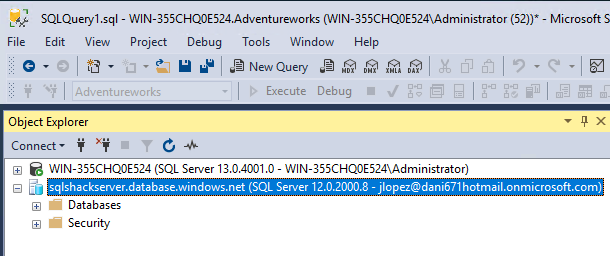
After specifying the credentials, you will be able to login to the SSMS successfully:
This information will be required just once. The next time, you will not need to specify the login information.
Conclusion
As you can see, MFA is a new way to authenticate that is supported in SSMS version 17.2.
This feature allows having a more secure login where you receive a call or an SMS message in your cell phone to confirm the code received.
This feature is simple, integrated with Active Directory and can be applied to multiple technologies that integrates with Azure.

He has worked for the government, oil companies, web sites, magazines and universities around the world. Daniel also regularly speaks at SQL Servers conferences and blogs. He writes SQL Server training materials for certification exams.
He also helps with translating SQLShack articles to Spanish
View all posts by Daniel Calbimonte
- PostgreSQL tutorial to create a user - November 12, 2023
- PostgreSQL Tutorial for beginners - April 6, 2023
- PSQL stored procedures overview and examples - February 14, 2023