

This article provides an overview of indexing tables in Azure SQL database using Azure Automation and how to schedule indexing jobs to run at specific intervals.
There are different ways to schedule jobs in Azure. Please refer to Azure SQL- Elastic Job Agent for configuring and scheduling jobs to run on Azure SQL databases.
The following are steps involved in creating and scheduling the indexing Jobs using Azure Automation.
- Creating an Automation account
- Creating a runbook
- Creating credentials
- Schedule the runbook
Let’s go over these steps one by one.
Creating an Automation account
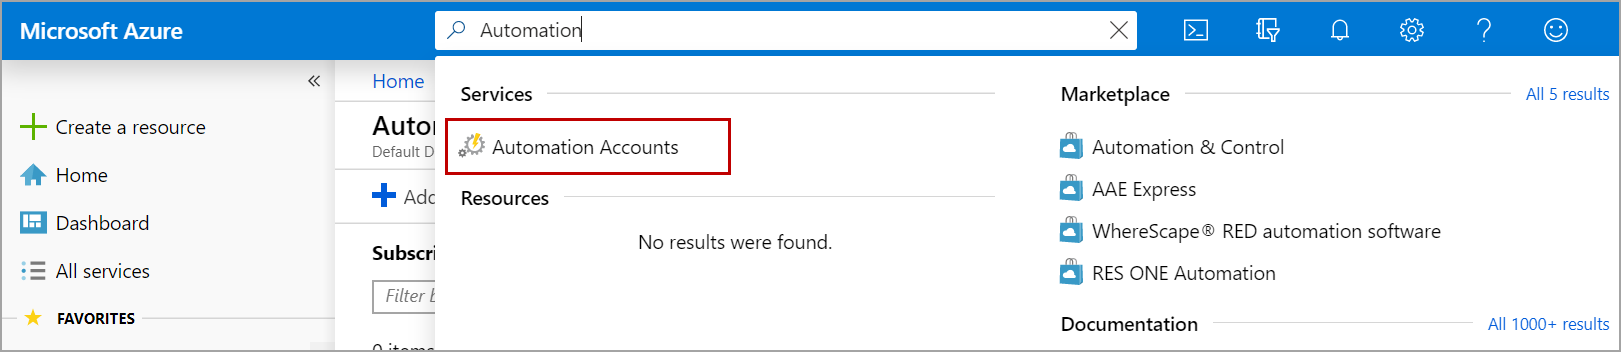
Login to your Azure portal. Search for automation and select the Automation Accounts from the list.
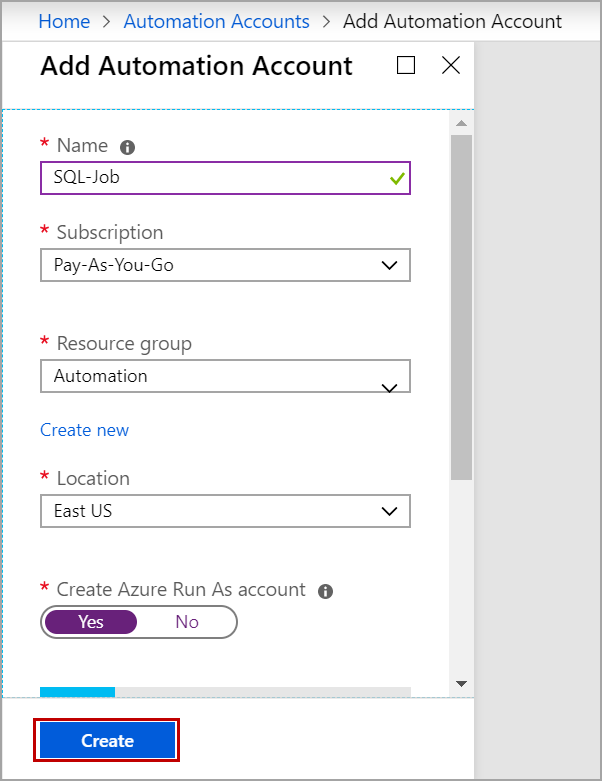
In the Automation Accounts page, Click on Add.
Enter the name of the Automation account, select the subscription, resource group, and location.
Click on Create.
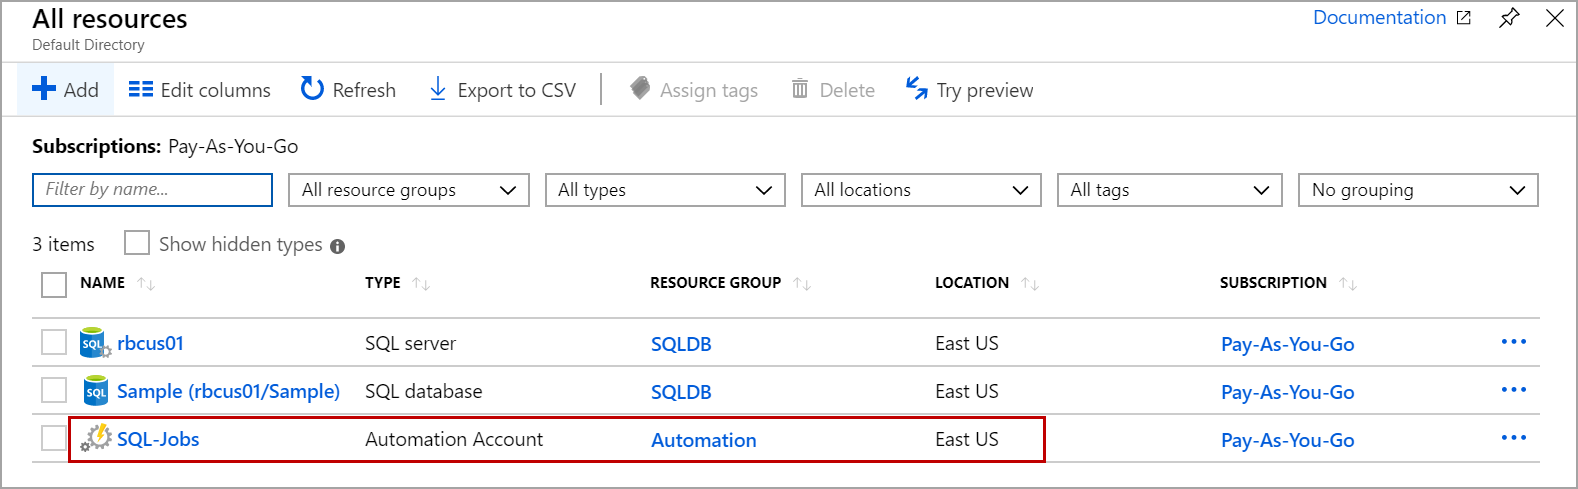
Once you click on Create, a deployment is created which will create a resource (Automation account) in the specified resource group and location.
Creating a runbook
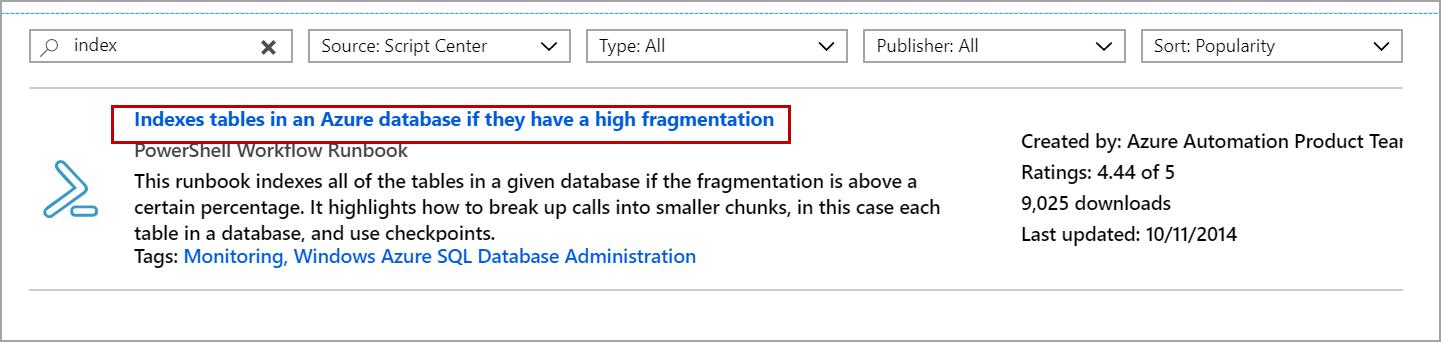
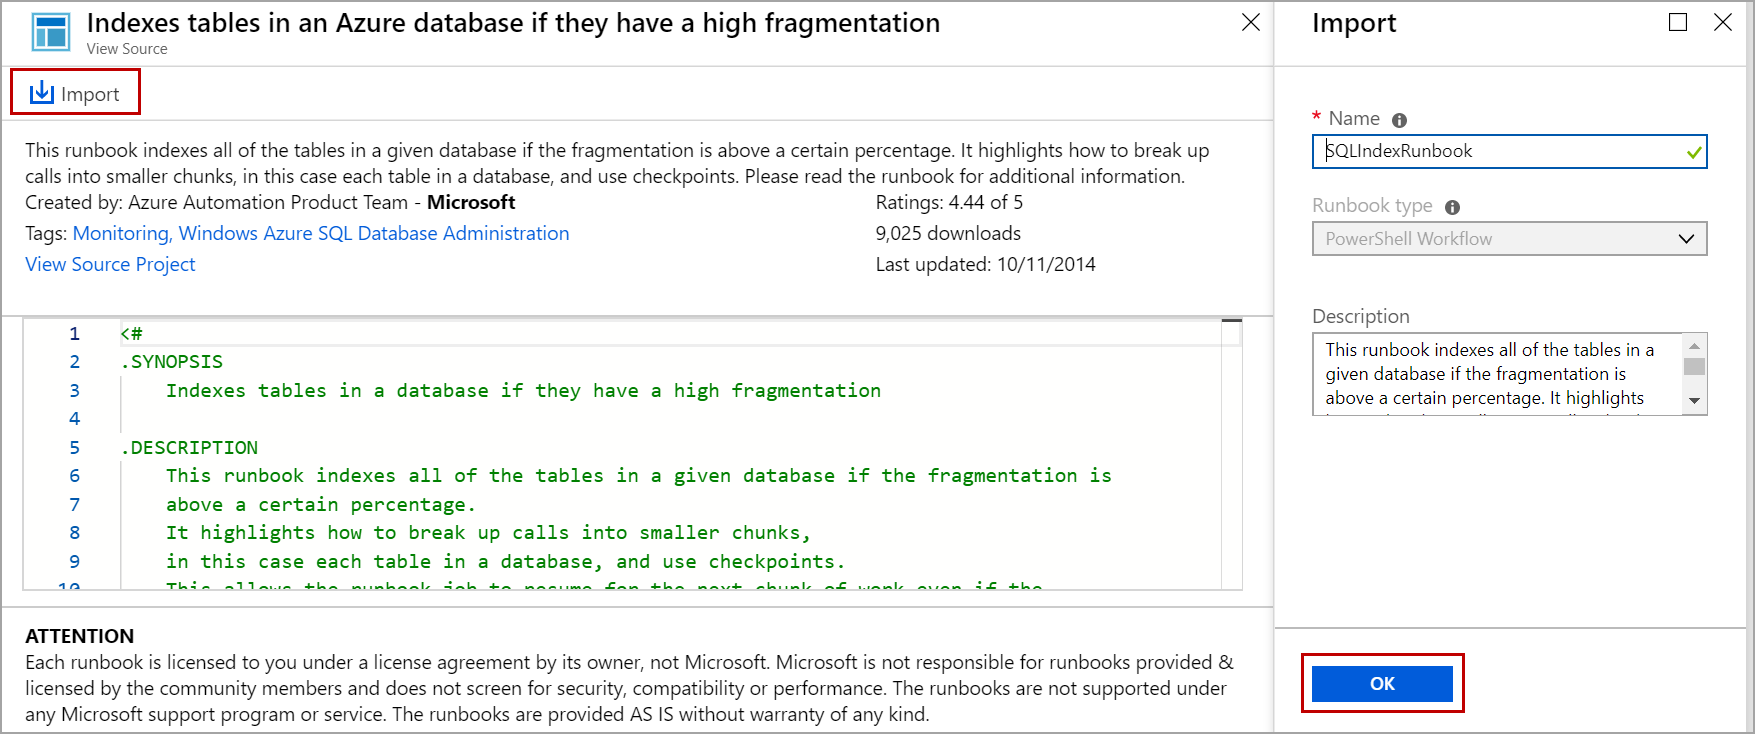
Click on the Automation account which takes you to the automation account page. Click on the Runbooks gallery. The runbook gallery has runbook samples that are already created by Microsoft and the community team. Search in the runbook gallery by typing index in the search box and select Indexes tables in an Azure database if they have a high fragmentation.
Click on Import to import it to your runbook list in the Azure Automation account. Give the name of the runbook and Click Ok.
Once the runbook is created, Navigate to Runbooks in the Automation account page. This page shows all the Runbooks that are created by you and Runbooks imported from the Runbook gallery.
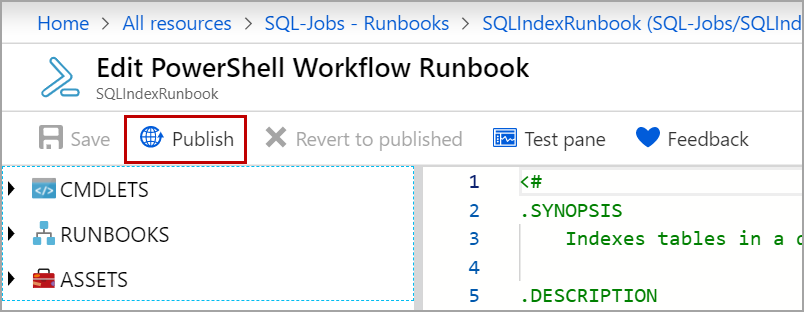
We need to publish the Runbook which indexes tables in Azure SQL database to run it manually or to schedule it.
To publish the Runbook, click on the Runbook you imported and edit it. Click on Publish.
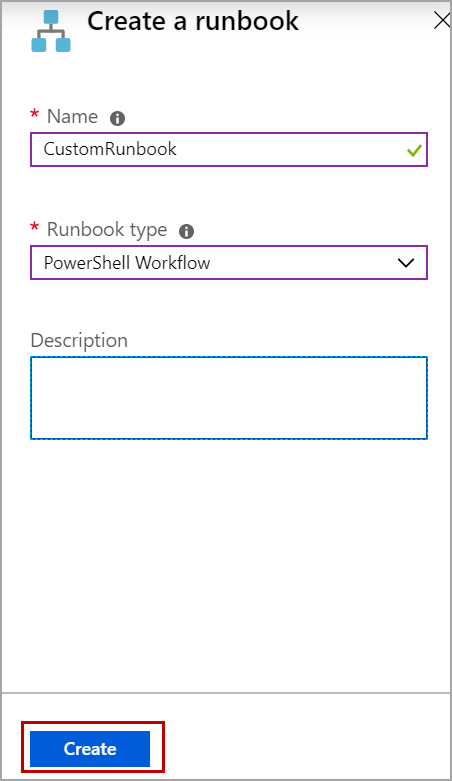
You can also create your own Runbook by clicking on Create a runbook in the Runbooks page.
Enter the name of the Runbook, select the Runbook type and click on Create.
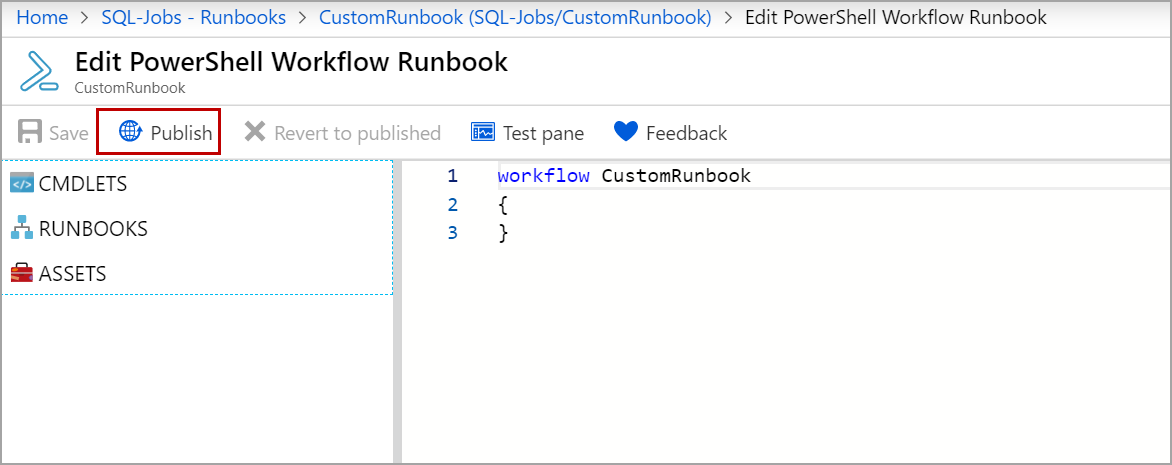
Write your own script in the editor to automate your regular database tasks and click on publish to publish the Runbook to Azure Automation account.
Creating credentials
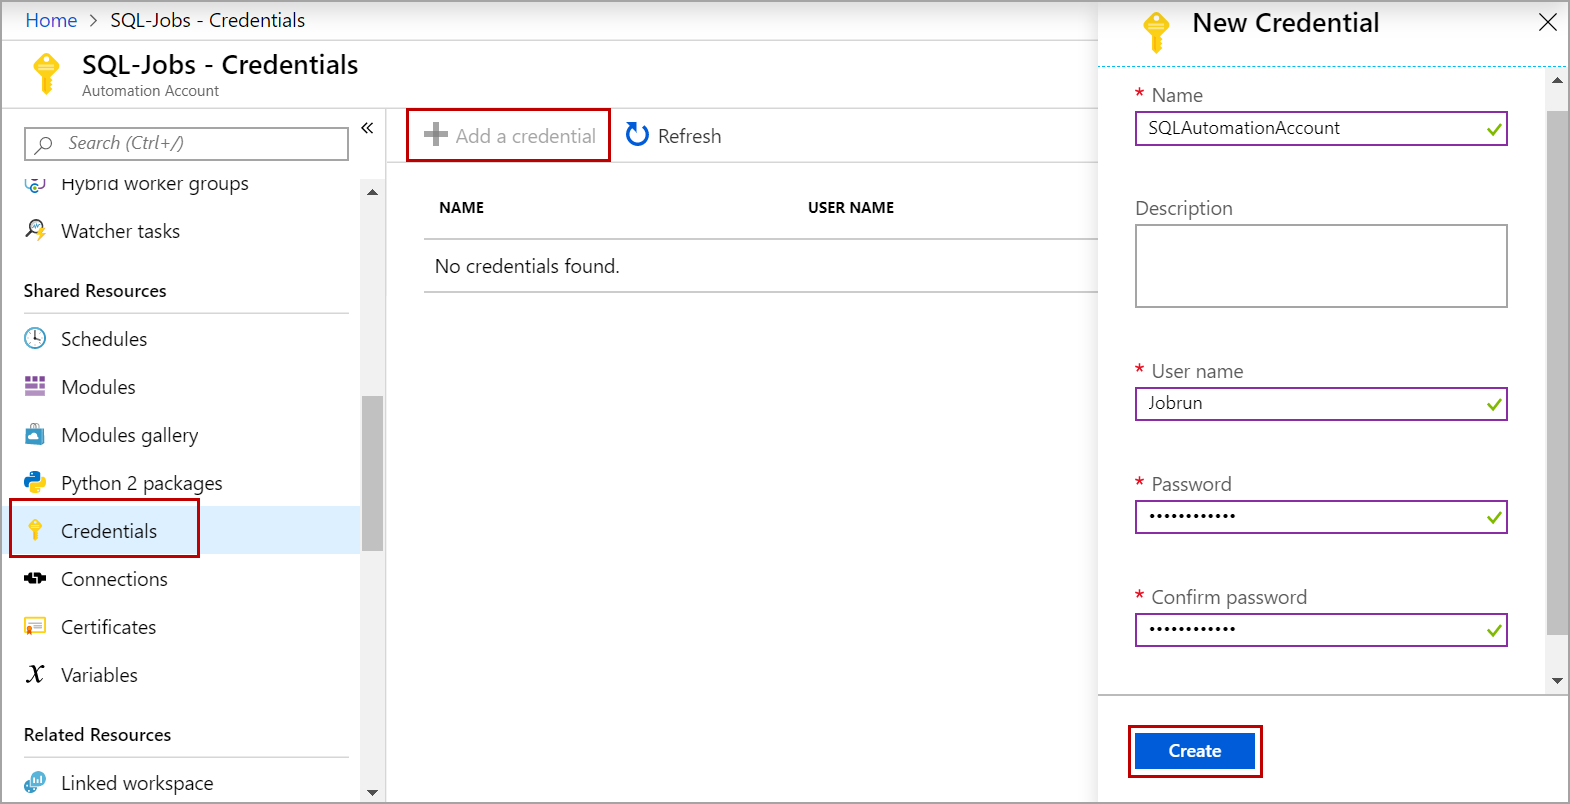
We need to create a credential which will be used to connect the Azure database. In the Automation account page, Click on Credentials. Click on Add a credential. Enter the name of the credential, user name, and password. Click on Create to create credential.
Now login to Azure SQL database using SQL Server management studio and create a login with the same username and password used in the credential. Please refer to the following T-SQL script.
|
1 2 3 |
CREATE LOGIN Jobrun WITH PASSWORD = 'Password@123' GO |
Create a user from the login you created above in the database you are going index and give appropriate privileges to create or alter the index else the indexing may fail.
|
1 2 3 4 5 6 |
CREATE USER Jobrun FROM LOGIN Jobrun ALTER ROLE db_owner ADD MEMBER Jobrun ; GO |
Running the Runbook manually
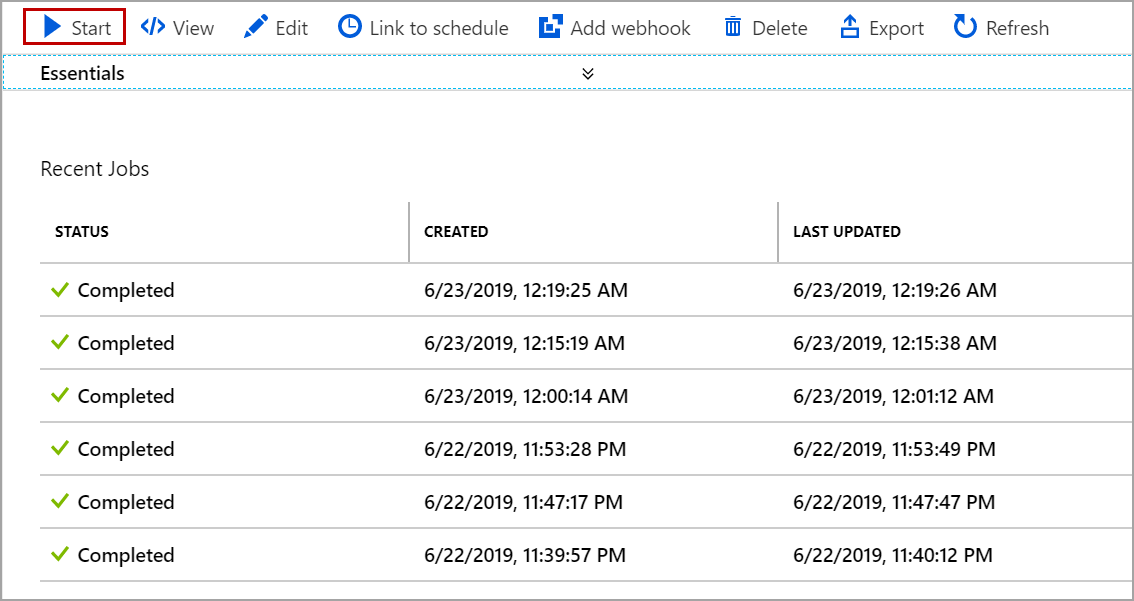
Navigate to Azure Automation account page, Click on the Runbooks. In the Runbooks page, click on the Runbook and click on Start.
Once you click on start it will ask you to enter the parameters. Enter the mandatory input parameters Azure SQL database server name, database name, and credentials which you created earlier.
SQLSERVERPORT: Enter the port number of the database if the database server is running on specific port else leave it blank which will take the default value i.e. 1433.
FRAGPERCENTAGE: Enter the fragmentation percentage to index only if the fragmentation is greater than the specified value. If left blank it considers default value i.e. 20.
REBUILDOFFLINE: The default value is false. Select true from the drop down if you want to rebuild the index online.
TABLE: By default, all the tables are re-indexed. If you want to re-index indexes on a specific table in Azure SQL database, mention the table name.
After entering the input parameters, click on Create which will create a Job. Once the indexing is completed, the status of the job is changed to Completed as shown in the below image.
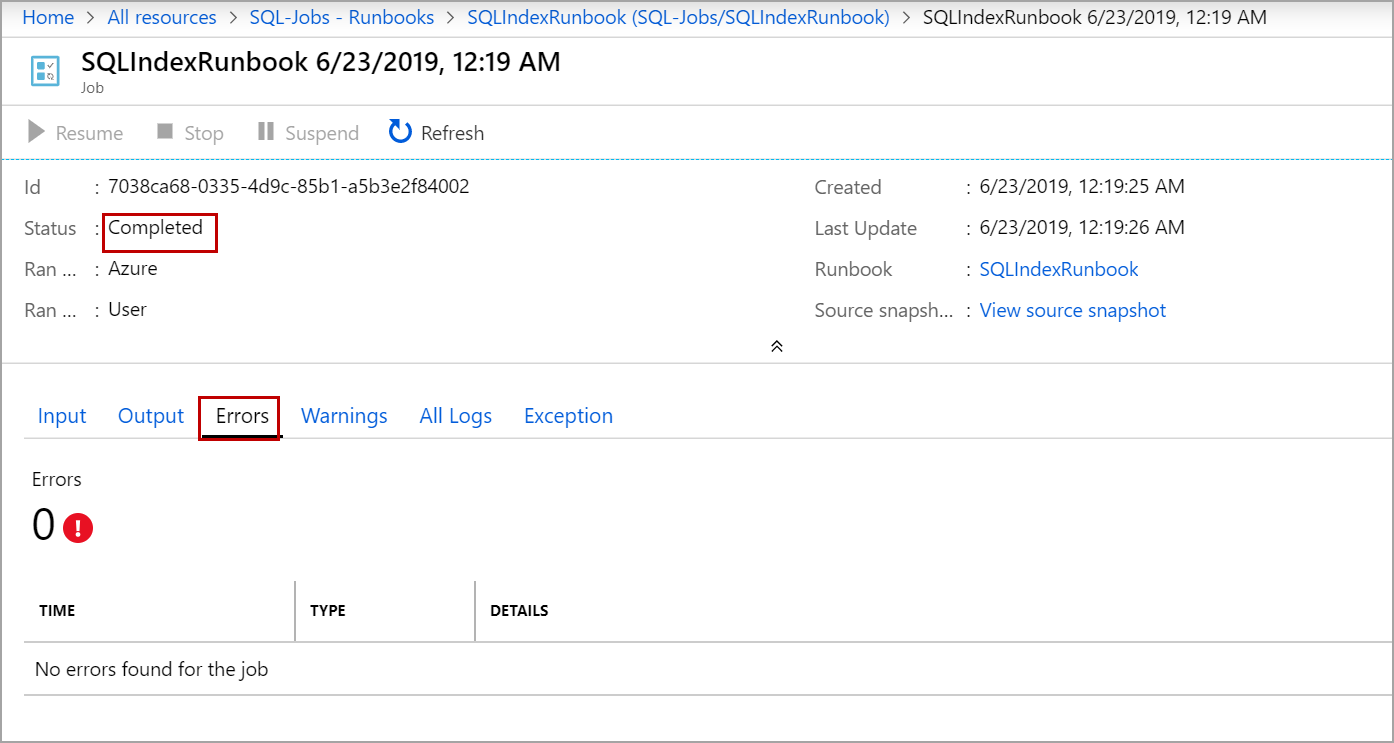
Click on the errors tab to check if the job reported any errors or not. To check the input parameters that were passed to the job, click on the Input tab.
Scheduling the runbook
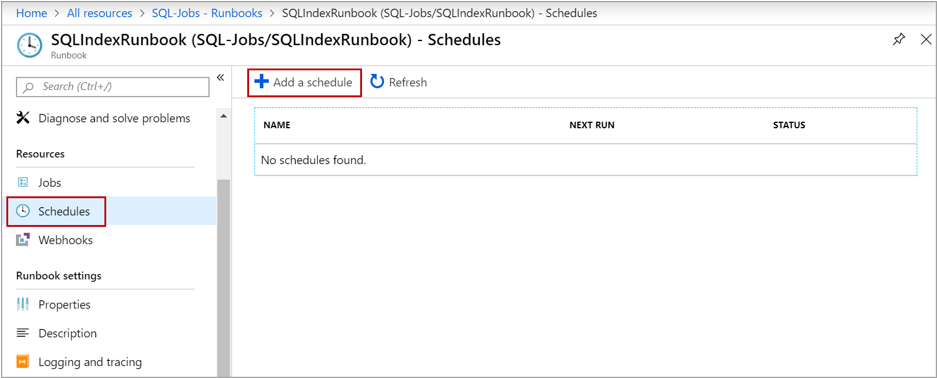
We can also schedule the Runbook to run at specific intervals. To schedule a Runbook, Navigate to Automation account page and Click on Runbooks. Click on the Runbook from the list. In this case, it is SQLIndexRunbook which will index tables in Azure SQL database. Click on Schedules and Click on Add a Schedule.
Click on Configure parameters and run settings and enter the input parameters. Click OK.

Click on Link a schedule to your Runbook and create a new schedule.
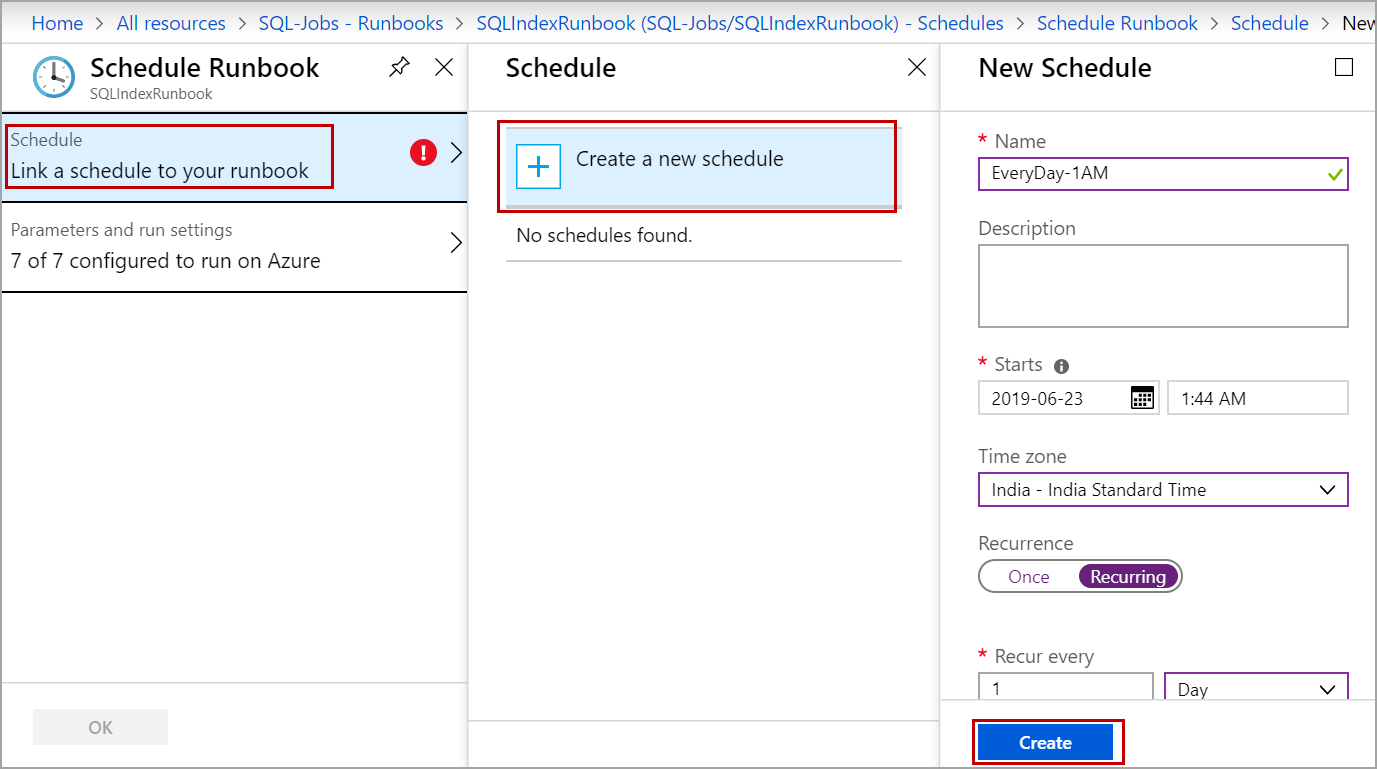
Enter the name of the schedule, select the time zone and the interval. Set the expiration date and time if you want to stop the schedule after the expiry date.
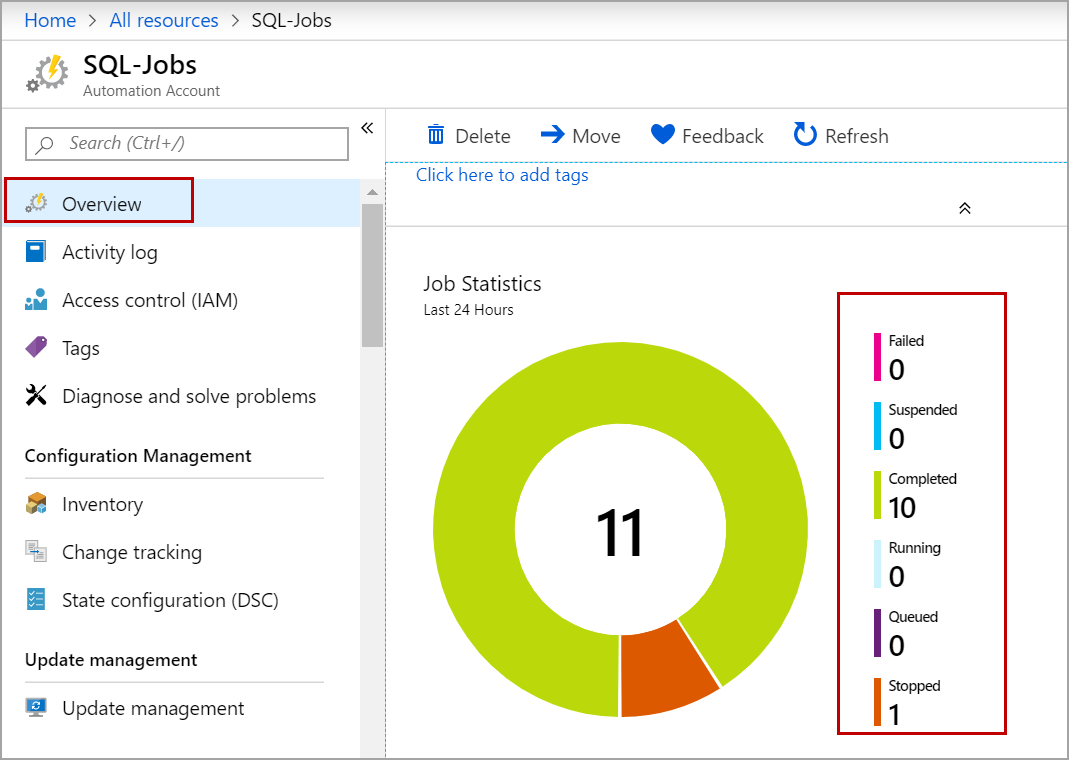
You can view the job statistics at the Overview section of the Azure Automation account page.
Conclusion
In this article, we explored how to create Runbooks in Azure Automation to index tables in Azure SQL database, schedule Runbooks to run at a specific interval. In case you have any questions, please feel free to ask in the comment section below.
Please refer to SQL Azure category to learn more on Azure SQL.

- Geo Replication on Transparent Data Encryption (TDE) enabled Azure SQL databases - October 24, 2019
- Overview of the Collate SQL command - October 22, 2019
- Recover a lost SA password - September 20, 2019