
In this article, we will review on Transparent Data Encryption (TDE) on an Azure SQL database and how to enable Transparent data encryption using Asymmetric keys in Azure Key Vault.
By default, the Transparent Data Encryption is enabled for an Azure SQL single database. Follow the below steps to view or modify the existing Transparent Data Encryption settings in an Azure single database.
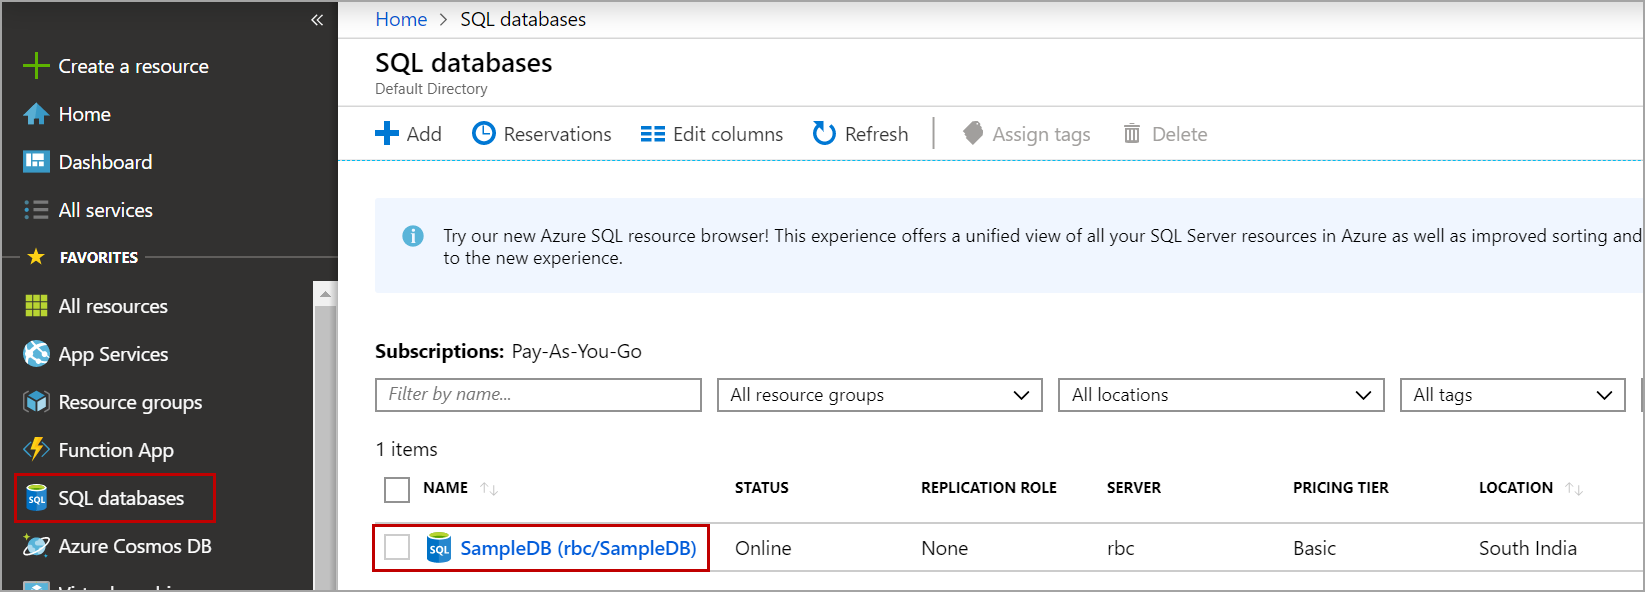
Log in to the Azure portal, navigate to the SQL Databases and click on the database on which you want to view or modify the transparent data encryption settings.
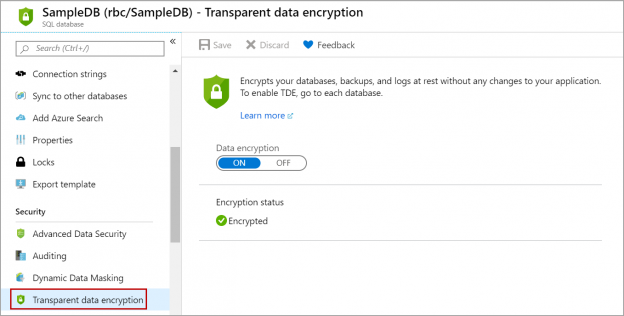
In the database details page, click on Transparent Data Encryption as shown in the below image.
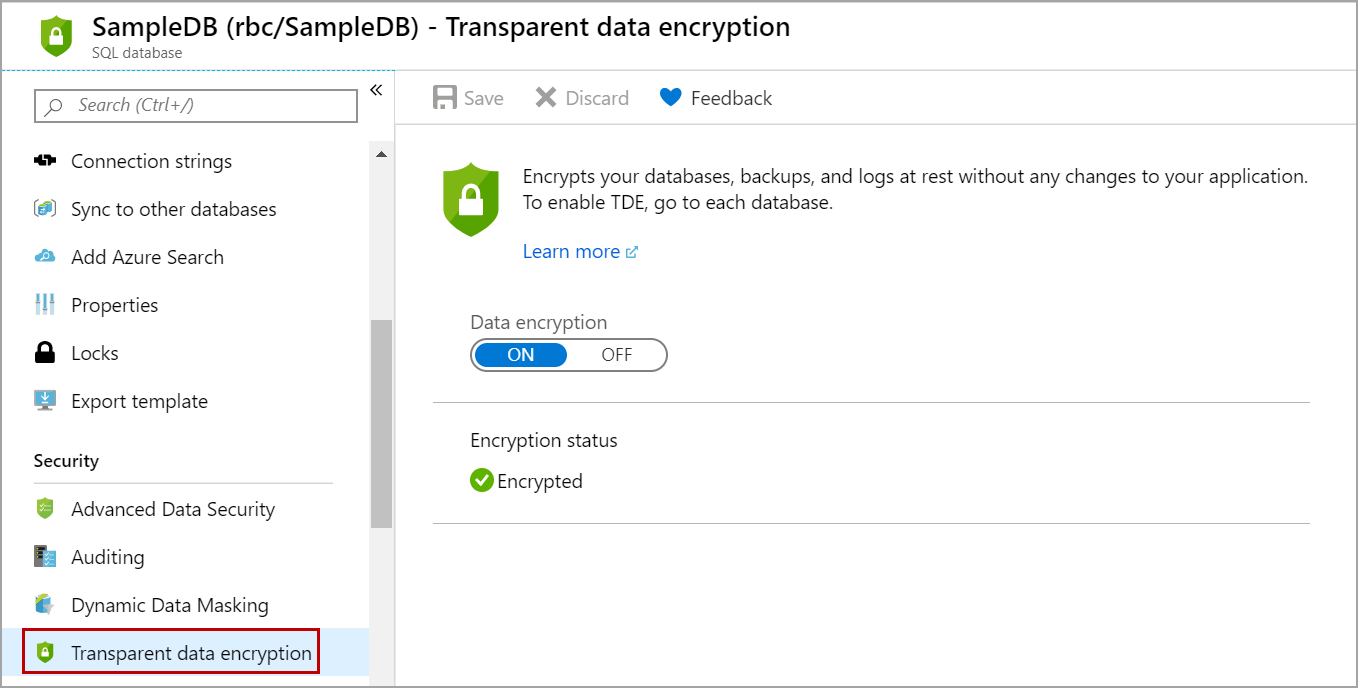
We can see that Transparent Data Encryption (TDE) is enabled by default in Azure SQL database. If you want to disable it, click on OFF and then on the Save button. In the Azure SQL database, the database encryption key (DEK) is protected by a built-in server certificate. All the databases in the server use the same built-in server certificate.
Transparent Data Encryption using your key in Azure SQL database
You can also encrypt Azure SQL databases using your own key following these steps:
- Creating an Azure Key Vault
- Enable soft default option on the Azure Key Vault
- Creating a Key to use it for Transparent Data Encryption (TDE)
Let us go over these steps one by one.
Creating an Azure Key Vault
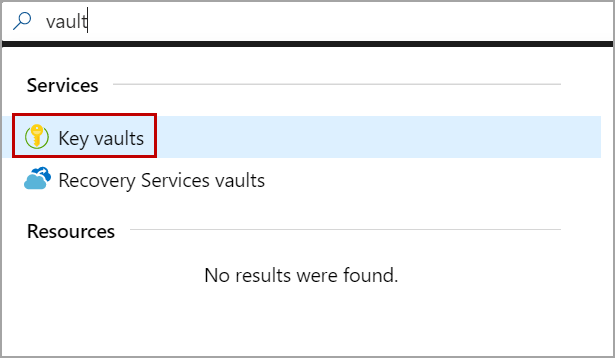
Log in to the Azure portal, search for the vault in the search box and click on Key Vaults as shown in the below image.
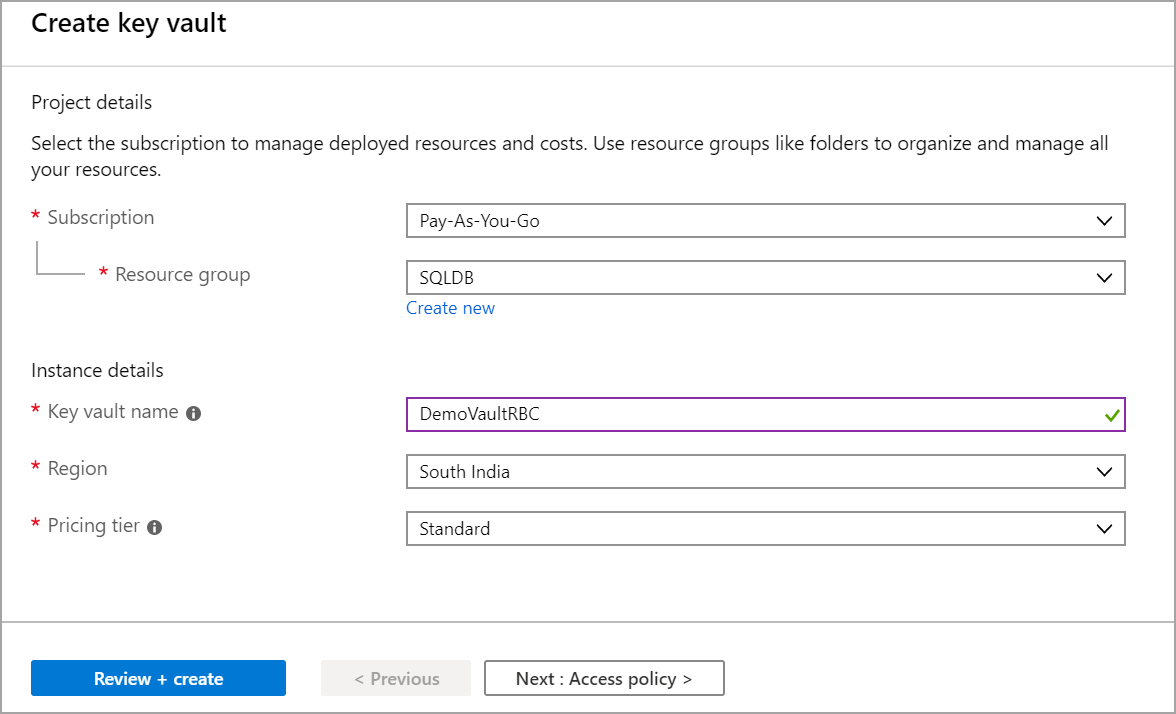
In the Key Vaults page, click on the Add button. Select the resource group. Enter the Key Vault name and select the region. The region should be the same as the region of your Azure SQL database server. Click on the review + create button.
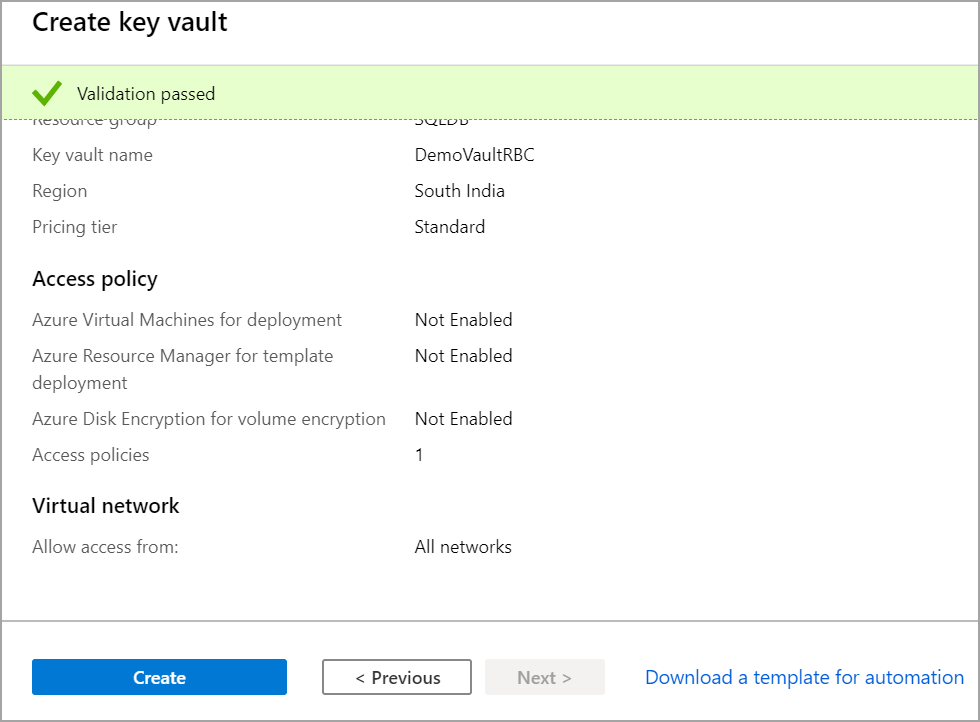
Once the validation is passed, review your access policy and click on the Create button to create the Azure Key Vault.
Enabling soft delete option on the Azure Key Vault
Once the Azure Key Vault is created, we need to enable a soft delete option in the Key Vault. Follow the below steps to enable the soft delete option in the Key Vault.
First, we need to install Azure PowerShell. Open PowerShell and execute the following script to install Azure PowerShell.
|
1 |
Install-Module -Name Az -AllowClobber -Scope CurrentUser |

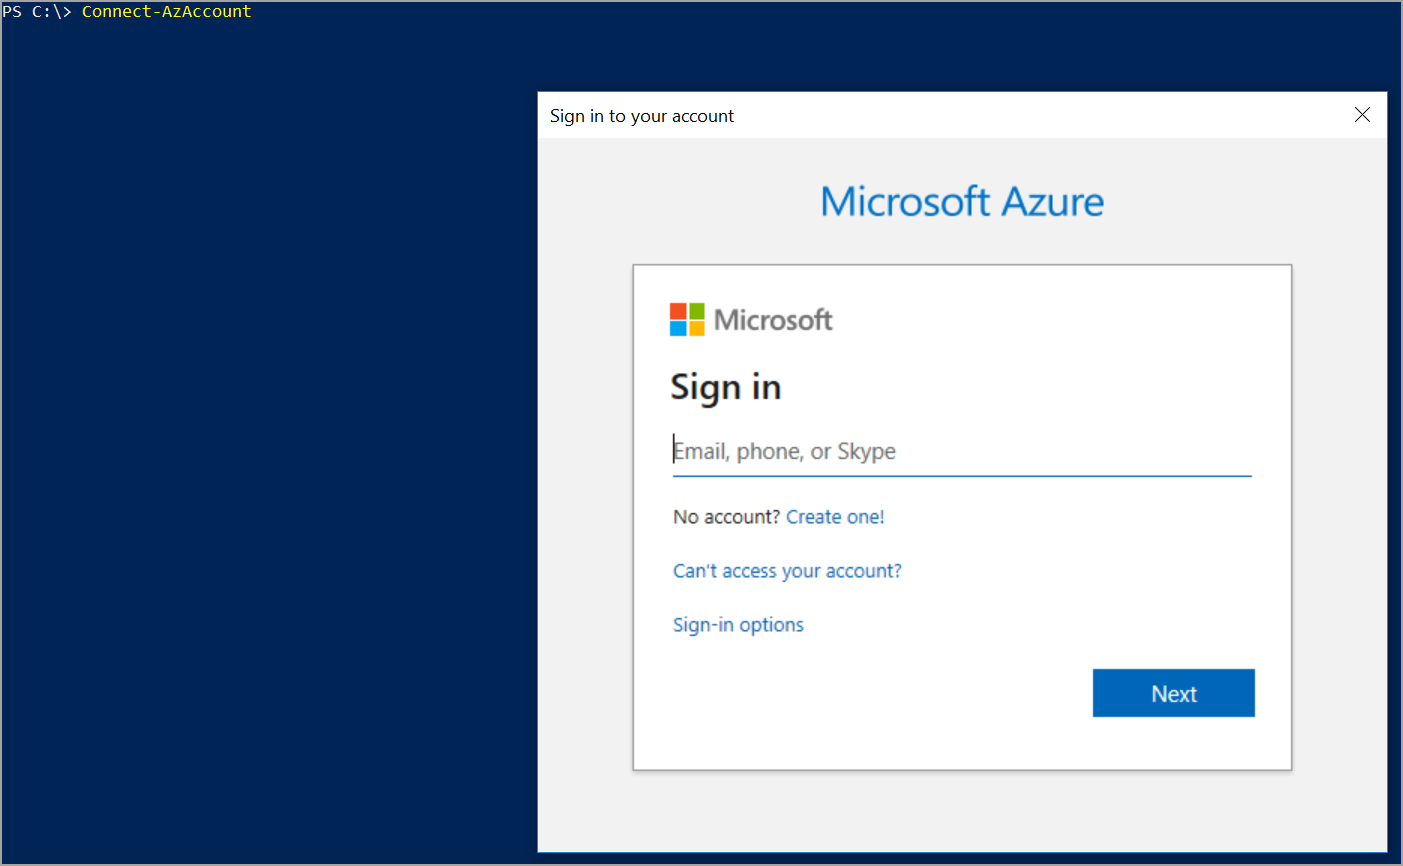
Once the Azure PowerShell is installed, log in to your Azure account using Azure PowerShell. Execute the following script to log in to the Azure account using PowerShell.
|
1 |
Connect-AzAccount |
Enter the credentials and login to Azure. Once login is successful, execute the following script to enable soft delete option in the Azure Key Vault that will be used for Transparent Data Encryption (TDE). There is no option in the Azure portal UI to enable this option while creating or modifying the Azure Key Vault. So, we must do it from Azure PowerShell. DemoVaultRBC is the name of the Azure Key Vault. Replace it with yours.
|
1 2 3 |
($resource = Get-AzResource -ResourceId (Get-AzKeyVault -VaultName "DemoVaultRBC").ResourceId).Properties | Add-Member -MemberType "NoteProperty" -Name "enableSoftDelete" -Value "true" Set-AzResource -resourceid $resource.ResourceId -Properties $resource.Properties |

Click on Yes to continue and enable the soft delete option in the Azure Key Vault.
Verify the change by executing the following script.
|
1 |
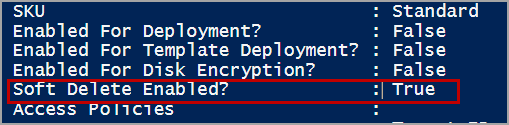
Get-AzKeyVault -VaultName "DemoVaultRBC" |
Please refer to the below image that shows the soft delete option is enabled.
Creating a Key
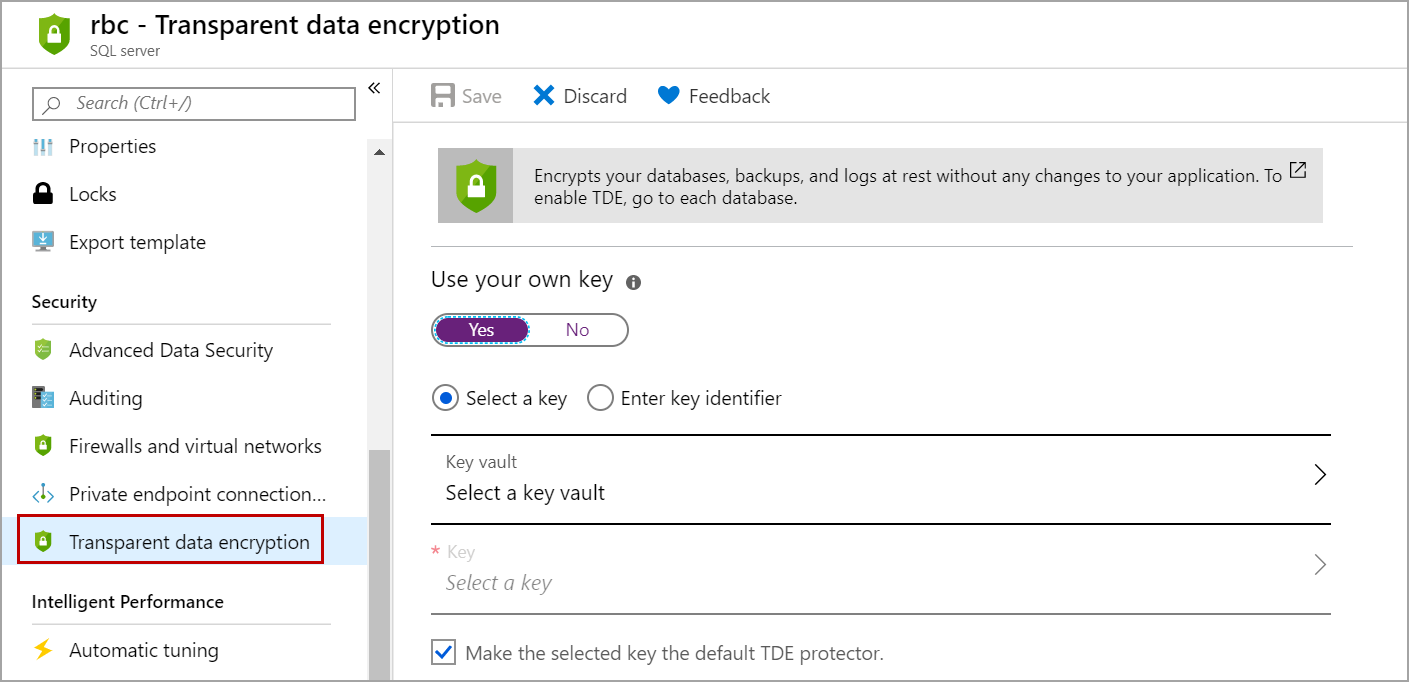
Log in to the Azure portal. Navigate to the all resources page and click on the Azure SQL Server on which you want to use the key. In the server details page, Click on Transparent Data Encryption (TDE) as shown in the below image.
Select Yes under “use your own key”. Select the Azure Key Vault that you created above. Select the key if you already have one or create a new one.
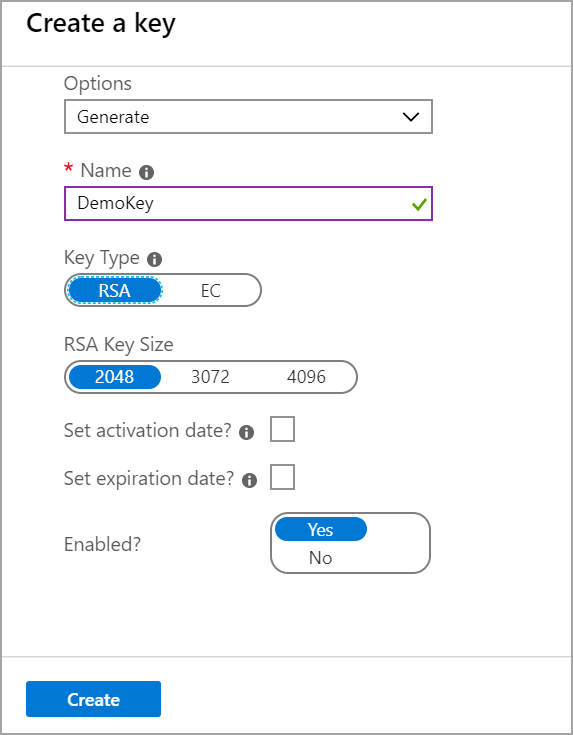
We can create the key in different ways like restoring it from backup or generating a new one. In this case, I selected to Generate. Enter the name of the Key. select the Key type and RSA Key Size of your choice. Set the expiry date if you want and click on the Create button.
Once the key is created, select the key and click on the Save button as shown in the below image.
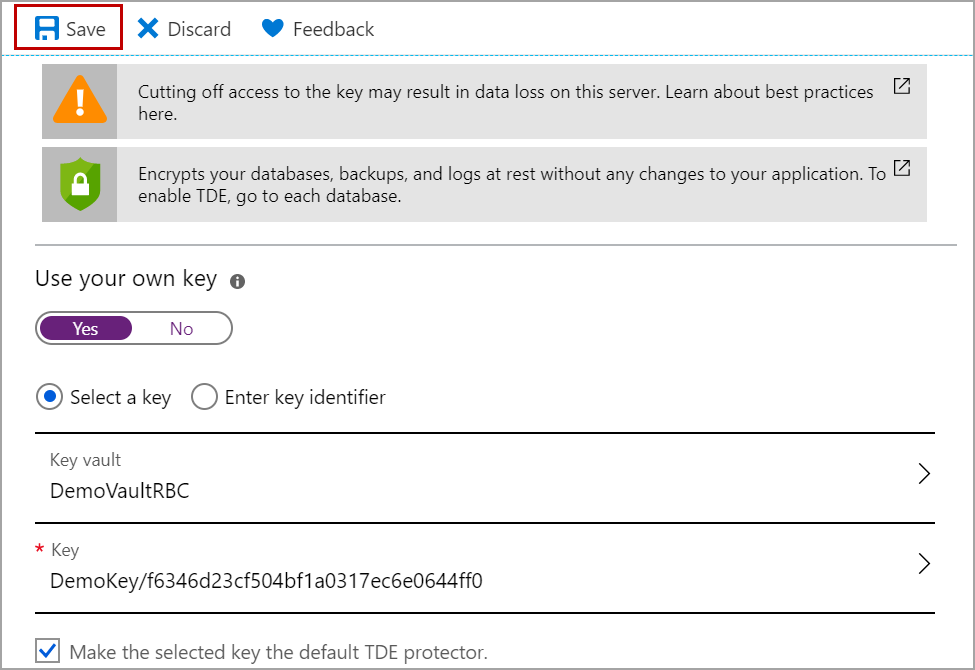
Now Transparent Data Encryption (TDE) settings are updated and the key which you created above will be used for the encryption of the databases in the Azure SQL Server. All the databases will share the same key.
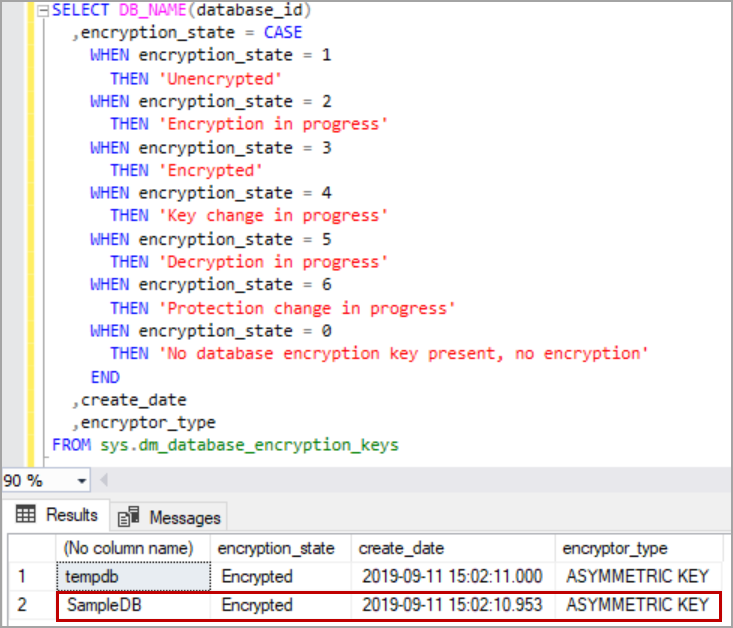
Log in to the Azure SQL database using the SQL Server management studio and execute the following query to check the updated encryption settings.
Please refer to the below image that shows the database SampleDB is encrypted using Asymmetric Key.
Conclusion
In this article, we explored on Transparent Data Encryption in Azure SQL database and how to encrypt Azure SQL database using Asymmetric Key in Azure Key Vault. In case you have any questions, please feel free to ask in the comment section below.
To continue your learning about Transparent Data Encryption (TDE), please refer to the Transparent Data Encryption category.

- Geo Replication on Transparent Data Encryption (TDE) enabled Azure SQL databases - October 24, 2019
- Overview of the Collate SQL command - October 22, 2019
- Recover a lost SA password - September 20, 2019