
In this article, I am going to discuss in-depth setting up docker and running a SQL Server Docker image. SQL Server, as you might already be aware that it is one of the most popular relational database technologies in today’s world. SQL Server is widely used in various applications that support transactional and analytical workloads. Docker, on the other hand, is a containerization technology using which you can bundle your applications within a container and distribute them. Docker helps users to build applications independent of the underlying operating system. We will learn more about Docker and using the SQL Server Docker image in this article.
Previously, Microsoft supported SQL Server to be installed only on Windows Machines, however, starting from SQL Server 2017, Microsoft has started to distribute the software for Linux machines as well. You can now install SQL Server on Linux distributions like the RHEL, SUSE, Ubuntu, etc. However, in order to install and use SQL Server on a Mac, you need to run the Linux distribution inside a docker container. This requires the SQL Server Docker image to be downloaded and installed on the local computer before using it. In this article, we will get started by installing Docker on MacOS first, and then use the SQL Server Docker image from the DockerHub and connect to it using Azure Data Studio.
Installing Docker on Mac
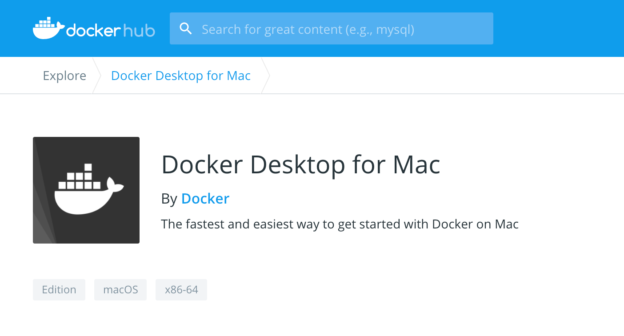
Now that we know how to use SQL Server on MacOS, let us get started by downloading and installing Docker on our machine. If you already have installed Docker previously, you can proceed to the next step. Let us get started by downloading Docker Desktop for Mac from the DockerHub. You can follow this link to download Docker on your machine.

Figure 1 – Docker Desktop for Mac Download
Download the DMG file on your Mac and install the package. It might take some time for the Docker service to get up and running. Once it is installed, you can see the Docker icon being available on the status bar as follows. Click on the icon and select Preferences.
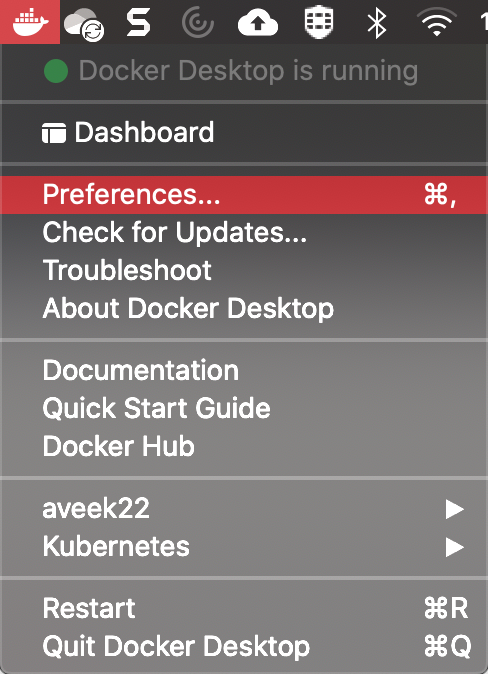
Figure 2 – Selecting Docker Preferences
In the Preferences, select Resources. Here, we need to increase the default allocated memory of the Docker engine to 6GB for SQL Server to run properly. Although allocating 4GB will suffice, however, to obtain better performance, you should allocate as much memory as possible.
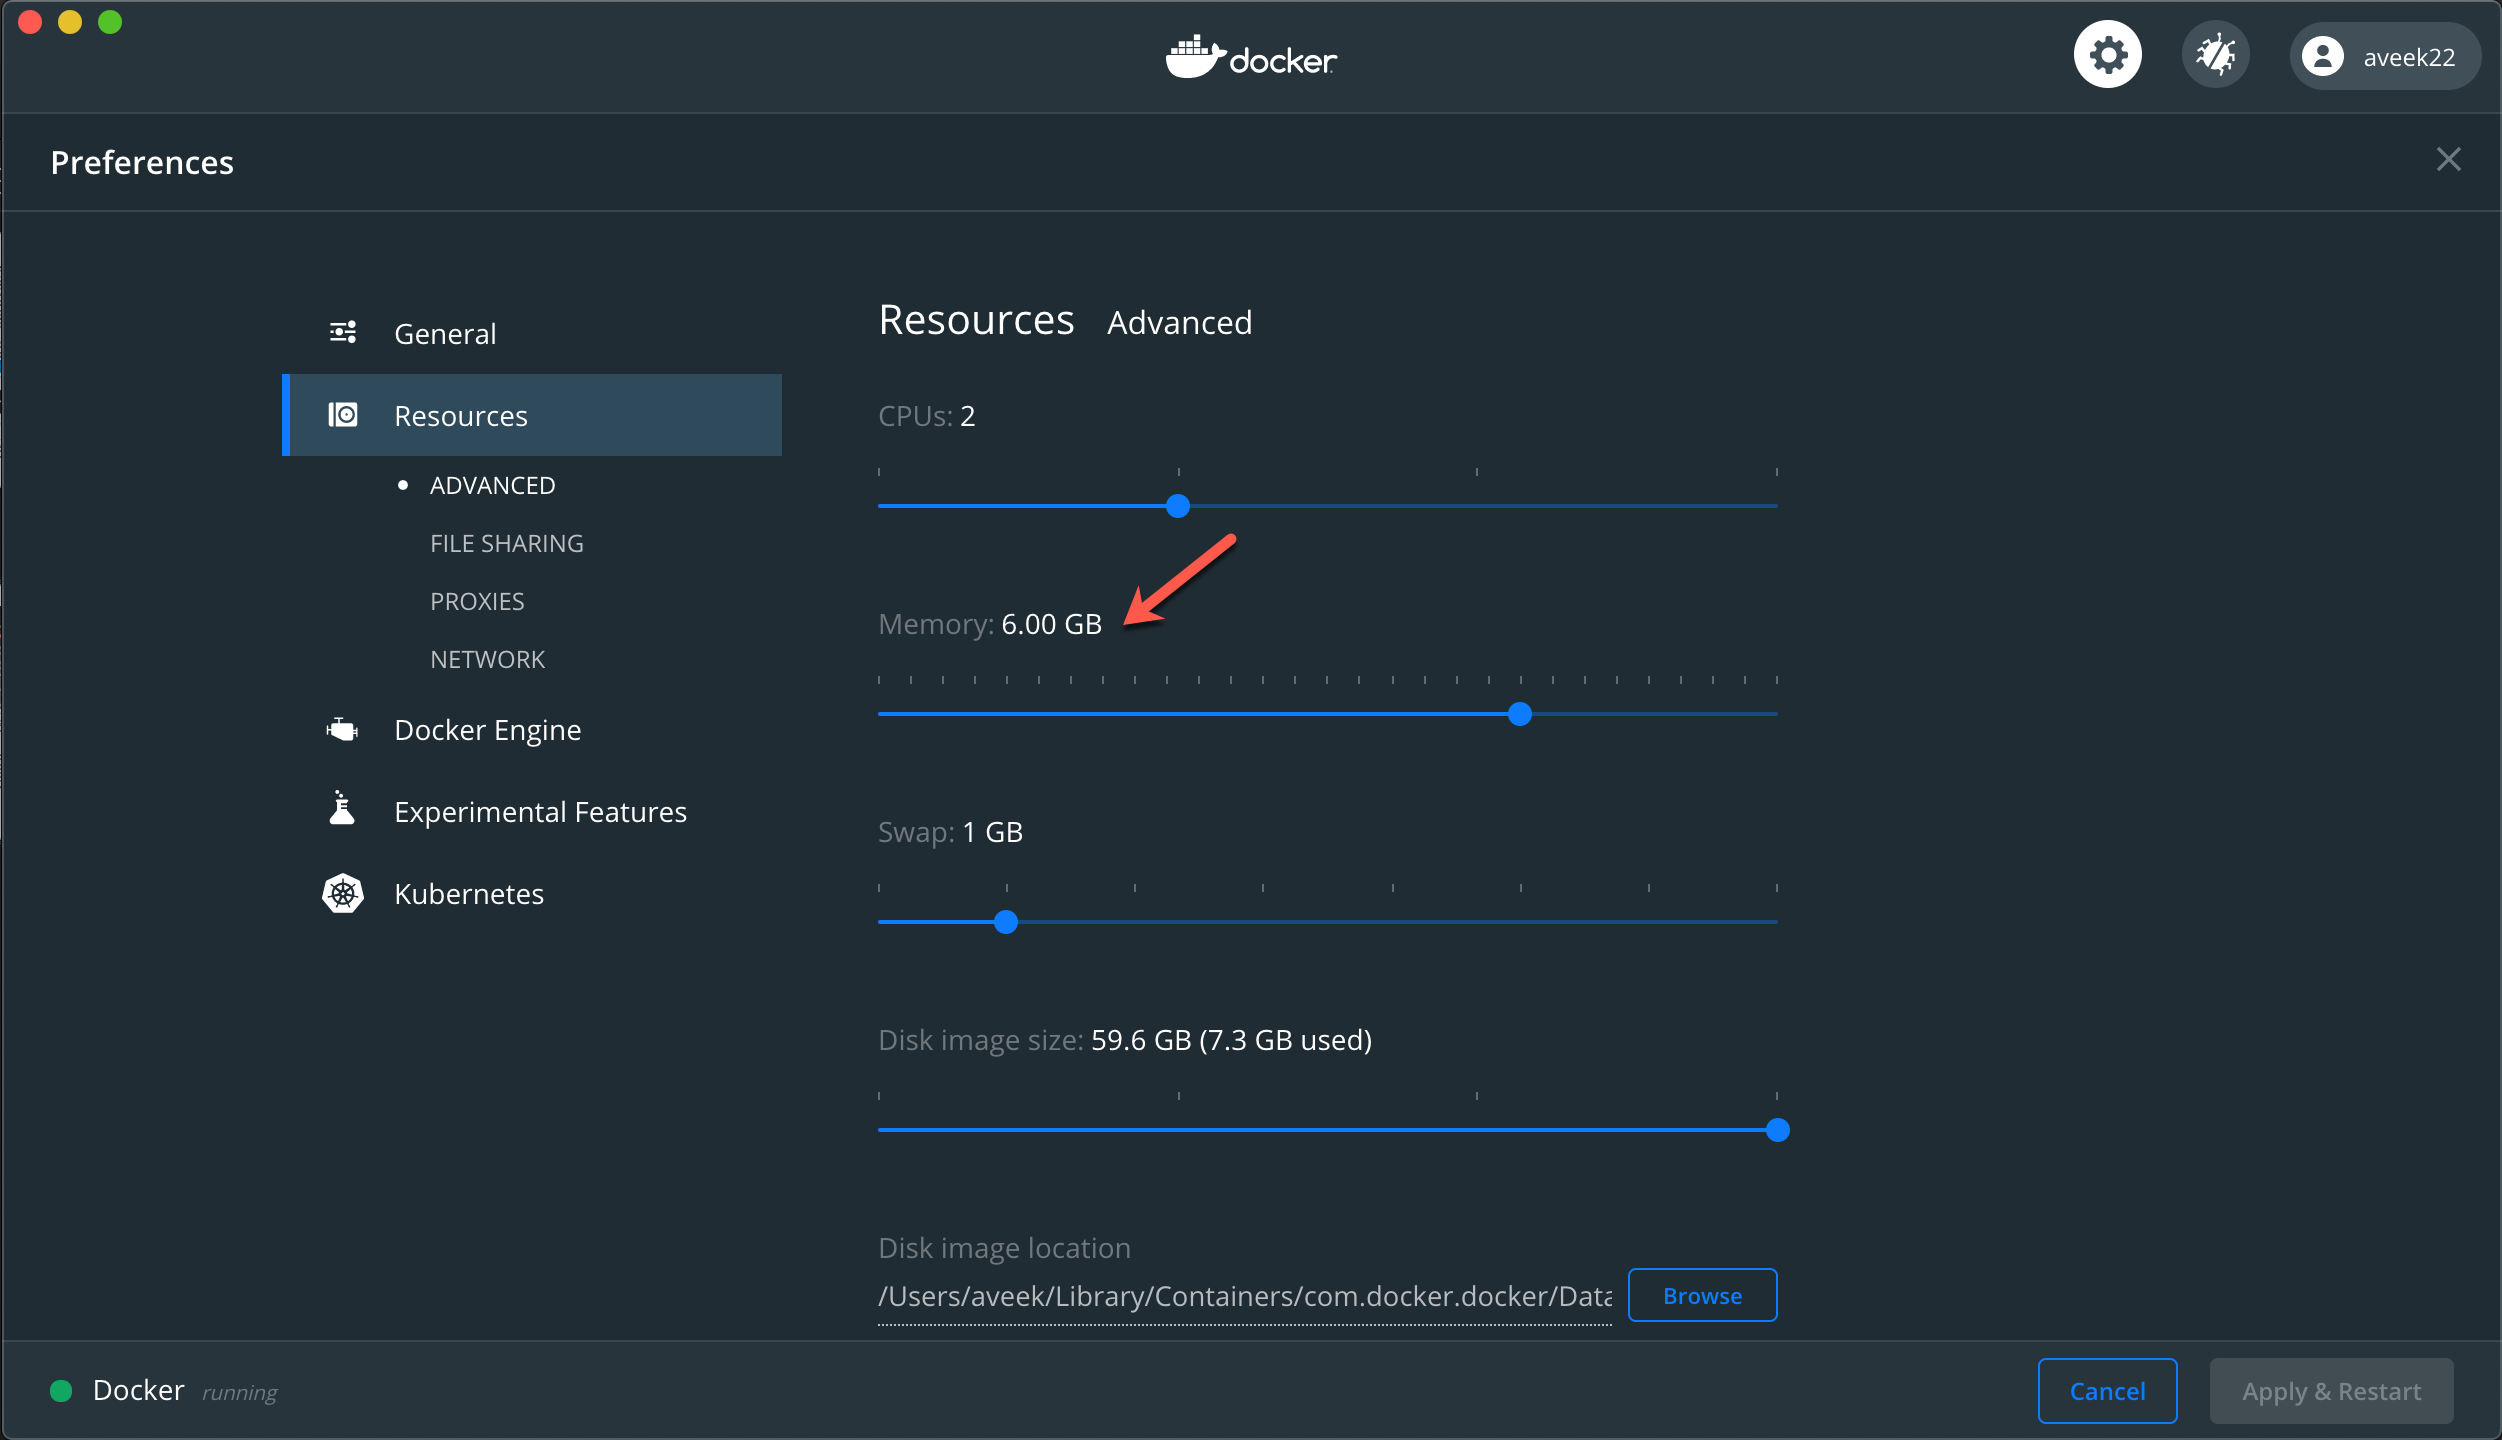
Figure 3 – Allocating memory to the Docker Engine
Once you have allocated the memory as required, then go ahead and click Apply & Restart. This will restart the Docker engine with the new memory configurations.
Using Docker from the terminal
Now that we have installed Docker Desktop on our machine, we can go ahead and start using Docker. Personally, I like to use the terminal to use the Docker, however, you can also use the Desktop version. Open Terminal and type the following command to see if Docker has been successfully installed on your machine.
docker -v
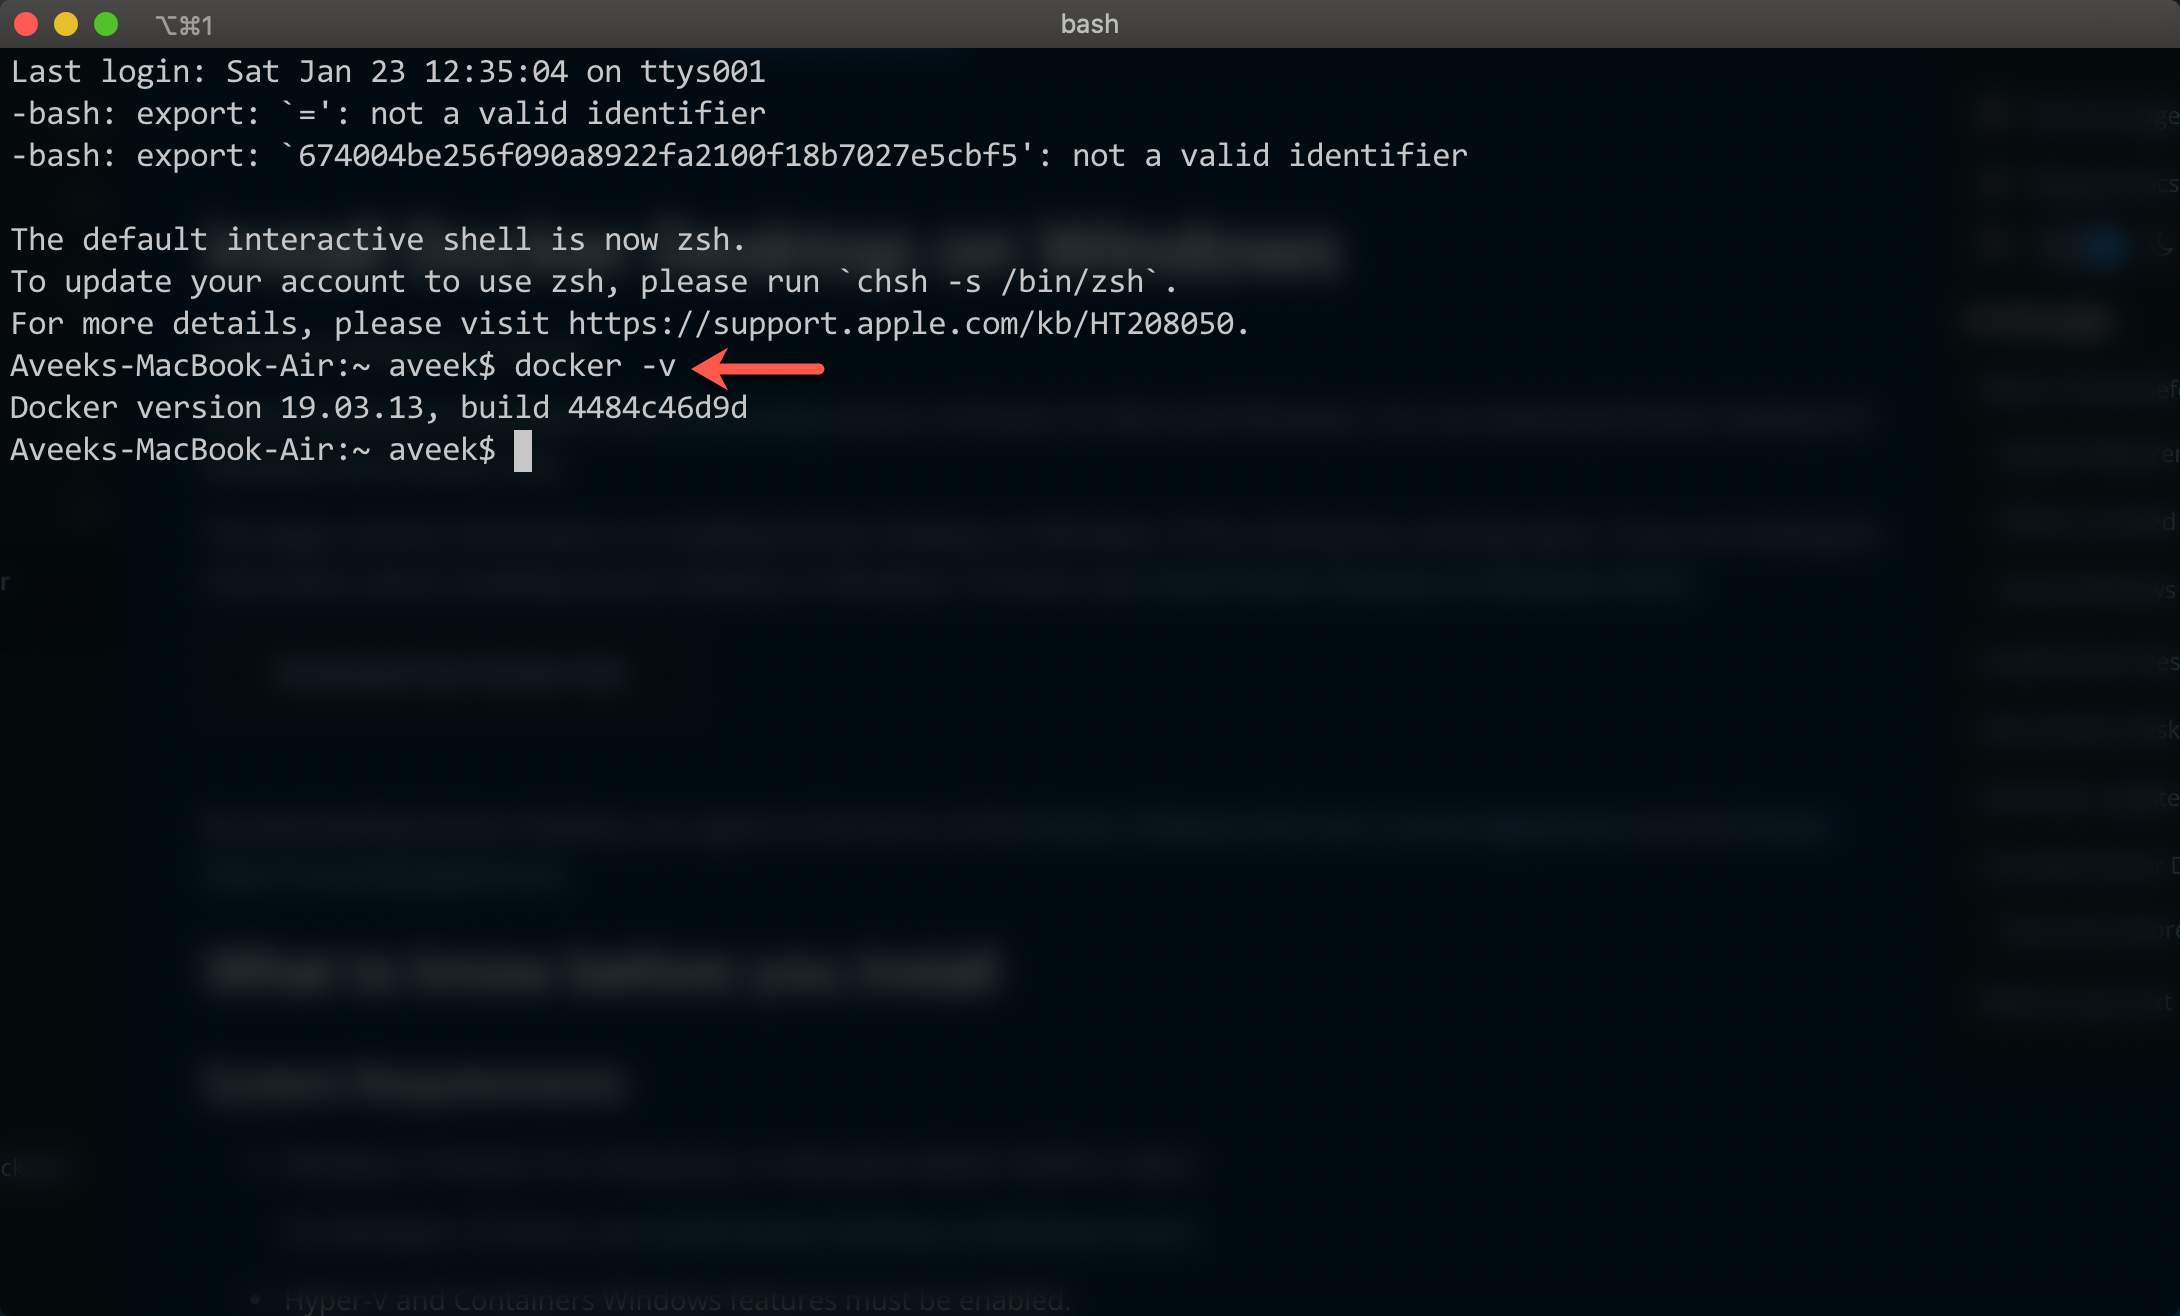
Figure 4 – Checking Docker Version
As you can see in the figure above, Docker has been installed successfully and we can see the installed version as well.
Now that Docker is up and running, the next step is to pull the official SQL Server Docker image from Docker Hub and get started. Let us create a directory for this exercise and open the terminal in that directory. Once in the directory, run the following command to pull the docker image from the repository to your local machine.
docker pull mcr.microsoft.com/mssql/server
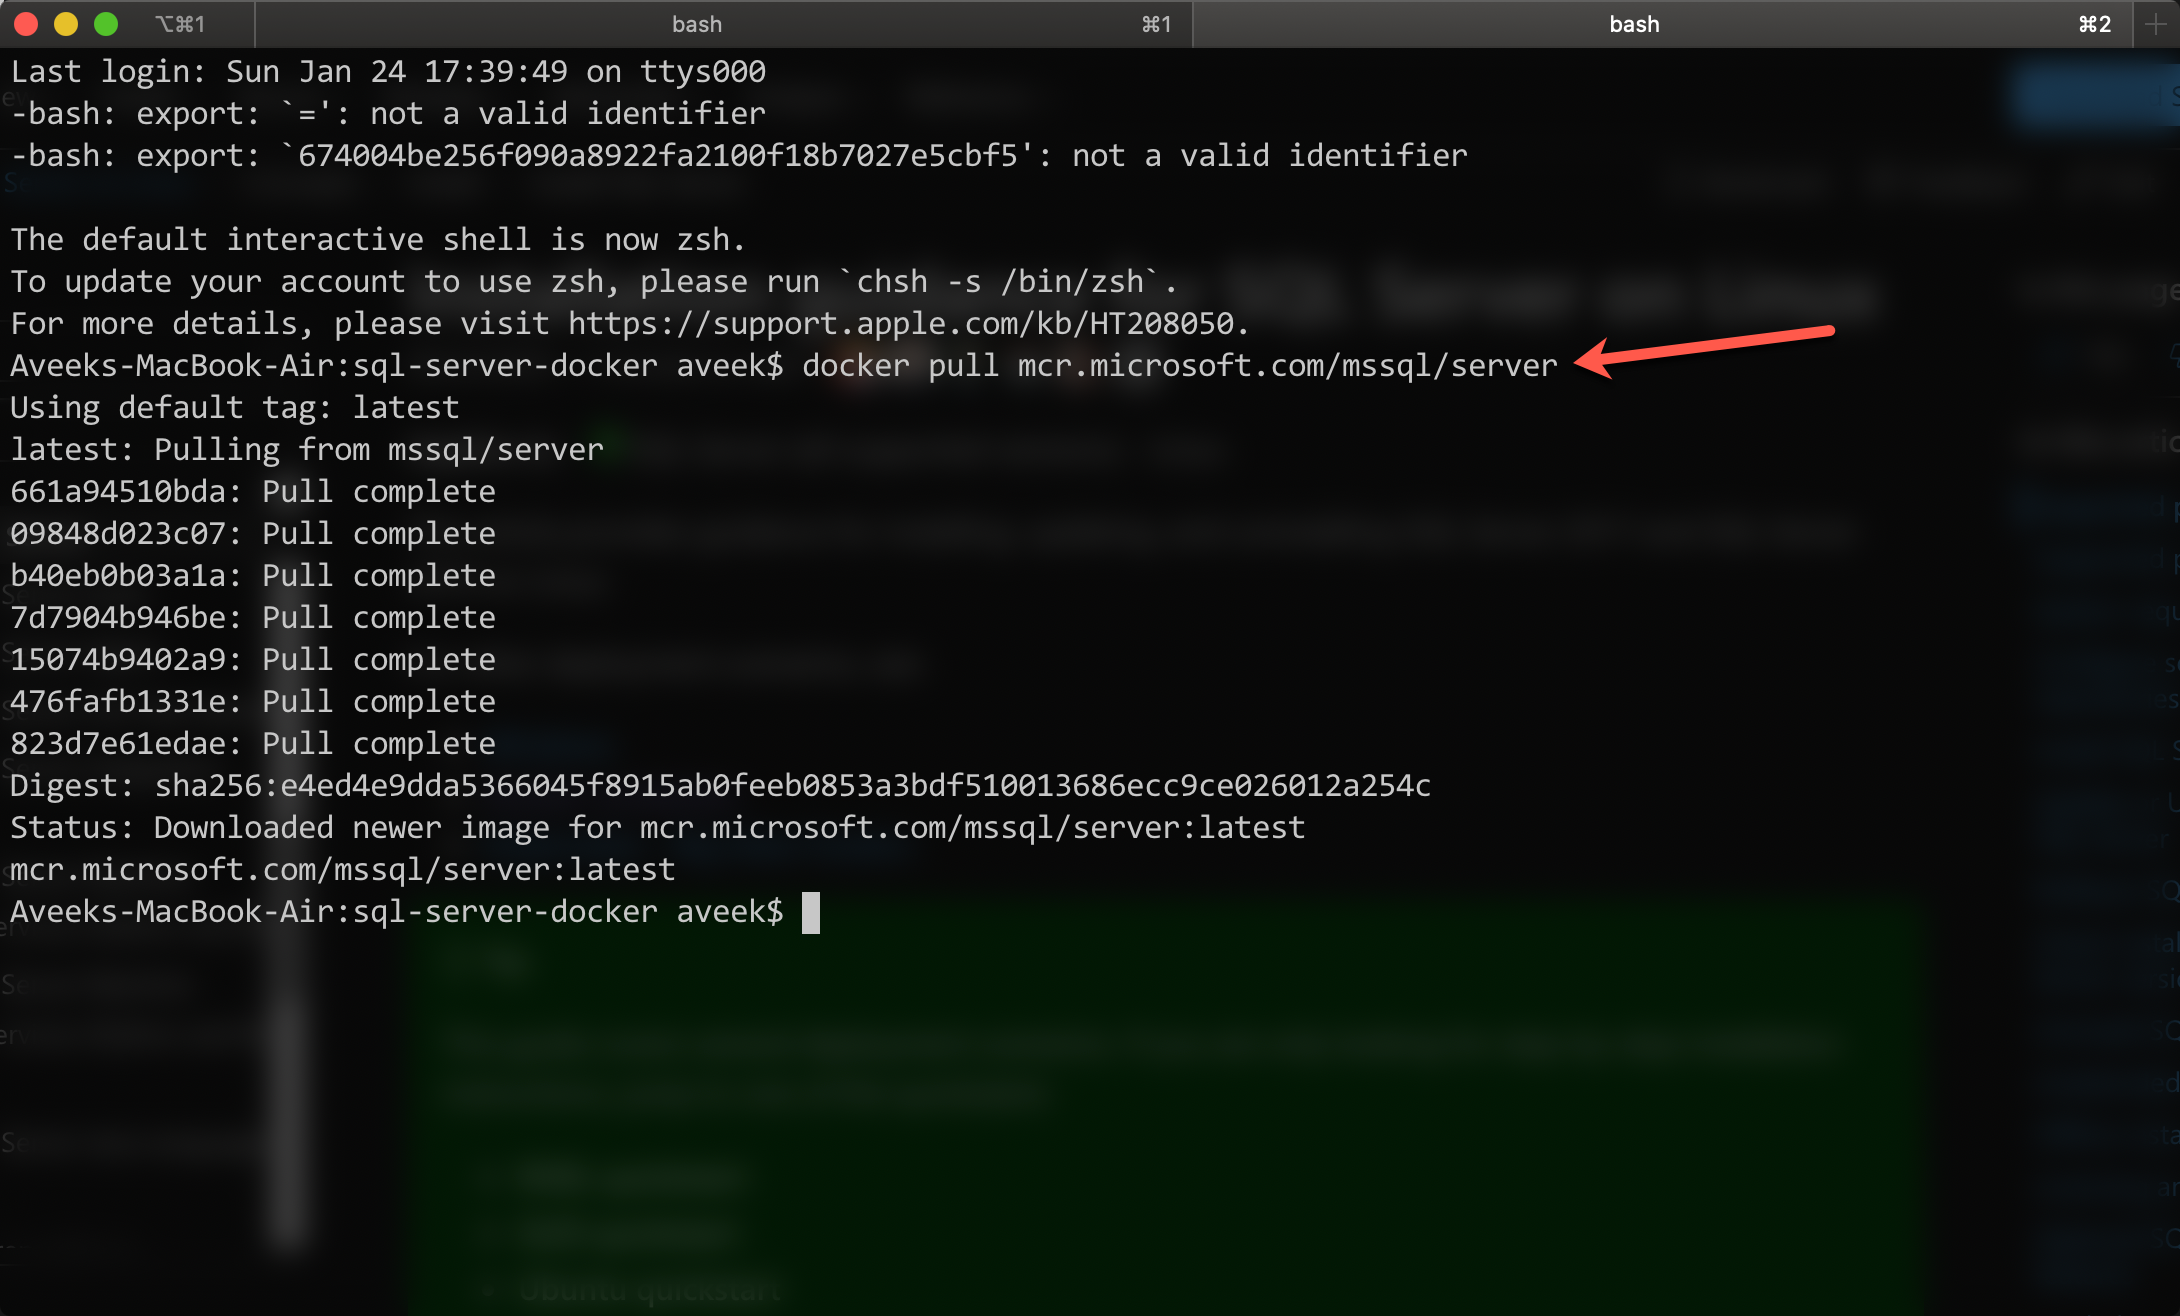
Figure 5 – Pulling the official SQL Server Docker image from Docker Hub
Once the SQL Server Docker image has been pulled and extracted, the next step is to start the docker container for this image. A container in Docker is a running instance of the docker image. You can start the container by executing the command as follows.
docker run -e ‘ACCEPT_EULA=Y’ -e ‘SA_PASSWORD=Str0ngPa$$w0rd’ -p 1433:1433 -d mcr.microsoft.com/mssql/server
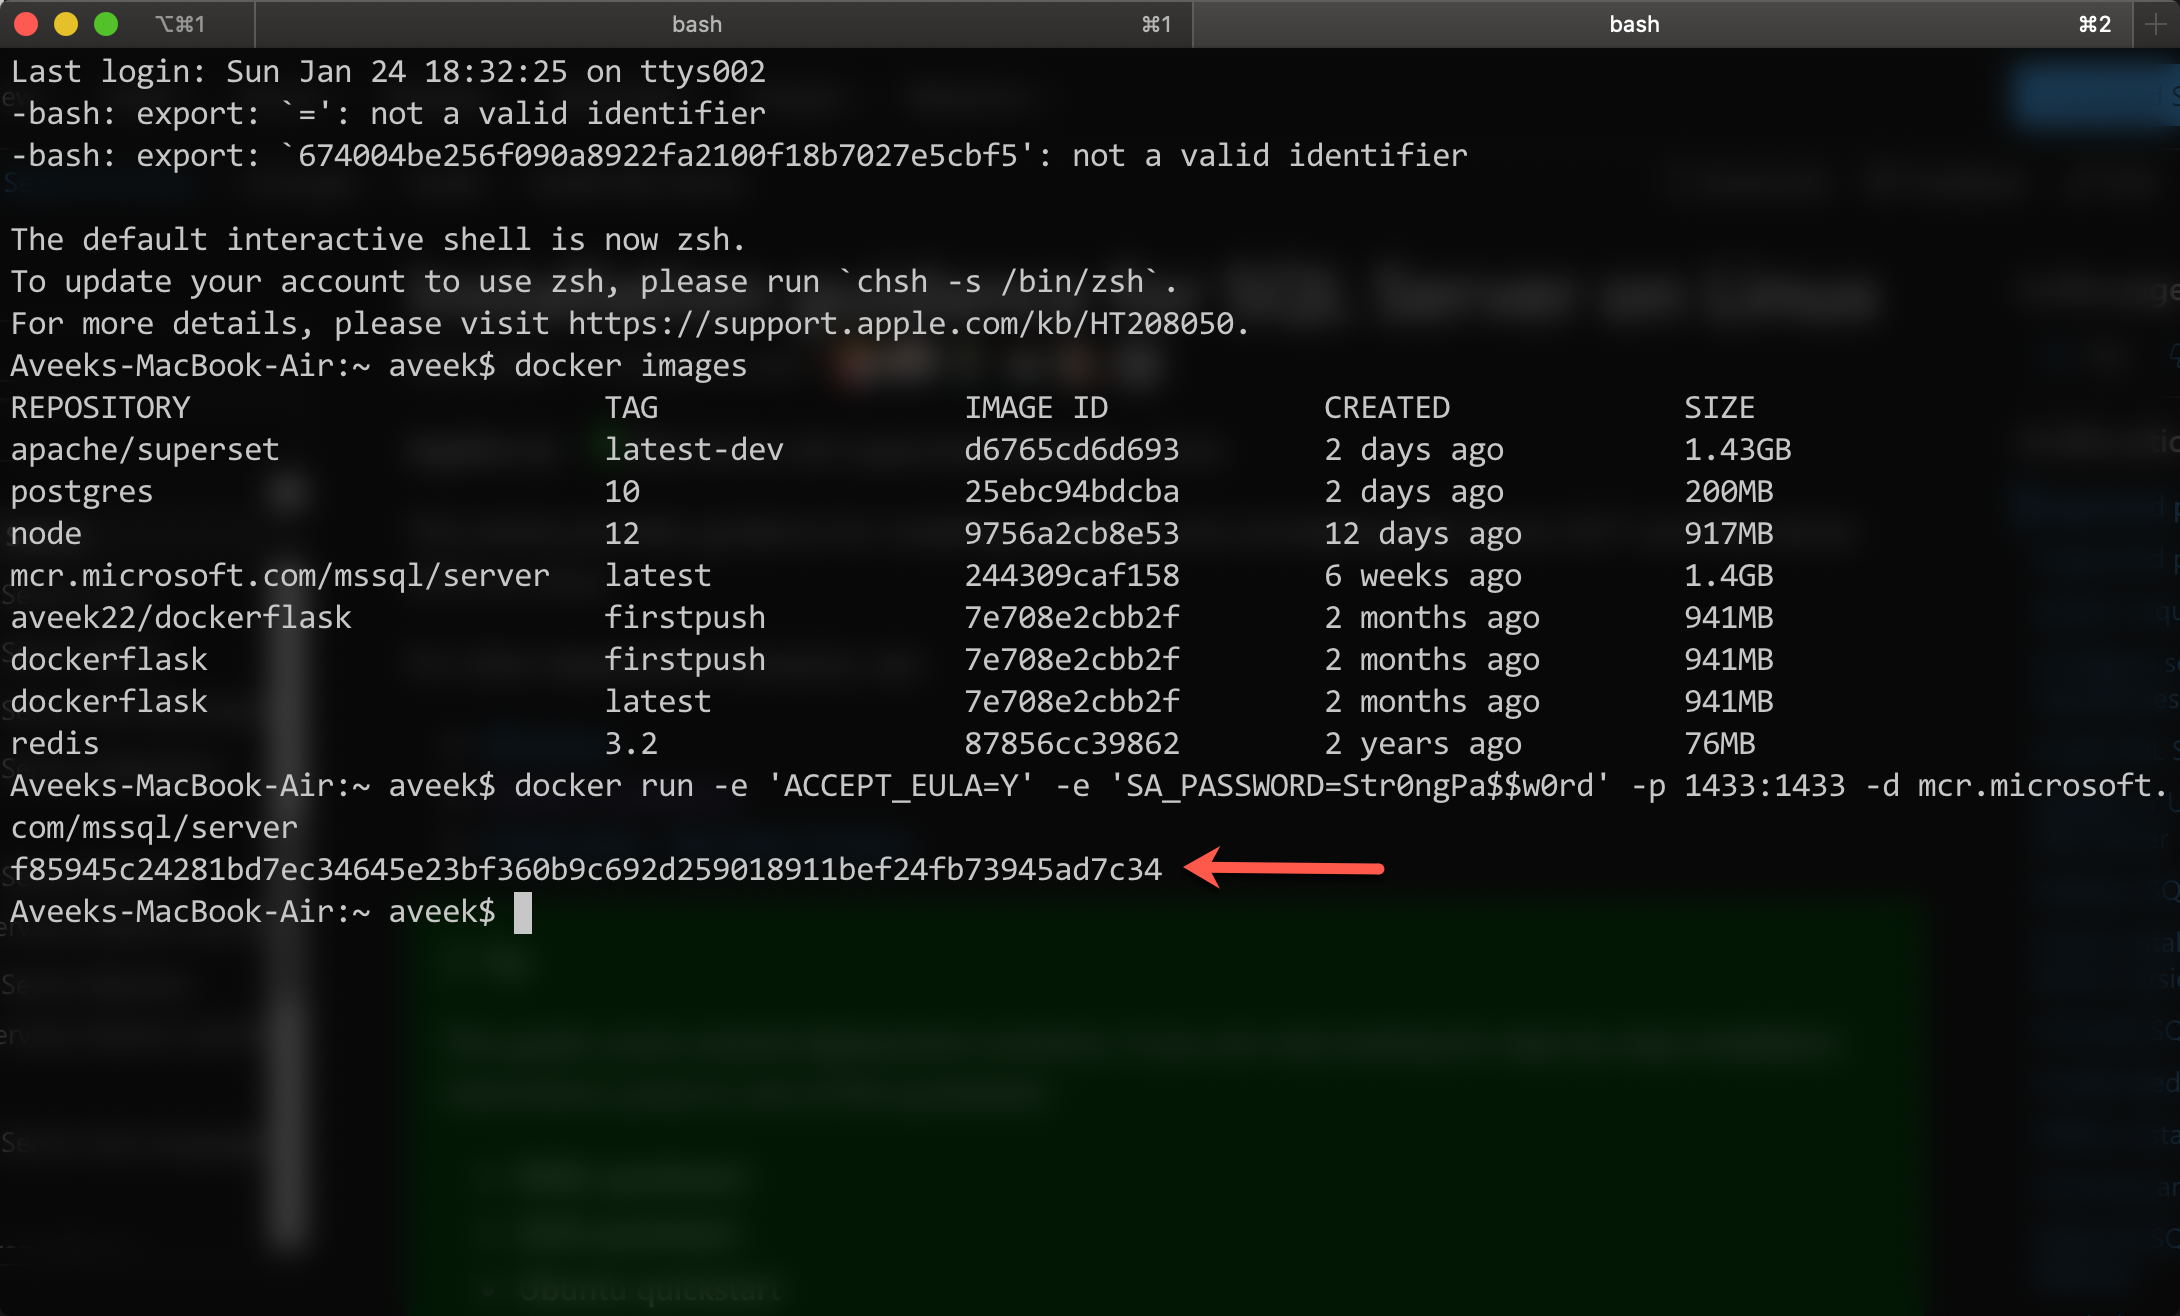
Figure 6 – Starting the SQL Server Docker Container
As you can see in the figure above, upon running the command as mentioned in the previous step, an ID is returned. This is the unique ID of the container that is running the SQL Server instance. You can also verify the containers that are currently running by using the command as follows.
docker container ls
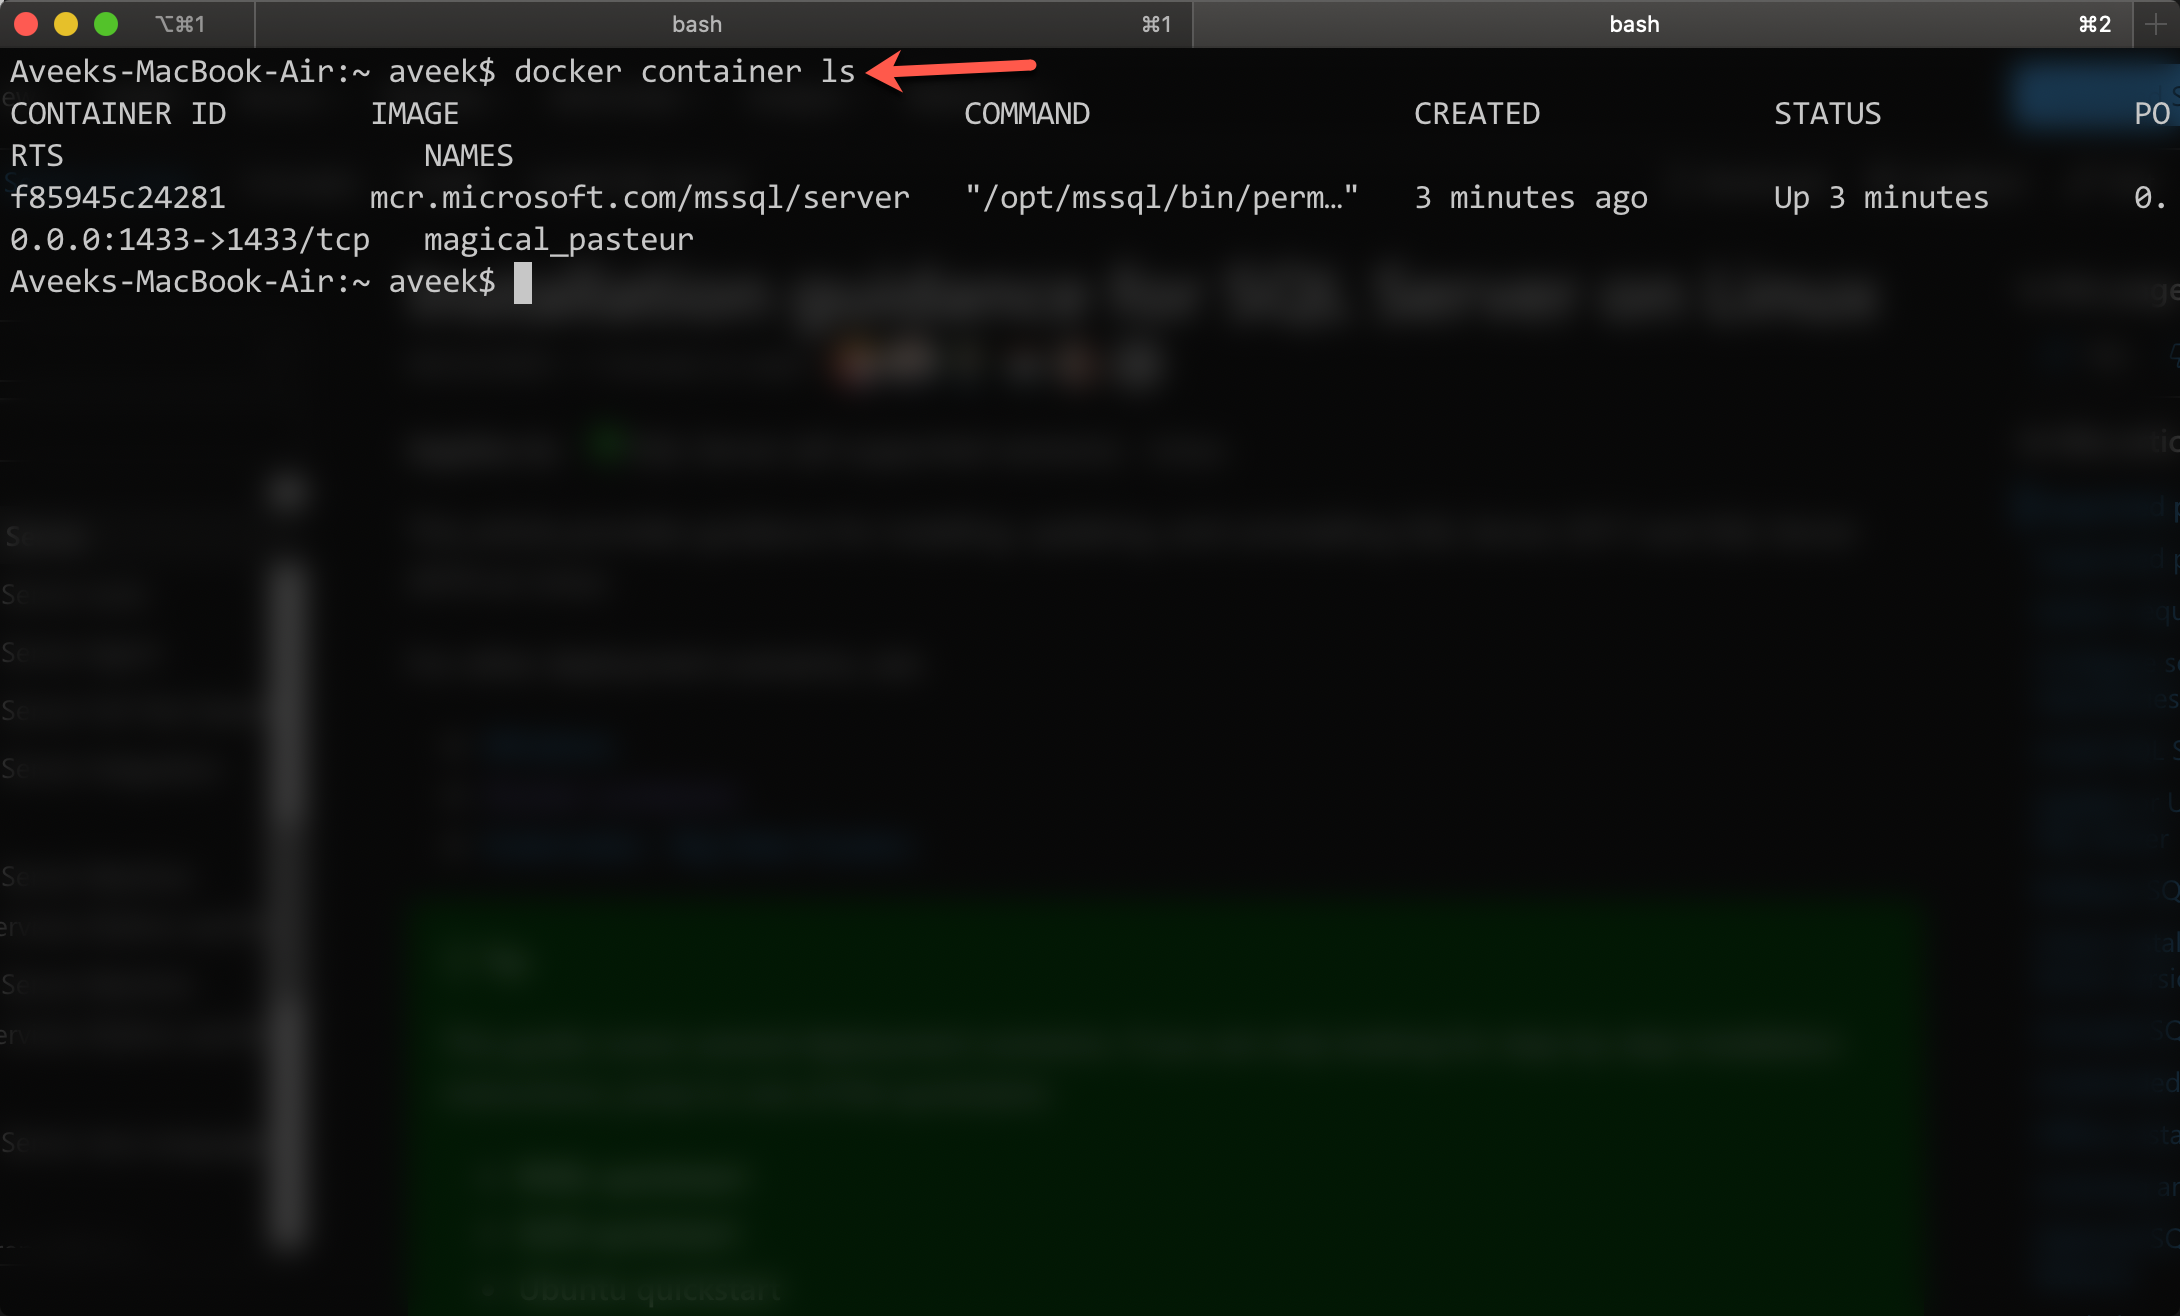
Figure 7 – Viewing the running containers
As you can see, the SQL Server Docker container has been created from the image and it is now up and running. Now, the next step is to connect to this instance of SQL Server and issue the SQL commands. Here, you can either use the terminal to connect to the SQL instance or use any GUI-based tool to connect. The most popular GUI tool to connect to SQL Server is the SQL Server Management Studio. However, this tool is only available for Windows and not for MacOS or Linux. Instead, we are going to use another cross-platform tool from Microsoft called Azure Data Studio. This is available to be installed on all the major operating systems like Windows, Linux, and MacOS. You can download this from the official website.
Using Azure Data Studio to connect to the SQL Server instance
Now that our SQL Server Docker container is up and running on port 1433, let us start Azure Data Studio and try connecting to the instance. Open up Azure Data Studio and use the same credentials to connect to it.

Figure 8 – Connecting to the SQL Server instance from Azure Data Studio
As soon as it is connected, you can see the version information of the SQL Server instance.
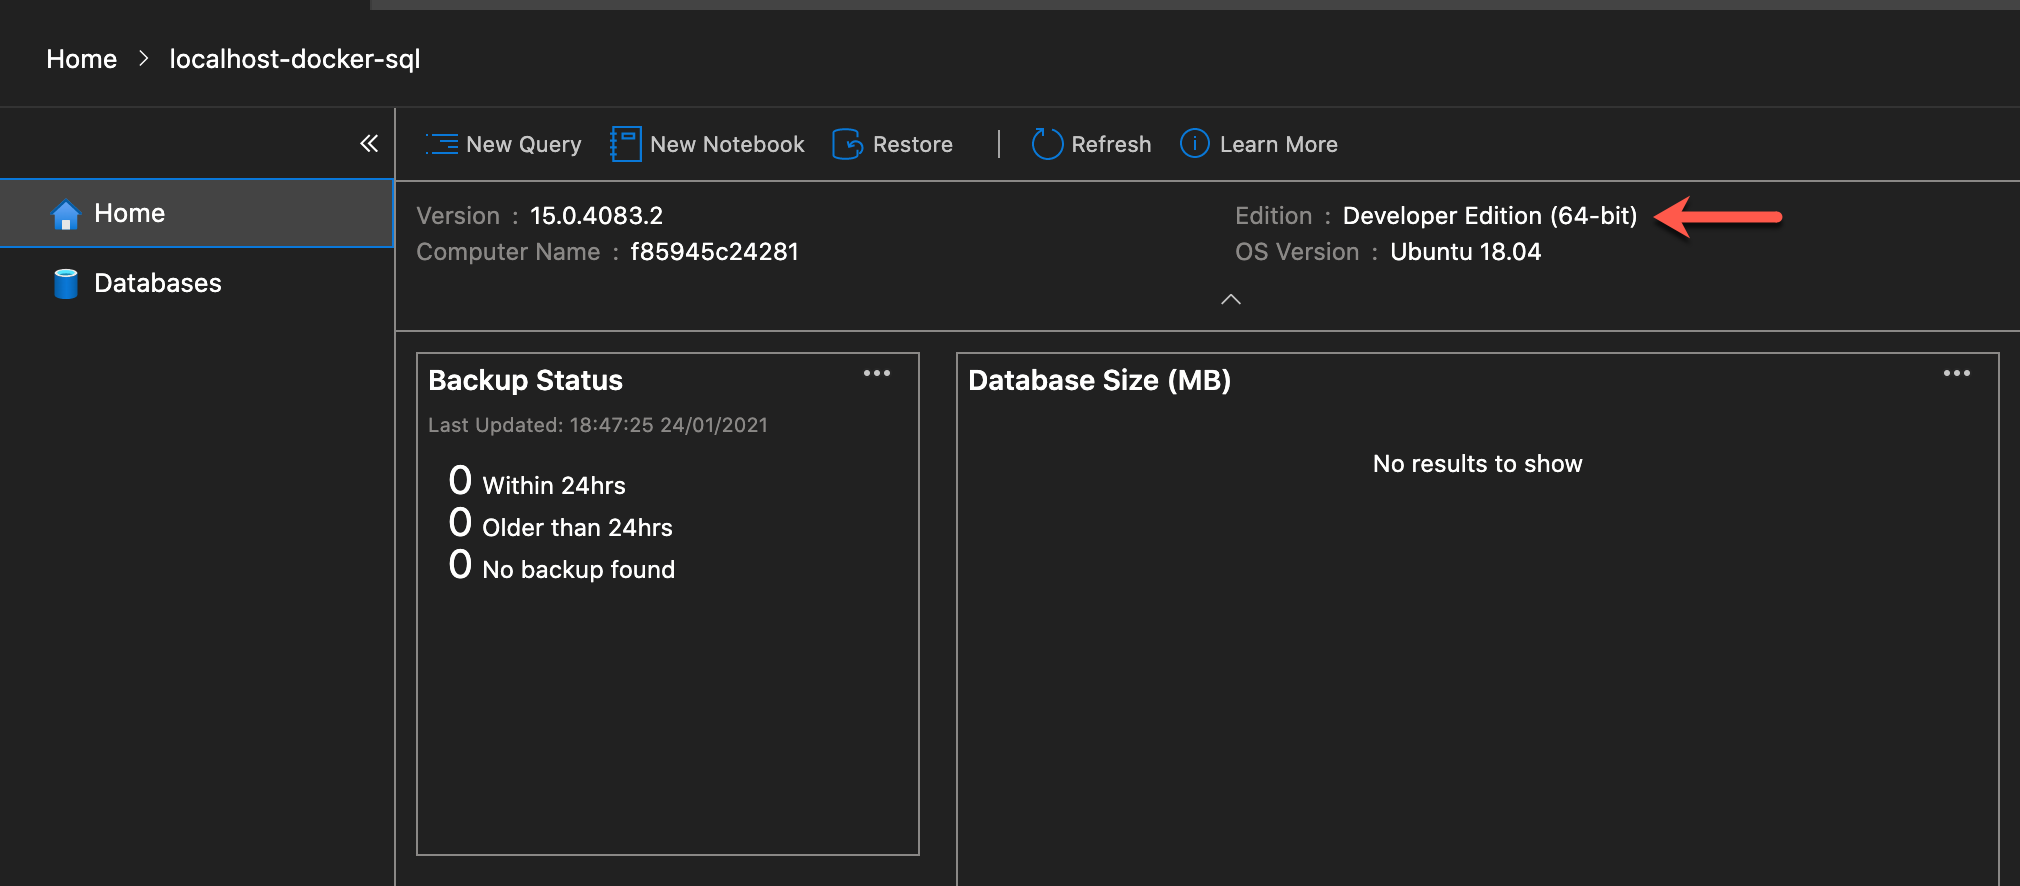
Figure 9 – SQL Server instance connected
Now that the database is connected from Azure Data Studio, you are good to run SQL commands to it. Let us first check all the databases that are present here by default. You can run the following SQL command to check all the installed databases within a SQL Server instance.
|
1 |
SELECT * FROM sys.databases; |
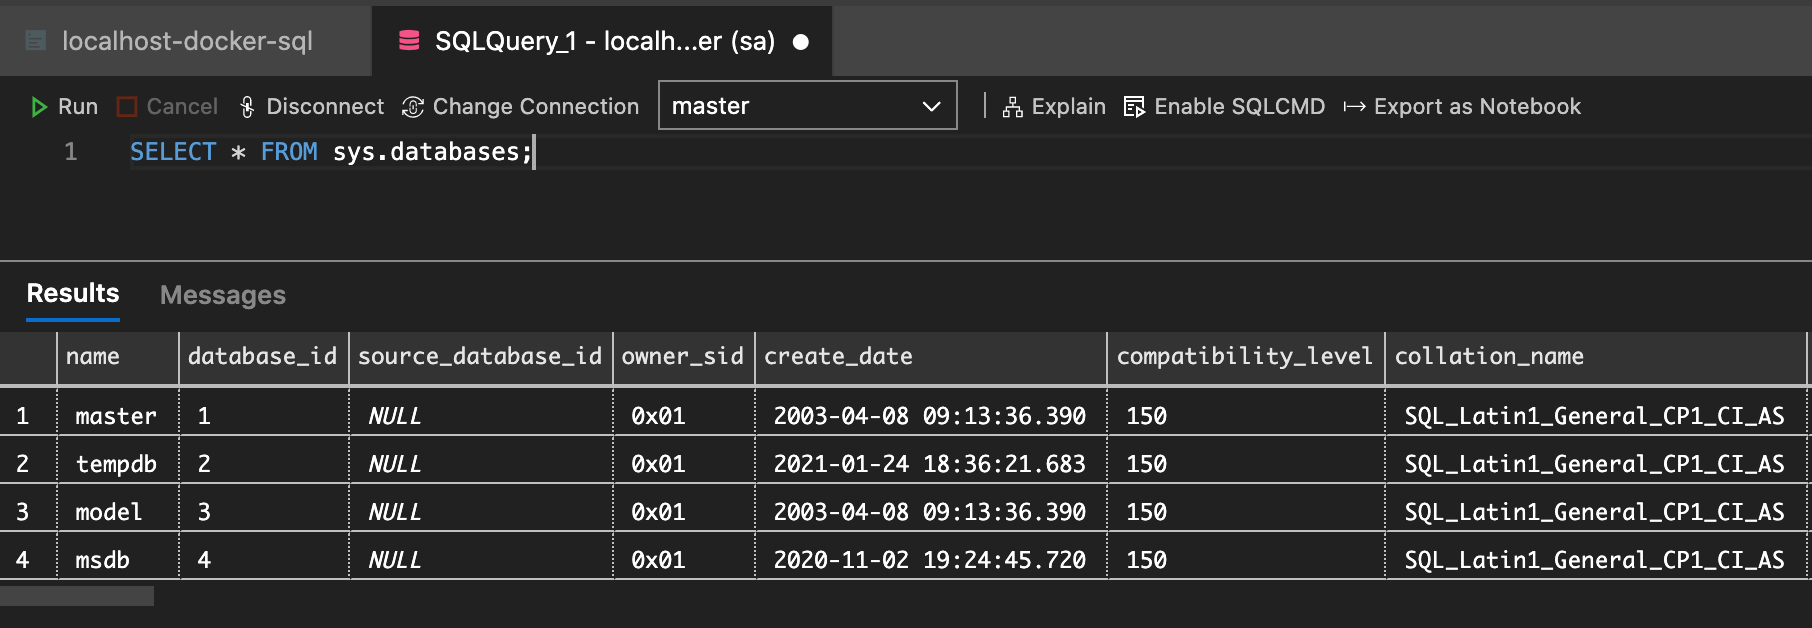
Figure 10 – Selecting default databases
As you can see in the figure above, we have all the four default databases installed and we are ready to use them. Additionally, since the SQL Server instance is now running inside a docker container, it might be important to check the location of the data and the log files for administrative purposes. You can use the following command to list the path of the data and the log files for the databases that are installed in the instance.
|
1 |
SELECT [name],[physical_name] FROM sys.masterfiles; |
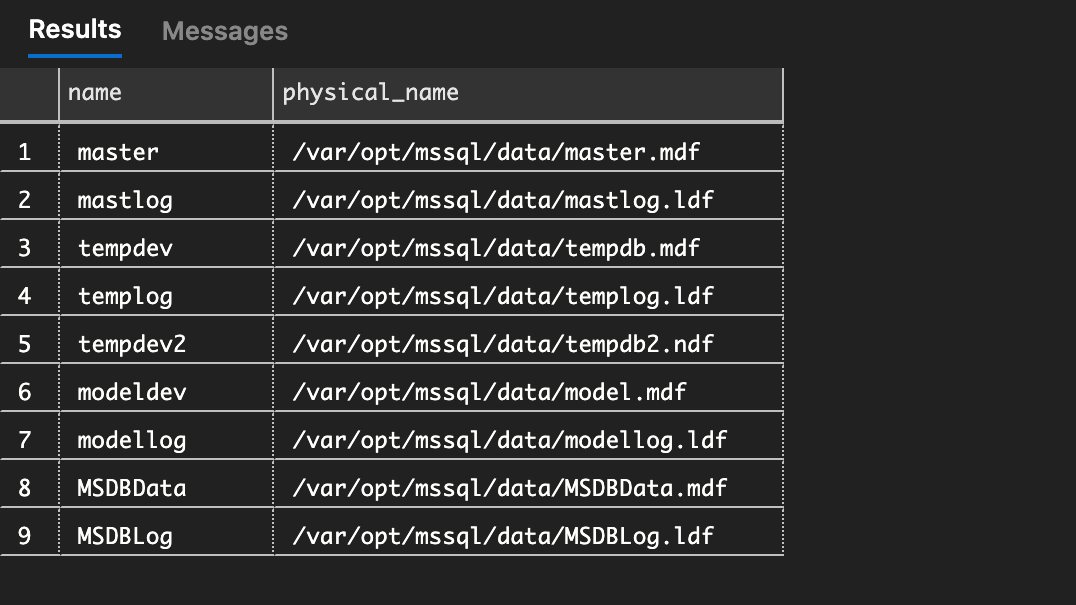
Figure 11 – Viewing the location of the data and log files
As you can see in the figure above, we have the entire path of the data and the log files which can be interesting for later administration. You can also create new databases here and use this as an equivalent SQL Server instance as on Windows.
Conclusion
In this article, we have understood what docker is and how to use docker locally. Docker is one of the most popular container technologies in the modern development world as it helps to isolate the dependencies of the application and also makes it platform-independent. Here is a cheatsheet that you can use while using the docker commands. If you want to learn more about Docker, please follow the official documentation. There are a lot of official images that can be found on the Docker Repository, also known as Docker Hub, you can use any of these images to get started or also compose images or your own and then deploy those to the repository. This article explains how to use the SQL Server Docker image from the DockerHub and run SQL Server on MacOS.

He is a prolific author, with over 100 articles published on various technical blogs, including his own blog, and a frequent contributor to different technical forums.
In his leisure time, he enjoys amateur photography mostly street imagery and still life. Some glimpses of his work can be found on Instagram. You can also find him on LinkedIn
View all posts by Aveek Das
- Getting started with PostgreSQL on Docker - August 12, 2022
- Getting started with Spatial Data in PostgreSQL - January 13, 2022
- An overview of Power BI Incremental Refresh - December 6, 2021