

In this article, we will take a look at how to create a serverless Azure SQL database.
Introduction to Serverless Computing Model
Traditionally on-premise or private data-center infrastructure was used to host the IT eco-system. With the advent of the cloud, the IT ecosystem composed of applications, data repositories and services started moving to the cloud. One of the core benefits of cloud that drives migration from on-premise to cloud is the financial incentive, which is achieved due to a heavy reduction in capital and operational expenditure on hardware and infrastructure. Generally, those moving from on-premise to cloud consider the Infrastructure As a Service (IaaS) option i.e. in simplified words, hosting systems on a Virtual Machine (VM). In the context of the Azure cloud and SQL Server as the database server, hosting it on a VM. With this model, while one does not have to permanently own or maintain hardware, but still there is a significant degree of software, infrastructure capacity and OS management involved.
The next logical step from here is to move to Azure SQL Database instances or Managed SQL Database or Elastic Pooled database instance on Azure. With this model, the onus of managing the OS and the software itself gets eliminated, but still one needs to know the capacity one needs to meet the requirements of their workloads. To deal with this situation, a serverless model comes in which can auto-scale based on the threshold criteria to meet the elastic scaling needs of the workloads. SQL Server Database on Azure supports the serverless model and in this article, we would learn how to create a serverless Azure database.
Serverless Azure SQL Database Setup
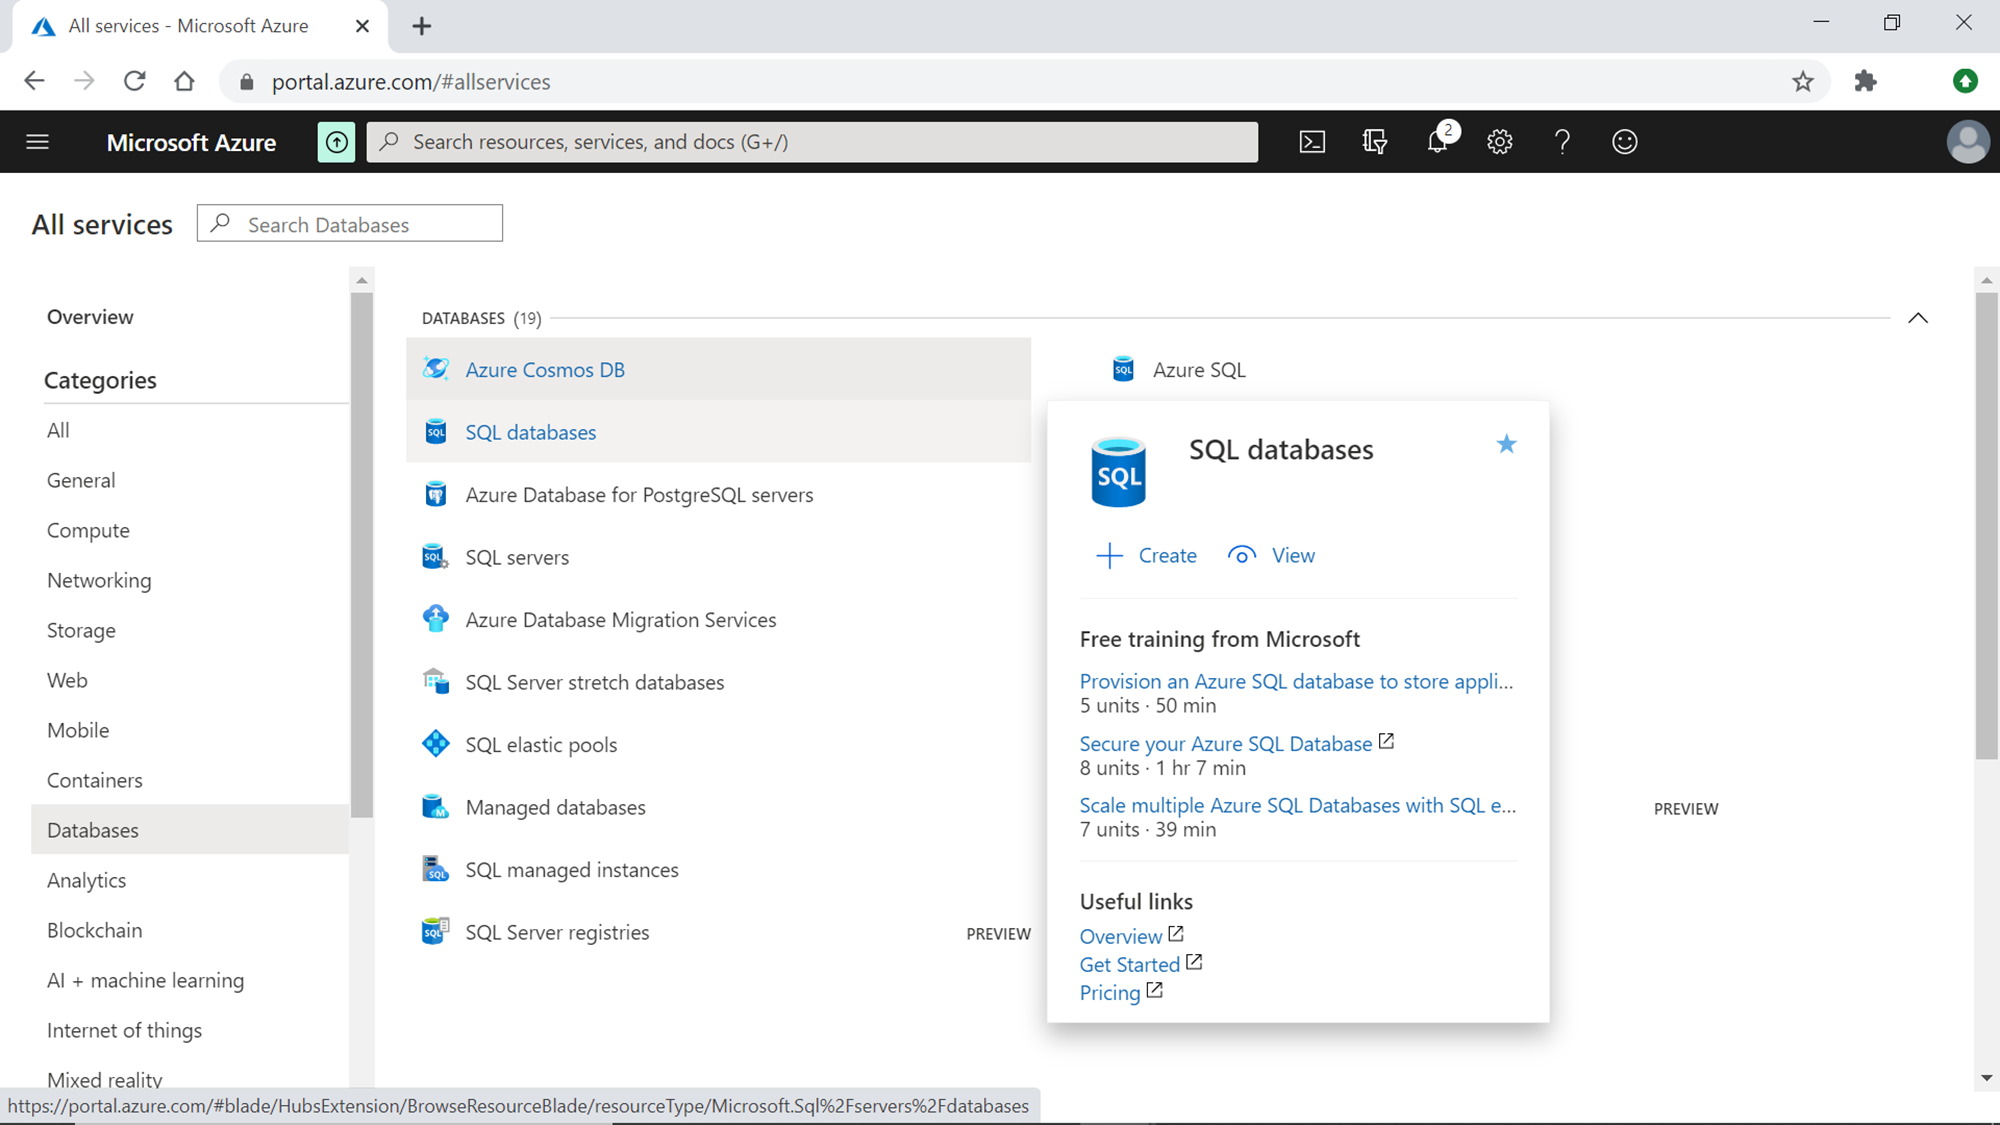
A pre-requisite to follow this exercise is to have an Azure Account with required privileges on Azure SQL Server Database as well as Azure SQL Server service. As the first step, log on to the Azure portal and navigate to All Services. Click on the Azure SQL Database service from the Databases section as shown below.
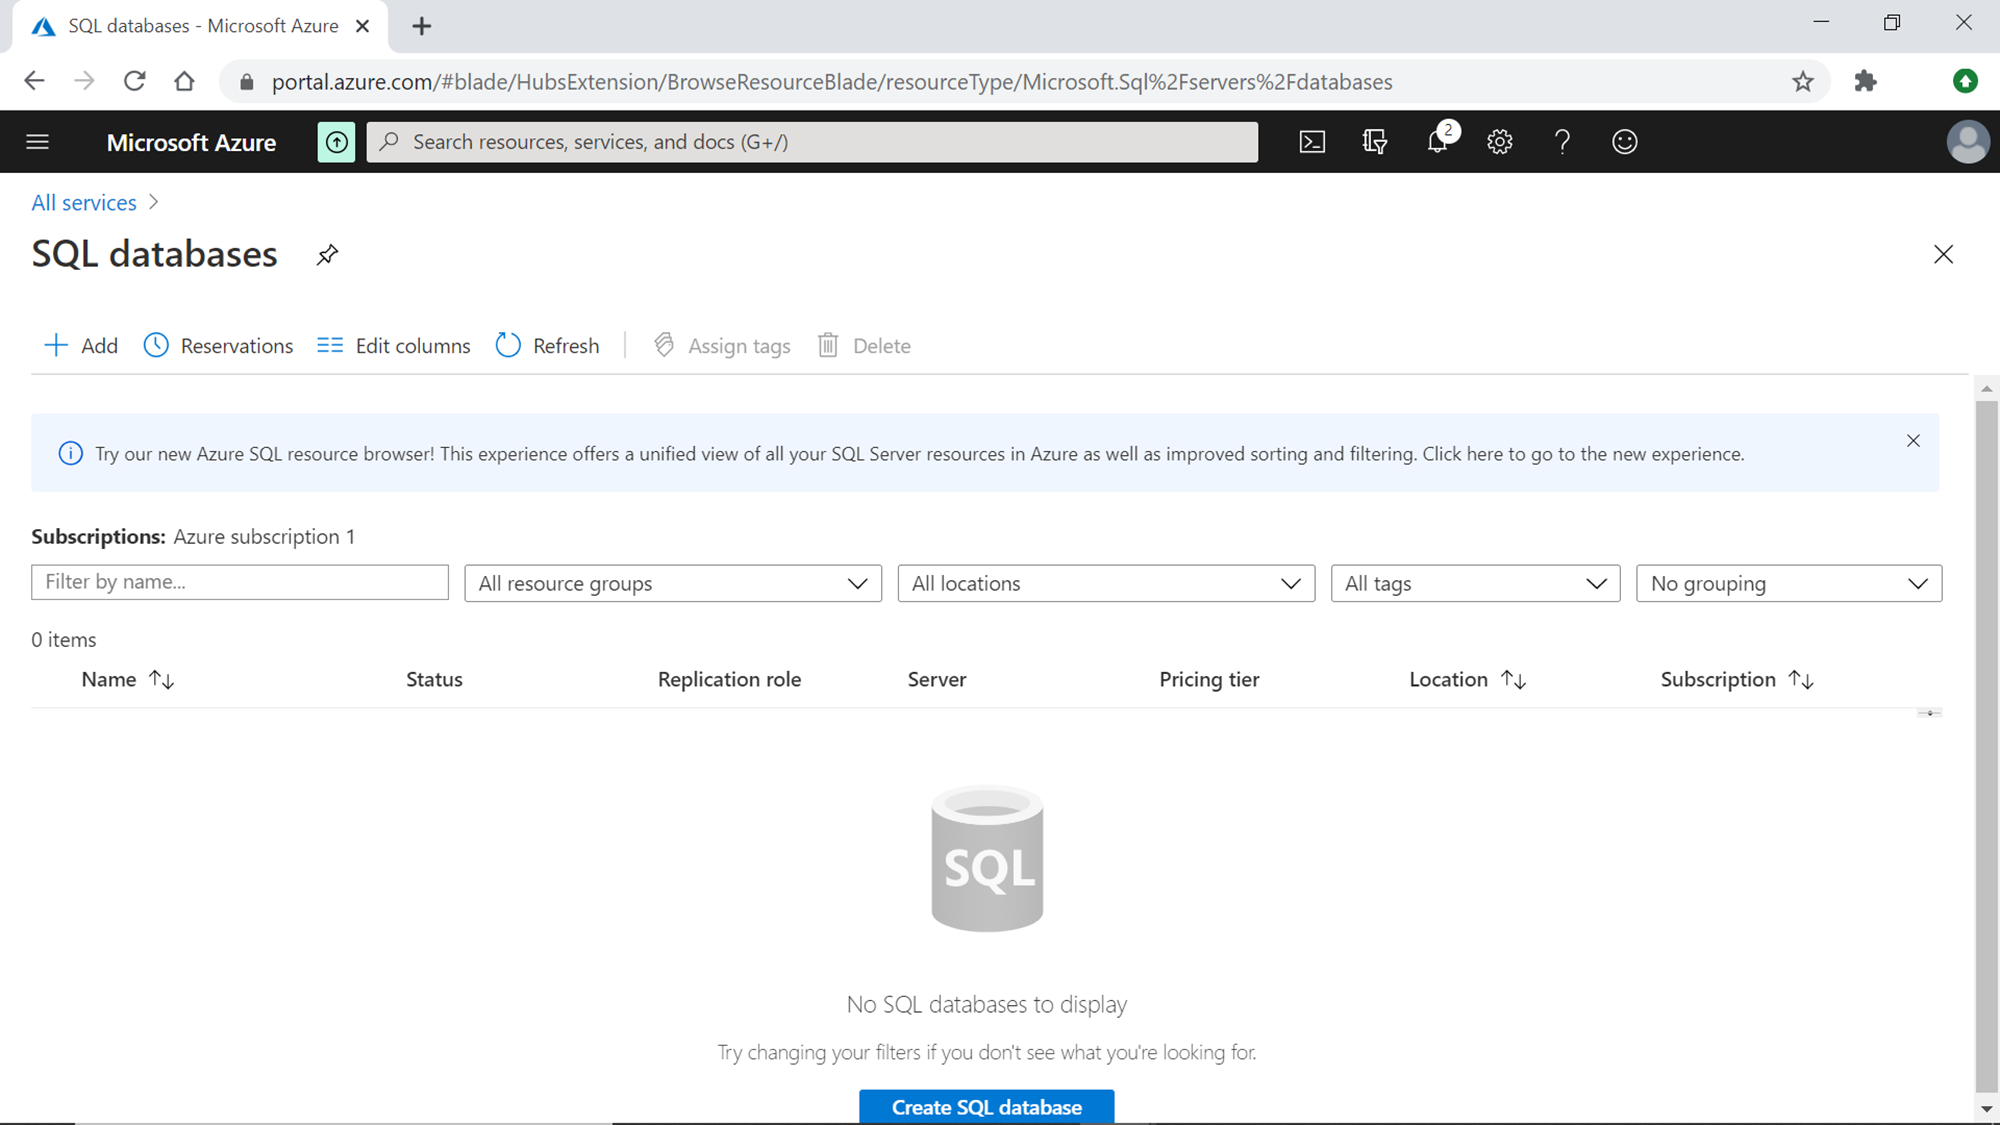
Once you click on this option, you would be navigated to the database Dashboard page. Let’s start creating a new database on Azure. Click on the Create SQL Database button to initiate database creation.
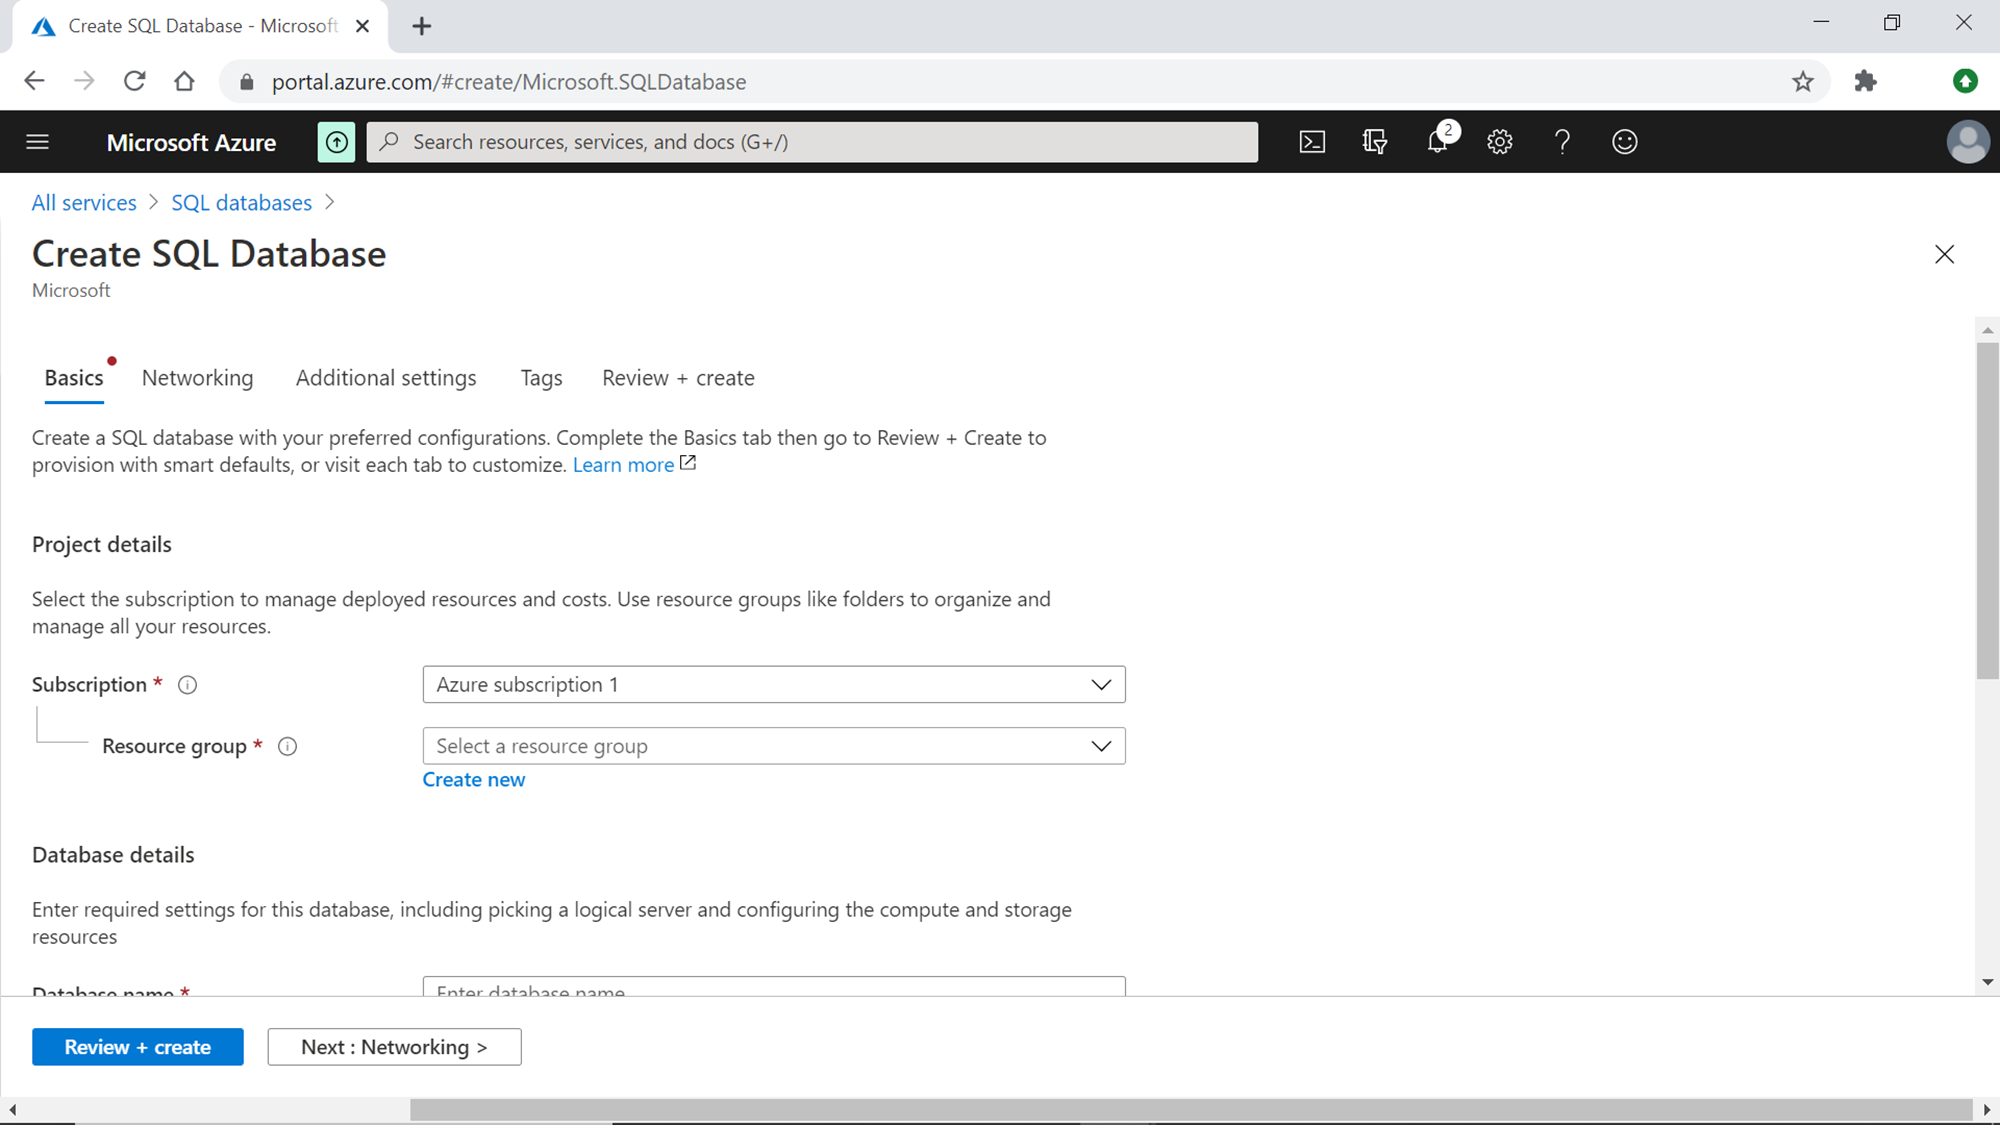
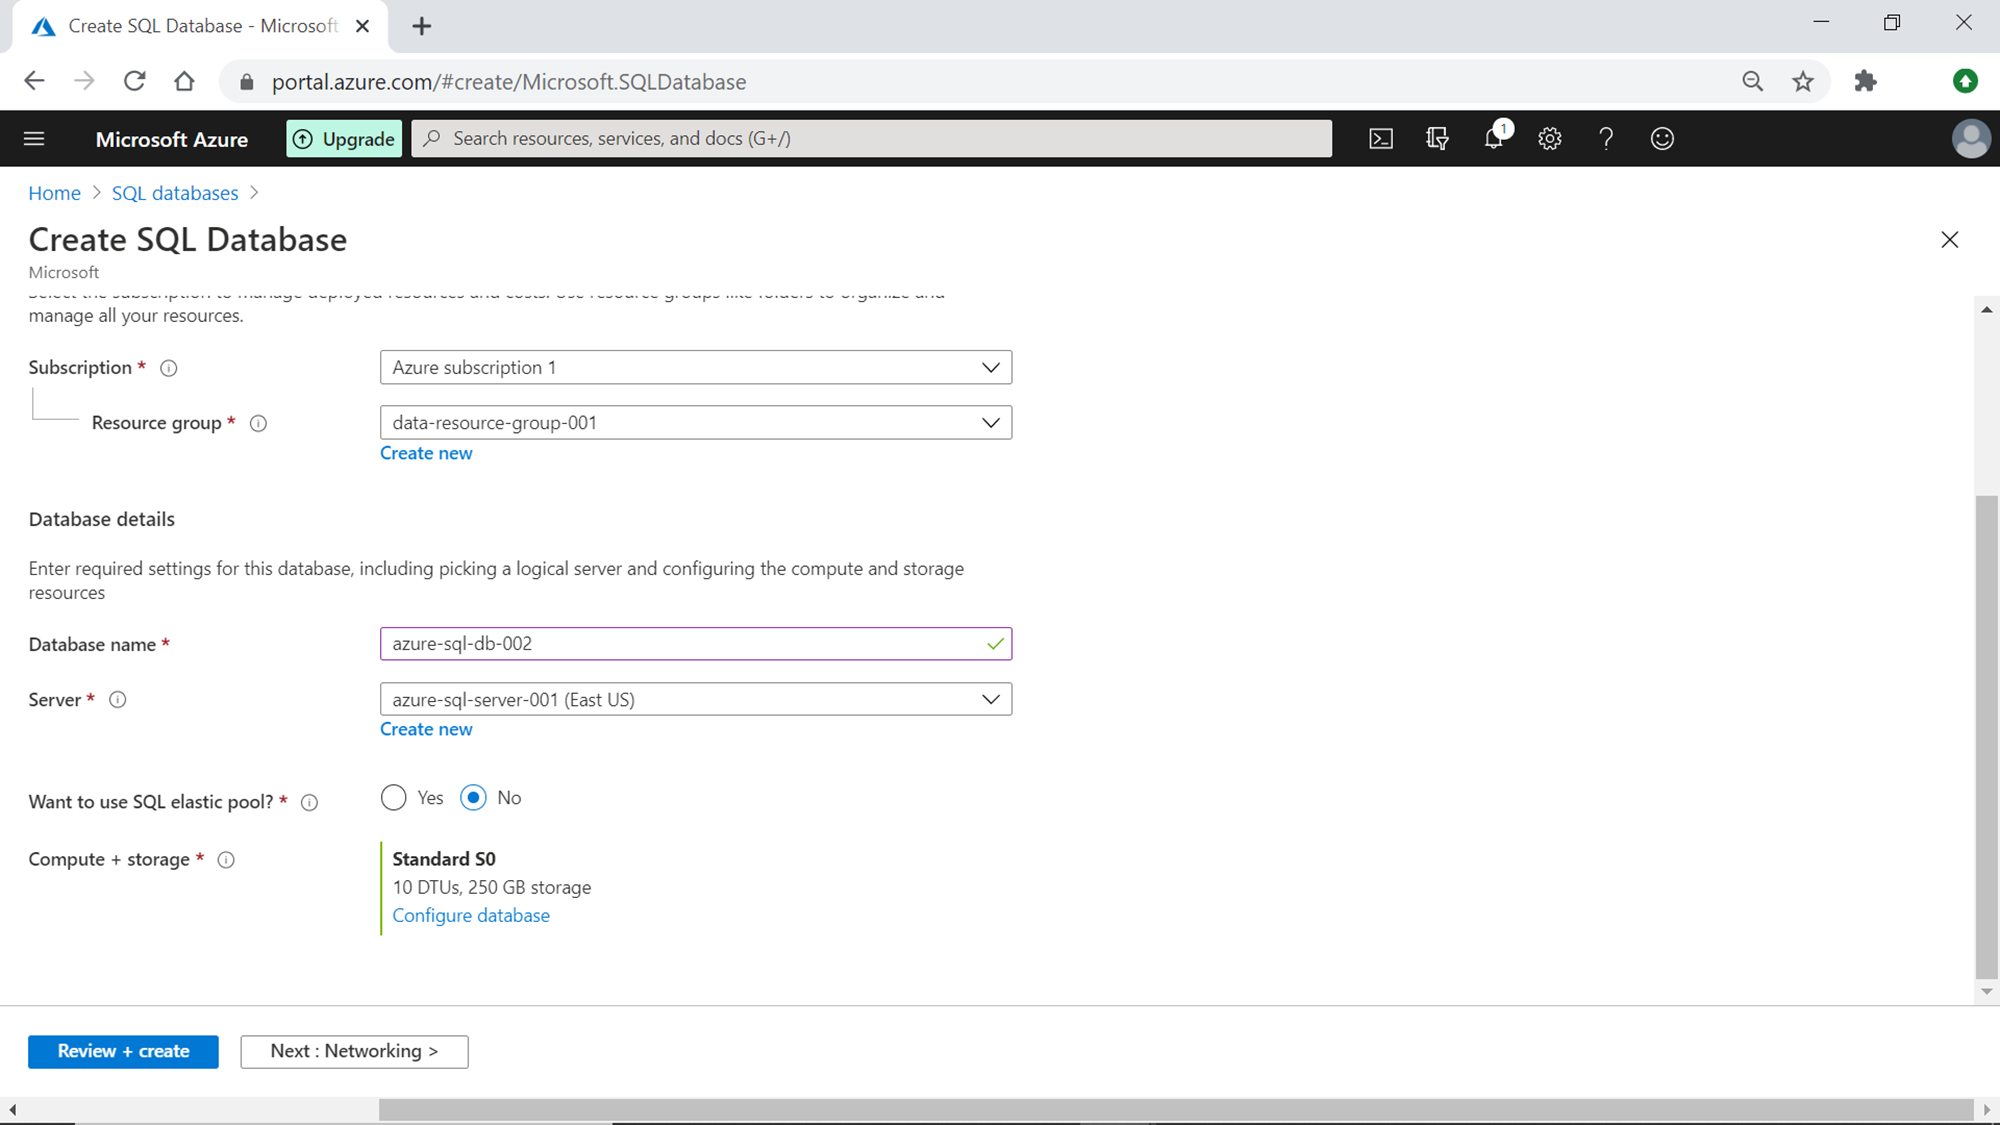
Provide the subscription and resource group details as shown below. It’s assumed that you already have a resource group in place, if not, you may need to create one and specify in the resource group option.
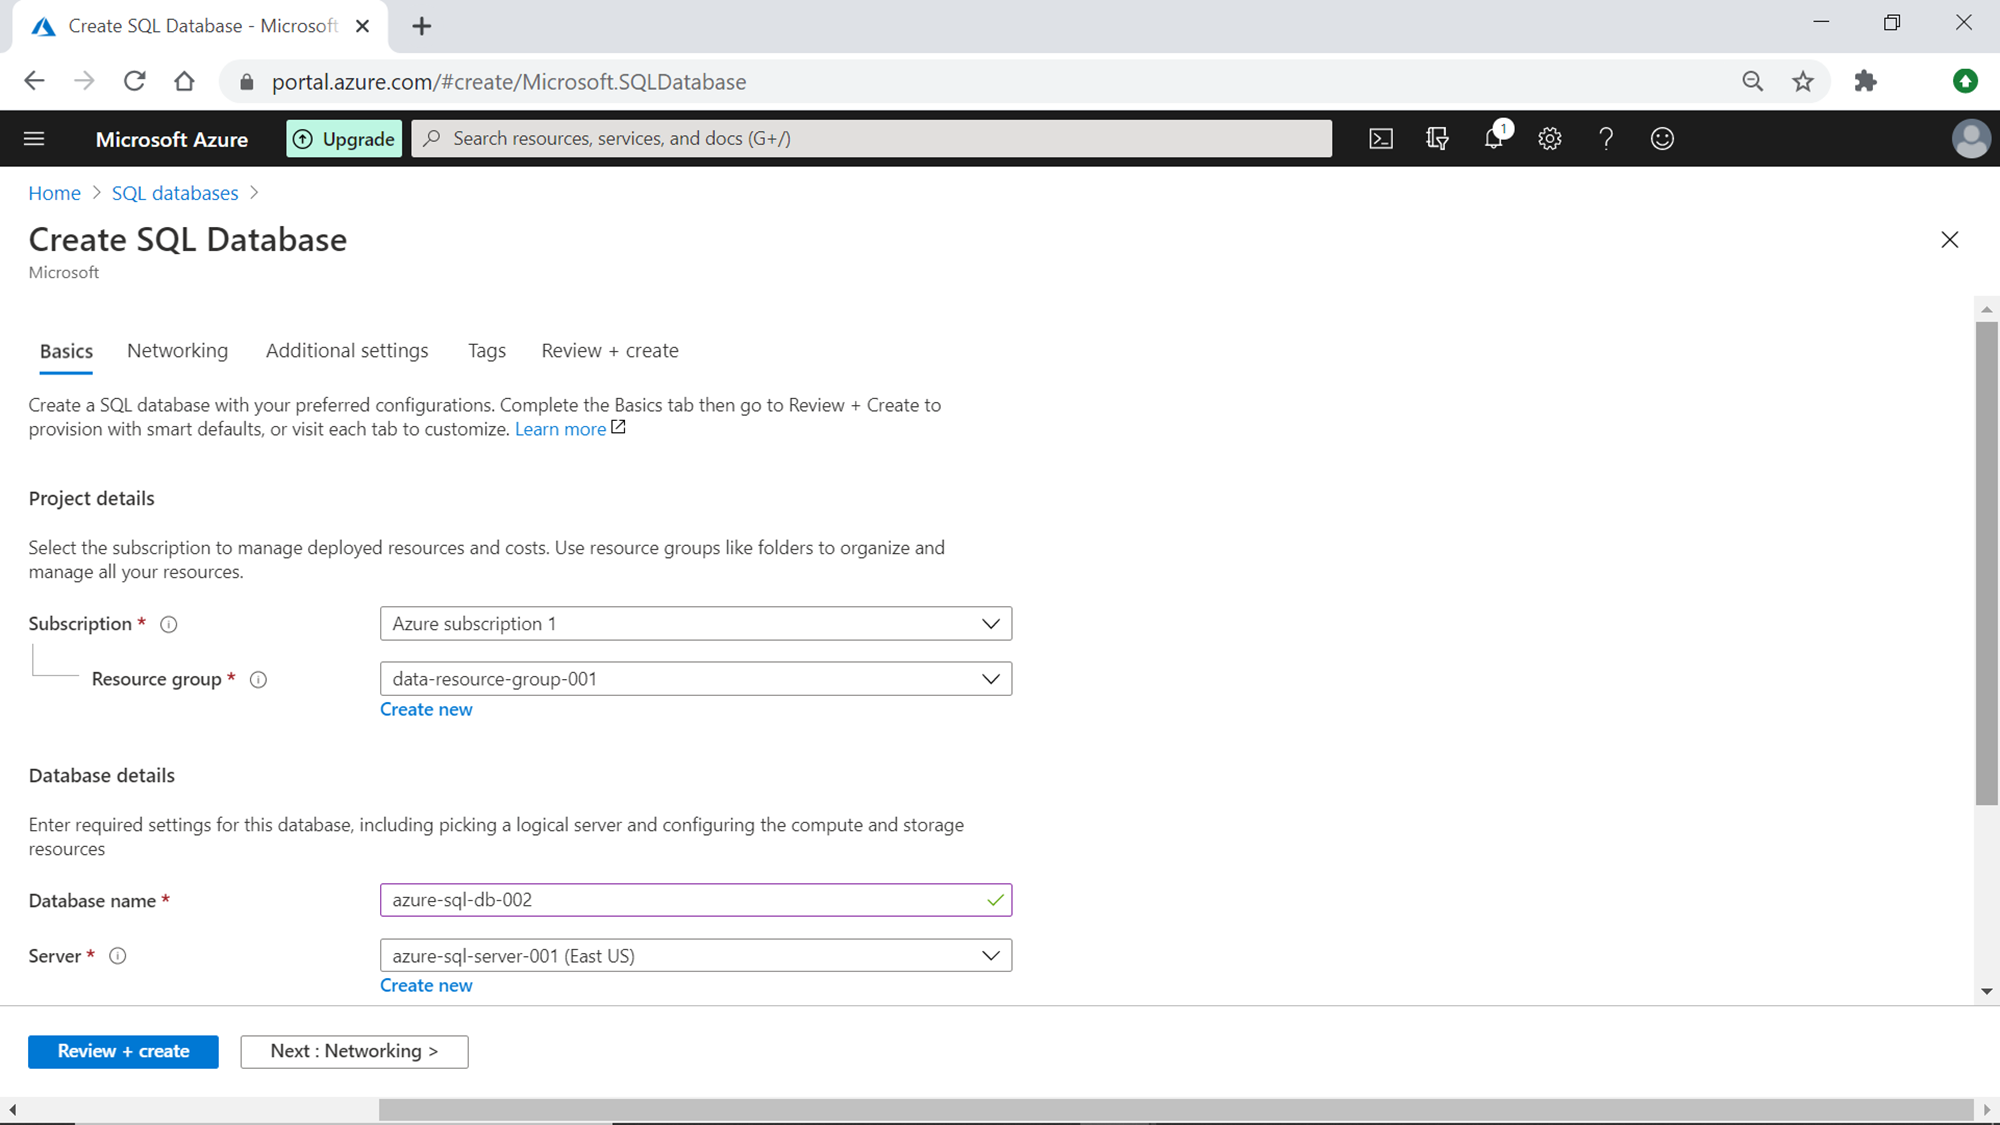
In the next step, we need to provide a database name and select the SQL Server instance under which this database would be hosted. It’s assumed that you already have a SQL Server instance in place, if not, you can create a new one by clicking on the Create New button under the Server dropdown.
In the next step, click on the Configure database button. By default, the selected tier is S0 with 10 DTU and 250 GB storage capacity. This falls in the provisioned tier where the capacity is fixed. We intend to change this to the serverless mode so that we can configure it to be elastic.
Once you click on Configure database, you would see a screen as shown below where you would see the Basic tier, 10 STU And 250 GB storage selection. If you are using the trial subscription, you may find some tiers unavailable for use based on the type of your subscription. Click on the arrow near vCore-based purchasing options, to uncover the other tiers.

Once you click on the arrow, the below options would appear. You would find that by default the Provisioned compute tier is selected, which means that compute resources are pre-allocated and fixed. In this model, we pay for the compute resources irrespective of whether it’s used or not.
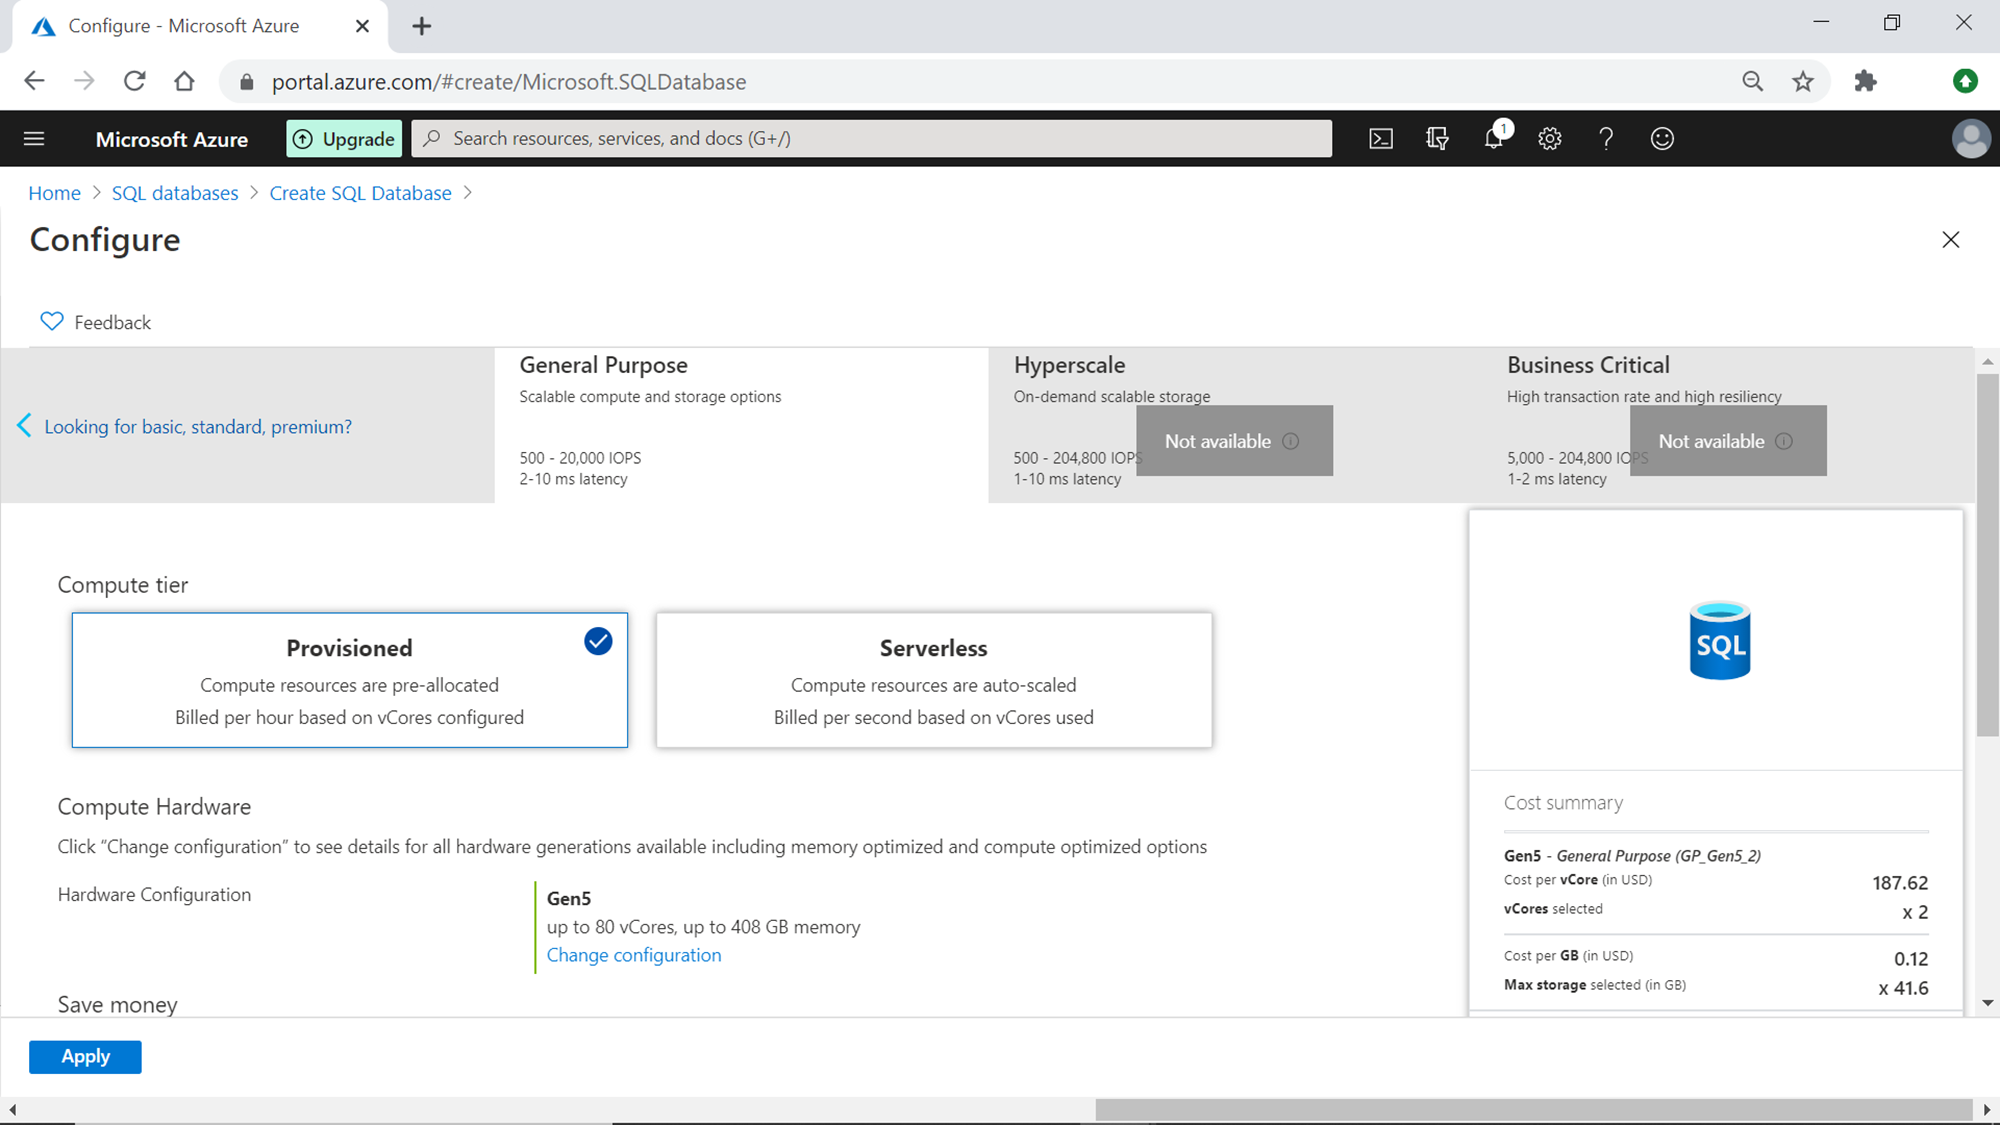
Click on the Serverless option as shown below, so that the compute resources are elastically scaled based on the workloads. Considering the elasticity, one needs to define the minimum and maximum thresholds so that based on the volatility of the workloads, the resources do not get too under-provisioned or over-provisioned which may have cost or performance impacts.
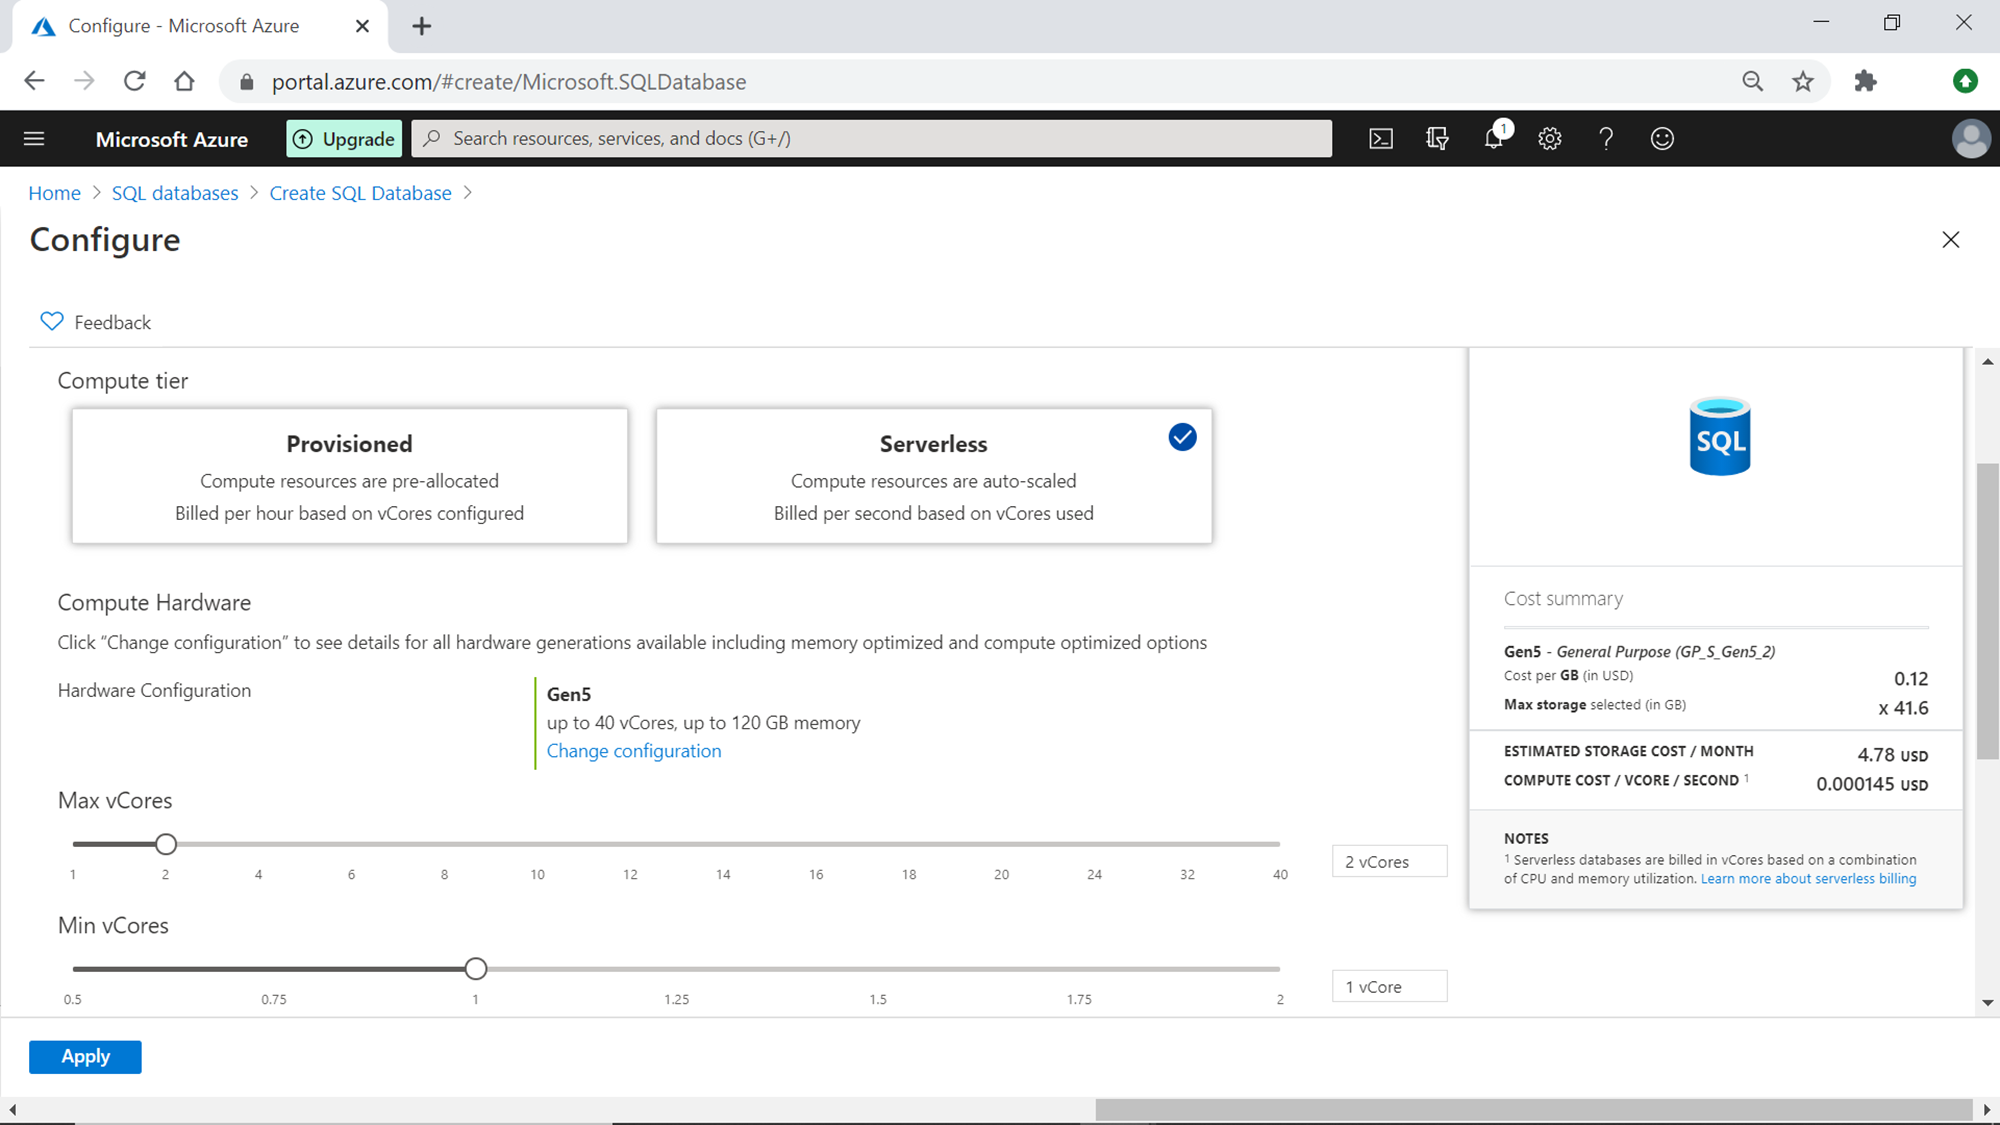
Here you can see that a minimum of 1 vCore and a maximum 2 vCore are selected, and based on this the available memory of 3 GB to 6 GB is auto-selected, as this is the capacity which is tied to the selected vCore sizes.
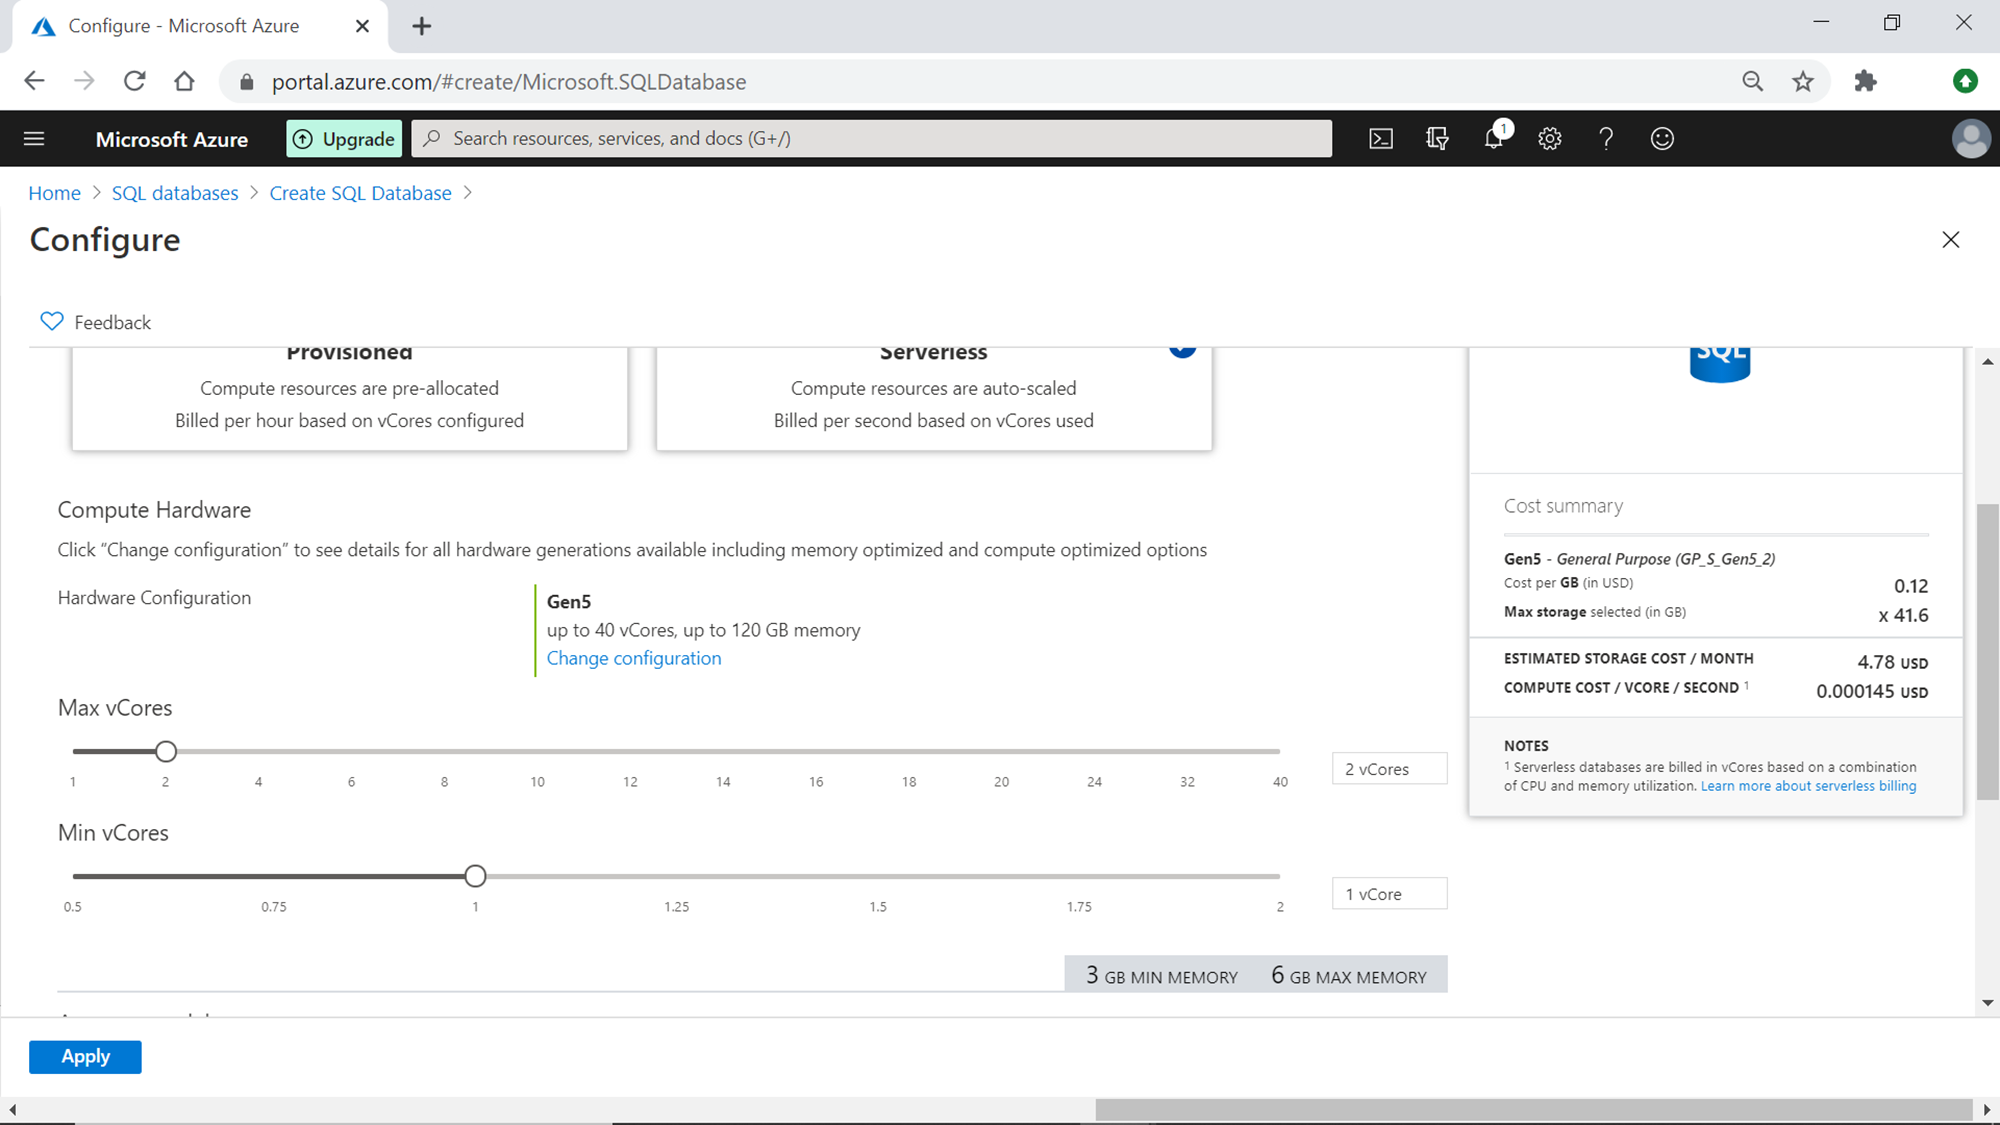
The next setting that we need to configure is the Auto-pause delay. This setting causes the database to pause after a fixed interval of inactivity and resume once the activity resumes. You can disable this setting too. In non-production workloads, when the environment is dormant, this can save a significant amount of costs. Depending on your requirements, select a relevant time duration for pausing the database. You can also configure the storage capacity as required. By default, the storage capacity is 32 GB.
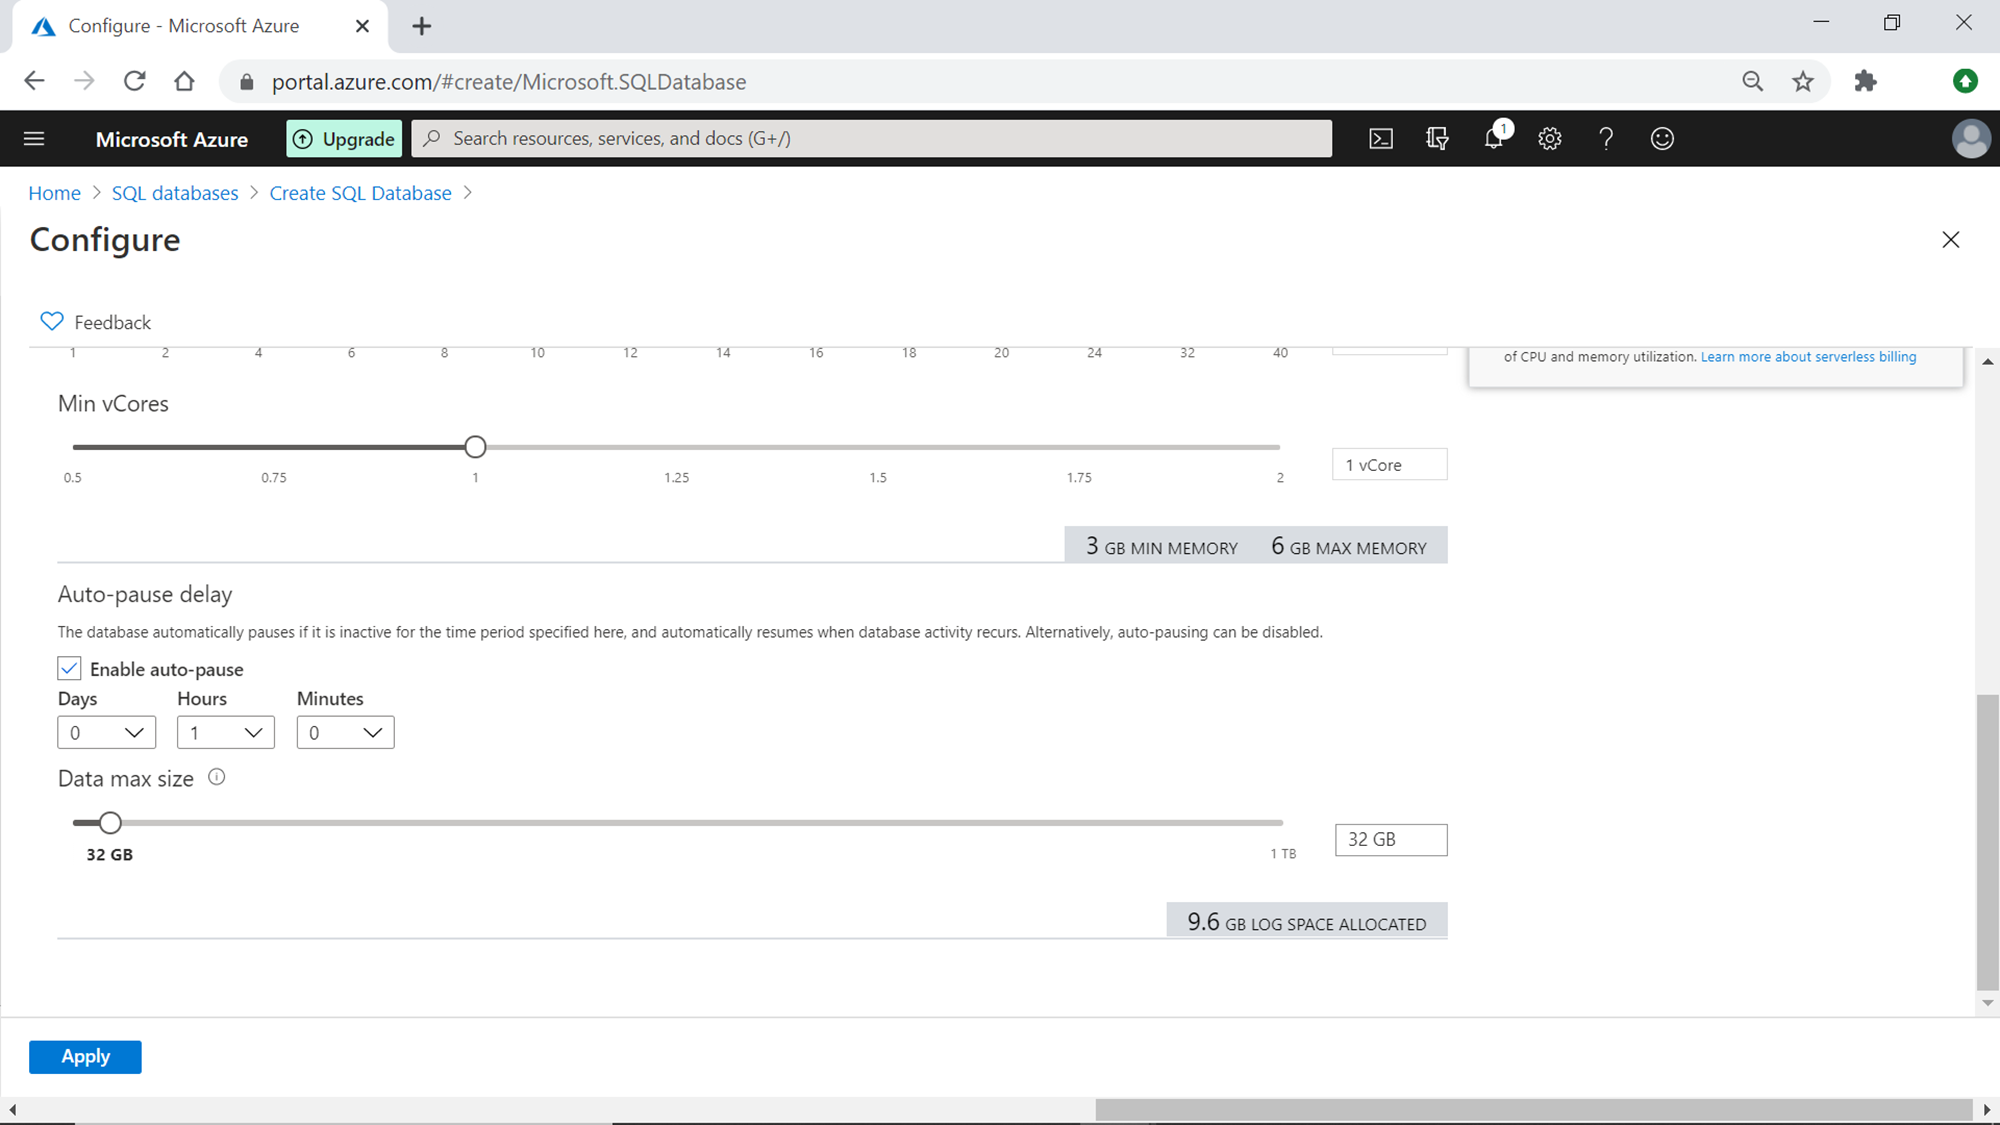
Once done click on the Apply button, and you would find the configuration as shown below.

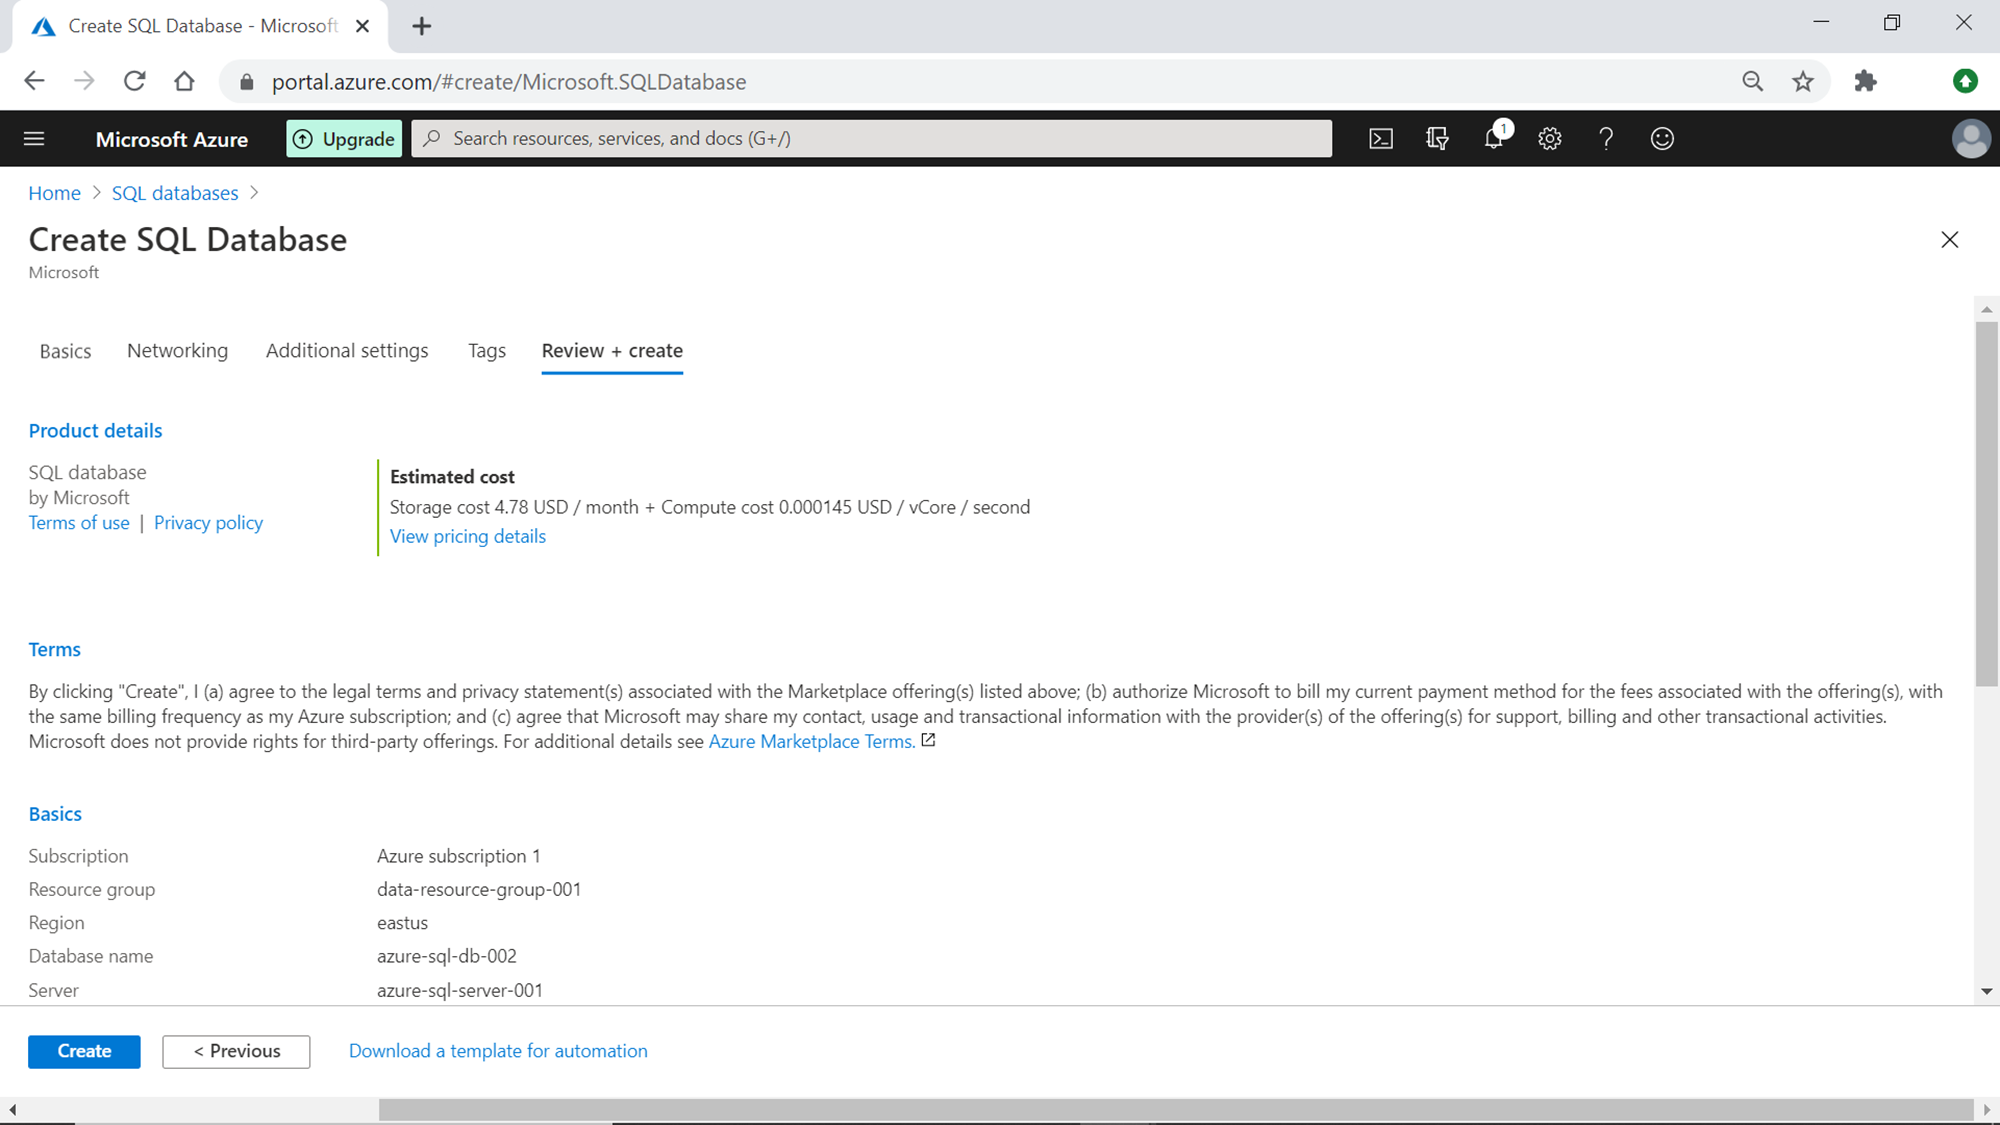
You can choose to customize the rest of the settings or continue with the default. Once you are done with the rest of the settings, when you reach the Review section, you would find the details as shown below. Based on our selection, the estimated monthly cost is shown to be just $4.78 per month due to the serverless model of the compute.
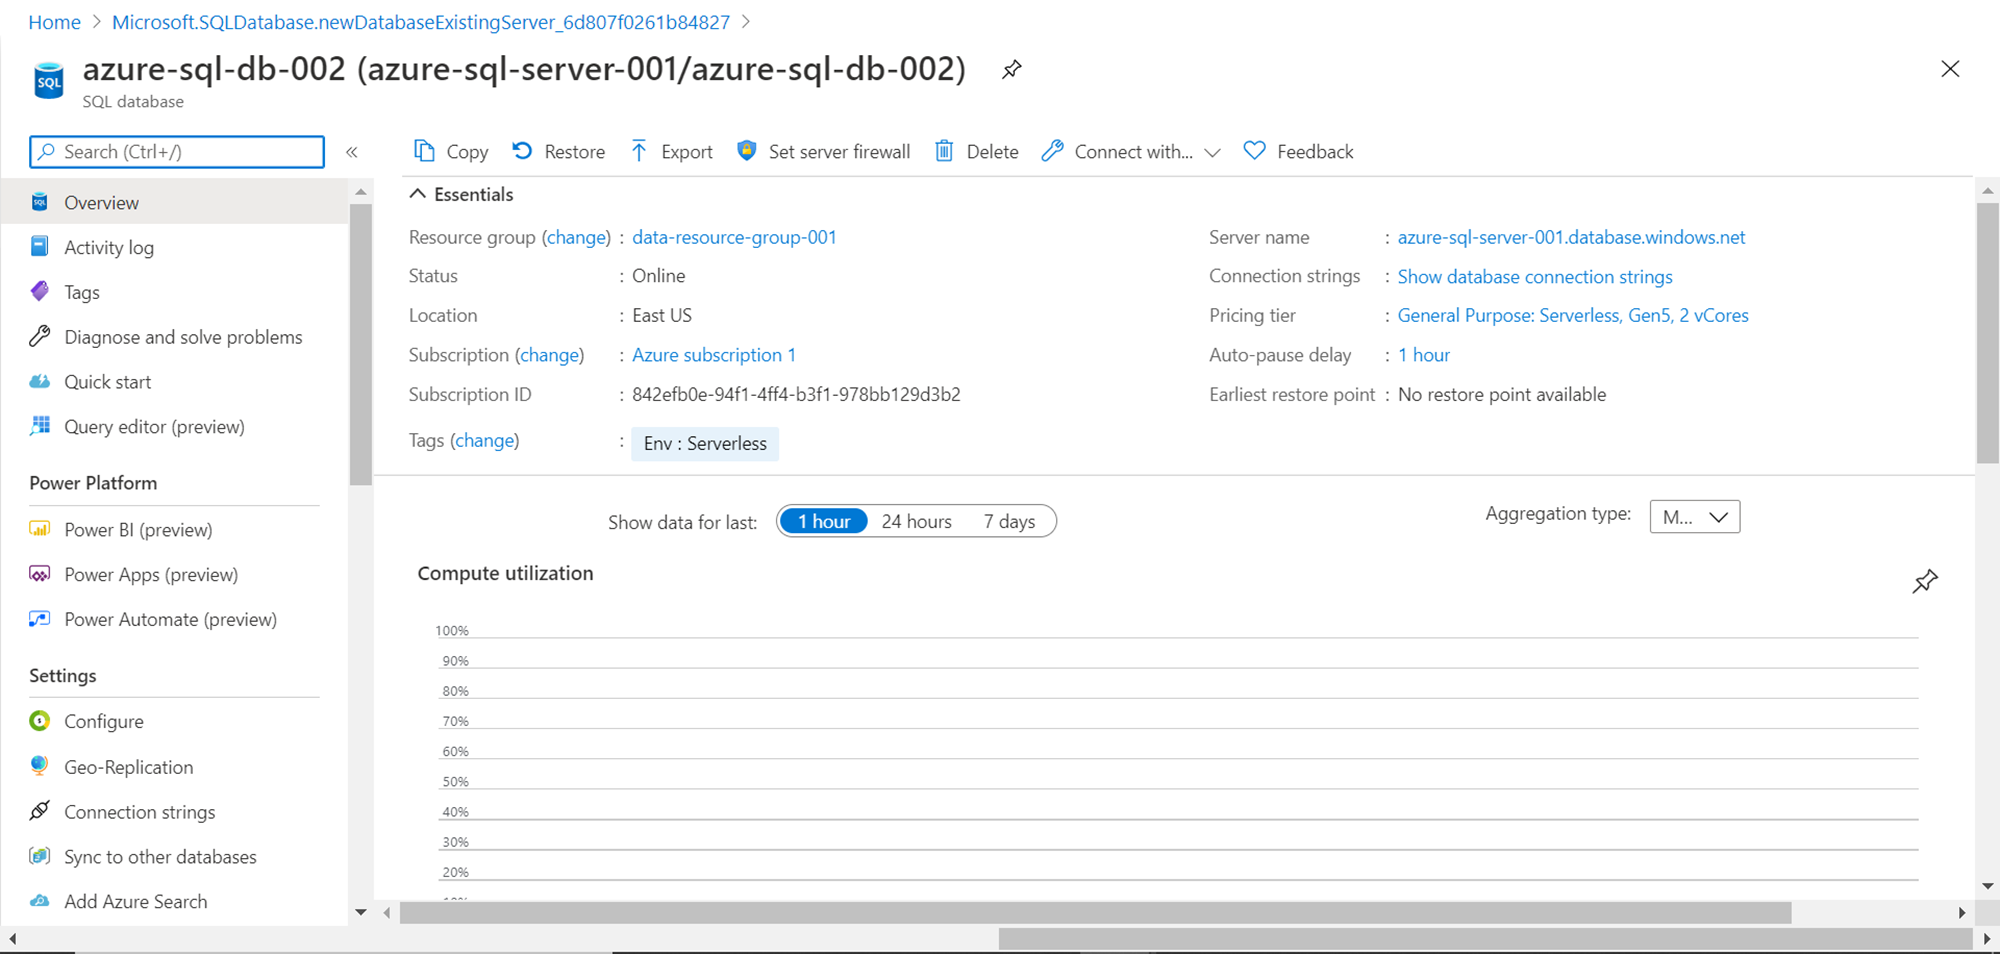
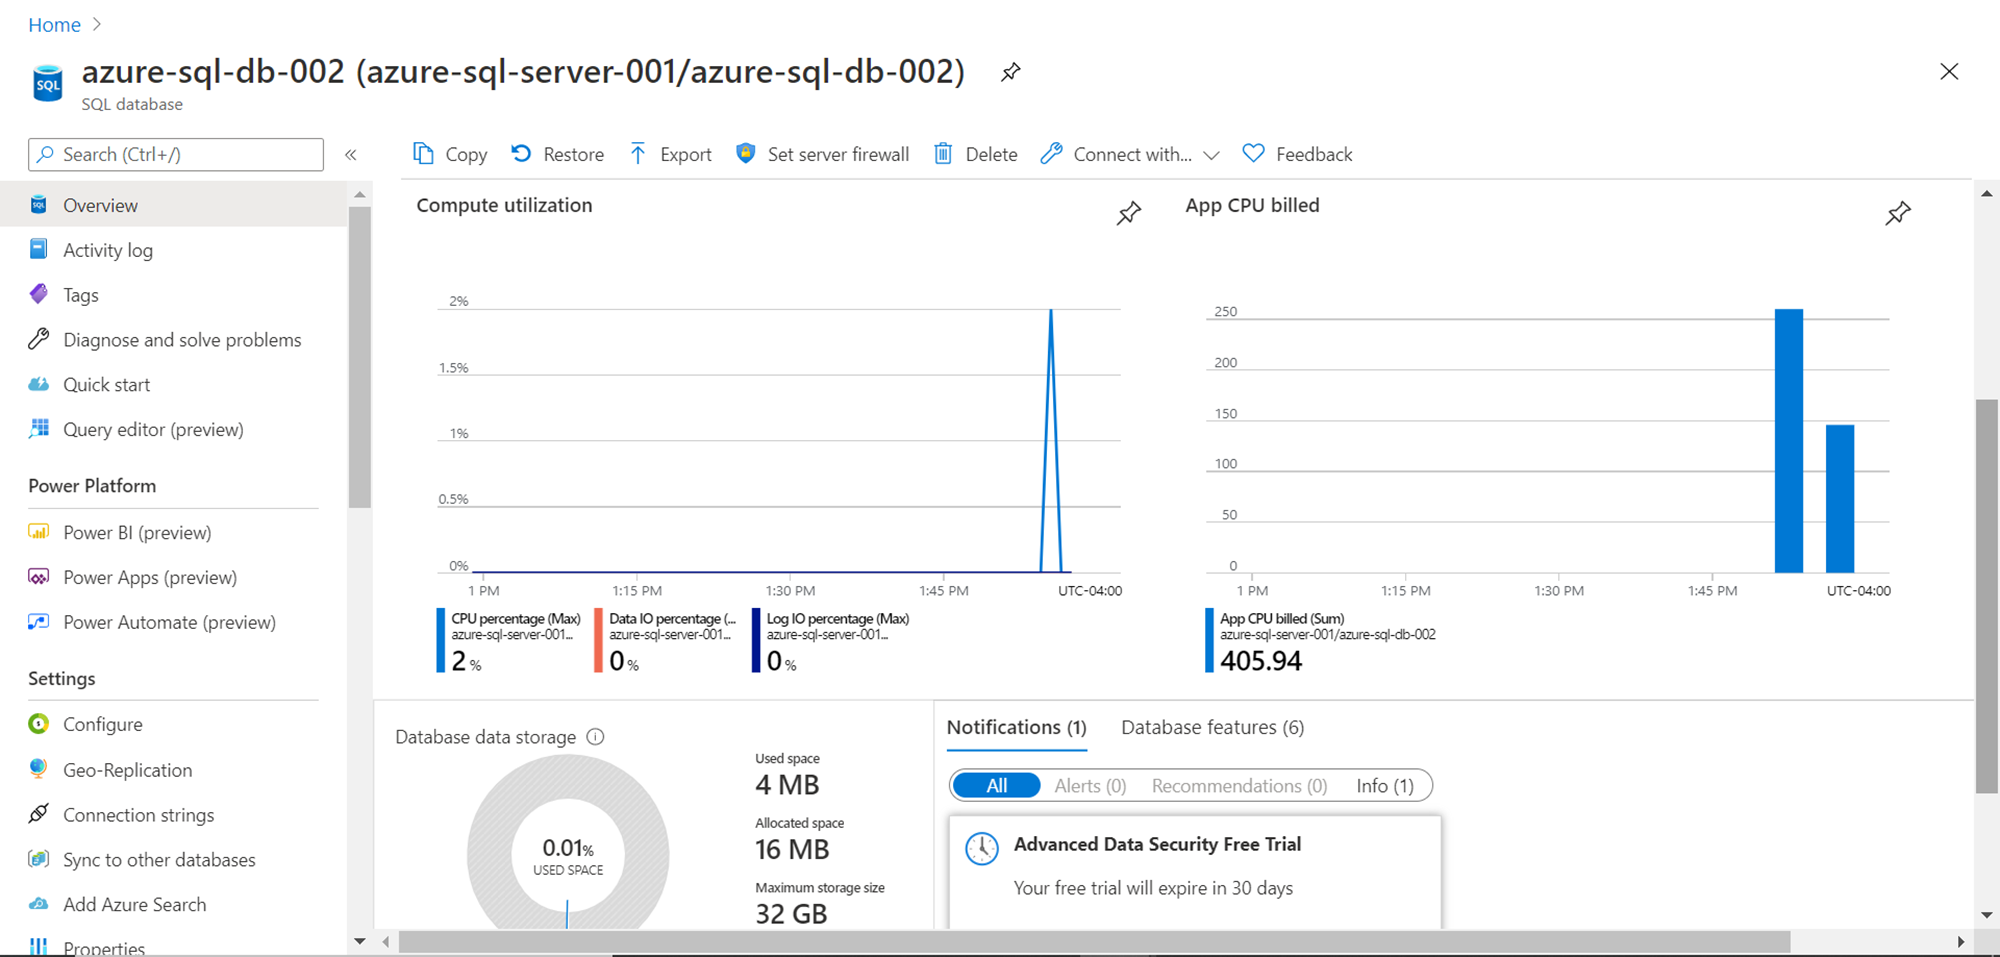
Review the details and click on the Create button to create the server Azure SQL Server database. Once the database is created, you would be able to see the dashboard page of this database as shown below.
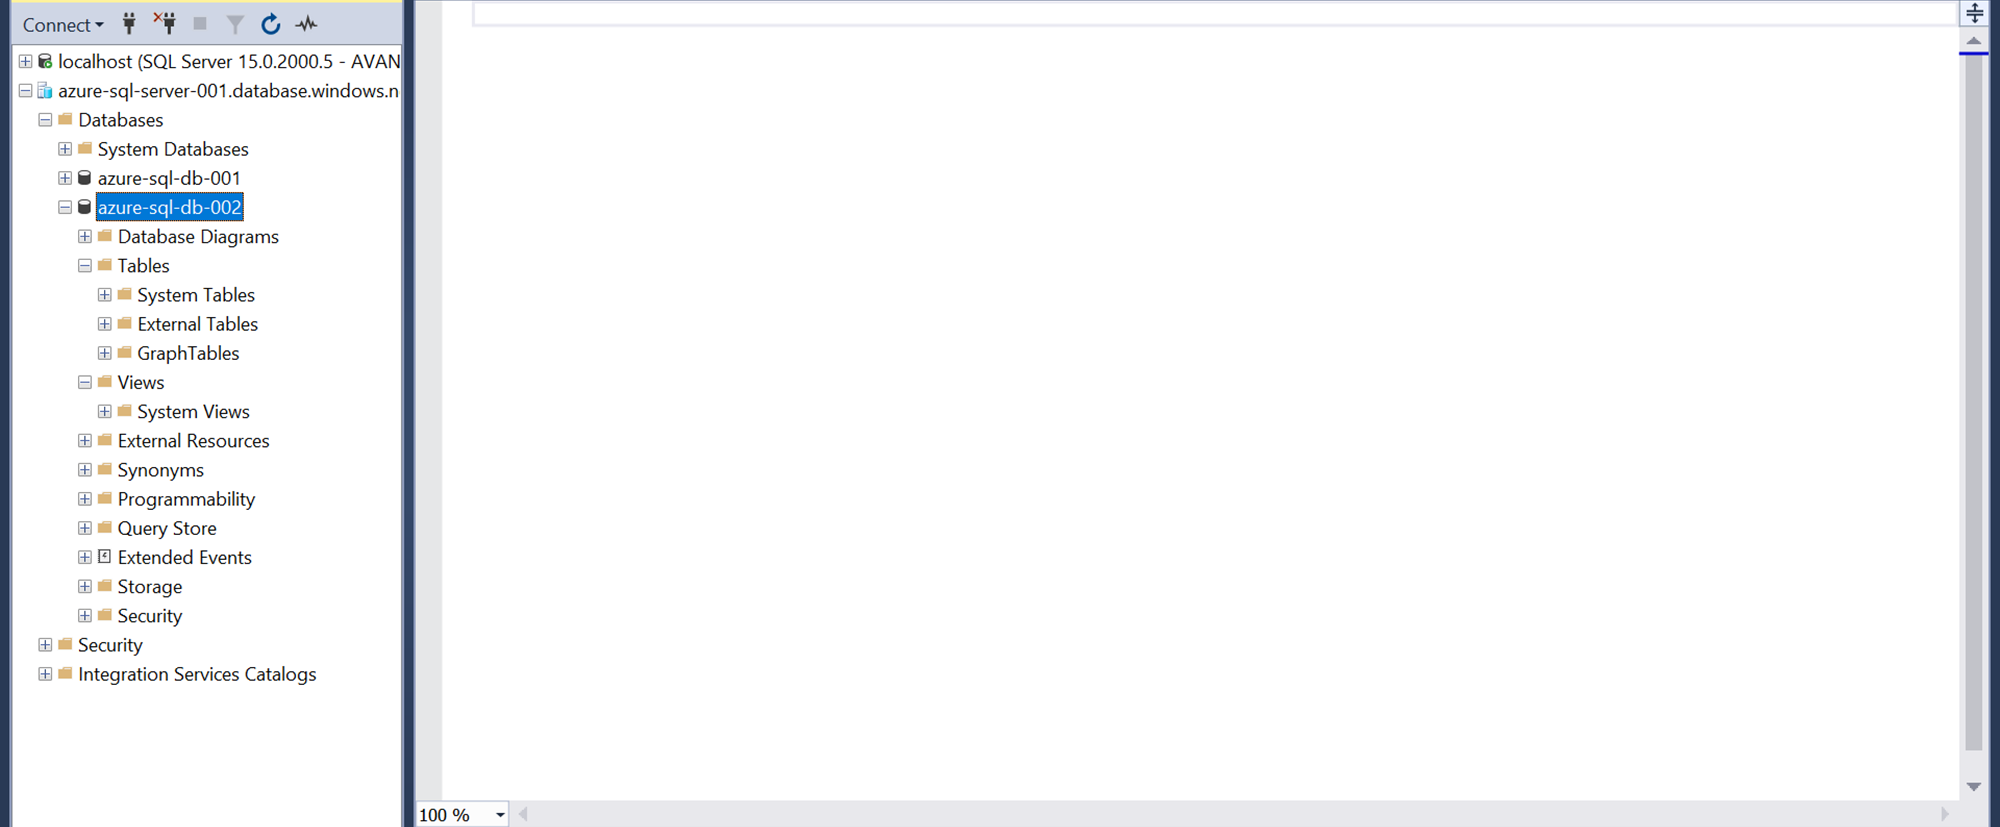
You can connect to this serverless Azure SQL Database using a locally installed SSMS too and execute some queries.
Once the database is kept idle for a duration that is more than the auto-pause threshold, the database would automatically get paused. You can check the database utilization and status from the dashboard page as shown below where you would find the spike and drop in compute usage when the database gets paused and when it resumes.
In this way, we can create a serverless Azure SQL Database, which provides us the required elasticity as well as cost savings depending on the needs of the workloads.
Conclusion
In this article, we understood how the serverless model provides elasticity and reduces the management or need to pre-determine the capacity allocated or required for the database. Then we learned step-by-step, how to create and configure an Azure SQL database in serverless mode, as well as define the thresholds for the elasticity.

He has worked internationally with Fortune 500 clients in various sectors and is a passionate author.
View all posts by Rahul Mehta
- Finding Duplicates in SQL - February 7, 2024
- MySQL substring uses with examples - October 14, 2023
- MySQL group_concat() function overview - March 28, 2023