
Introduction
There are several options to upload SQL Server backups files, scripts or other files to Azure. In this new article, we will show how to use a new tool, Microsoft Azure Storage Explorer (MASE).
MASE is a tool to create NoSQL tables, Blob storage (Binary Large Objects), File storage, Queue Storage.
In a previous chapter, we showed how to use the command line to upload local files to Blob Storage. The command line is a good option to automate administrative tasks. If you want to administer the Tables, Blob storage, etc. manually, the easiest option is the MASE.
This article will teach you the following:
How to create a storage Account in the Portal
How to install MASE
How to upload files to Azure Blob Containers using MASE
How to upload files to Azure File Storage using MASE
How to create Queue messages using MASE
How to create tables using MASE
Requirements
An Azure Account
A Windows machine (it could be possible to use Macintosh or a Linux machine)
Getting started
How to create a storage Account in the Portal
The first step is to create an Azure Storage Account. In the Azure Storage, you will be able to store Blobs, Files, Messages and Tables.
In the Azure Portal, go to New > Data +Storage > Storage Account:
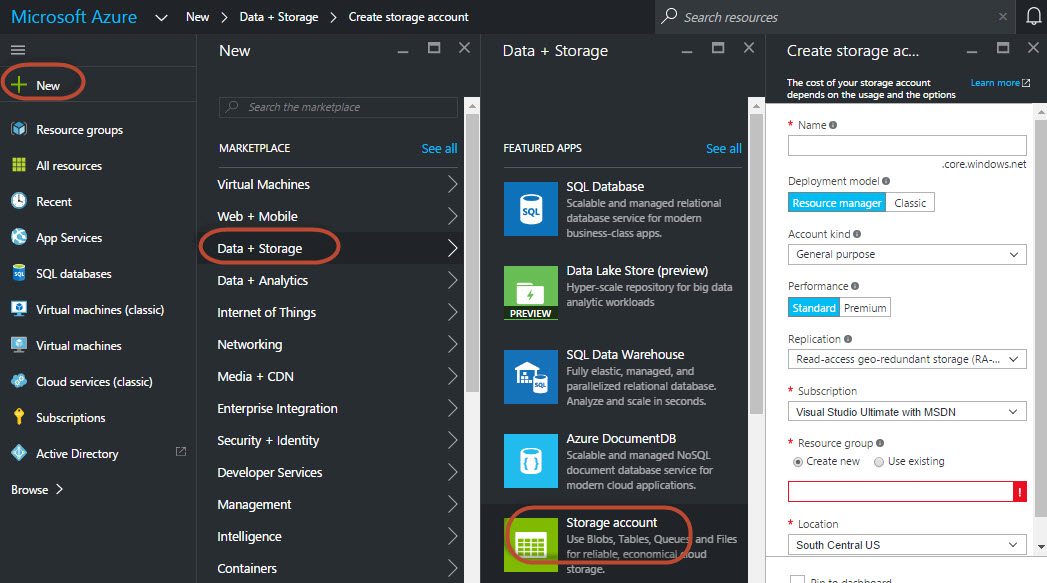
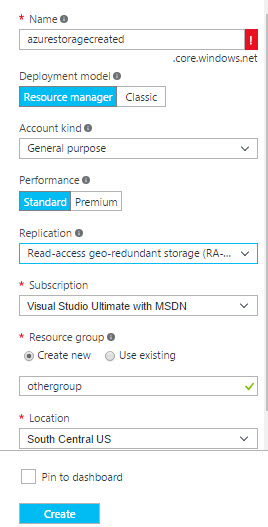
Specify a name for the storage account. There are 2 deployment models:
Resource Manager, which is the new and recommended option. This option allows you to group resources.
Classic is the legacy option, it is complex to administer because resources are created individually and cannot be grouped as the Resource Manager.
We also have the Account kind, which can be general purpose or Blob storage accounts. General purpose can be used for Queues, Blob, File Storage and Tables. Blob Storage is for blob storage only and you can specify the frequency of the use of the data. Hot is data frequently accessed and cool is less frequent and long lived. The Hot category is more expensive.
The Category has 2 options:
Standard, is the basic one and the cheapest option.
Premium, which offers a high performance and low latency service.
In replication, we have 4 offers with different prices:
Zone-Redundant Storage (ZRS) replicates data in 2 to 3 facilities in the same region or in 2 regions.
Locally-Redundant Storage (LRS) is the cheapest option it replicates data in the same region that was created.
Geo-Redundant Storage (GRS) replicates the data in a secondary region hundreds of miles away.
Read-Access Geo-Redundant Storage (RA-GRS) is similar to GRS, but it also provides read access in secondary copies maximizing the availability.
The subscription contains the information used to subscribe to Azure Services. You can create groups to administer different Azure Services. Finally, the location is the place where the Storage Account will be placed. Use a place close to your customers.
How to install the MASE
You can download the installer for Windows here:
There are also installers for Linux and Mac. In this article, we will use Windows.
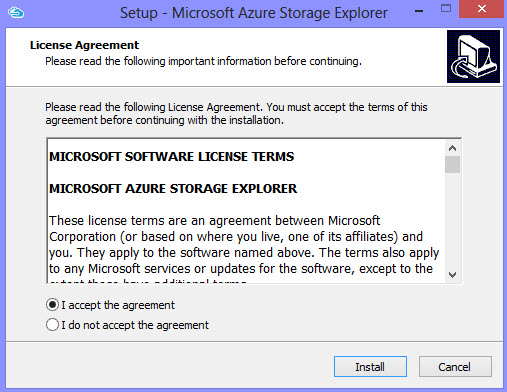
You will receive an Agreement:
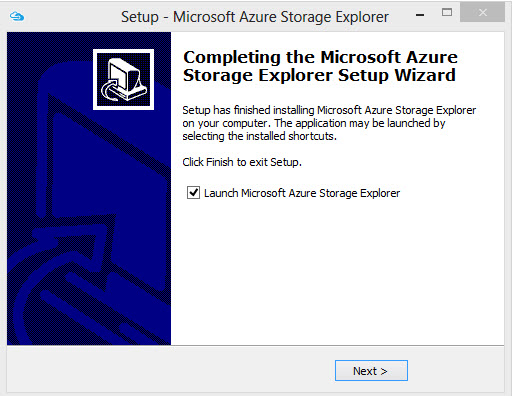
Installing MASE is very easy (the famous next, next process). Once installed, you can launch the program:
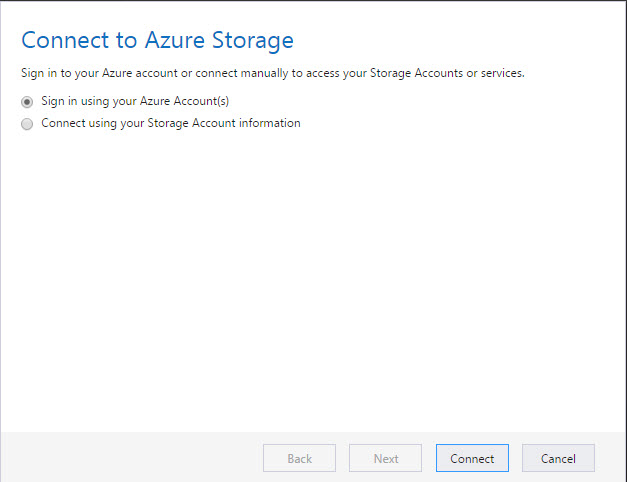
MASE will ask you to connect to Azure. Press connect:
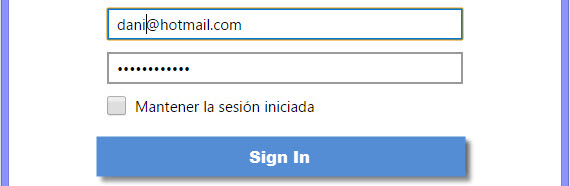
Sign in using your Azure credentials:
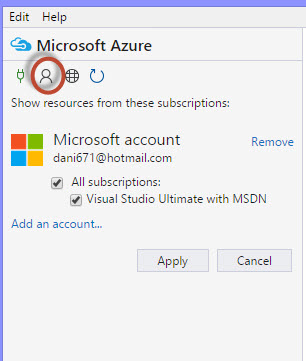
Press Azure Account Settings Icon, check your subscription and press Apply:
Now we are ready to work!
Let’s start with Blob Containers.
How to upload files to Azure Blob Containers using MASE
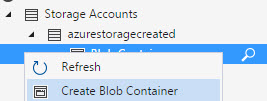
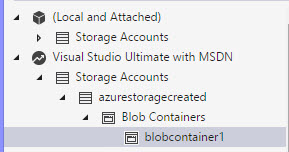
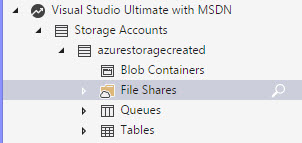
“Azurestoragecreated” is the Storage Account that we created in the Azure Portal. We can create Blob Objects, Files, Queues and Tables. The Blob Containers store Binary Large Objects like videos, documents, SQL Backups, pictures in Azure.
The Blob storage prices are very competitive. For example, you can store 4000 TB per month of Data per 0.01 USD in Central USA using a Locally-Redundant Storage. However, you are charged 0.01 USD per data retrieval per GB, data write and 0.1 USD per GB and there are other charges to block, put Blobs.

To create a new Blob Container, right click Blob Containers and select Create Blob Container:
Specify a name for the Blob Container:
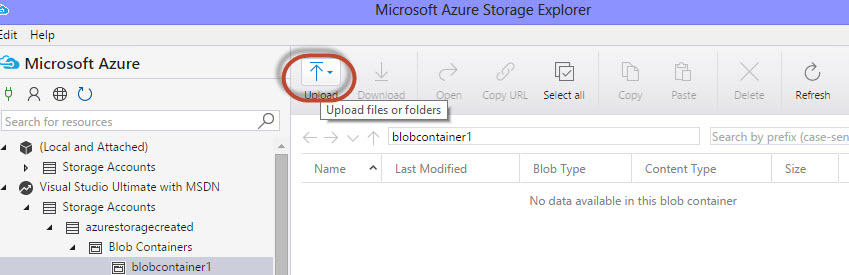
Uploading files or folders with MASE is like an attachment in an email. Just click the Upload icon:
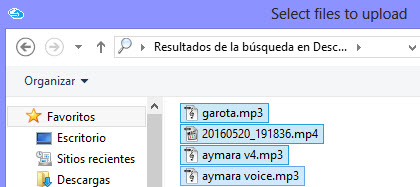
You can select one or multiples files at the same time:
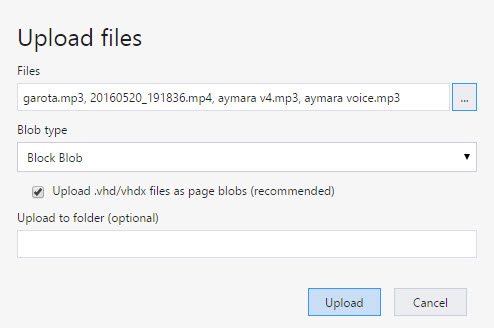
Once the files are selected, you can press the Upload button:
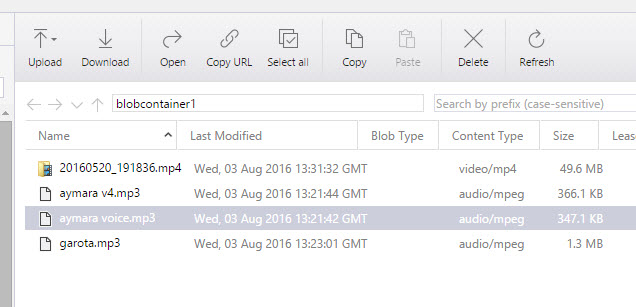
Once uploaded, you can open the files, copy the URL, delete or download them:
How to upload files to Azure File Storage using MASE
File Storage in Azure is used to share files between applications using SMB (Server Message Block) 3.0 Protocol.
The price is 0.08 USD per GB per storage in Locally-Redundant Storage and there are other charges per list operations, put and create containers.
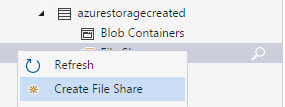
To add files to File Shares, right click on File Shares and select Create File Shares:
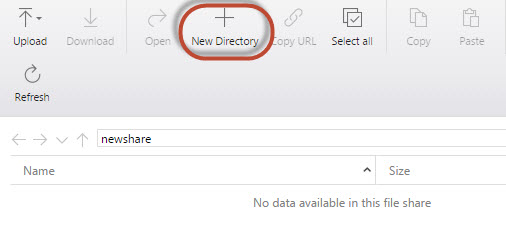
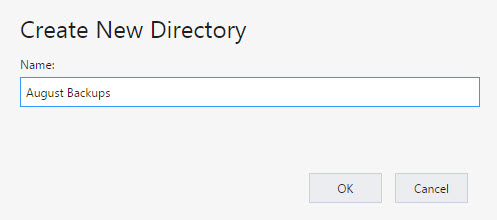
In the File share, you can create directories with the New Directory icon:
We will create a directory to store SQL Server Backups:
The upload process is the same than in Blob containers. You need to click the Upload Icon:
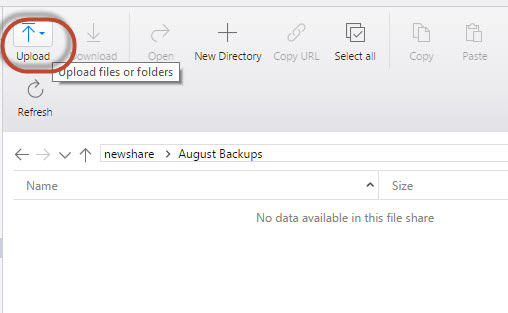
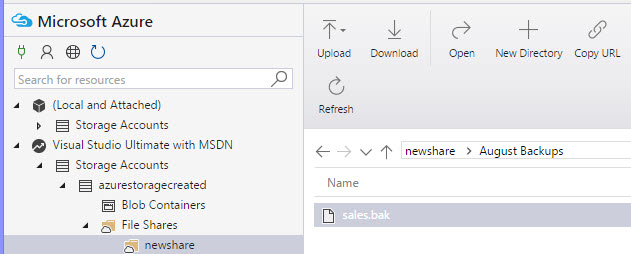
You can upload any file. In this example, a SQL Server file was uploaded:
How to create Queue messages using MASE
To handle messages in your Apps, you can use Queue Storage included in the Storage Account. However, Azure is now offering a new service for Queues called Service Bus messaging, which allow communication between multiple protocols. The use of Service Bus messaging is out of the scope of this article, but you can read about it in the following link: Service Bus messaging: flexible data delivery in the cloud
The price for Queue Messages is 0.07 USD per GB for 1 TB and 0.048 USD per GB for 1000 to 5000 TB and 0.0036 USD per 100,000 transactions for queues.
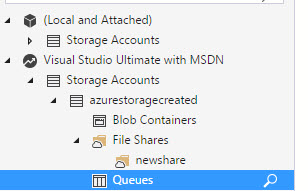
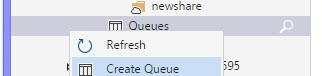
To create queues, right click on Create Queue:
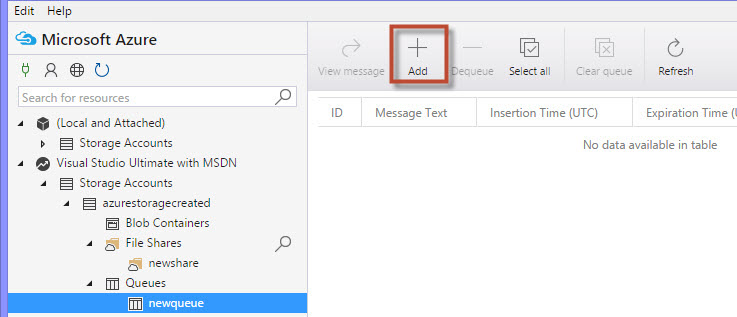
Press Add to create a new message:
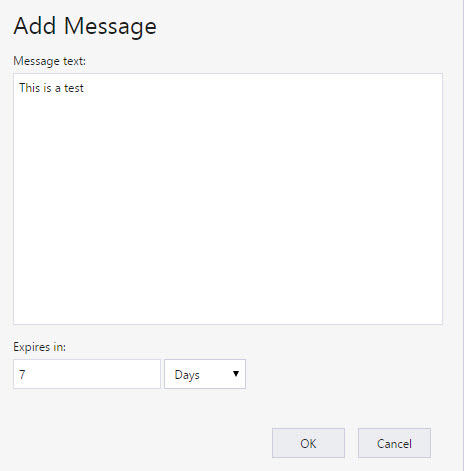
Add a text and define the number of days when the message will expire:
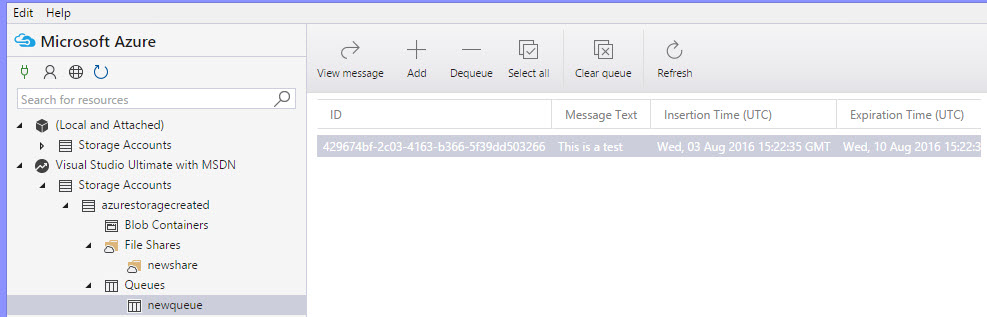
The message includes an ID, the message, the date of the insertion and the expiration date:
How to create tables using MASE
Azure Tables are an interesting NoSQL alternative to store data in your application. It is used for non-structured or semi-structured data. Use Tables when you need big non-relational tables. The prices per storage are the same than the Queue Storage. It is a very cheap alternative to store data.
Storing several TB of data per low cost is a tentative option for applications.
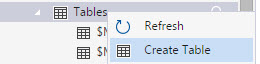
Right click on Tables and select Create Table:
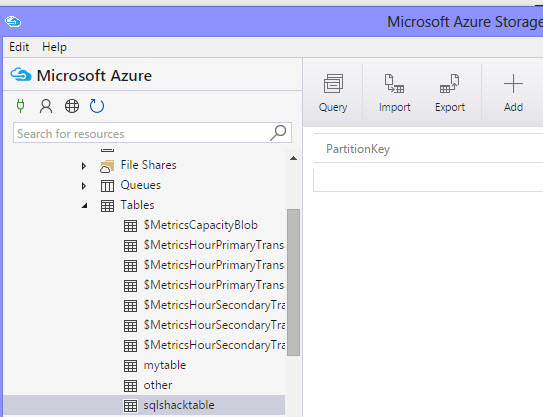
Our table will be named sqlshacktable:
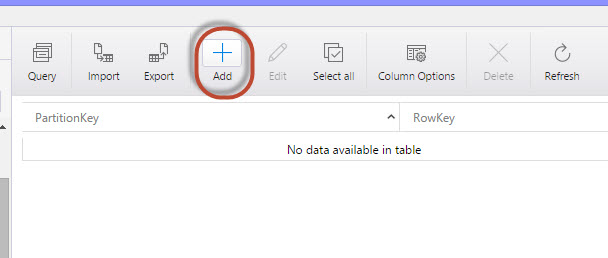
Press the Add icon to add properties and new rows:
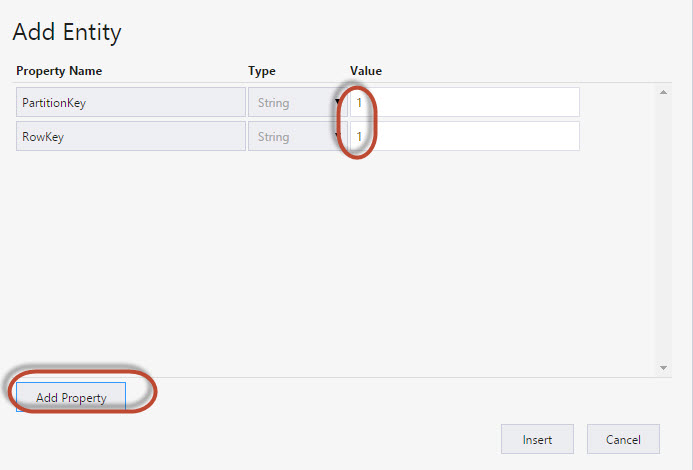
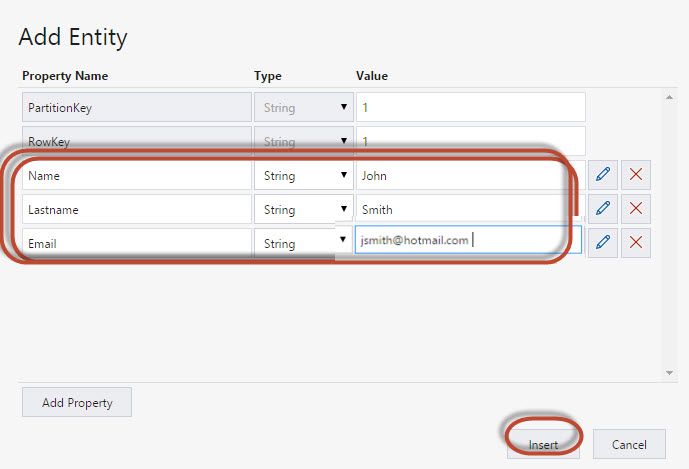
The add property allows you to add new properties (like columns). RowKey is the identifier inside a partition. PartitionKey is used to assign data to a specified partition. PartitionKey is essential for scalability for Big Data. Press the Add Property to add new properties:
Add a Name, Last name, Email or any property of your preference and specifies values. Once created, press Insert to insert more data:
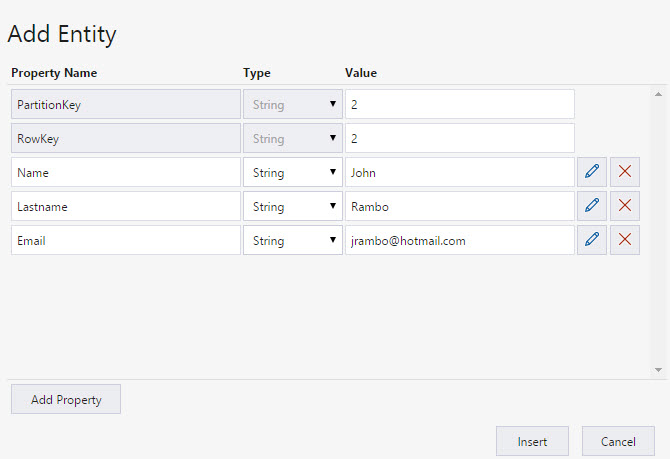
Add a second row and press insert:
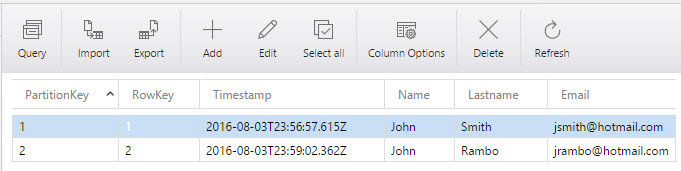
As you can see, creating tables is a straightforward process:
Conclusion
The Azure Storage Account is a simple tool that can be used in Windows, Linux and Mac to create Blob Containers, File Storage, Queue Messages and Azure Tables.

He has worked for the government, oil companies, web sites, magazines and universities around the world. Daniel also regularly speaks at SQL Servers conferences and blogs. He writes SQL Server training materials for certification exams.
He also helps with translating SQLShack articles to Spanish
View all posts by Daniel Calbimonte
- PostgreSQL tutorial to create a user - November 12, 2023
- PostgreSQL Tutorial for beginners - April 6, 2023
- PSQL stored procedures overview and examples - February 14, 2023