
Introduction
In earlier chapter, we explained how to run queries in multiple SQL servers using the SQL Central Management Server. In this new chapter, we will show how to propagate a job from a SQL Server Master Agent Job to a target server.
This feature is called Multiserver Administration. In a multiserver administration, you need a Master Server and one or more target servers. In the master server, you create a copy of the job and then it is copied and executed in the target servers.
The jobs are scheduled to run and are executed in each Target Server.
Requirements
- SQL Server Installed (2 SQL Servers or 2 SQL Server Instances).
- 2 SQL Server Agents running.
Getting started
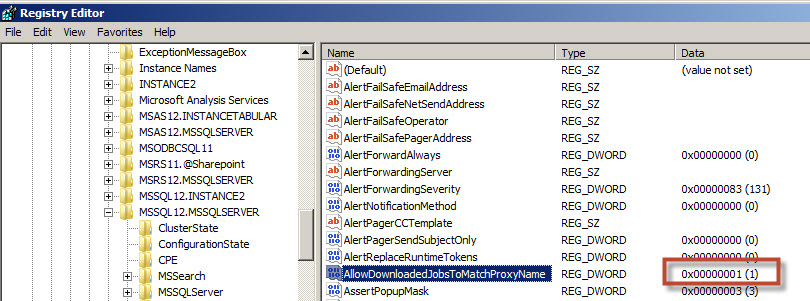
Open the regedit, to edit the Windows registry and change the registry \HKEY_LOCAL_MACHINE\SOFTWARE\Microsoft\Microsoft SQL Server\<instance_name>\SQL Server Agent\AllowDownloadedJobsToMatchProxyName to 1 in the master and target Servers.

Figure 1. Registry In the SQL Server Management Studio go to the SQL Server Agent, right click and select the Multi Server Administration and select the Make this a Master option.
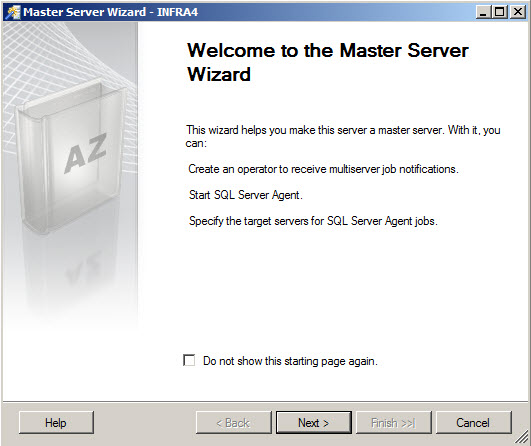
Figure 2. The Multi Server option The wizard to create the master server will be displayed. Press Next.
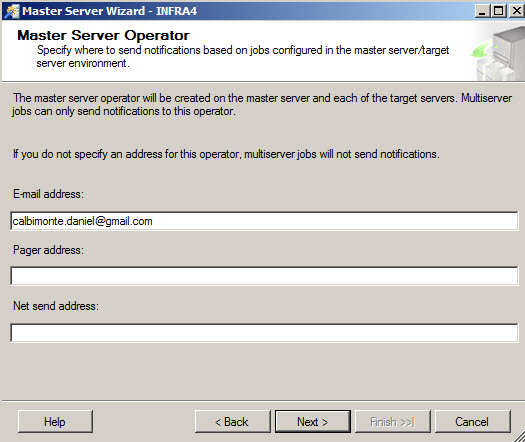
Figure 3. The Master Server Wizard The next window is the Master Server Operator. The operator can receive notification using email, pager address or with a net send address. Specify the address of your preference and press next.
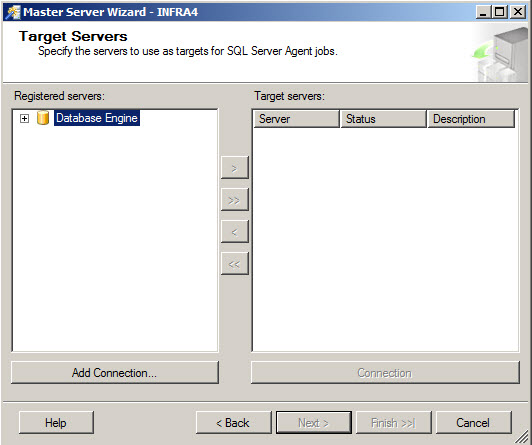
Figure 4. The address of the operator In the Target Server window, we will select all the target servers. In this example, we only have one target server, but in the real-life, we may have several. Press the Add connection button to add a new target server.
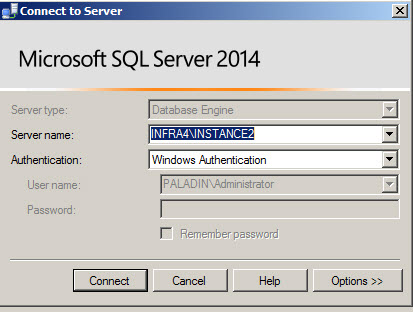
Figure 5. Target Servers Connect to the SQL Server that will be used as a Target Server.
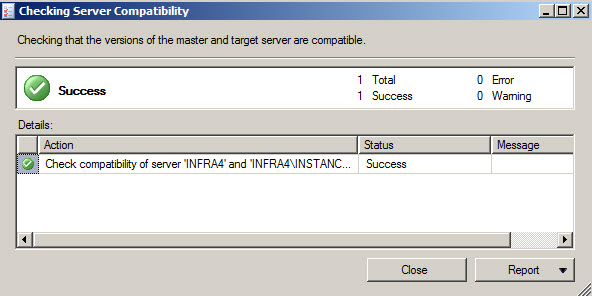
Figure 6. Connection information If everything is OK, you will receive a success message related to the compatibility between the 2 servers.
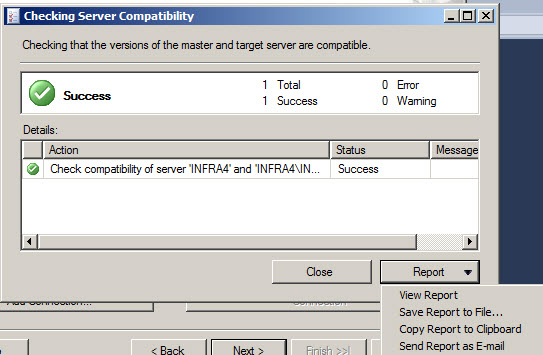
Figure 7. Server Compatibility Check You can view the report, save the report in a file, in the clipboard or send the report by email. In this example, we will select the first option.
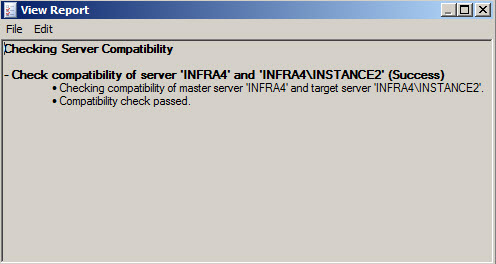
Figure 8. Report options In this option, the report will show the result of the version compatibility between the master and target servers.
Figure 9. Compatibility Report -
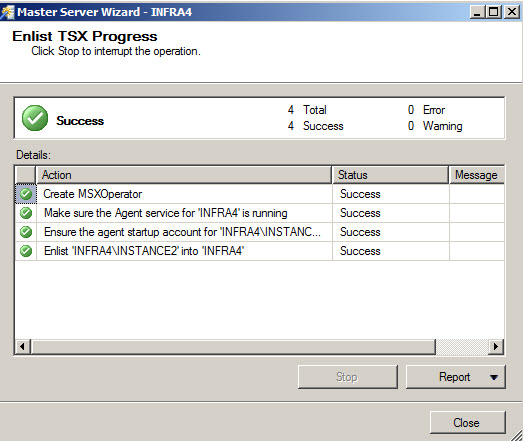
When you finish the Wizard, the MXOperator (the operator of the master Server) will be created. The second step is the verification that the SQL Agent is running, and then the verification of the agent startup account of the target server. Finally, the target server is enlisted in the master server.
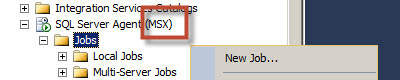
Figure 10. Actions to enlist the target server and create the MSX Operator. You will notice that in the Master Server it says (MSX). It means that it is a Master Server. Right-click and select the New Job option.
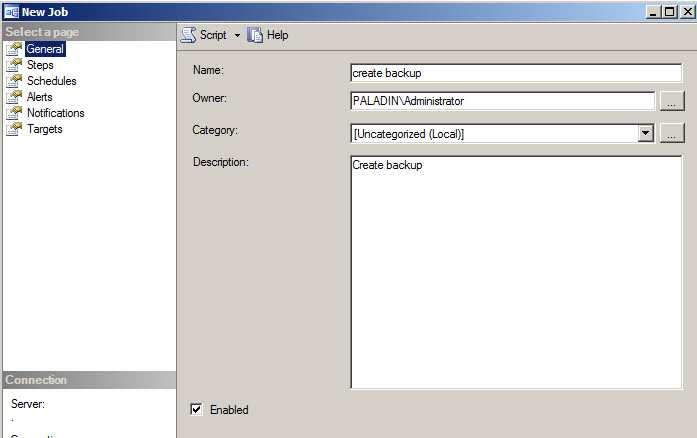
Figure 11. Creating a new job. - We will create a backup in the target server. If you have several target servers, the backup will be created in all of them.
The creation of a job will be similar to local jobs. You just need a name and optionally a description.
Figure 12. Creating a backup -
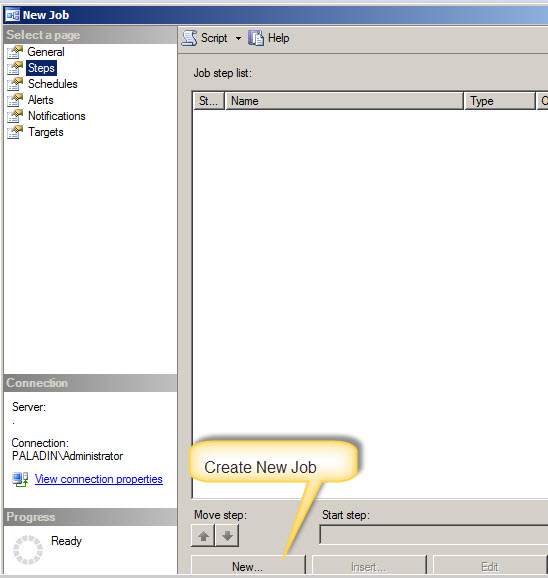
Go to the Steps page and click the New button to create a new Job.
Figure 13. Creating new steps Specify the name and the command. In this example, we are backing up a database named db2 in the db2.bak file. You can modify the T-SQL sentences to your own needs:
BACKUP DATABASE [db2] TO DISK = N’C:\Backup\db2.bak’ WITH NO FORMAT
GO
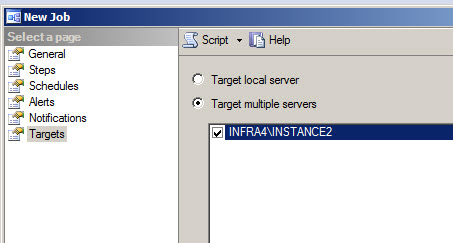
Figure 14. The step to create backups This is the key section, go to the Targets page and select the target multiple servers where you want to run the job. In this example, we have one target server. Select the option target to multiple servers and check the target server(s) where you want to run the job.
Figure 15. Selecting Target servers -
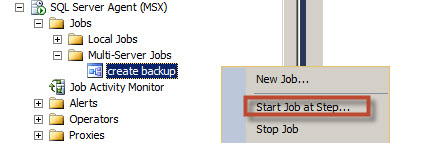
As you can see, the job was created in a folder named multi-server jobs. Right-click and select the start Job at Step.
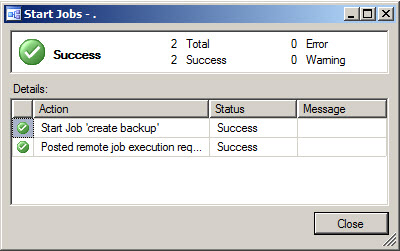
Figure 16. Start Job at Step If everything is OK, you will receive a Success message that the job was posted remotely for execution.
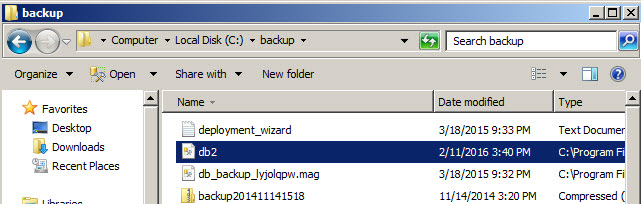
Figure 17. Success execution message. A new backup will be created in the target server(s). As you can see, working with master and target servers is a straightforward process.
Figure 18. The SQL Server backup created.


Some common problems
A very common problem when you are creating the target server (step 10) is the following message:
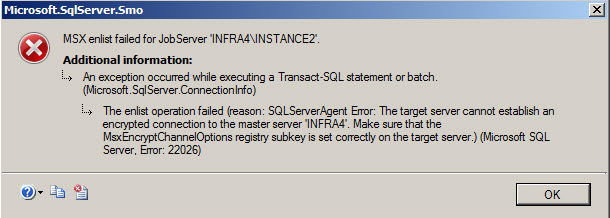
This error is related to the encryption between the master and target server.
If you have this error, verify that the registry
\HKEY_LOCAL_MACHINE\SOFTWARE\Microsoft\Microsoft SQL Server\<instance_name>\SQL Server Agent\MsxEncryptChannelOptions matches in the master and the target servers. If not, modify the registries. This registry controls the encryption between the master and target server. The value 0 means no encryption. 1 means to encrypt without a certificate and 2 with a certificate.

Some administrative options
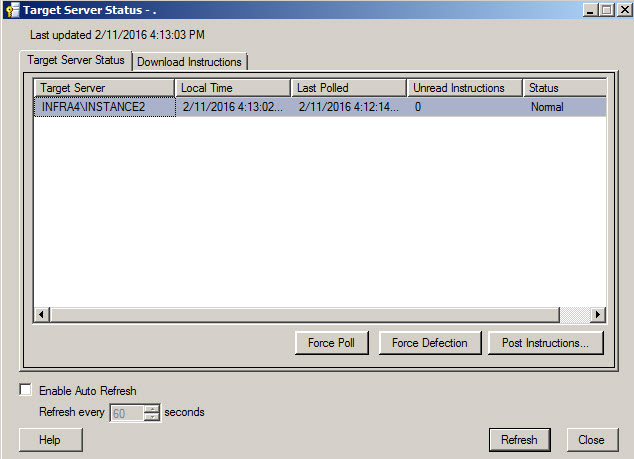
In the master server (MSX), it is posible to administer the Multi server configuration. Right click on the SQL Server Agent and in the Multi Server Administration, select Manage Target Servers.

The target server status tab shows the list of target servers, the local time
(the data and time of the target server in the local time) and the last time that the target server polled the master.
The force poll button forces the poll of the selected target server to the master server. The Force Defection button allows defecting the target server and the post-instruction allows posting the instructions.
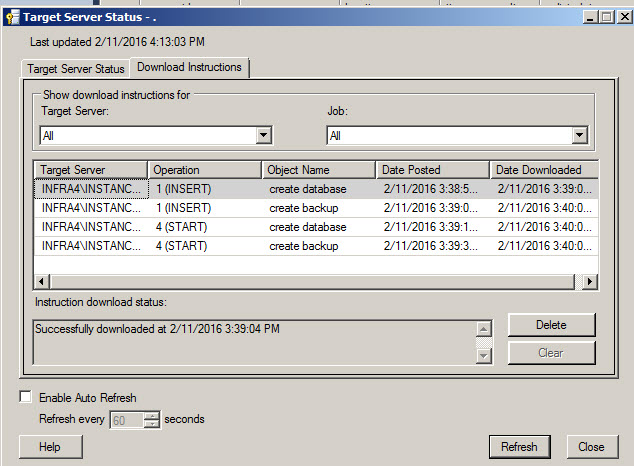
The Download Instruction shows the operations sent to the target servers, specifying the Object Name, Date posted and the Date that it was downloaded.
When the proxy is required
If a proxy is necessary, you will need to create a credential and then associate it with the proxy. Make sure that the proxy name is the same in the Master and Target servers.
How to remove the target server
The option to remove the target server from the Multi-Server. You can do that on the target server.
Go to the SQL Server Agent, right click and select Multi Server Administration>Defect

Conclusion
As you can see, creating a master server and target servers is a straightforward process. Once configured, you can send jobs to multiple servers at the same time.
Some useful stored procedures:
Some useful system views:

He has worked for the government, oil companies, web sites, magazines and universities around the world. Daniel also regularly speaks at SQL Servers conferences and blogs. He writes SQL Server training materials for certification exams.
He also helps with translating SQLShack articles to Spanish
View all posts by Daniel Calbimonte
- PostgreSQL tutorial to create a user - November 12, 2023
- PostgreSQL Tutorial for beginners - April 6, 2023
- PSQL stored procedures overview and examples - February 14, 2023