
Introduction
A year or so ago, I was working on a project that revolved around daily data loads (from various asset management groups within an enterprise) into the main SQL Server data repository. Each group completed and published its own daily figures within their own Excel Work Books. These Excel workbooks were then placed in a common directory and then loaded into the Corporate SQL Server database. Let us have a look at how this may be achieved. In short, we are going to create one package that will process all the spreadsheets within the given directory.Getting started
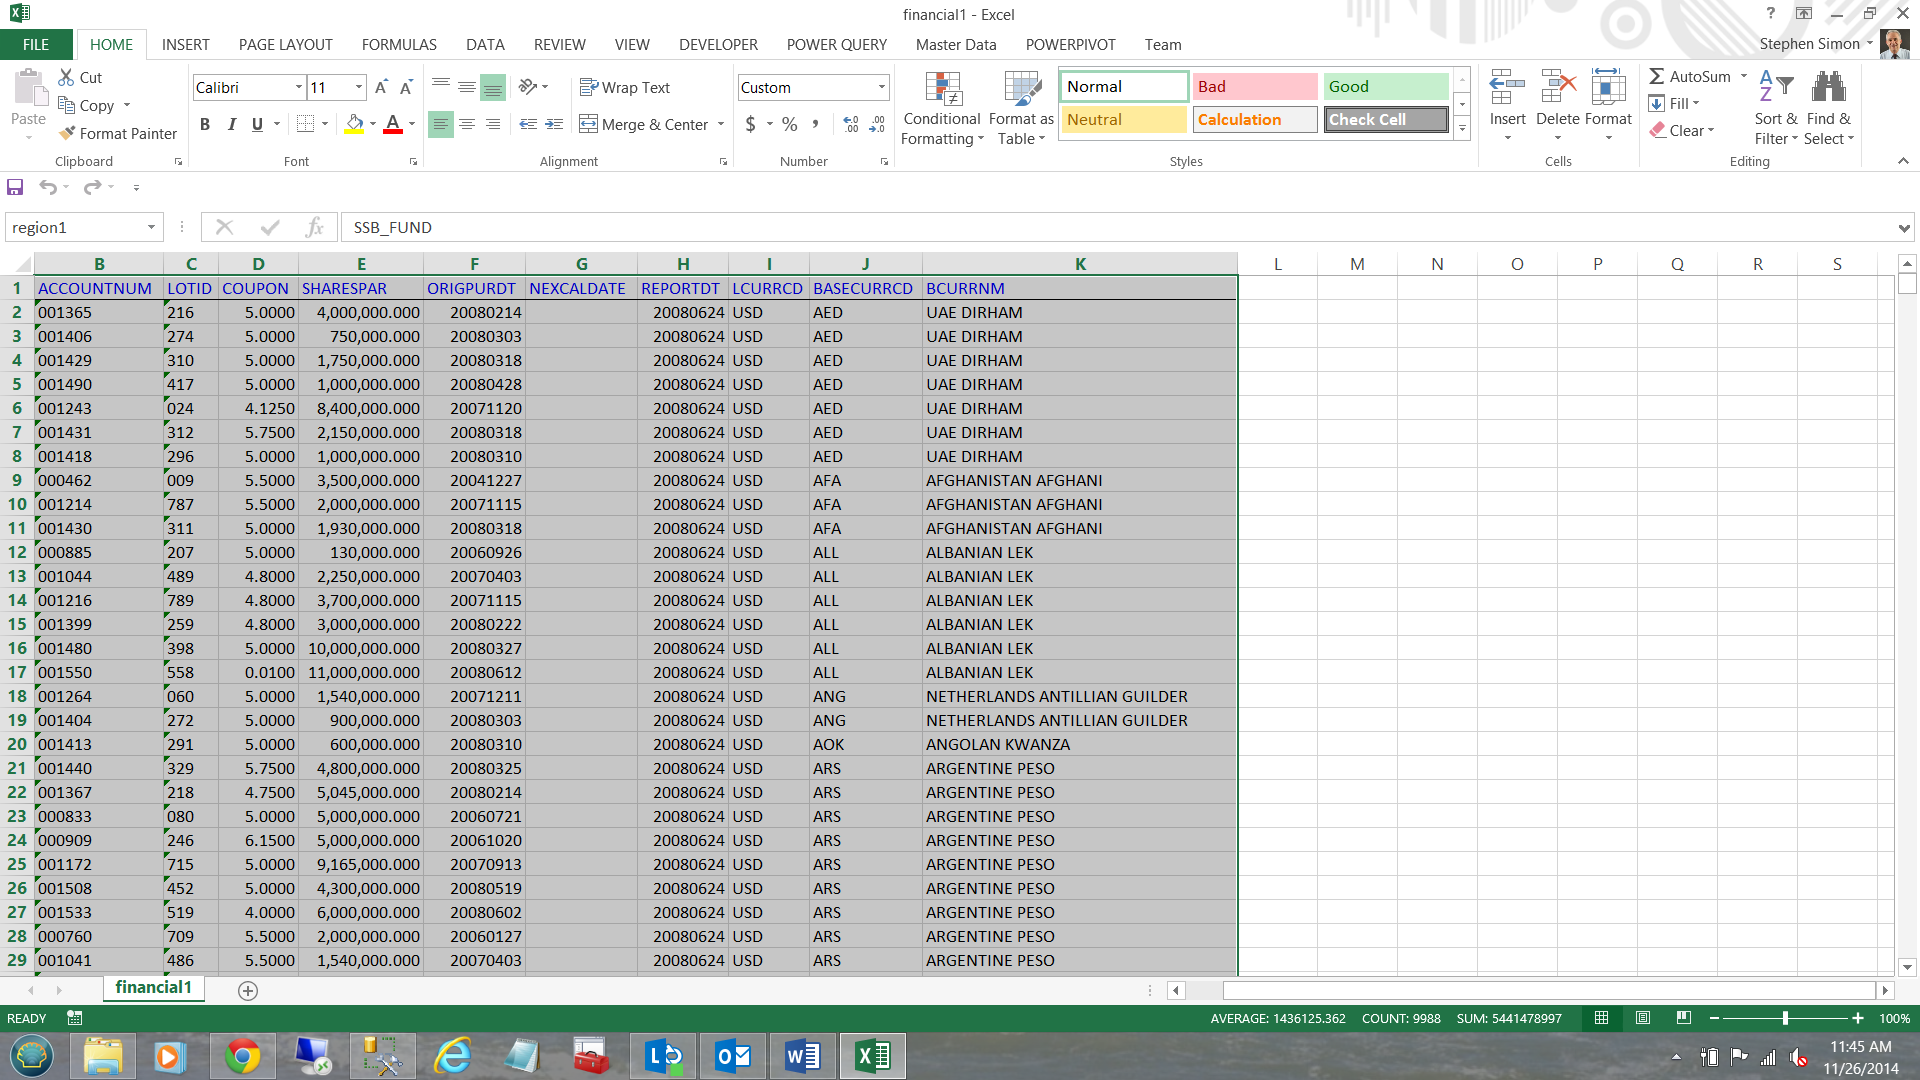
For our current discussion we shall be looking at two Excel workbooks. Rest assured that the process works for any number of workbooks. The screen dump below show the financial1 sheet for the financial1.xlsx workbook.
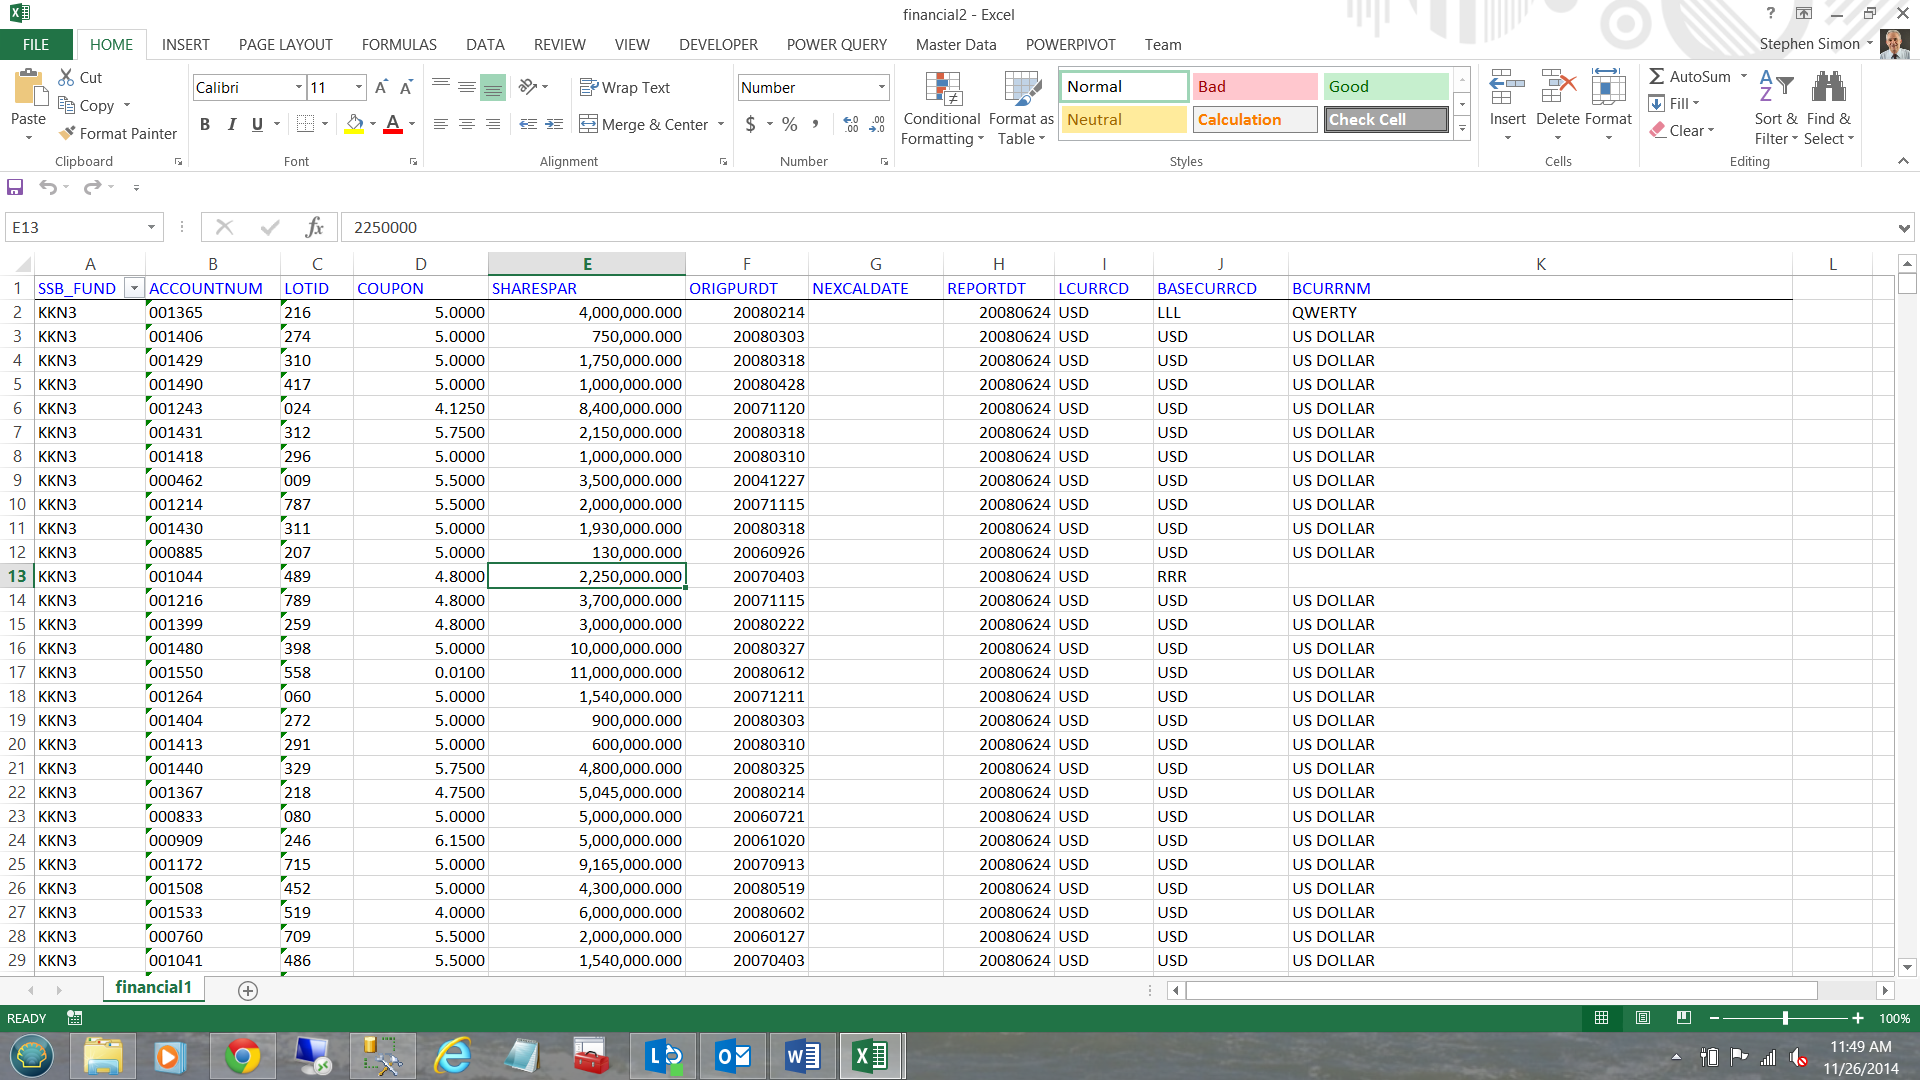
Our next screen shot shows the financial1 worksheet for the financial2.xlsx workbook.
In summary we shall be dealing with:
| Workbook name | Worksheet name |
| Financial1.xlsx | Financial1 |
| Financial2.xlsx | Financial1 |
The important point being that the workbooks themselves can have different names HOWEVER the relevant sheets must all have the same name.
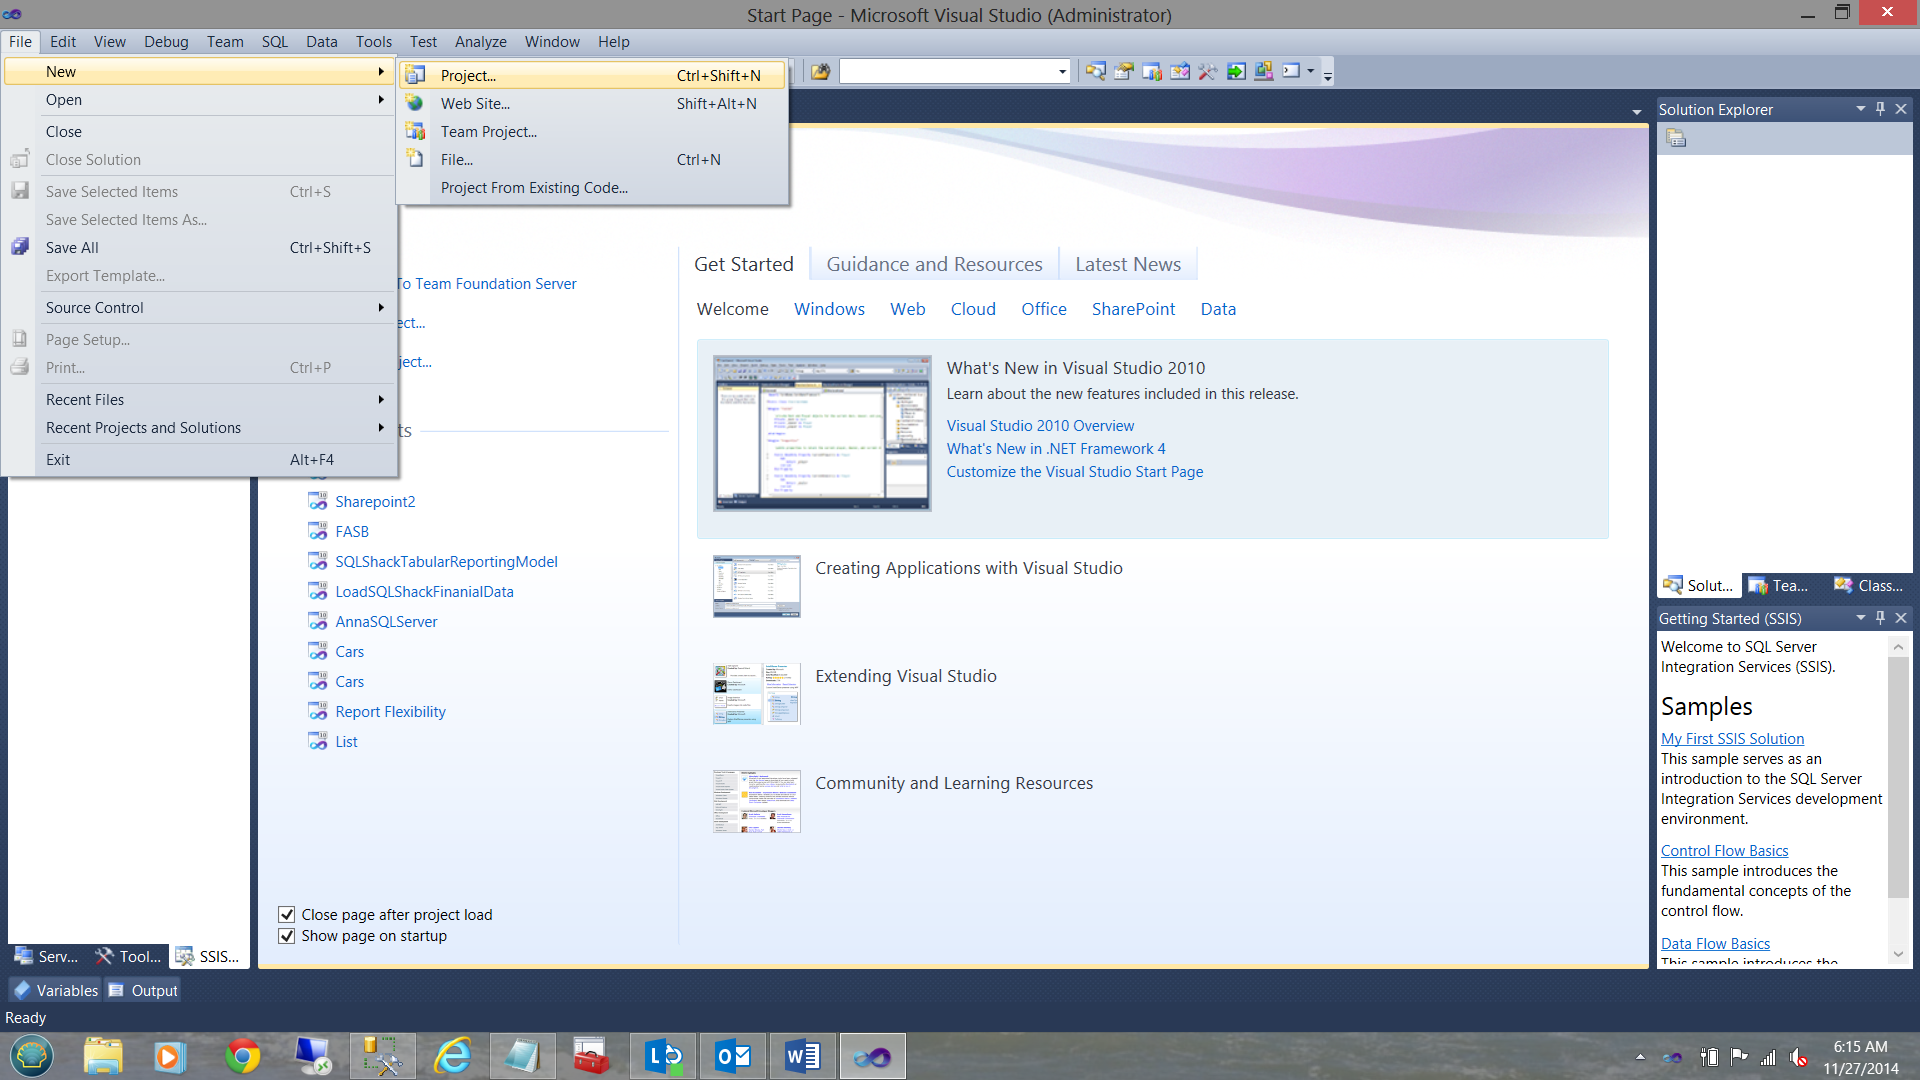
We start by creating a new Integration Services package within SQL Server Integration Services (hence forward referred to as SSIS).
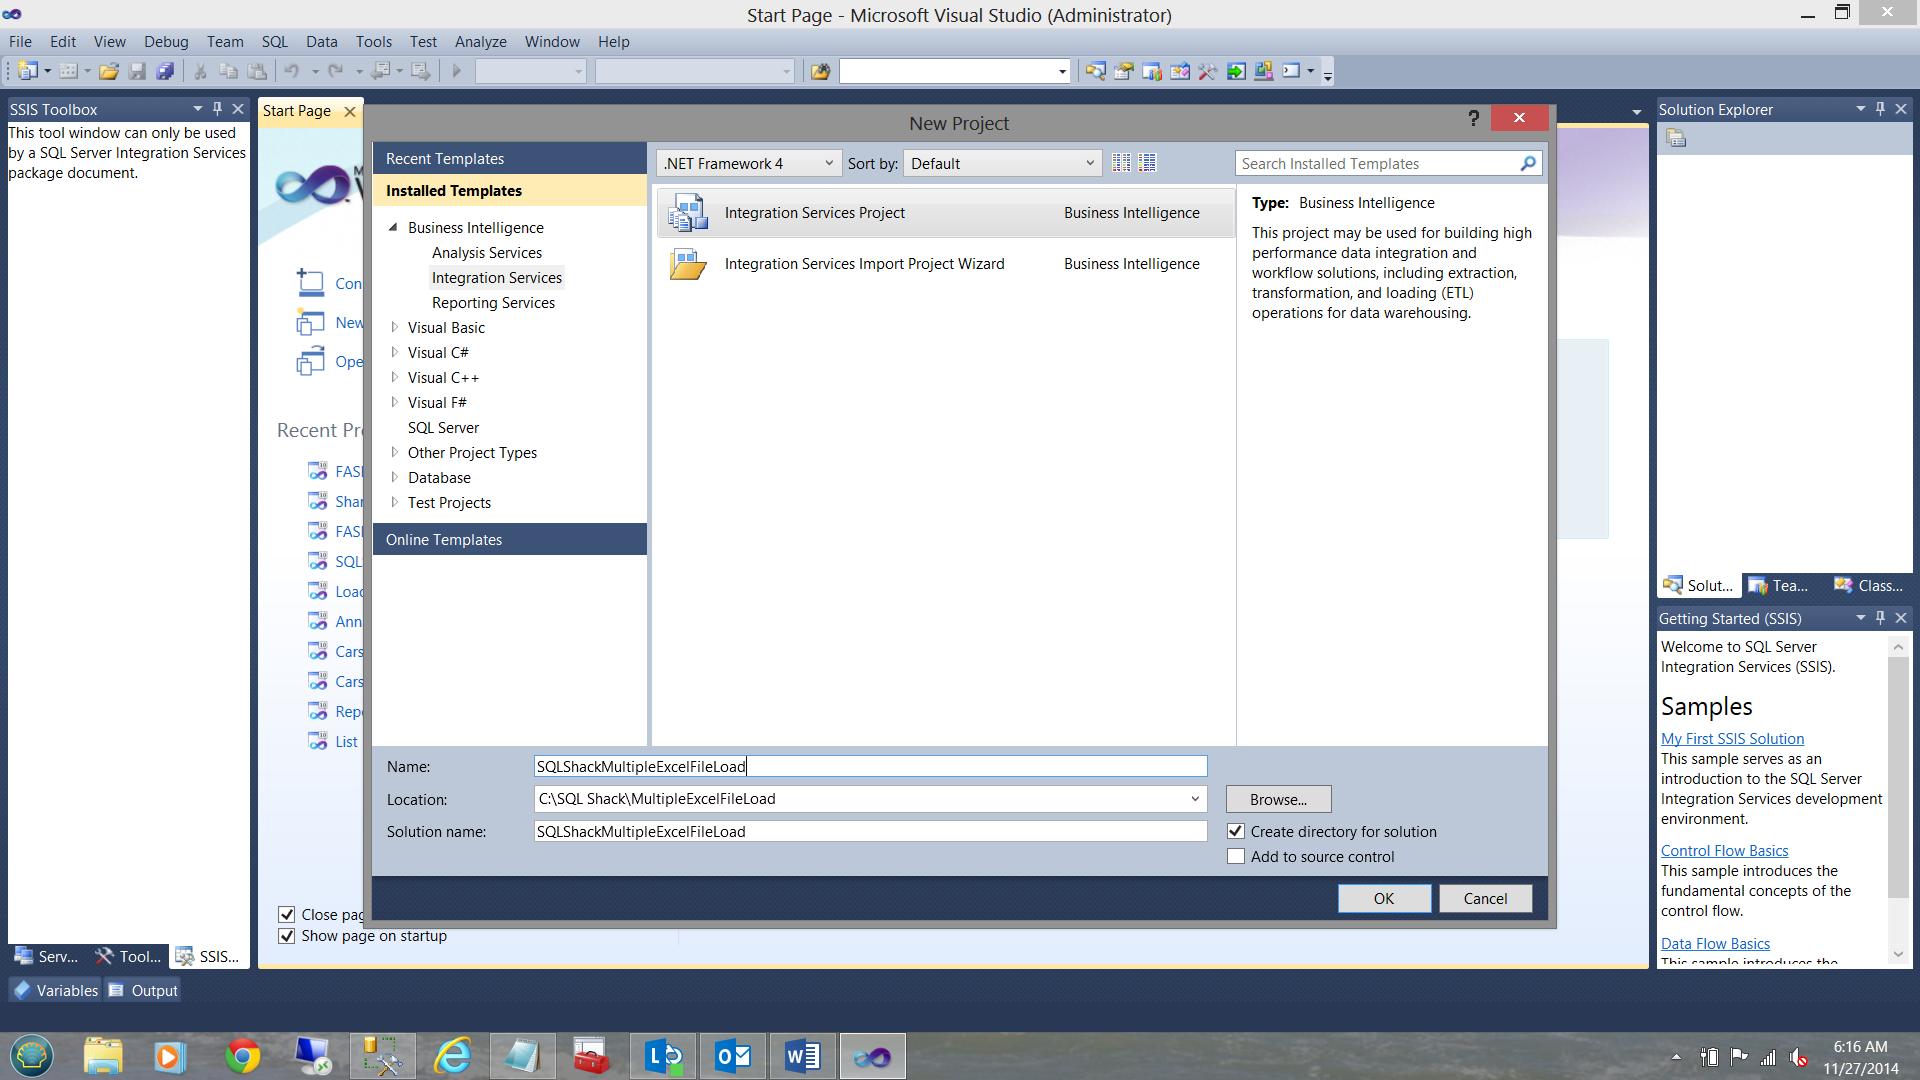
We give our new project a name (see below)
We now find ourselves at our working surface.
Please note that I have renamed our SSIS package “LoadExcelWorkbooks” (see upper right).
As in past, I now create a connection to my SQLShackFinancial Database (see below).
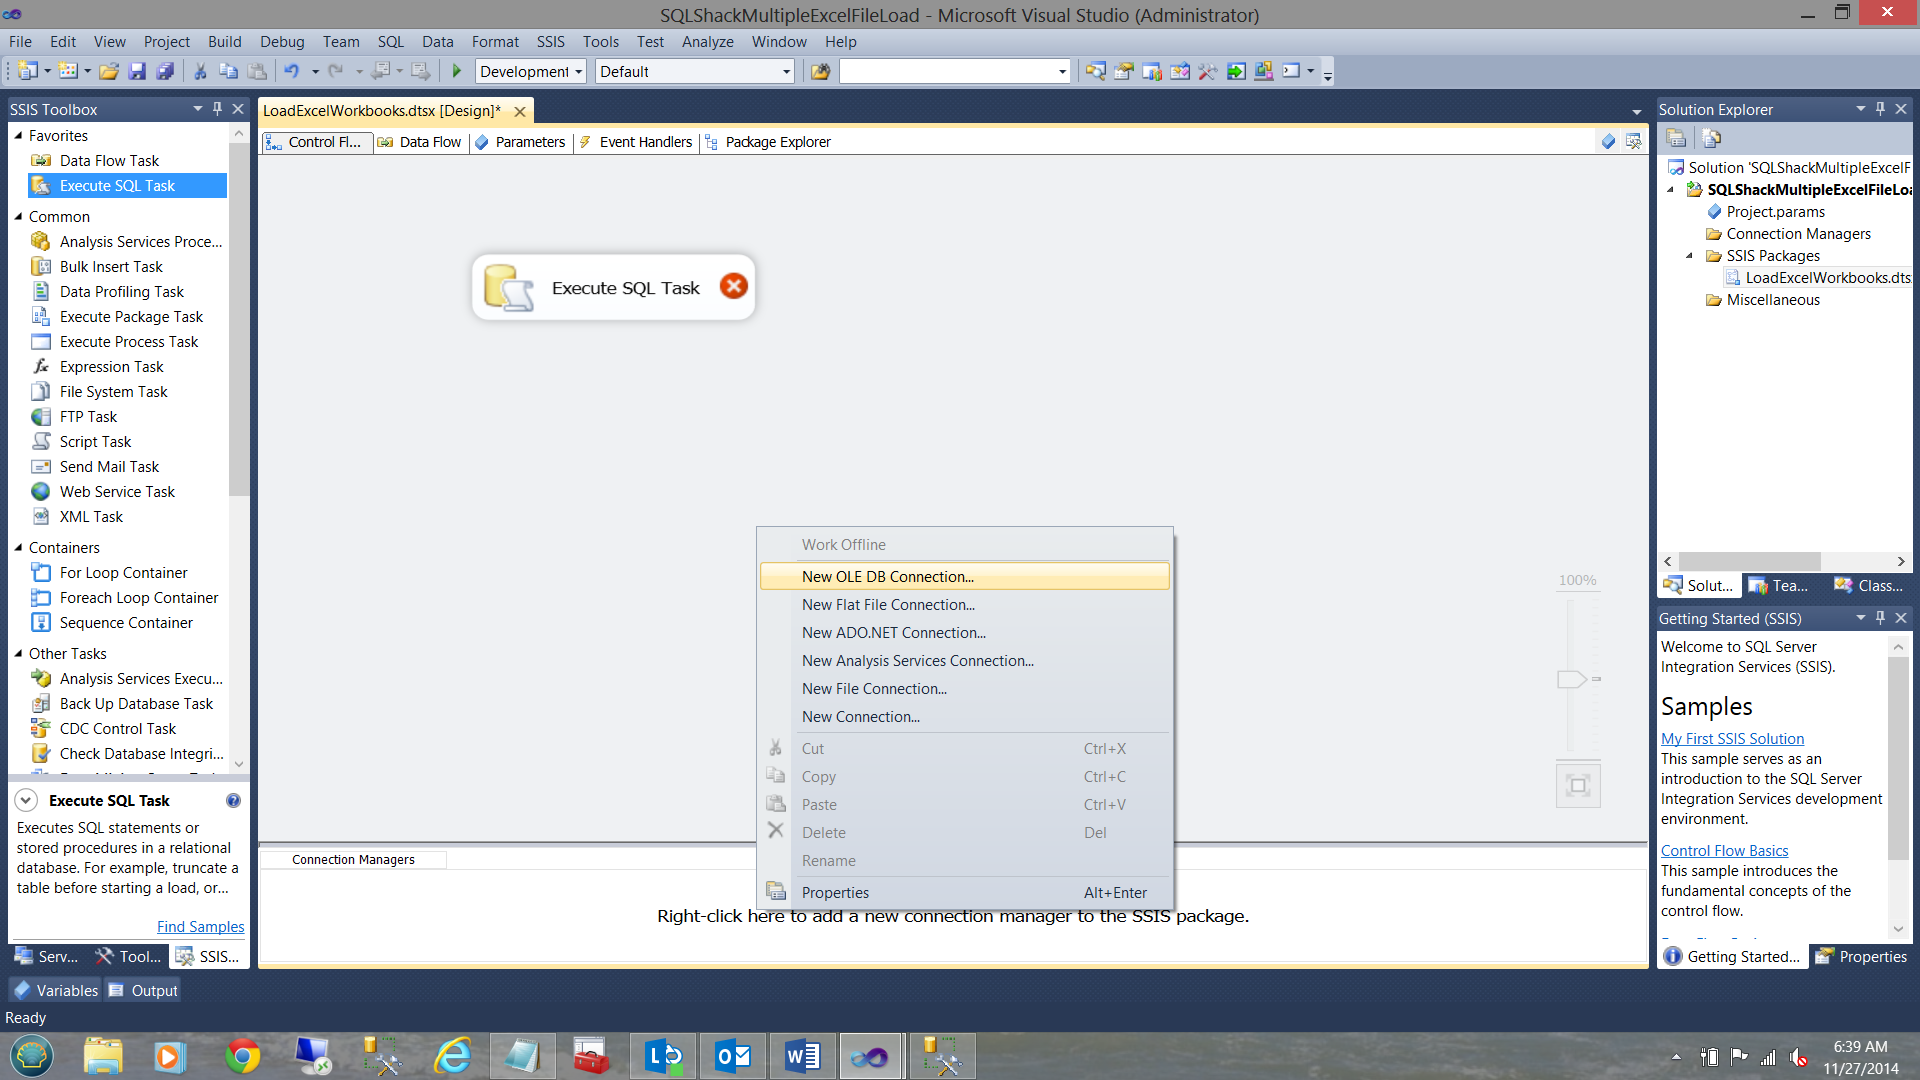
By right clicking anywhere in the connection manager box I create an OLEDB destination Connection to my SQL Server Database (see below). I also add an “Execute SQL Task” to the work surface. Creating the source is a bit more complex and we shall be discussing this in a few minutes.
The “Configure OLE DB Connection Manager” screen is then brought into view. I choose my “SQLShackFinancial” connection from the list of existing connections. This connection was created for a previous paper that I wrote for SQL Shack.
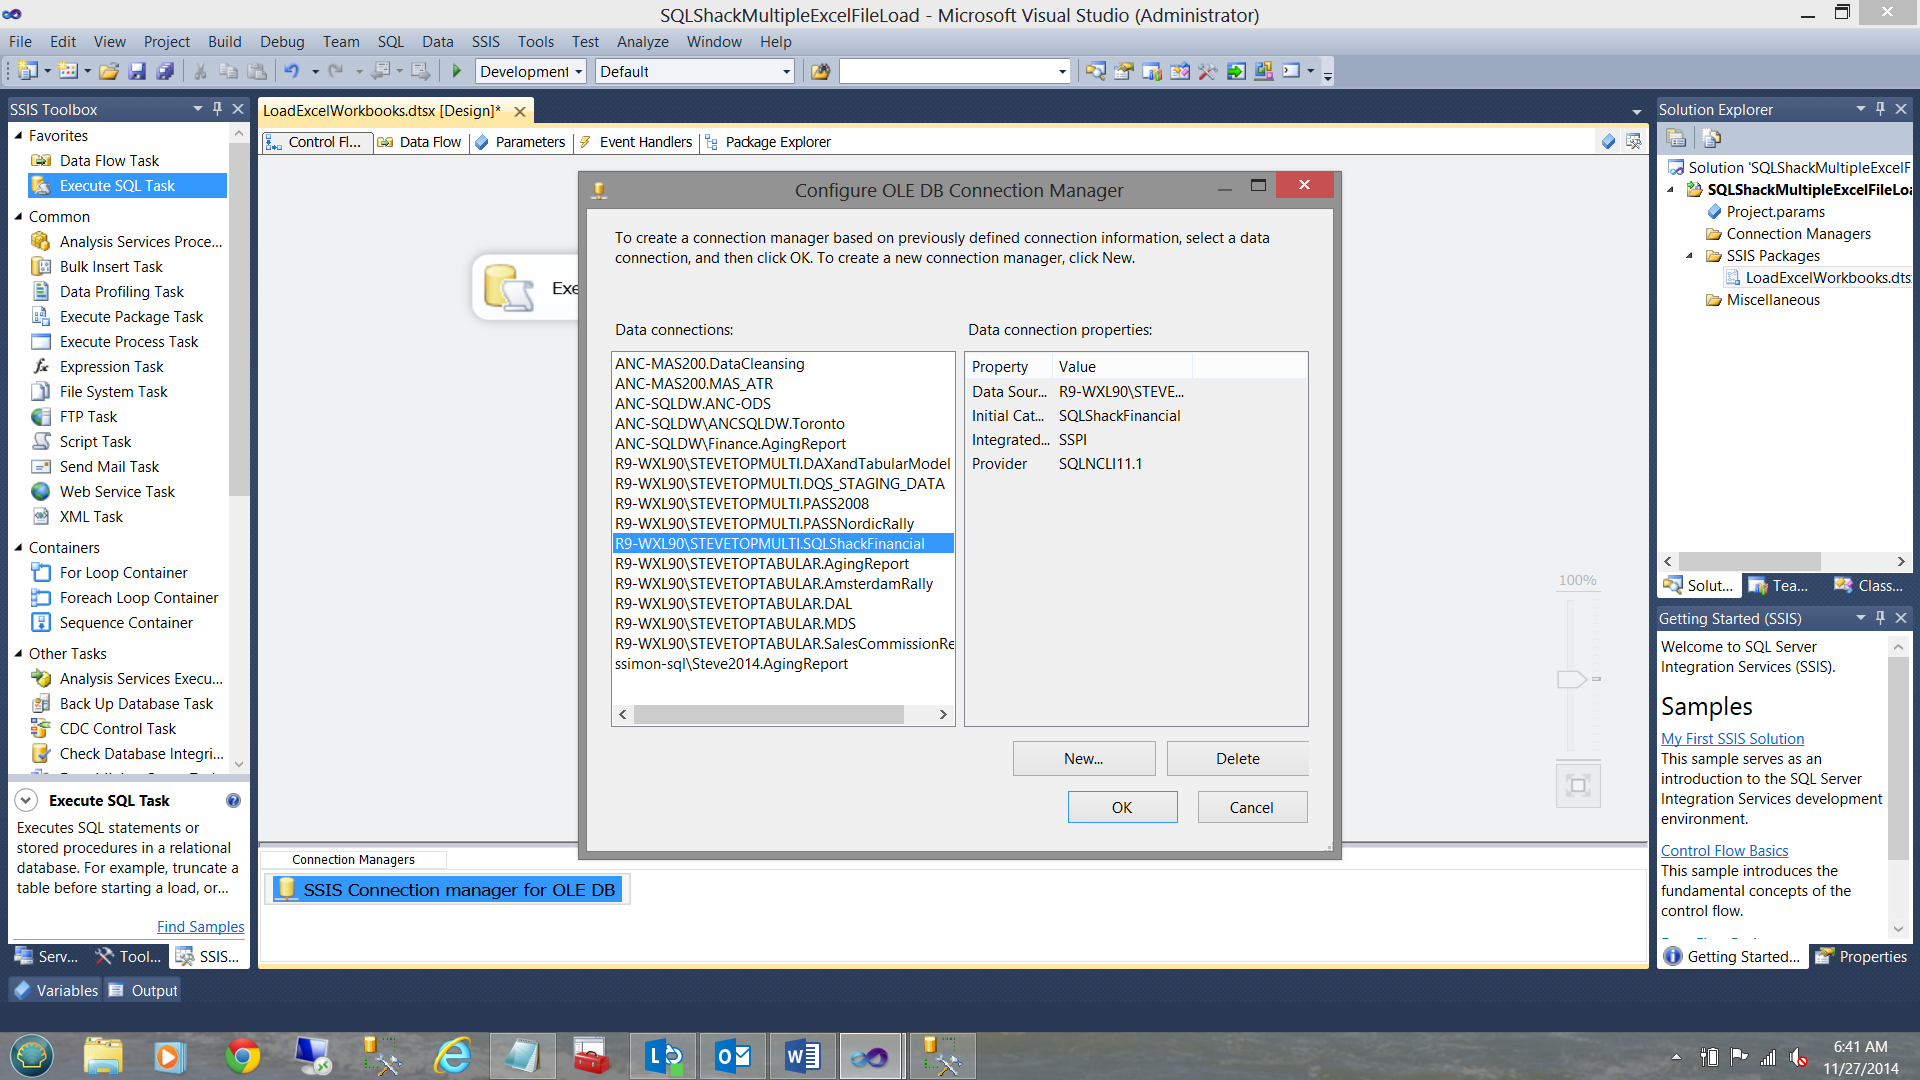
I click OK, and we are brought back to our work surface.
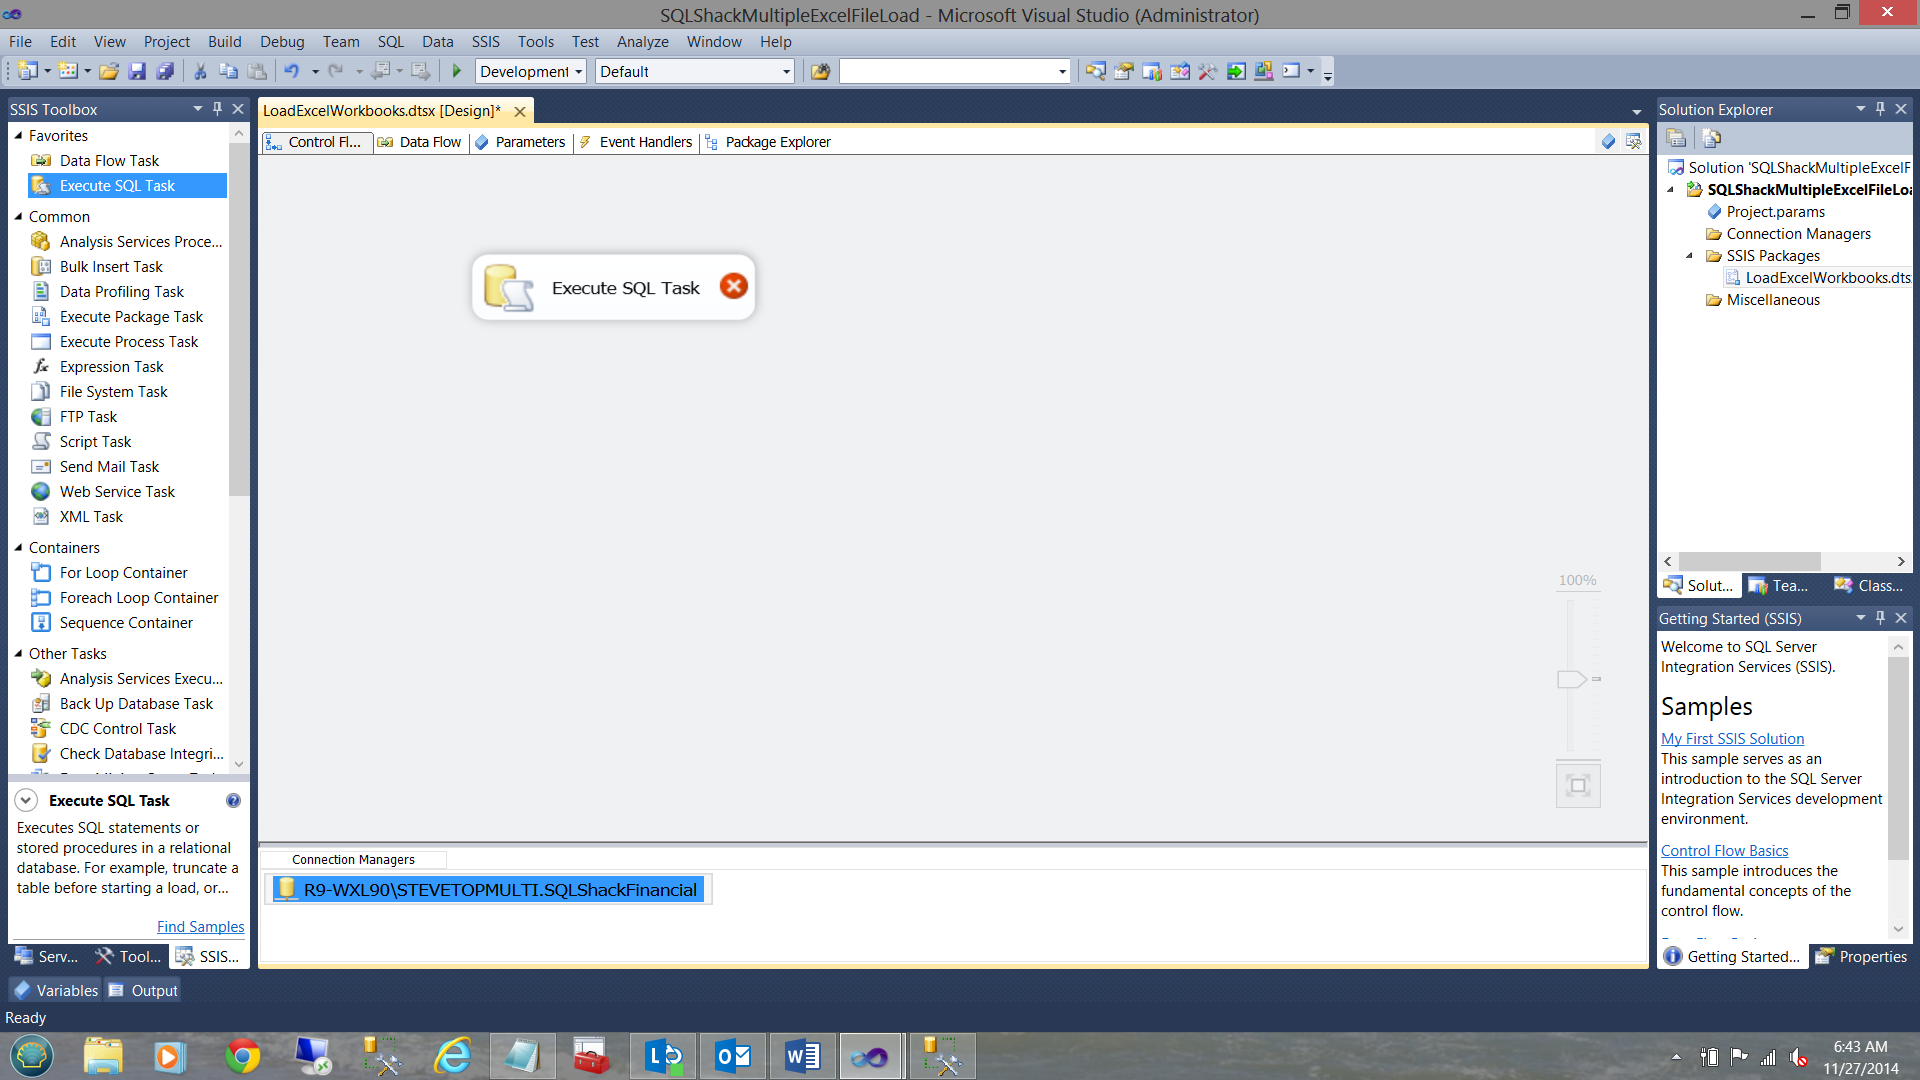
Double clicking on the “Execute SQL Task” control brings up the “Execute SQL Task Editor”.
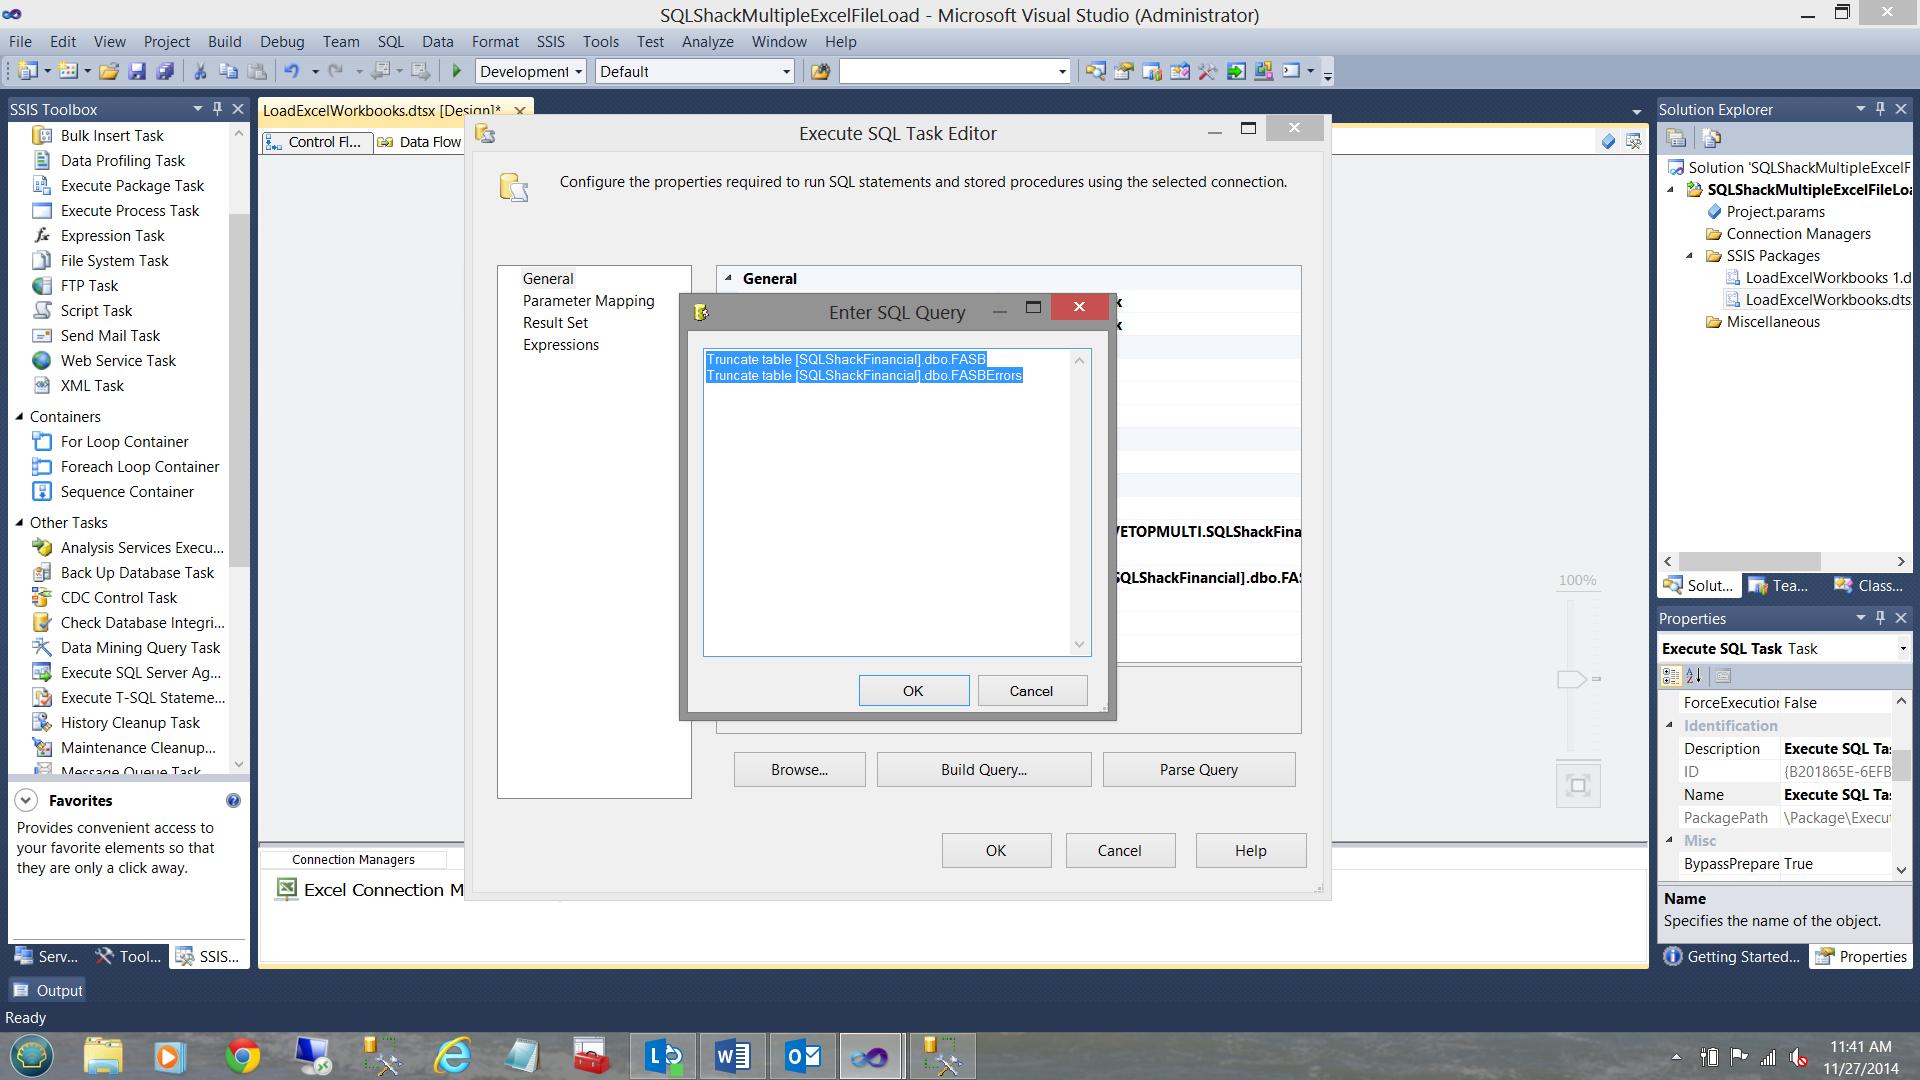
The reader will note that I have set the connection string to point to our “SQLShackFinancial” connection and I have entered two simple T-SQL commands in the “SQL Statement” text box. In our discussion going forward and because this paper is for a demo, I prefer to truncate the tables prior to demonstrating HOWEVER in reality these tables would not be cleansed each run.
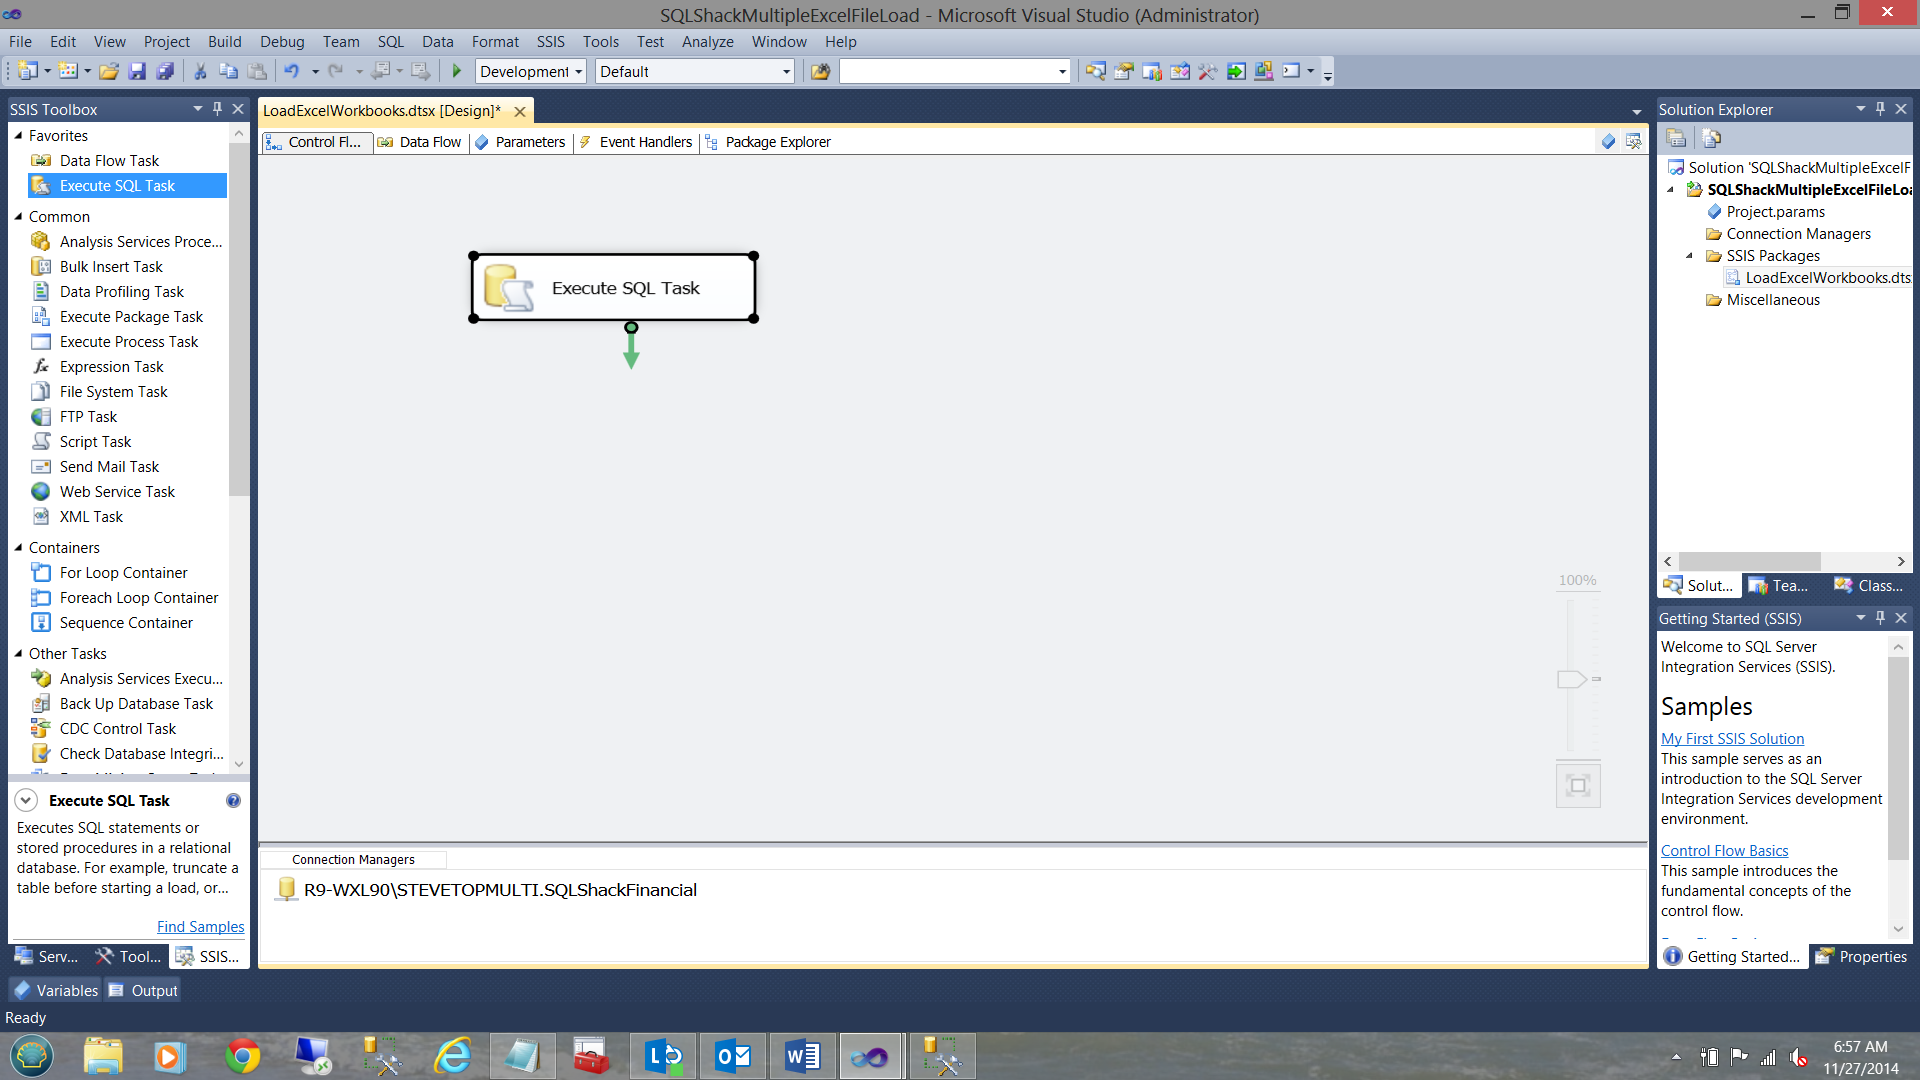
I click OK, and OK to leave the “Execute SQL task” control and we land up (once again) on our work surface.
Let the REAL work begin!!
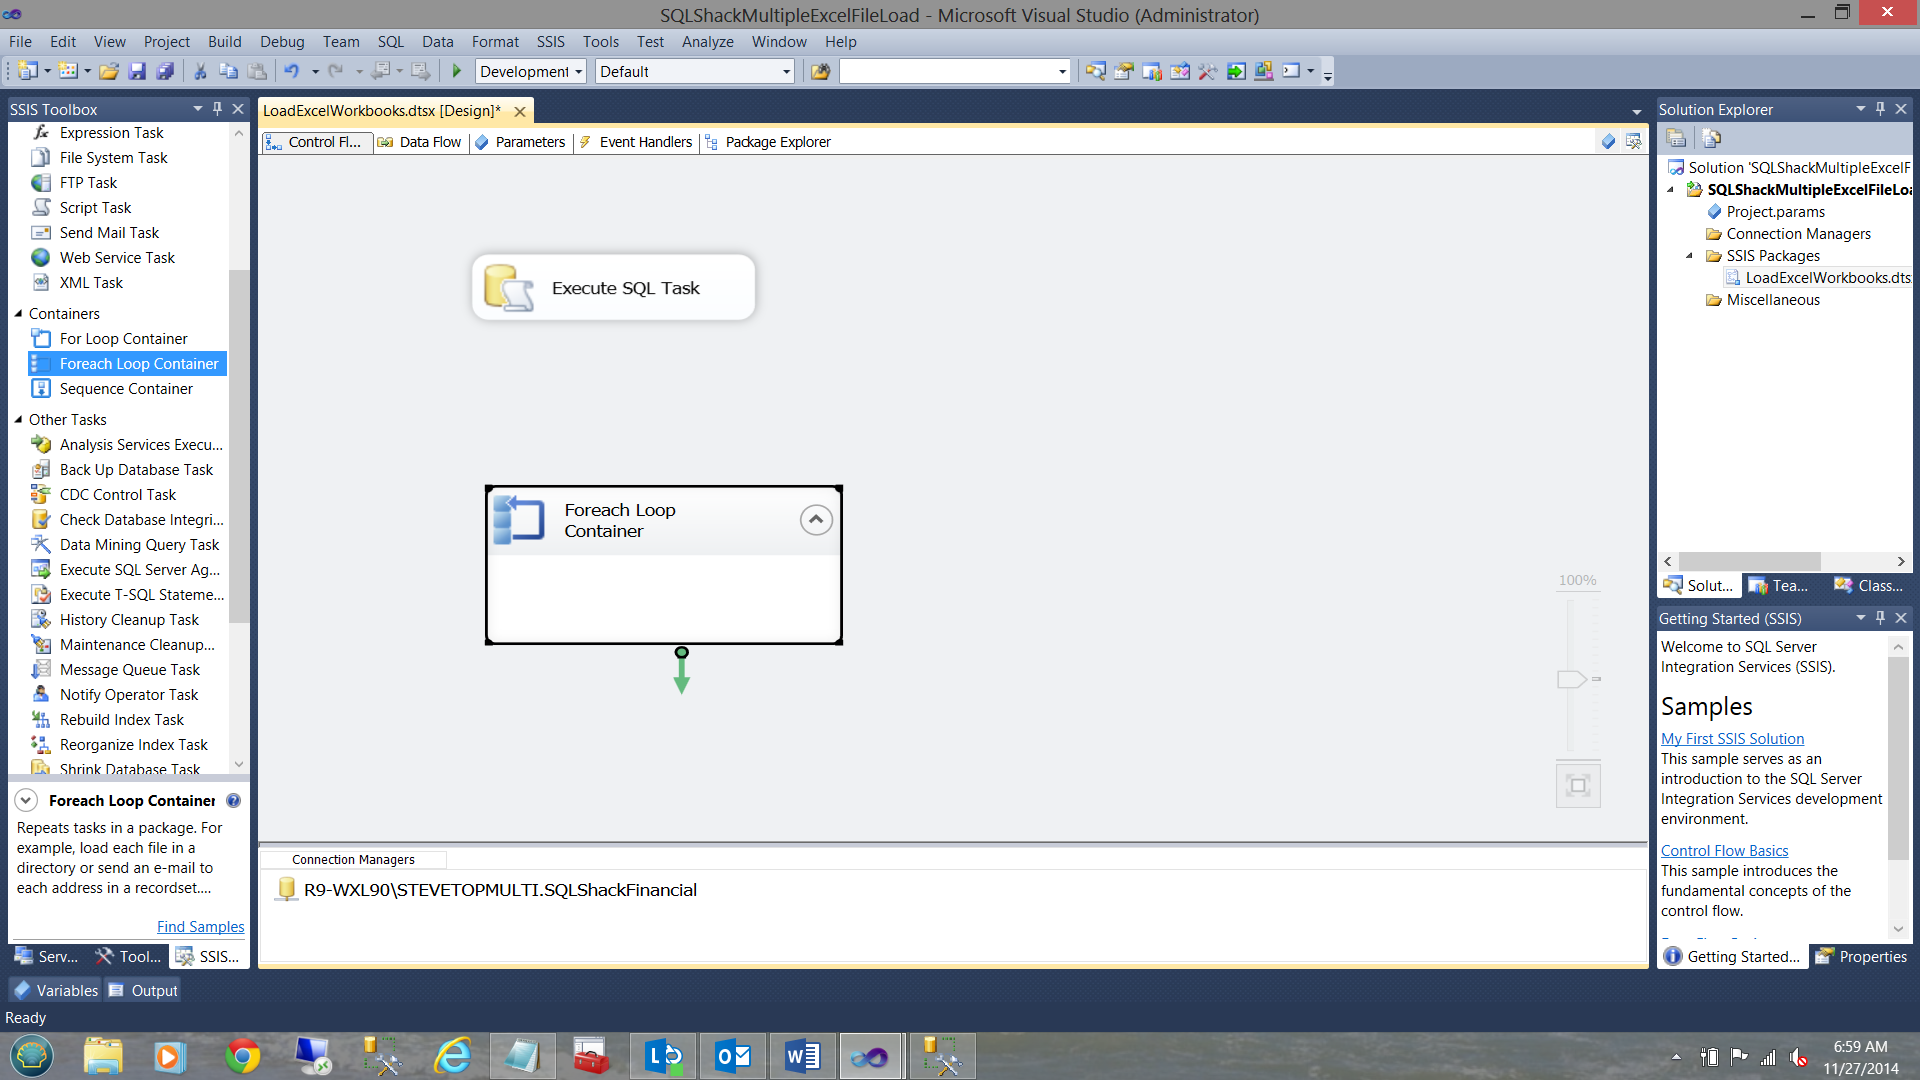
I now drag a “Foreach Loop Container” onto my work surface.
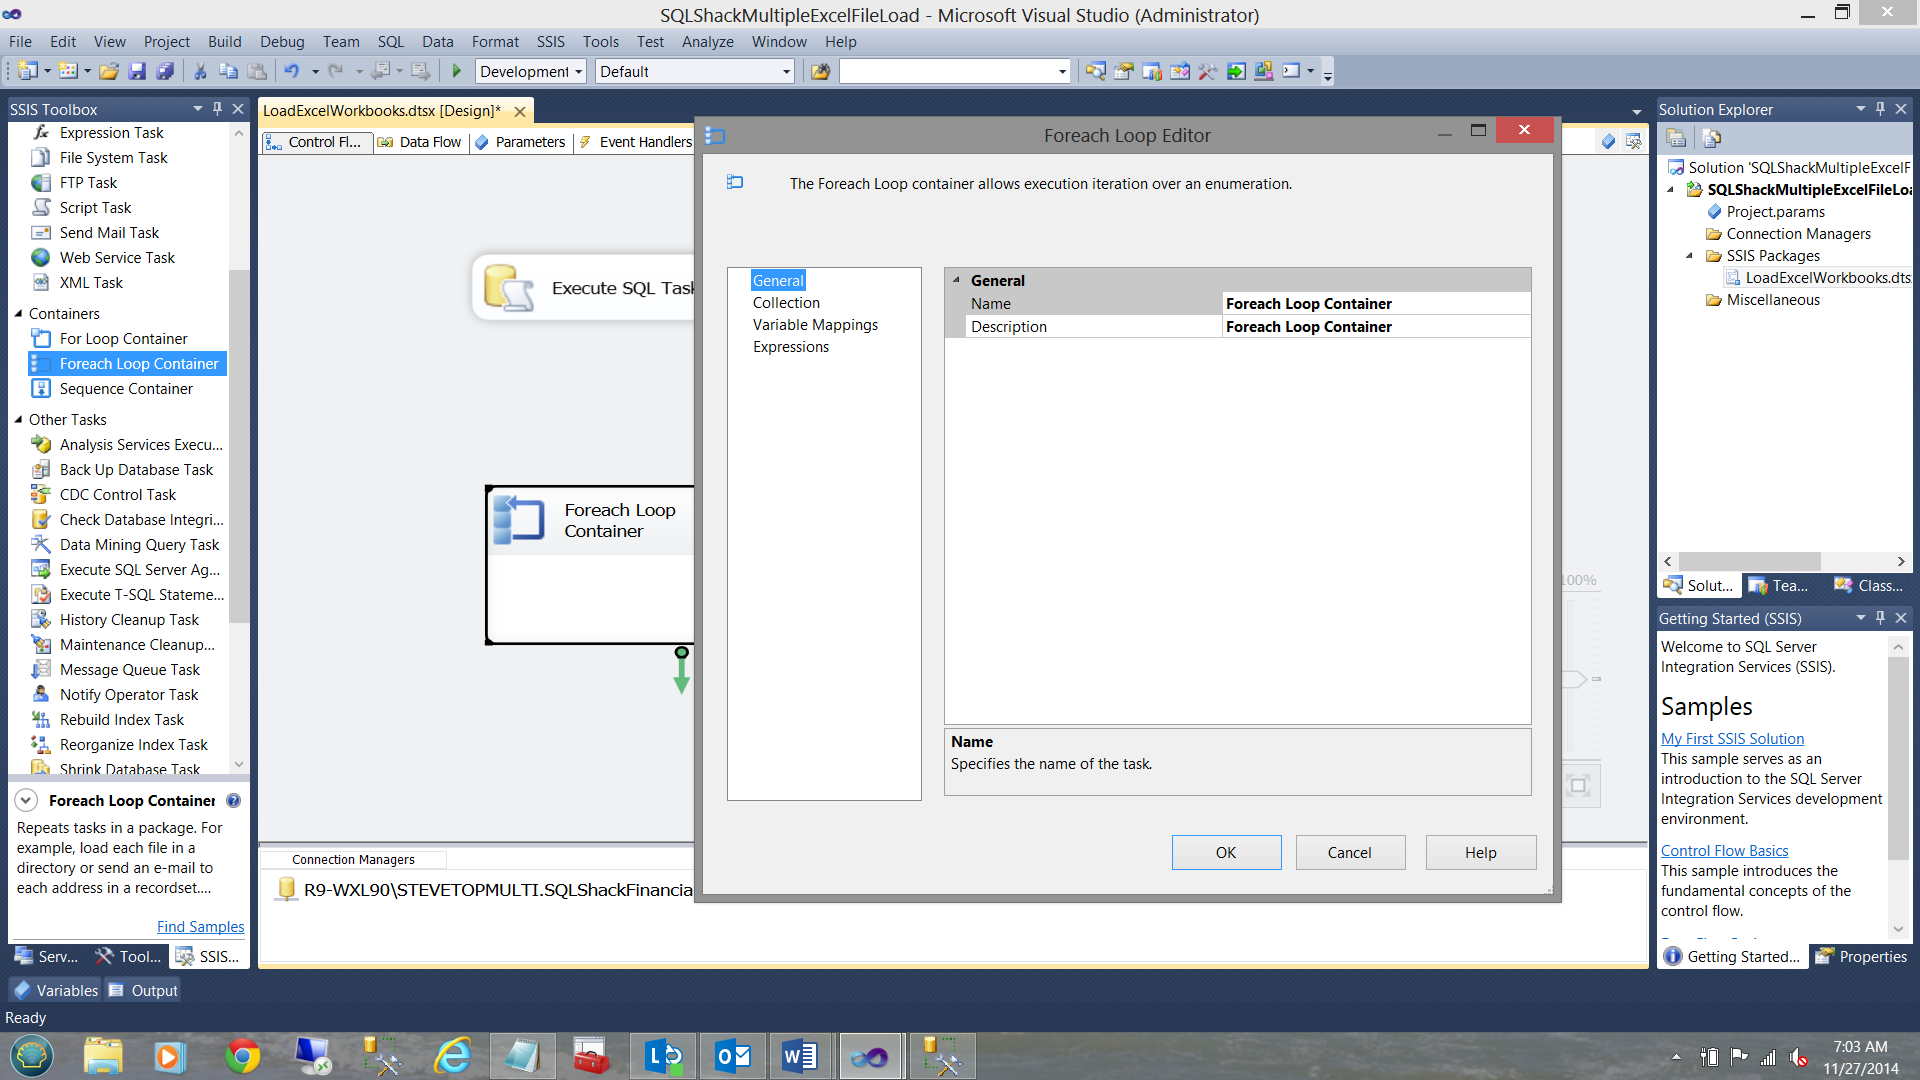
In order for the ‘magic’ to occur, we must “set” and configure a few variables within the “Foreach Loop Container”. I double click on the control and the “Foreach Loop” editor opens.
I first click upon the “Collection” tab and configure this tab as follows:
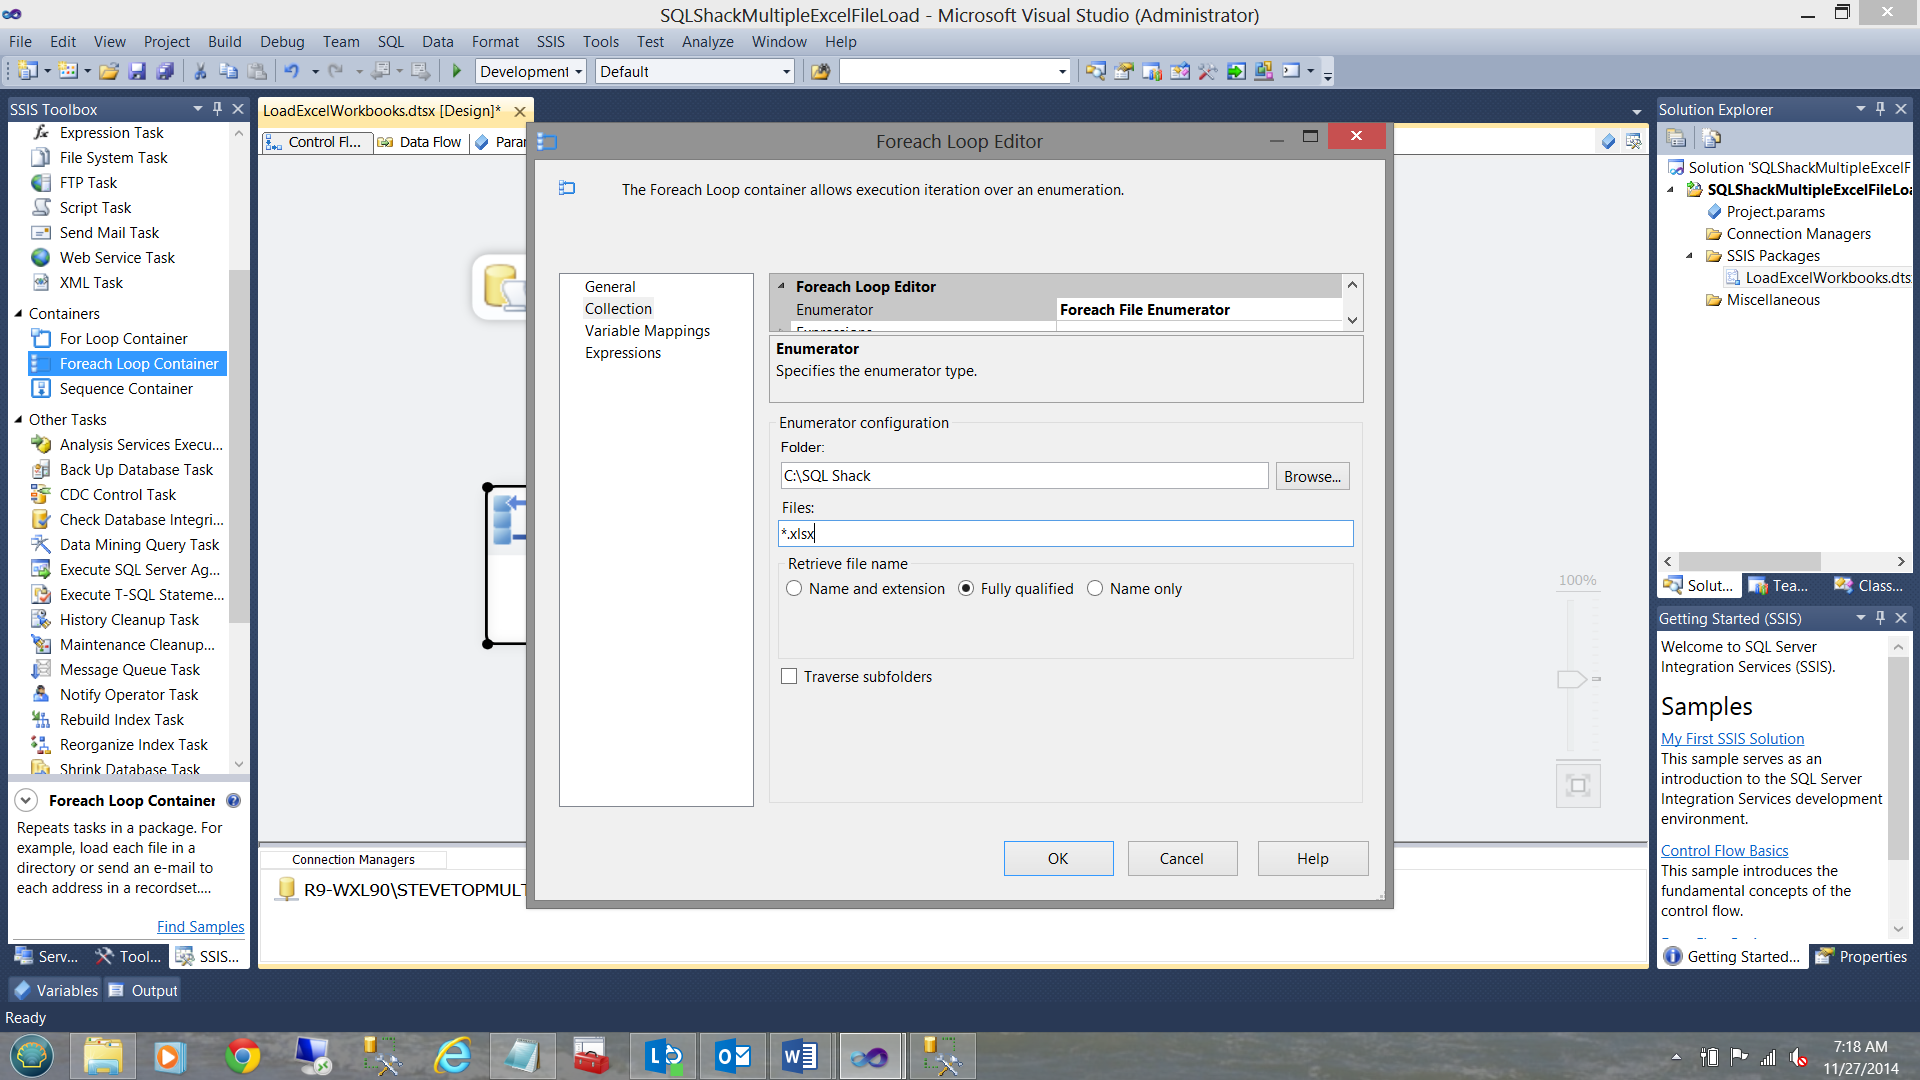
Note that I have entered the Folder in which the workbooks may / will be found and I tell SSIS that I want the package to INCLUDE ALL WORKBOOKS found with in this folder. In the real world this directory would be found on a server with a “common drive” used by all those departments with the correct rights.
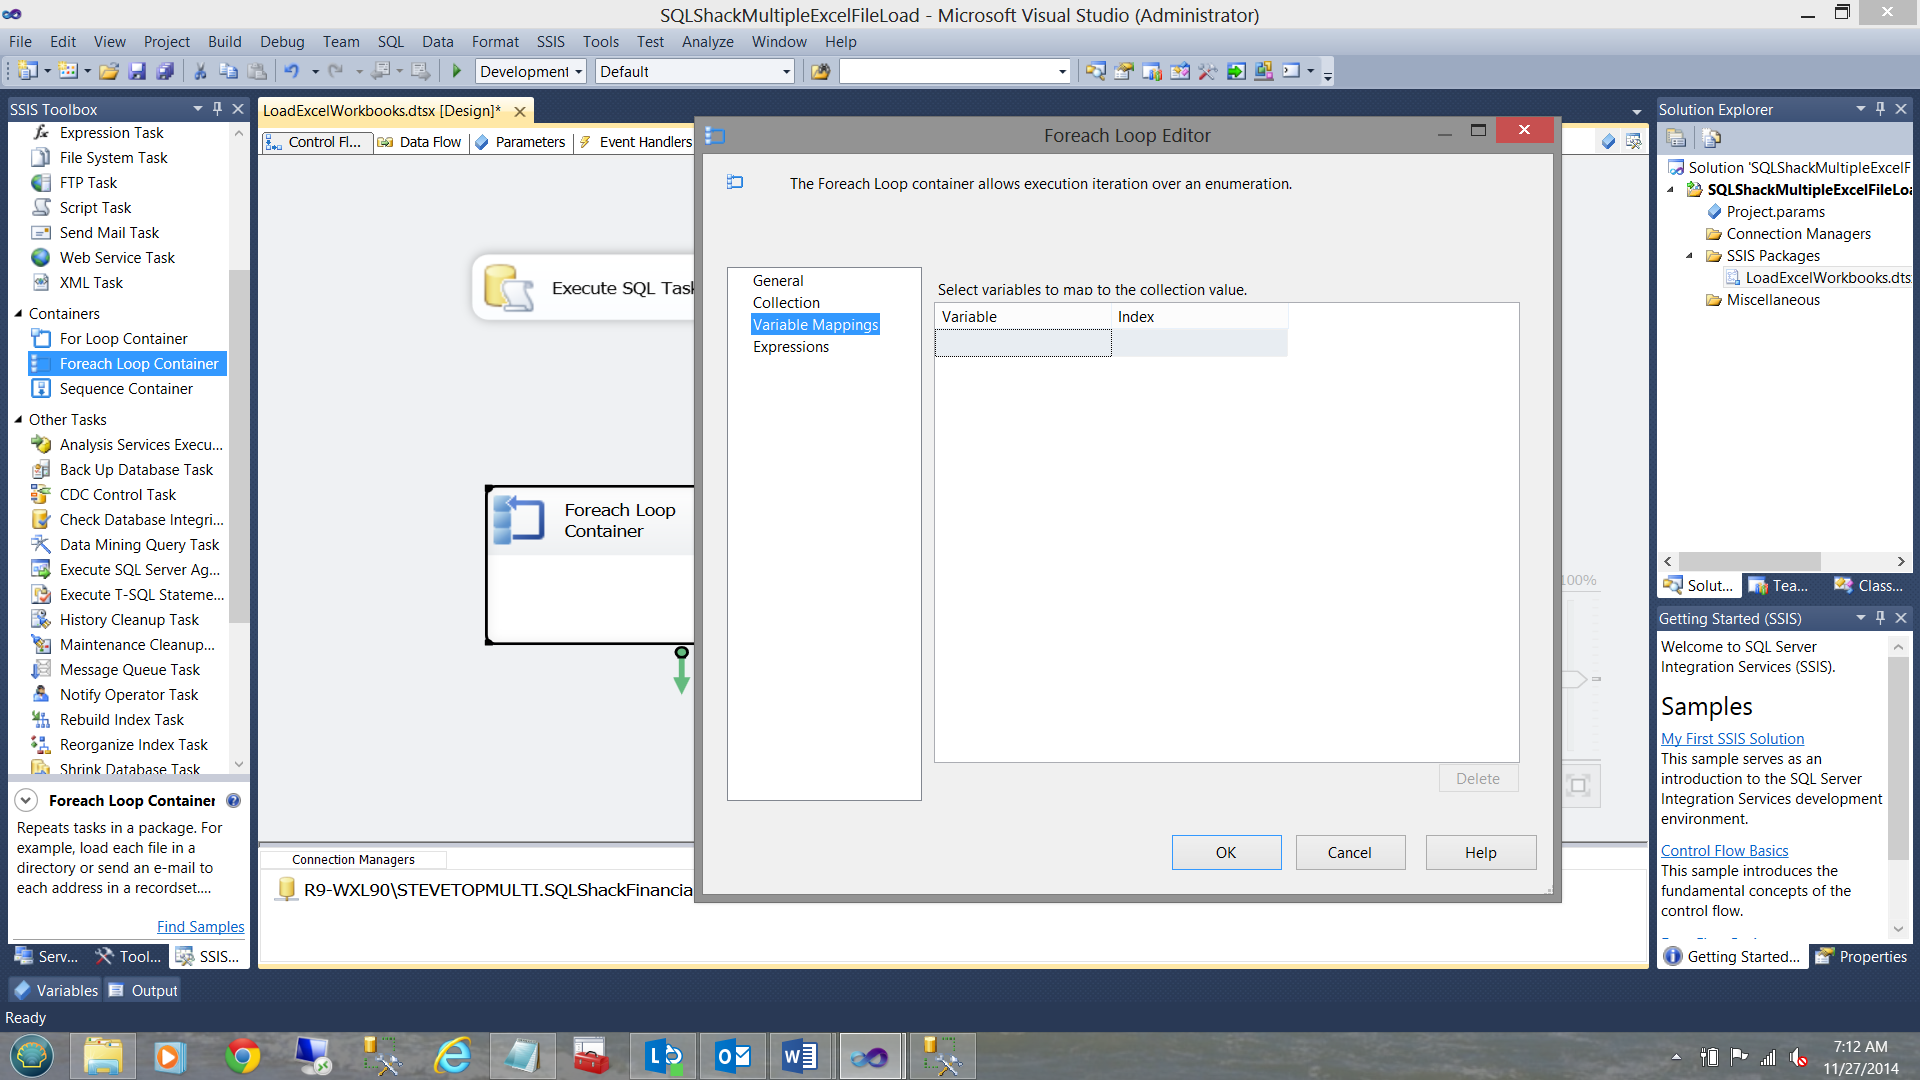
We now move to the third tab “Variable Mappings” to create a variable. The “Foreach Loop Editor” is once again displayed (see below).
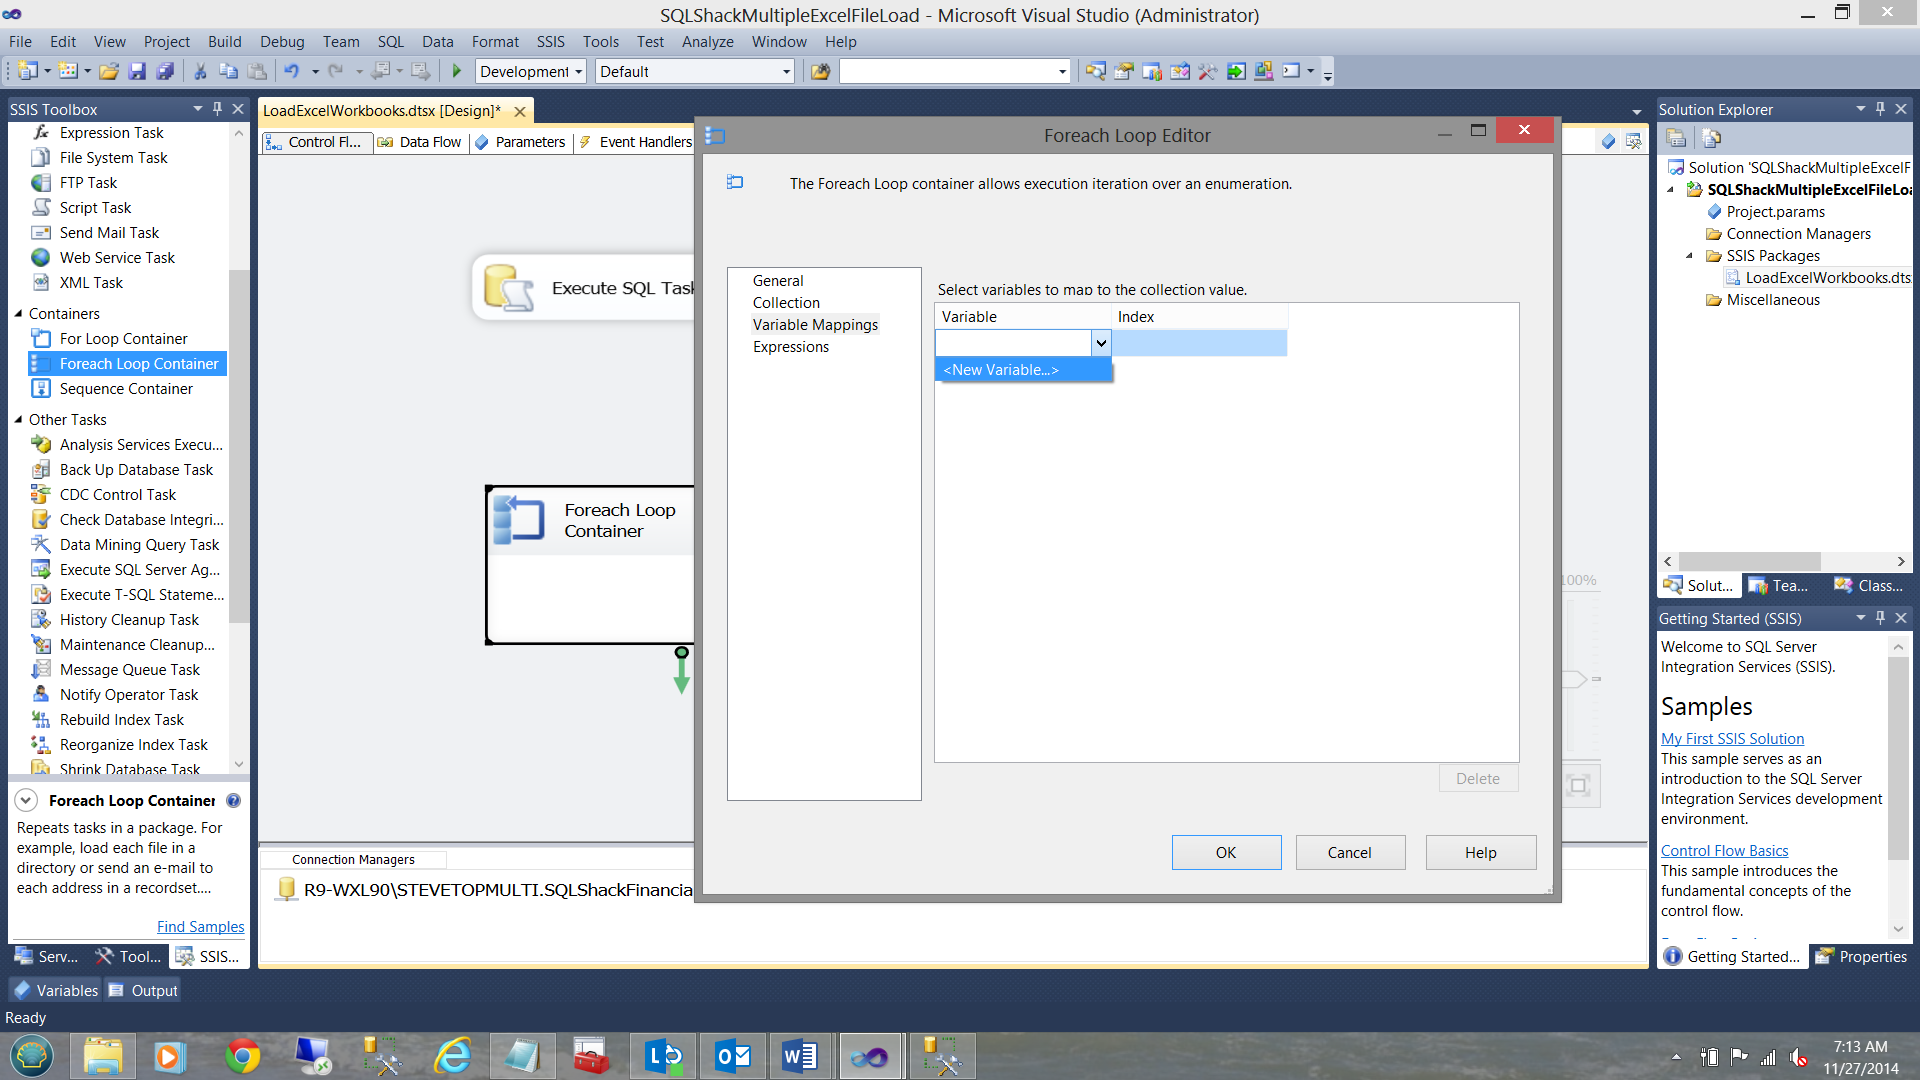
Clicking on the”Variable”tab, I am afforded the opportunity to add a new variable (see below).
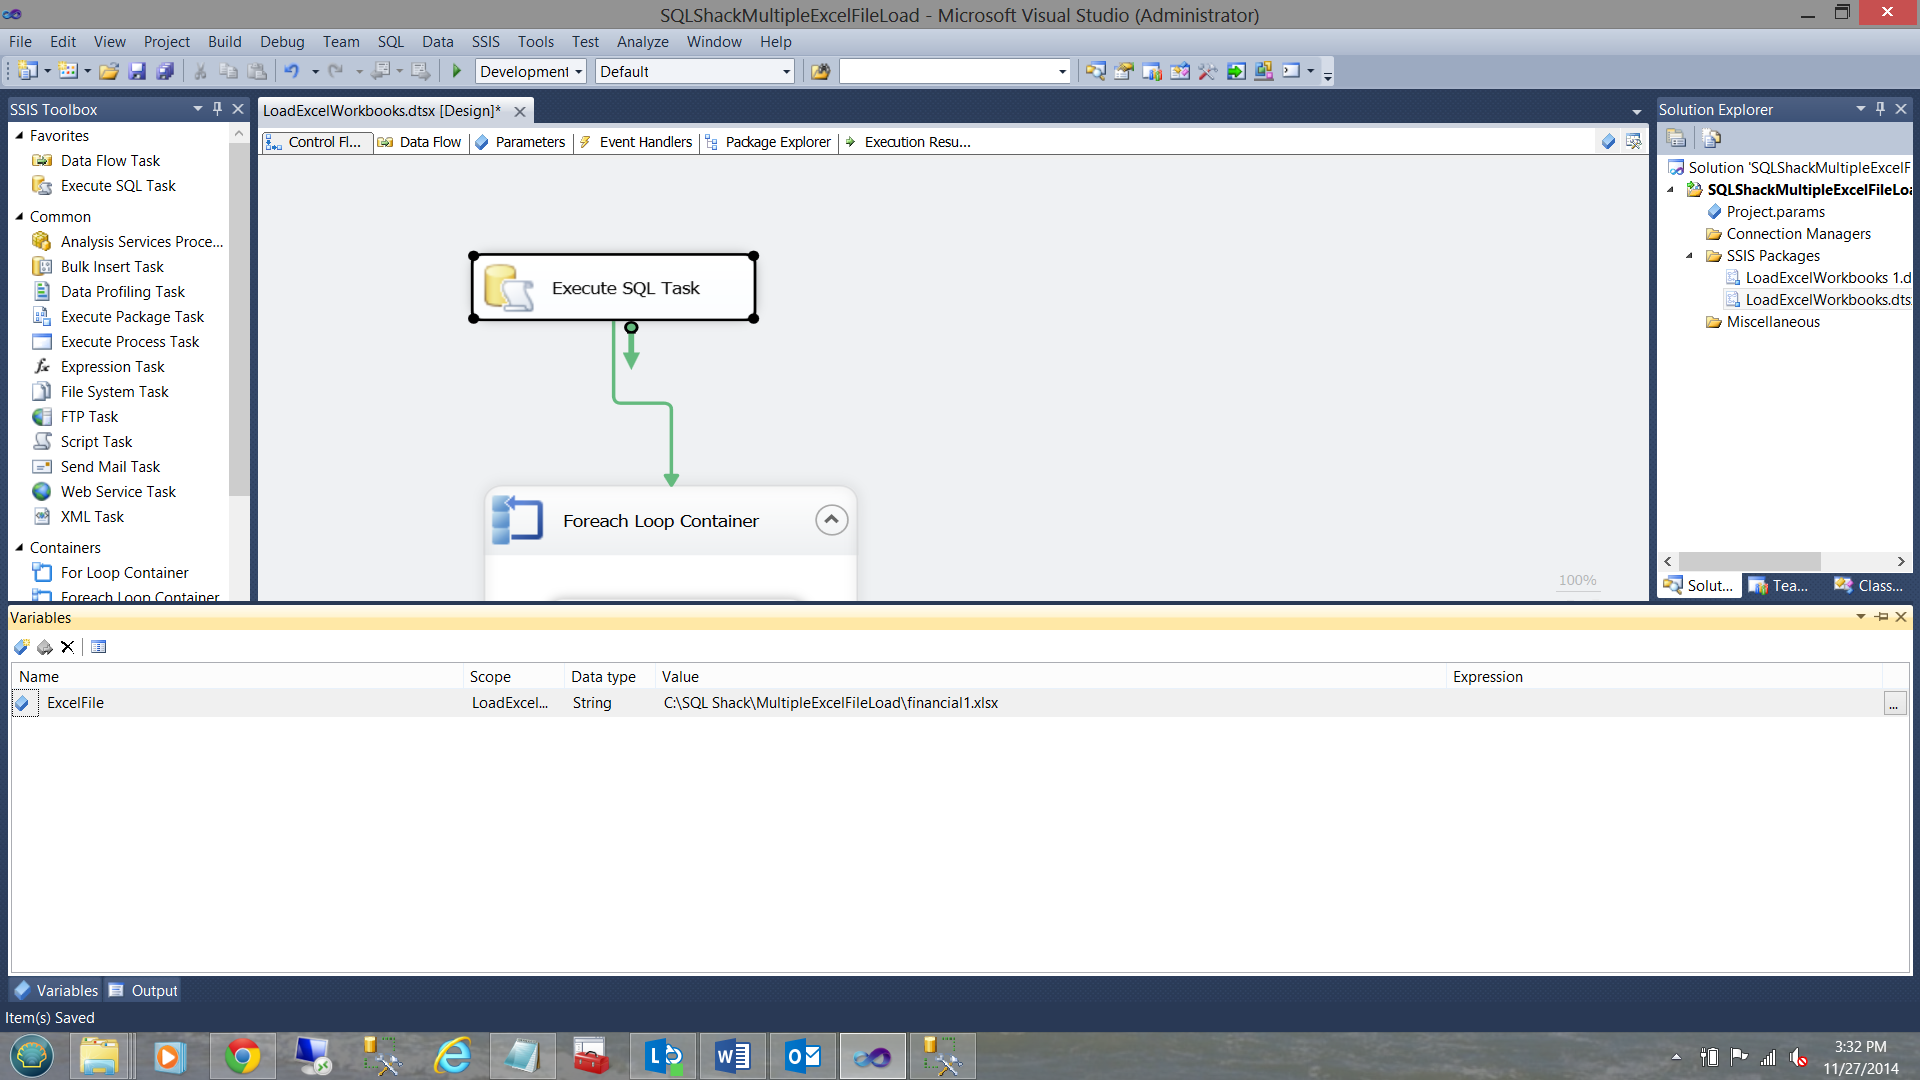
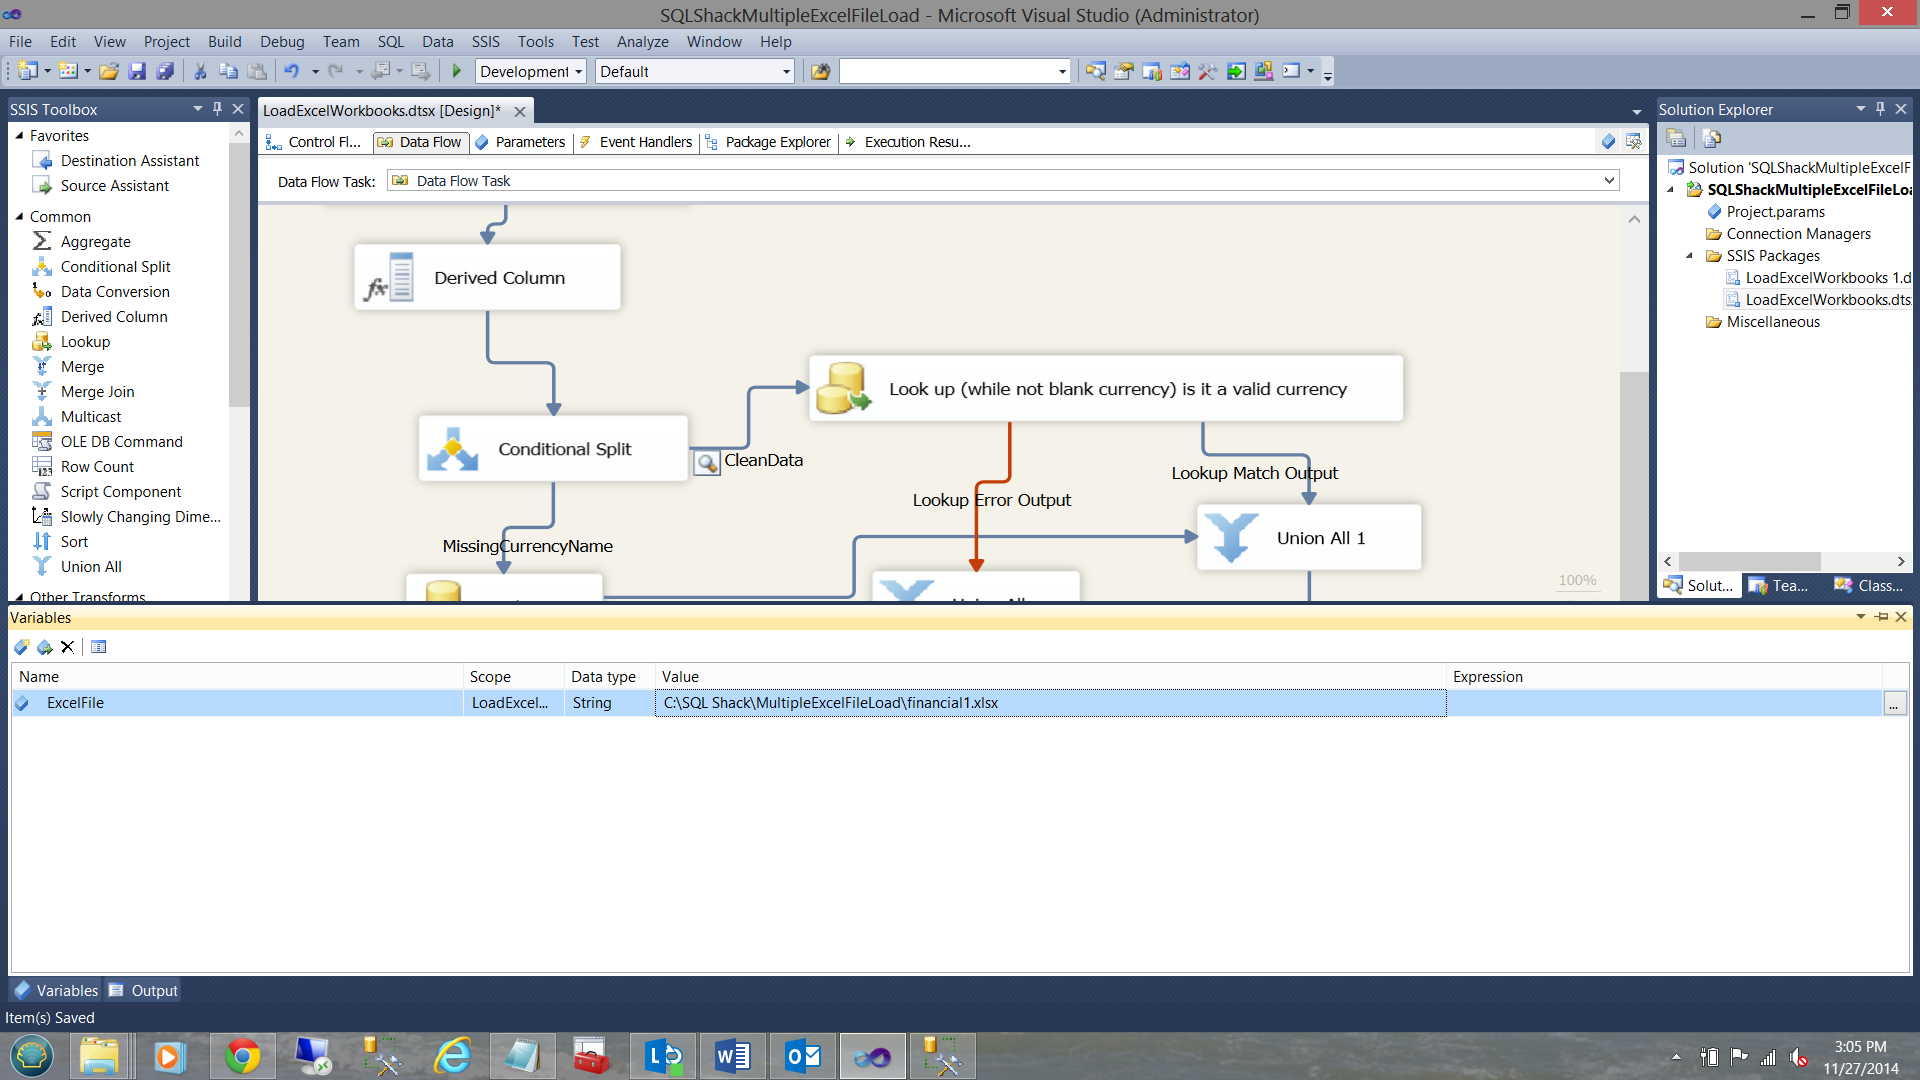
I call my variable “ExcelFile” and set the “Value” to the name of my first workbook (see below). This is MORE a default value than for any other purpose.

I click “OK” to exit the “Add Variable” dialog box.
We have now completed configuring our “Foreach Loop Container”.
Opening our “Variables” window we shall see that the variable has been defined (see below).
Note the variable (see below)
We are now “ready to go”.
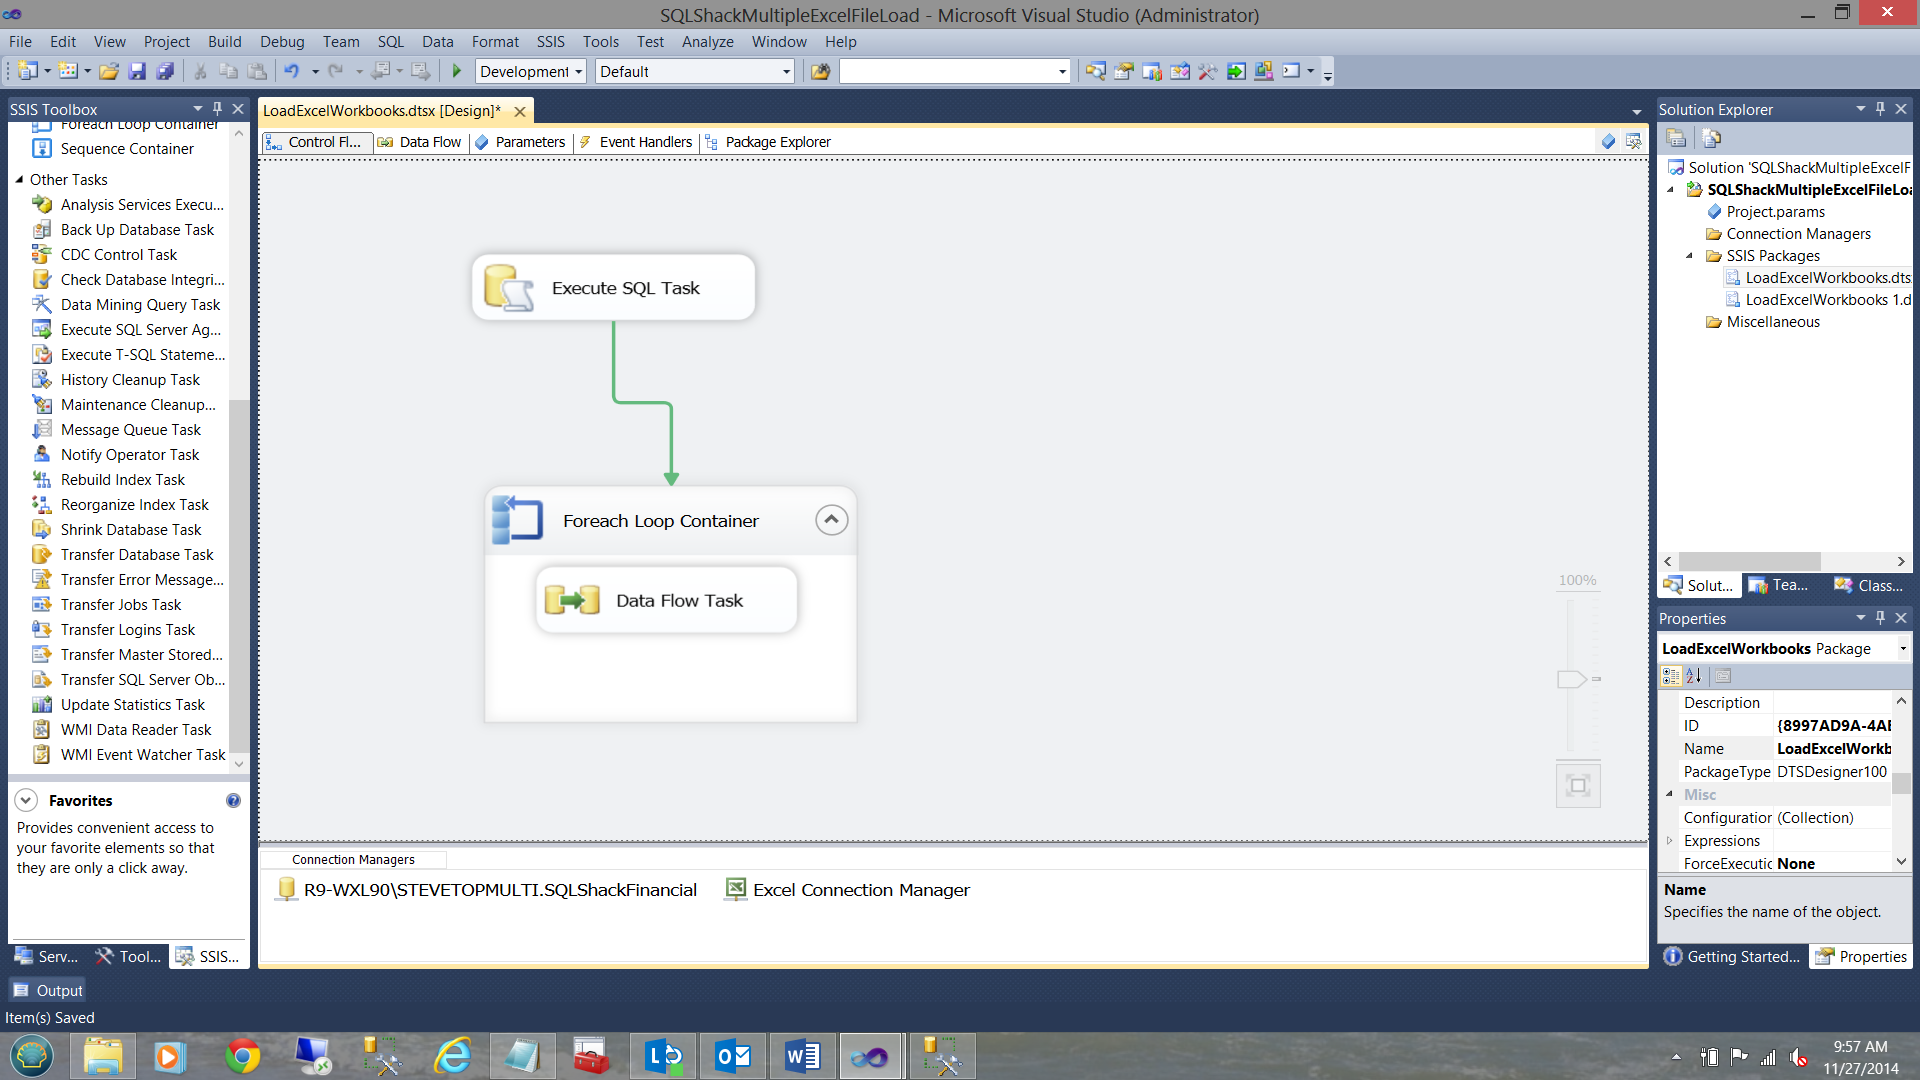
I now join our “Execute SQL Task” to our ”Foreach Loop Container”.

Setting the Excel data source or “you may want some Slivovitz”
Setting the “Excel Data Source” CORRECTLY, at first “drove me to drink”!
I start by dragging an Excel Data Source into the connection manager (see below).
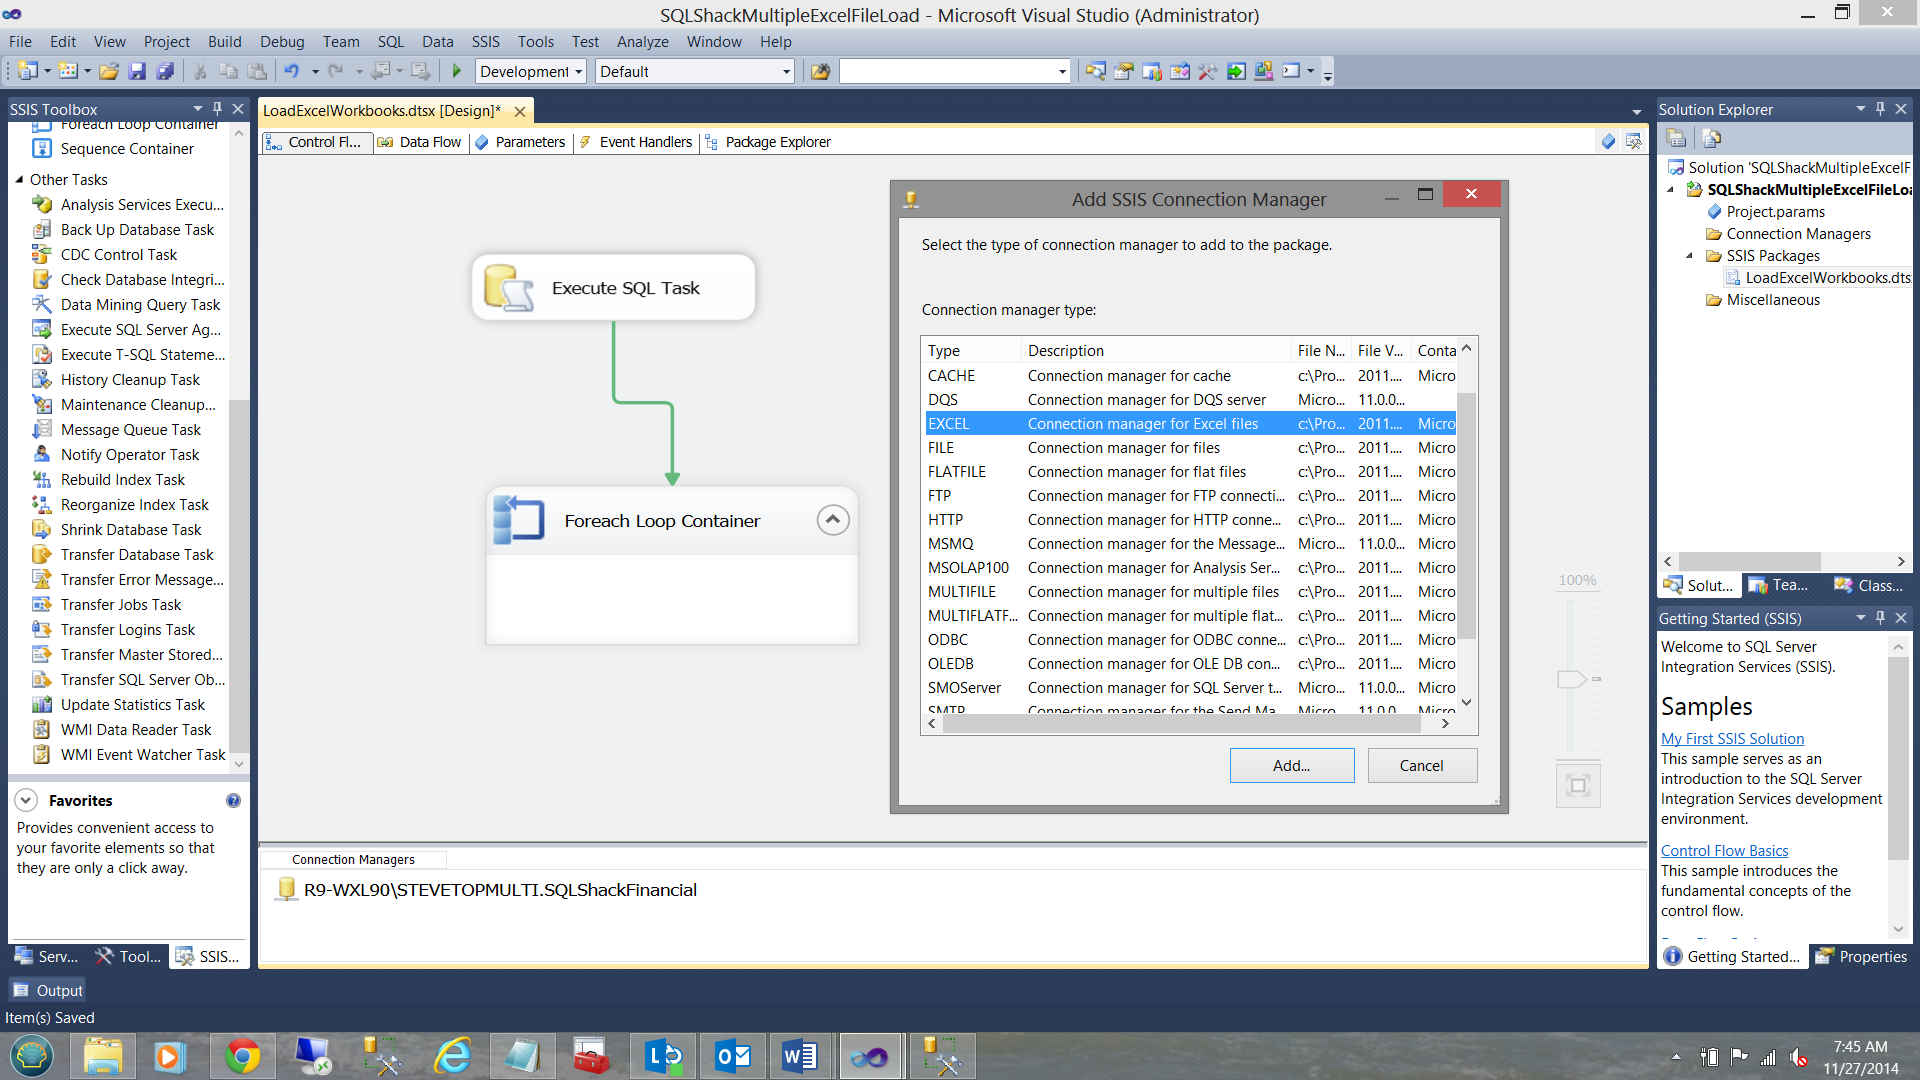
I right click within the “Connection Managers” Box and choose “Add a new Connection”. I select “EXCEL”, (see above).
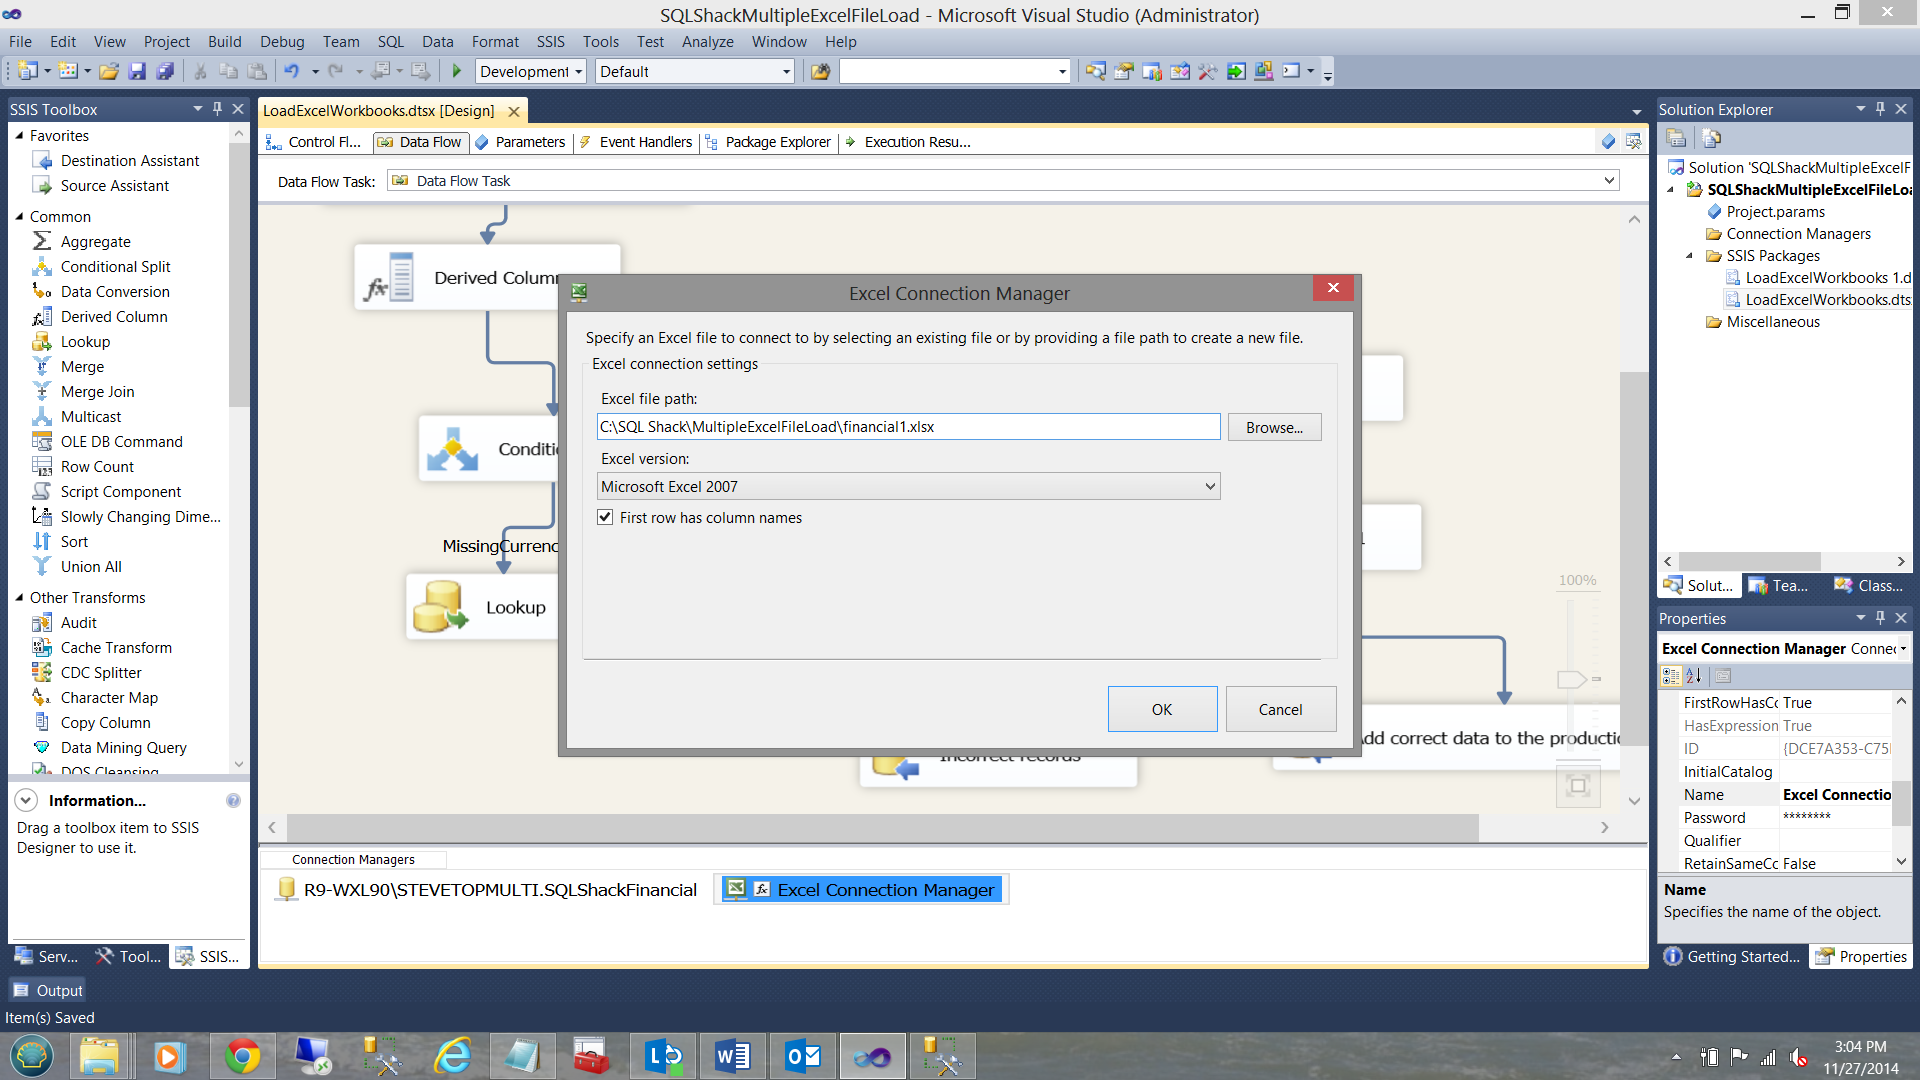
I browse to find the first Excel workbook (see below).
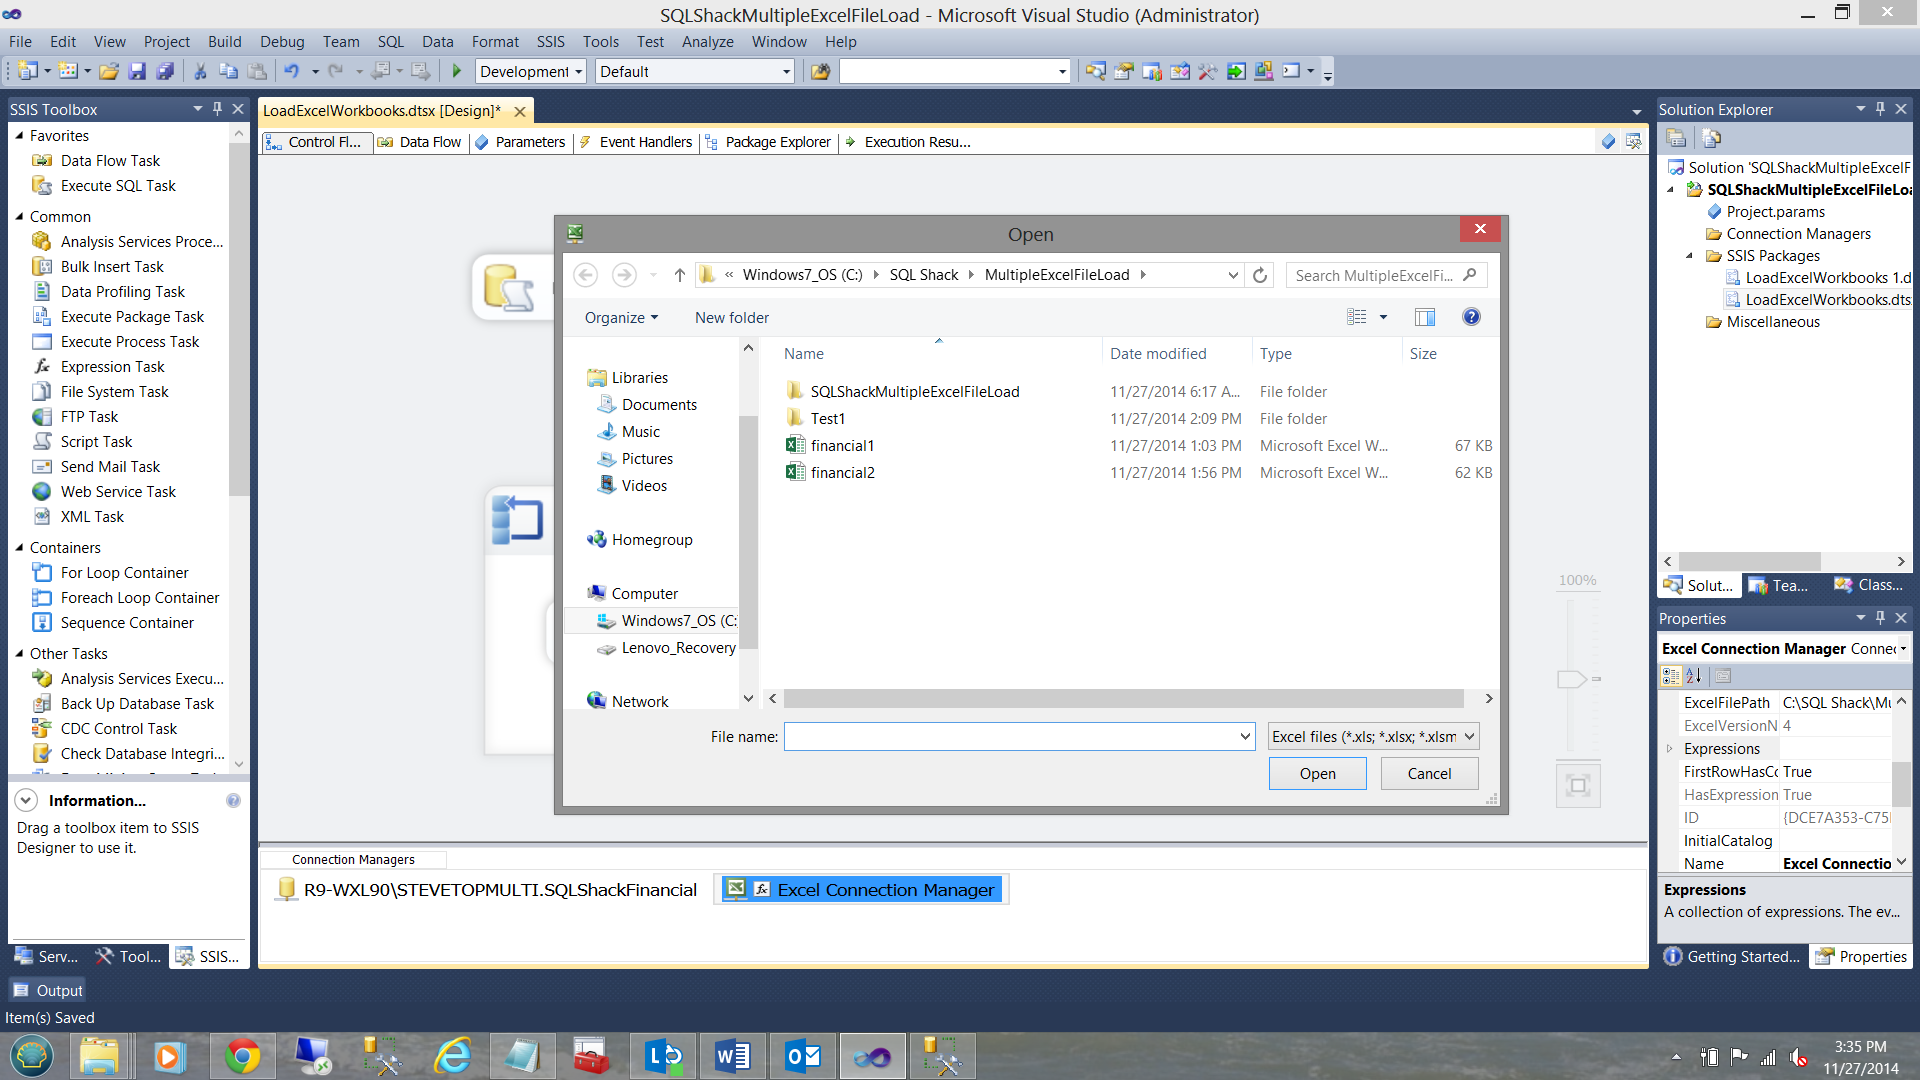
To accept this, I click “Open”.
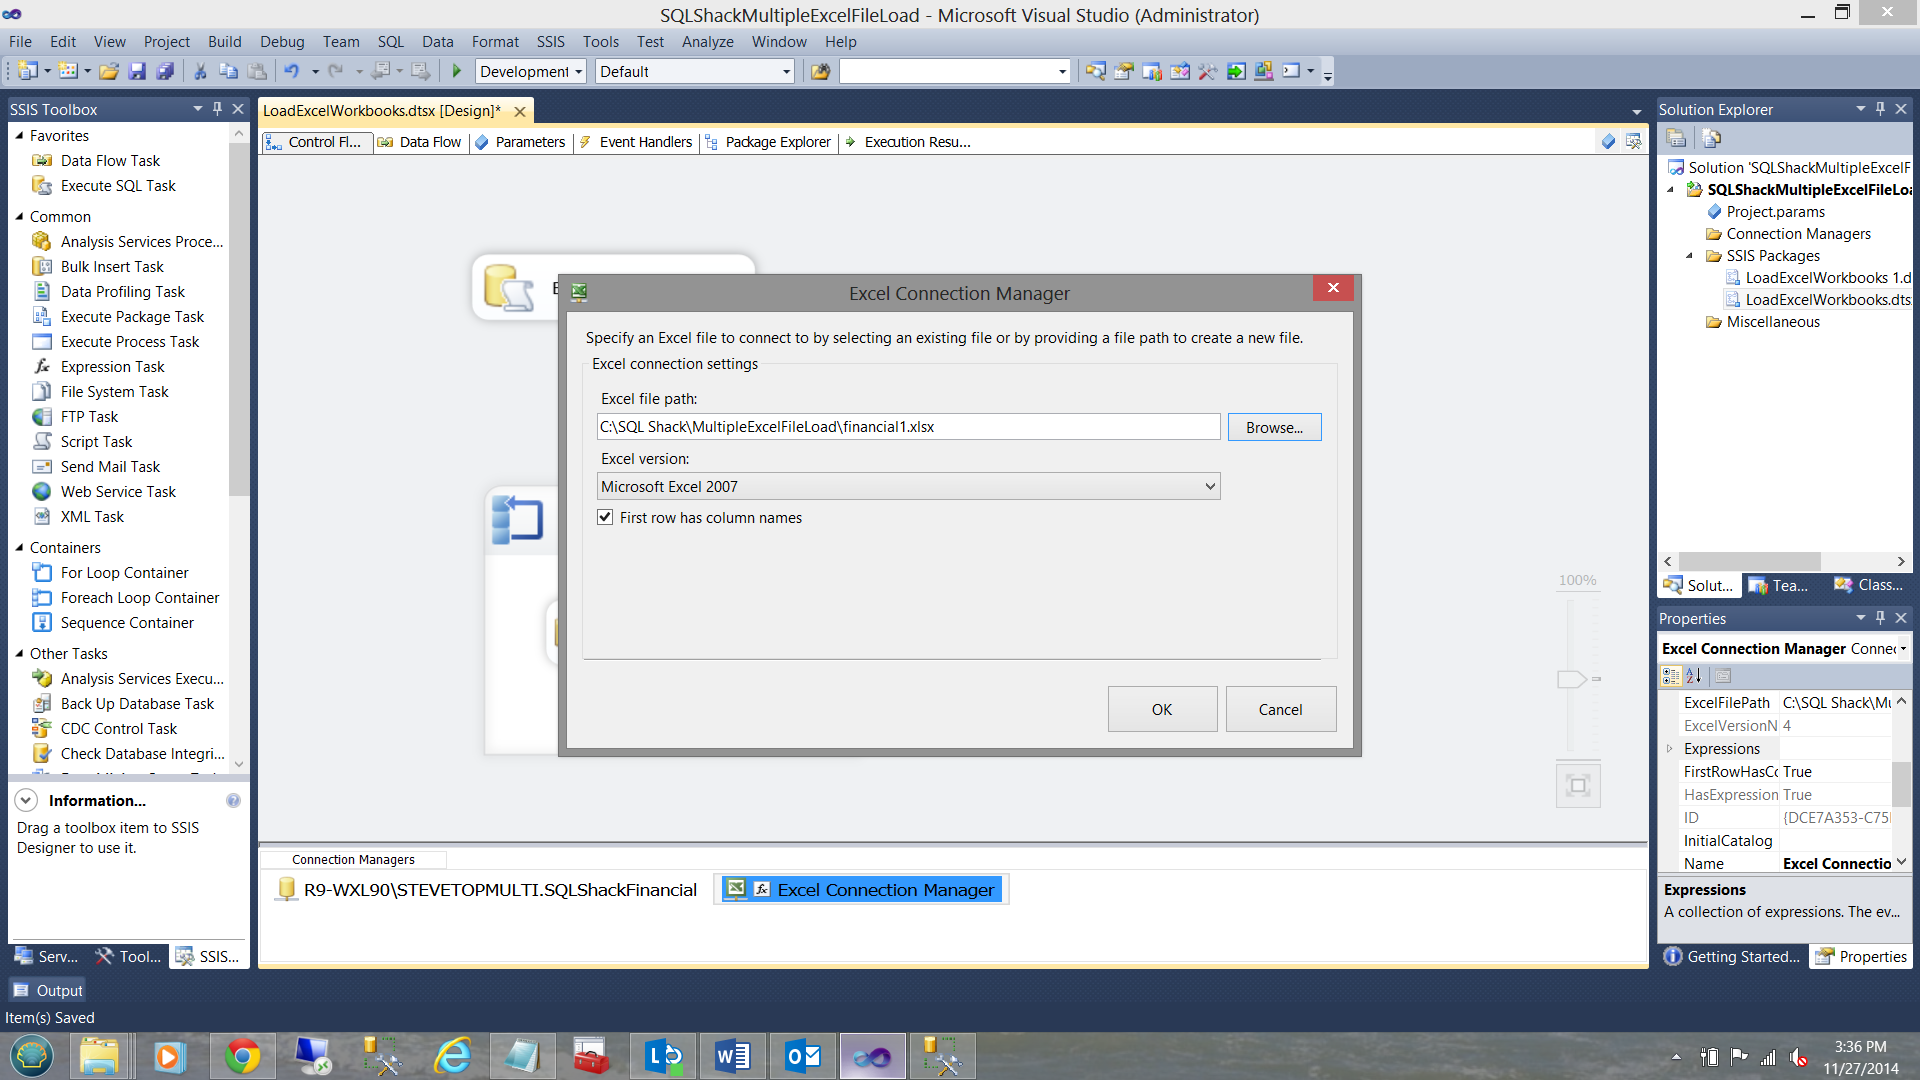
My connection may be “finished” HOWEVER here comes the real tricky part!!!!
Please stay with me for the next few sentences.
I now right click on the Excel connection that we just created and open the properties page.
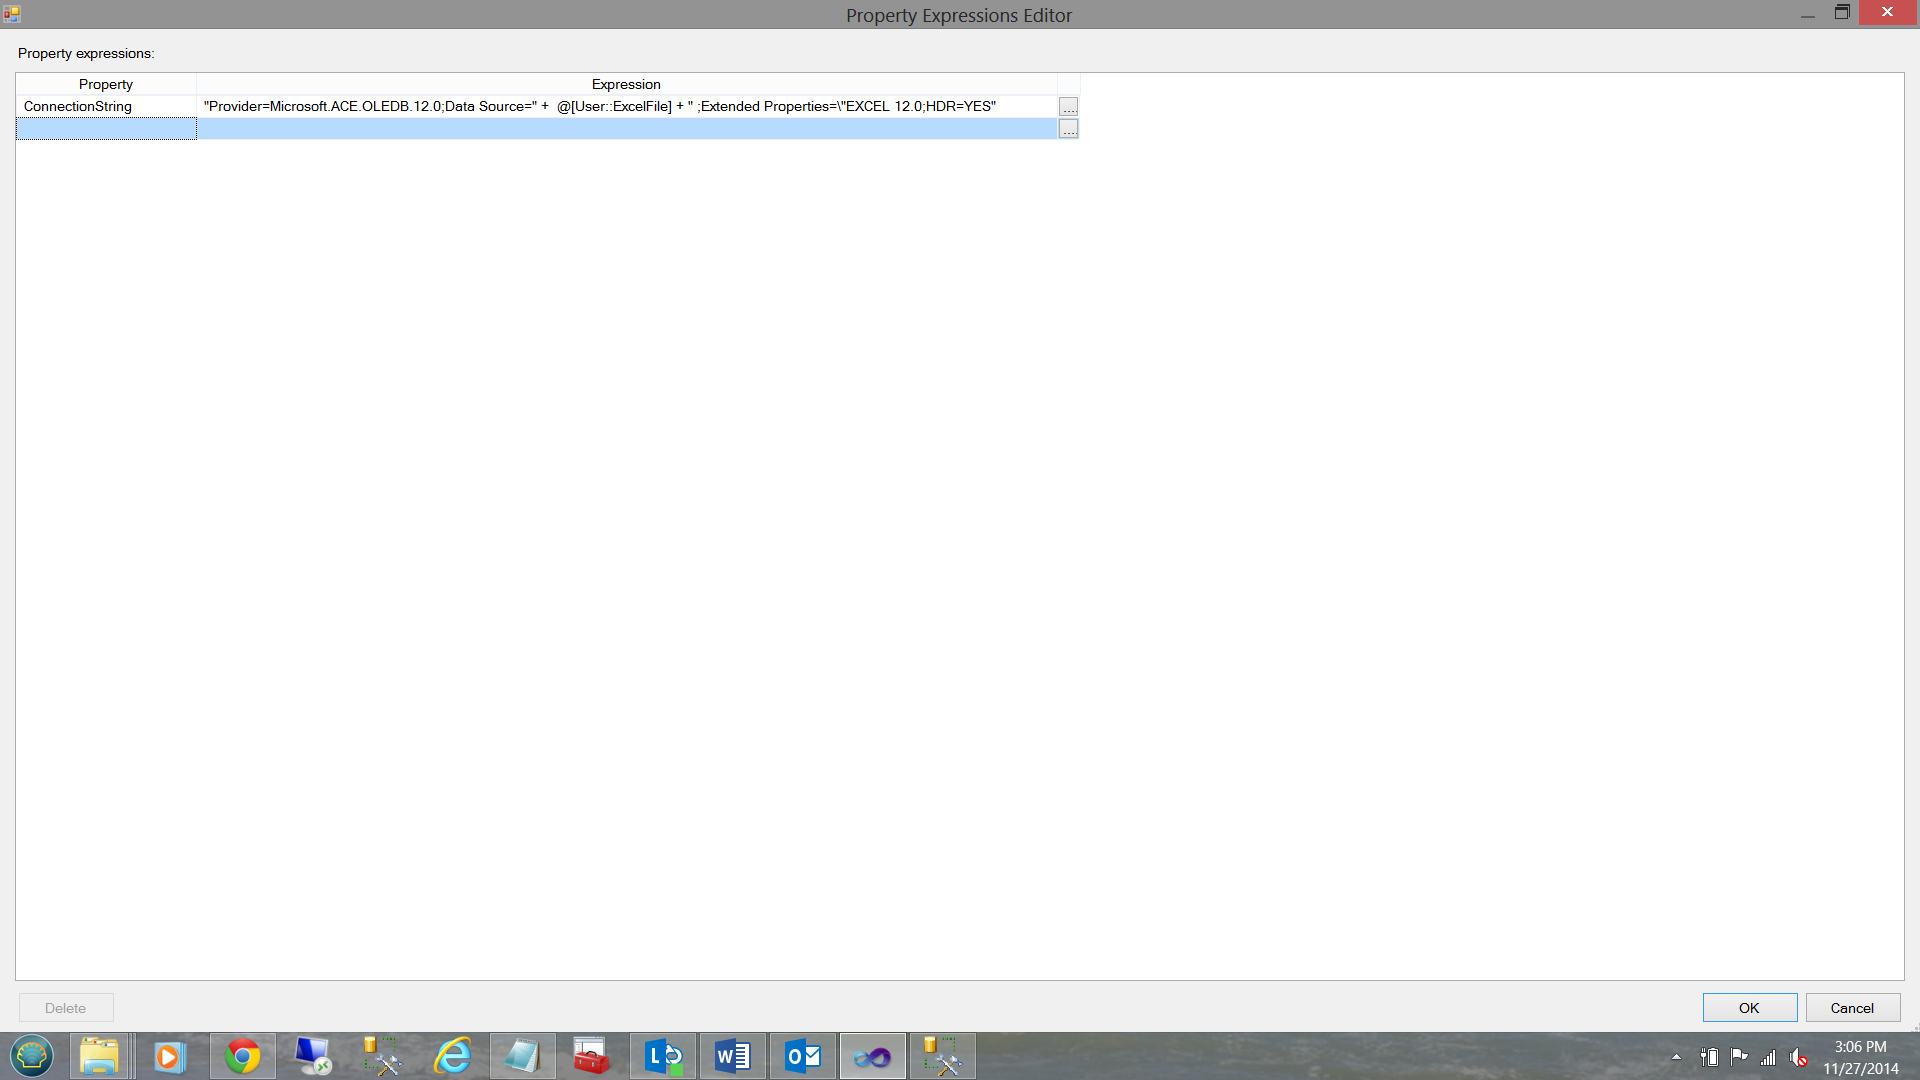
Find the “Expressions” property and click the ellipsis. The Property Expression Editor will then come up (see below).
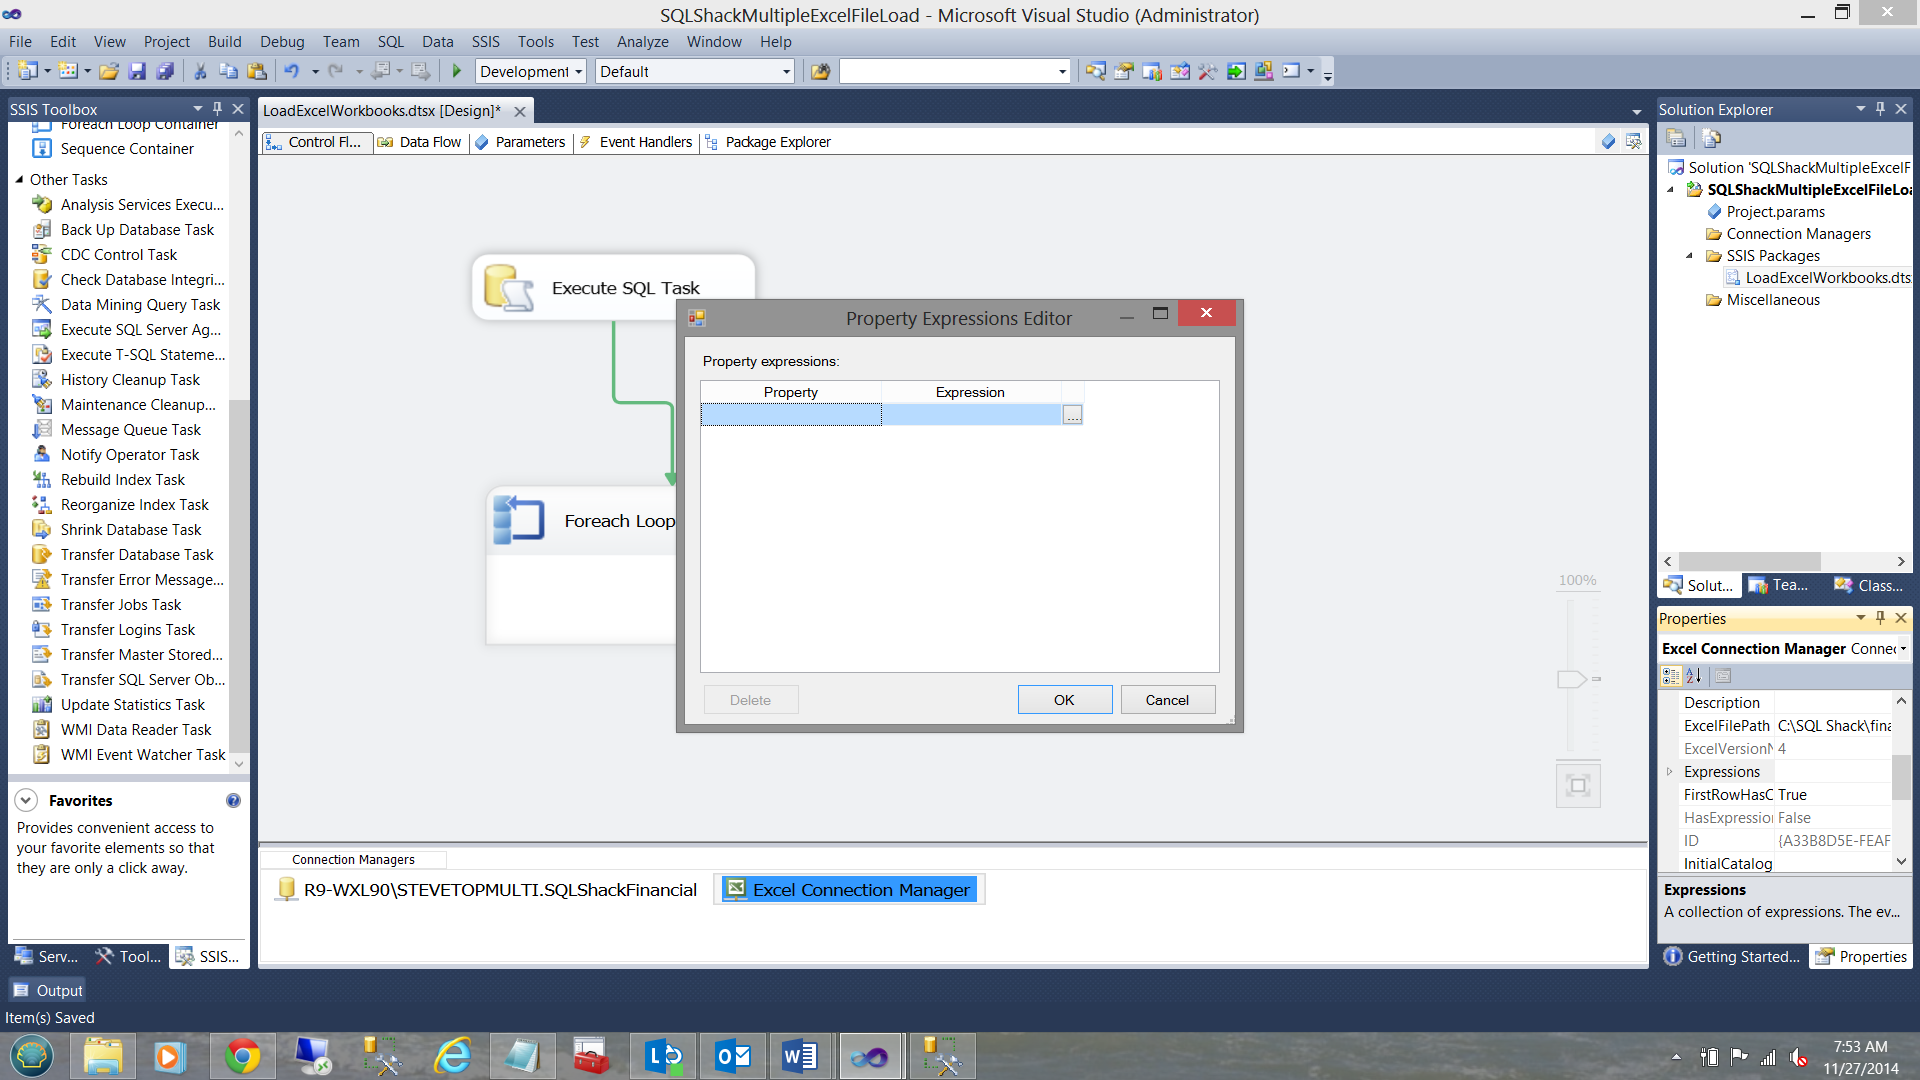
Choose “Connection String” from the “Property” dropdown box (see below)
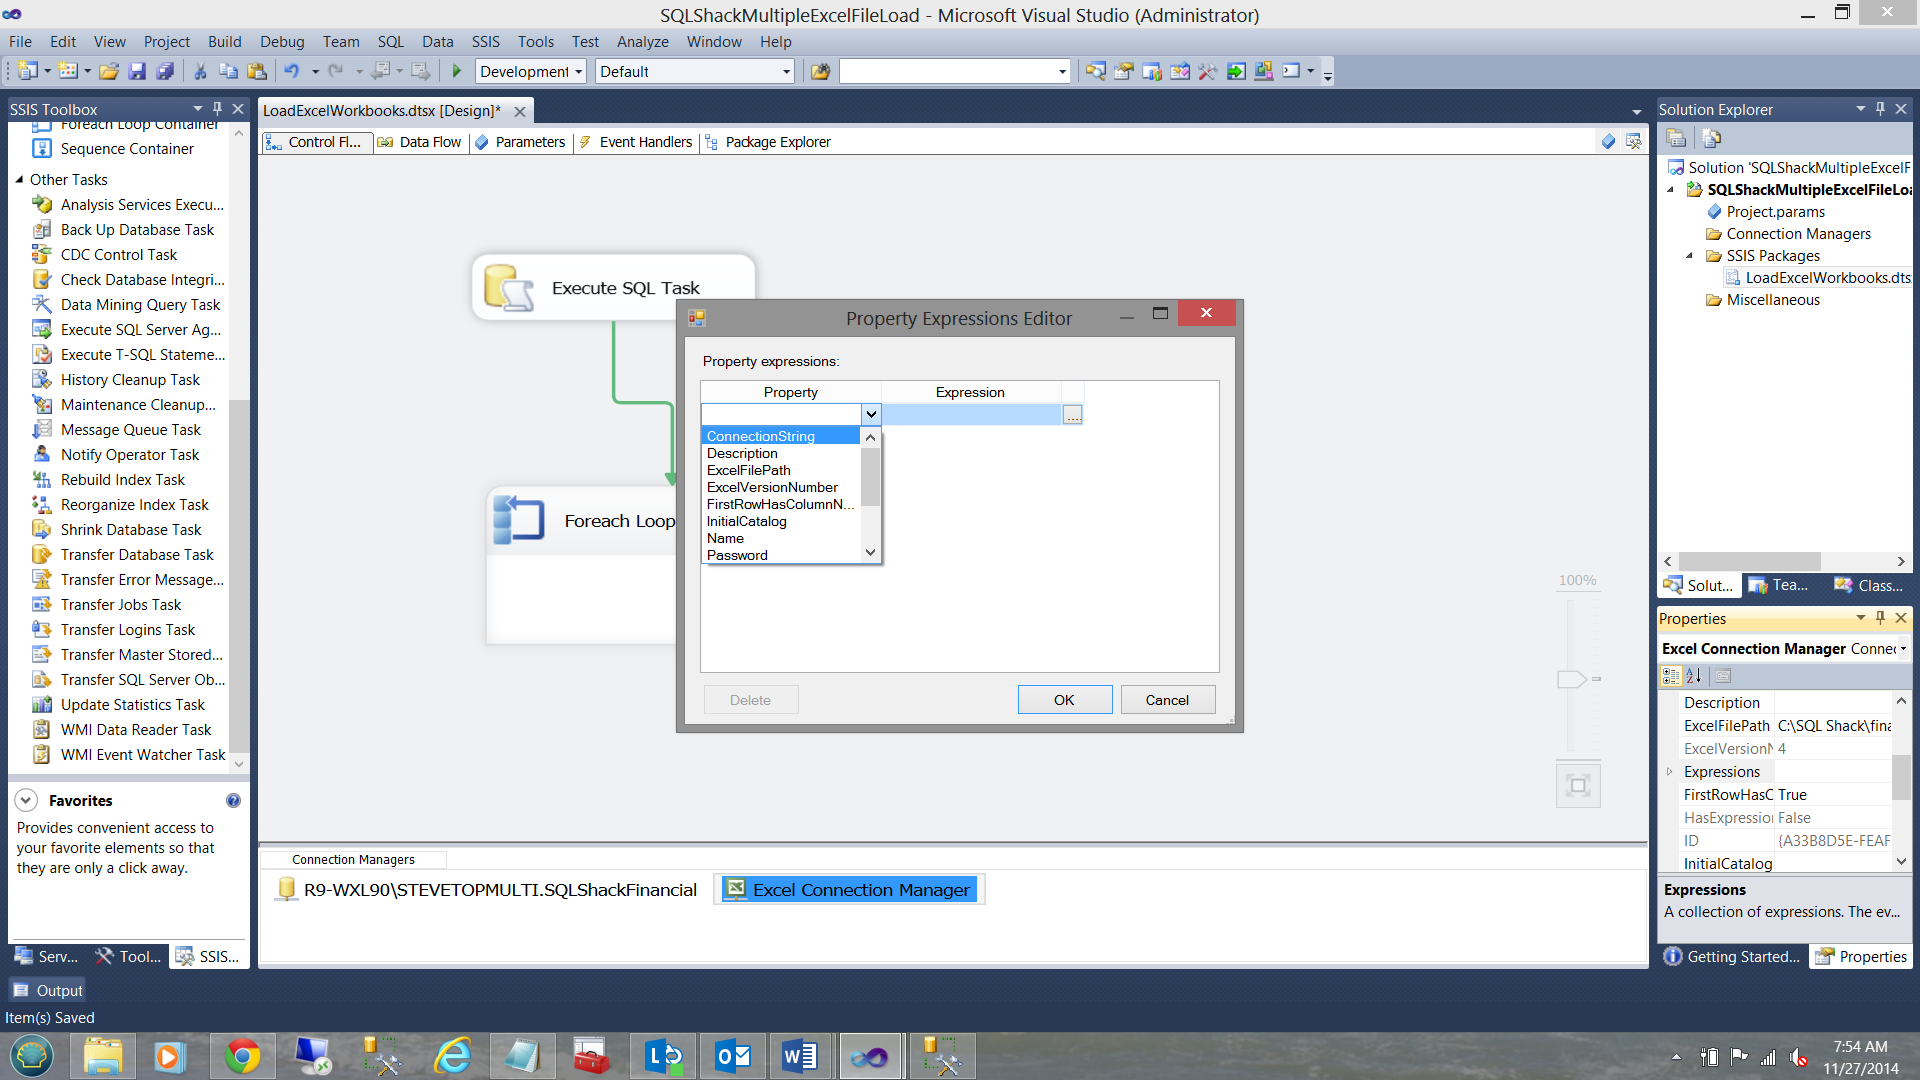
and copy the following expression
Provider=Microsoft.ACE.OLEDB.12.0;Data Source=C:\Excel Load Loop\financial1.xlsx ;Extended Properties=”Excel 12.0;HDR=YES”;
NOTE that any references to XML must be removed!!!!!!!
into the “Expression” box (see above) or a better example may be seen in the section entitled ‘Caveat Emptor’ below.
We are now ready to design our Data Flow.
Creating the Data Flow
To begin we add a “Data Flow Task” to our “Foreach Loop Container” see below
Switching to the Data Flow tab within our SSIS project we find our blank surface.
I now add an “Excel Data Source” to the working surface.

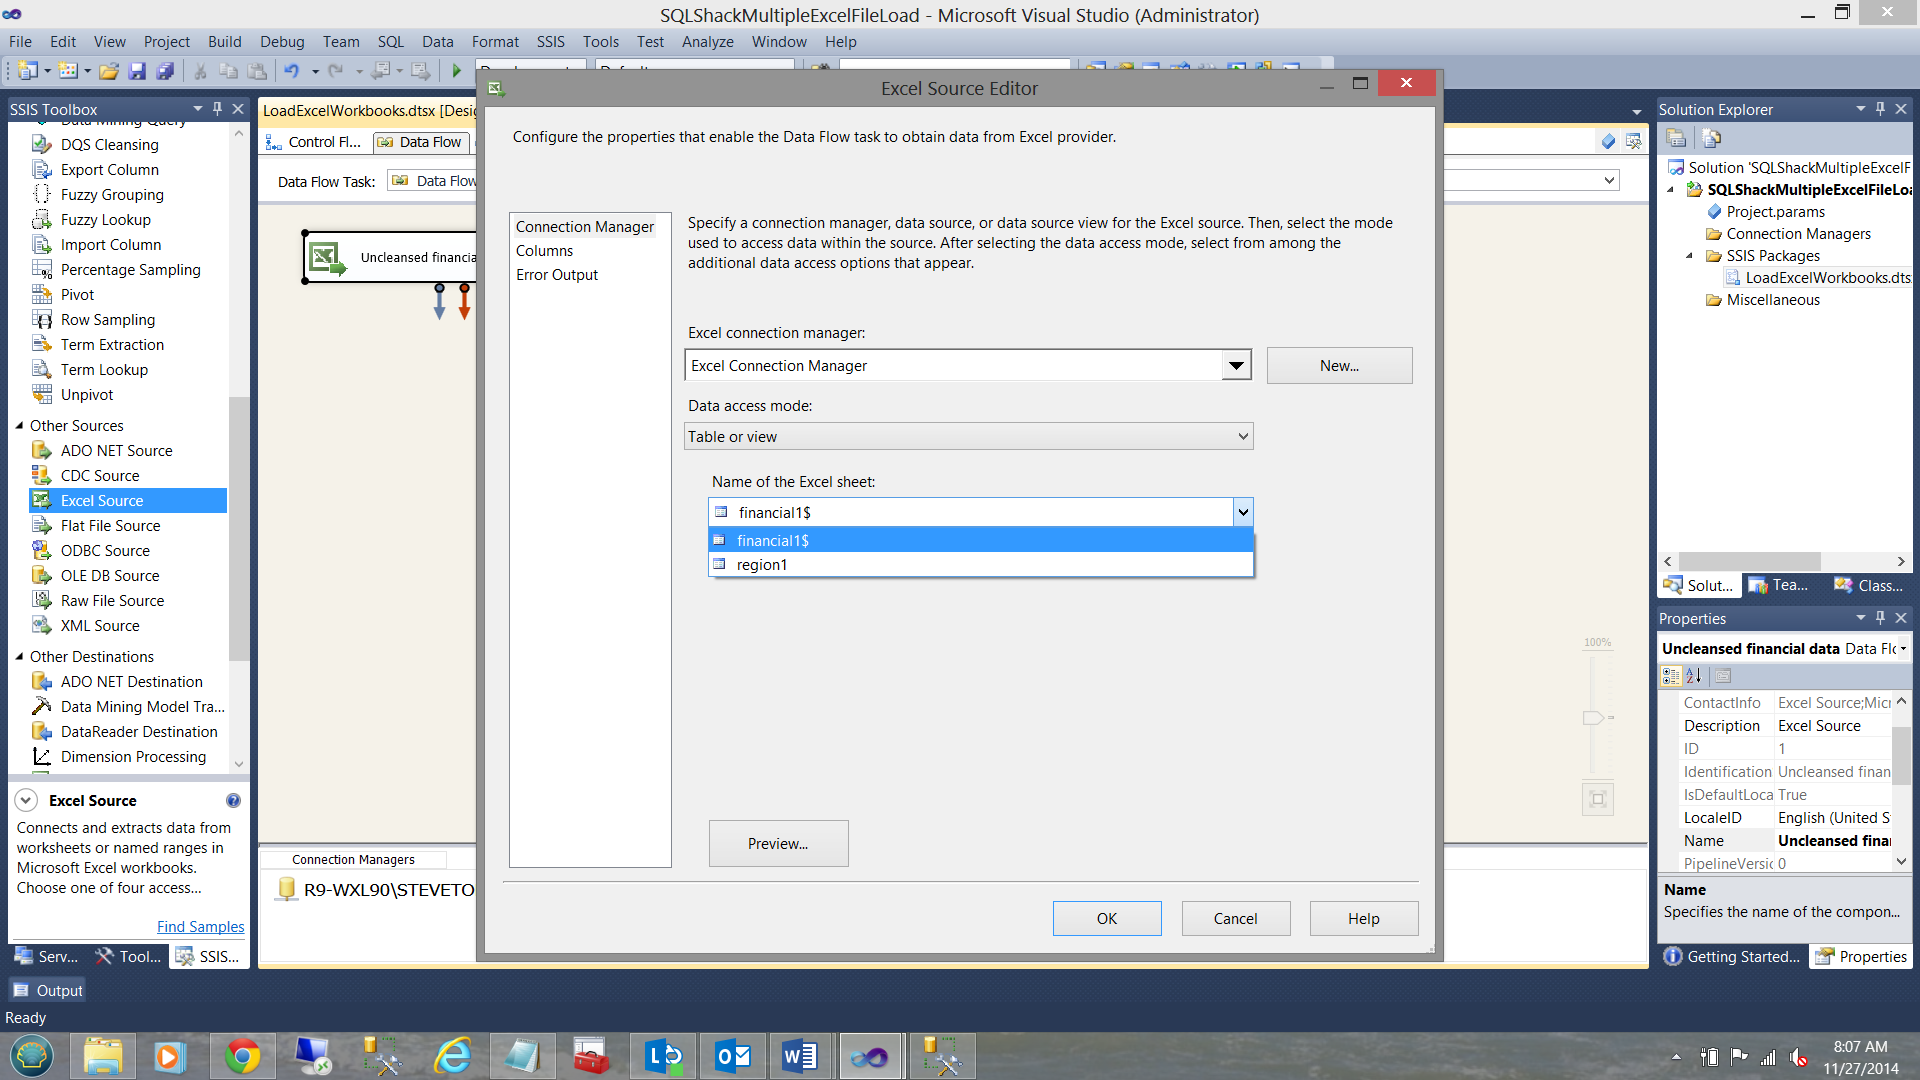
By double click the control, I bring up the “Excel Source Editor”. I select the “Connection Manager” tab and then select the financial1$ (my common worksheet name) (see below).
Click now upon the “Columns” tab, I find a list of the columns within the spreadsheet(see below).
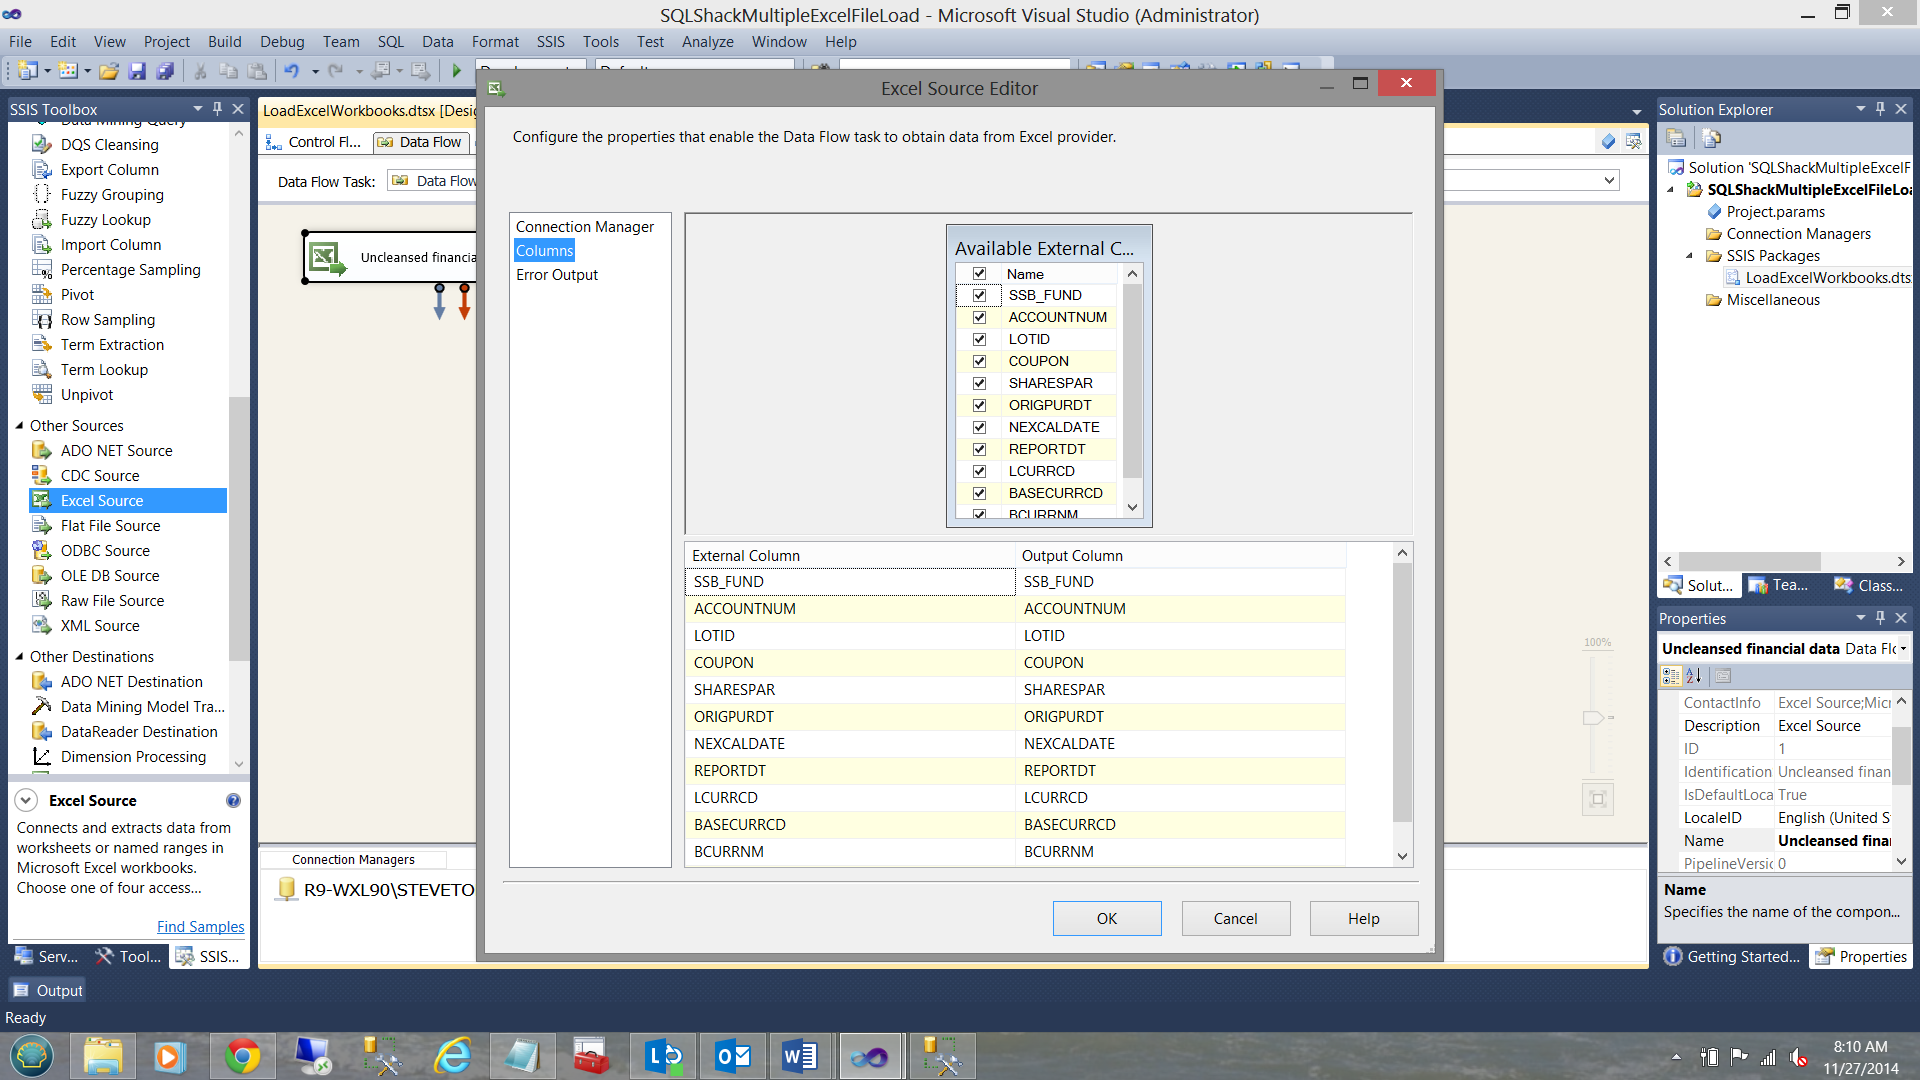
Now that I am happy that all the columns are present, I click OK to exit from the “Excel Source Editor”.
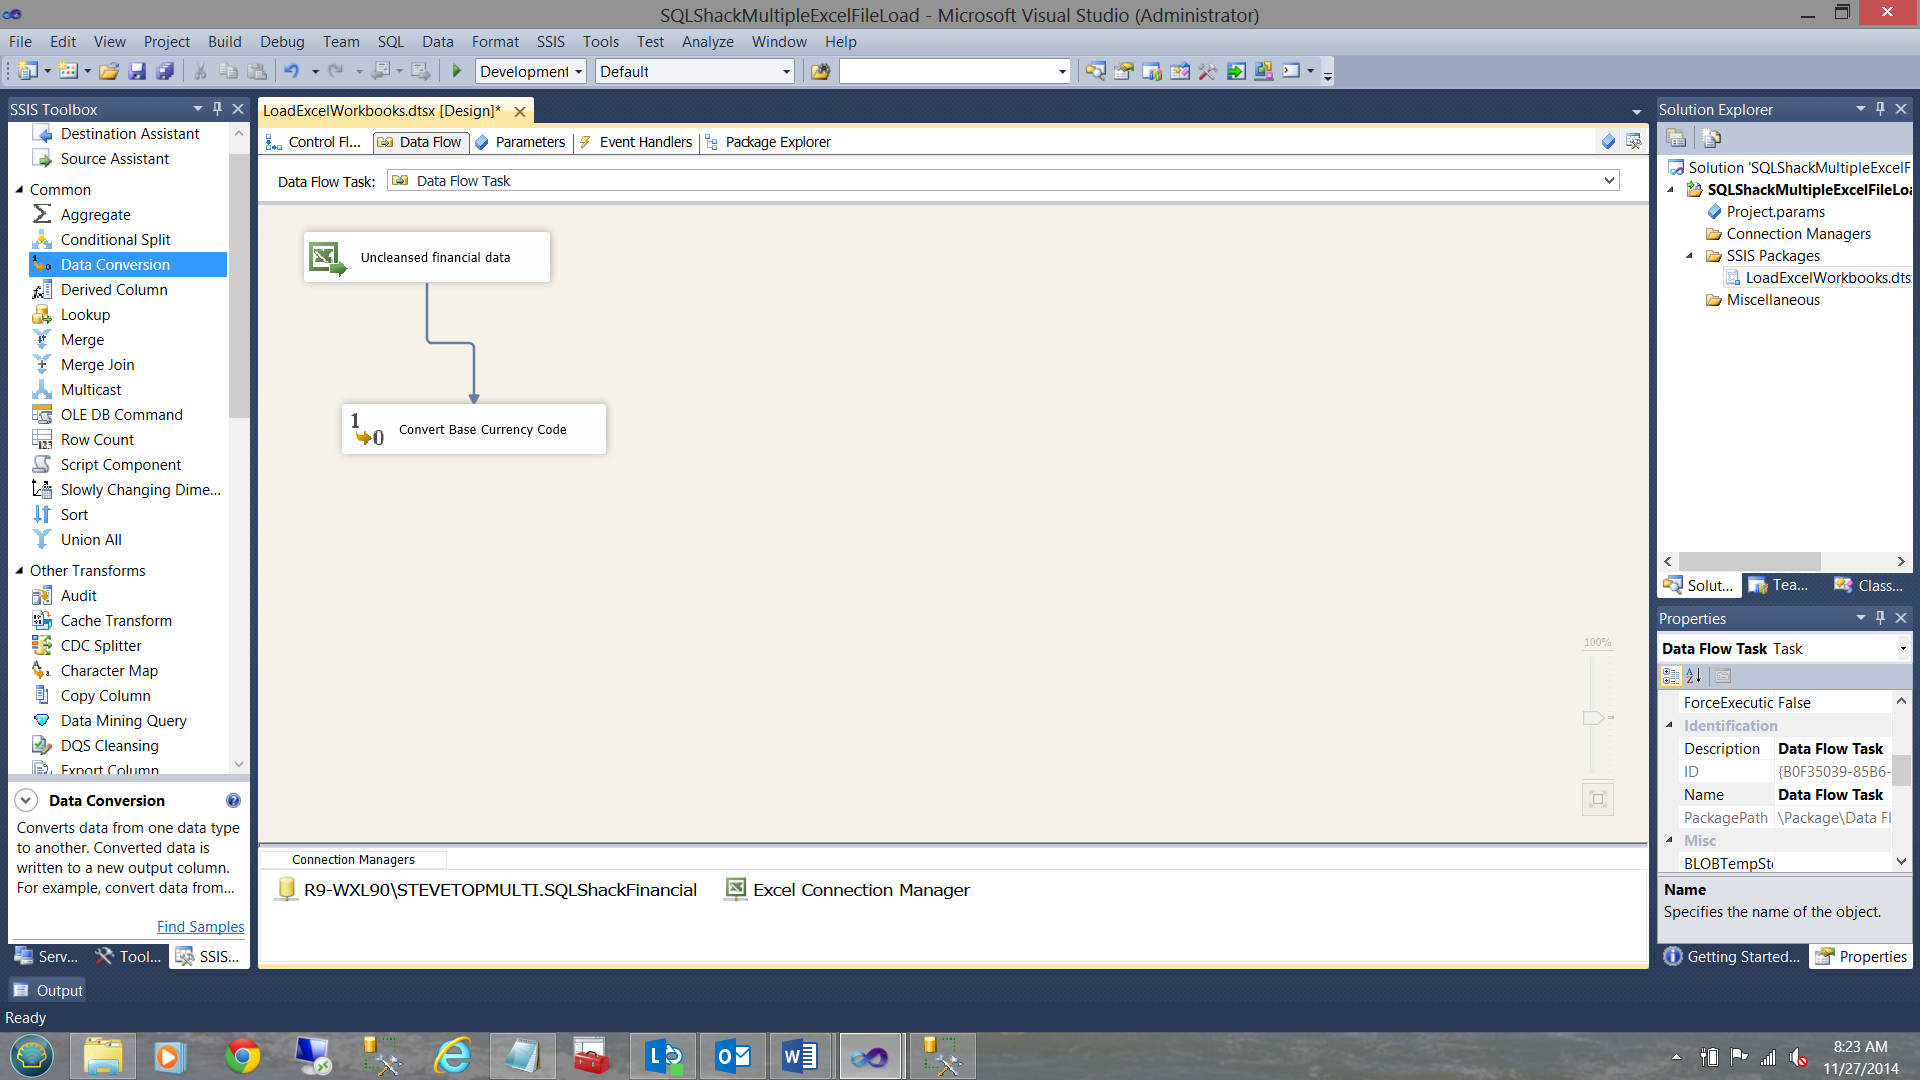
As I KNOW that my “Base currency codes” are in the wrong format, I drag a “Data Conversion” control onto the work surface and join it to my “Excel Data Source”.
Opening the “Data Conversion” control I find my “Base currency code” and convert it to a “DT_WSTR” format with a length of 25 (see below).
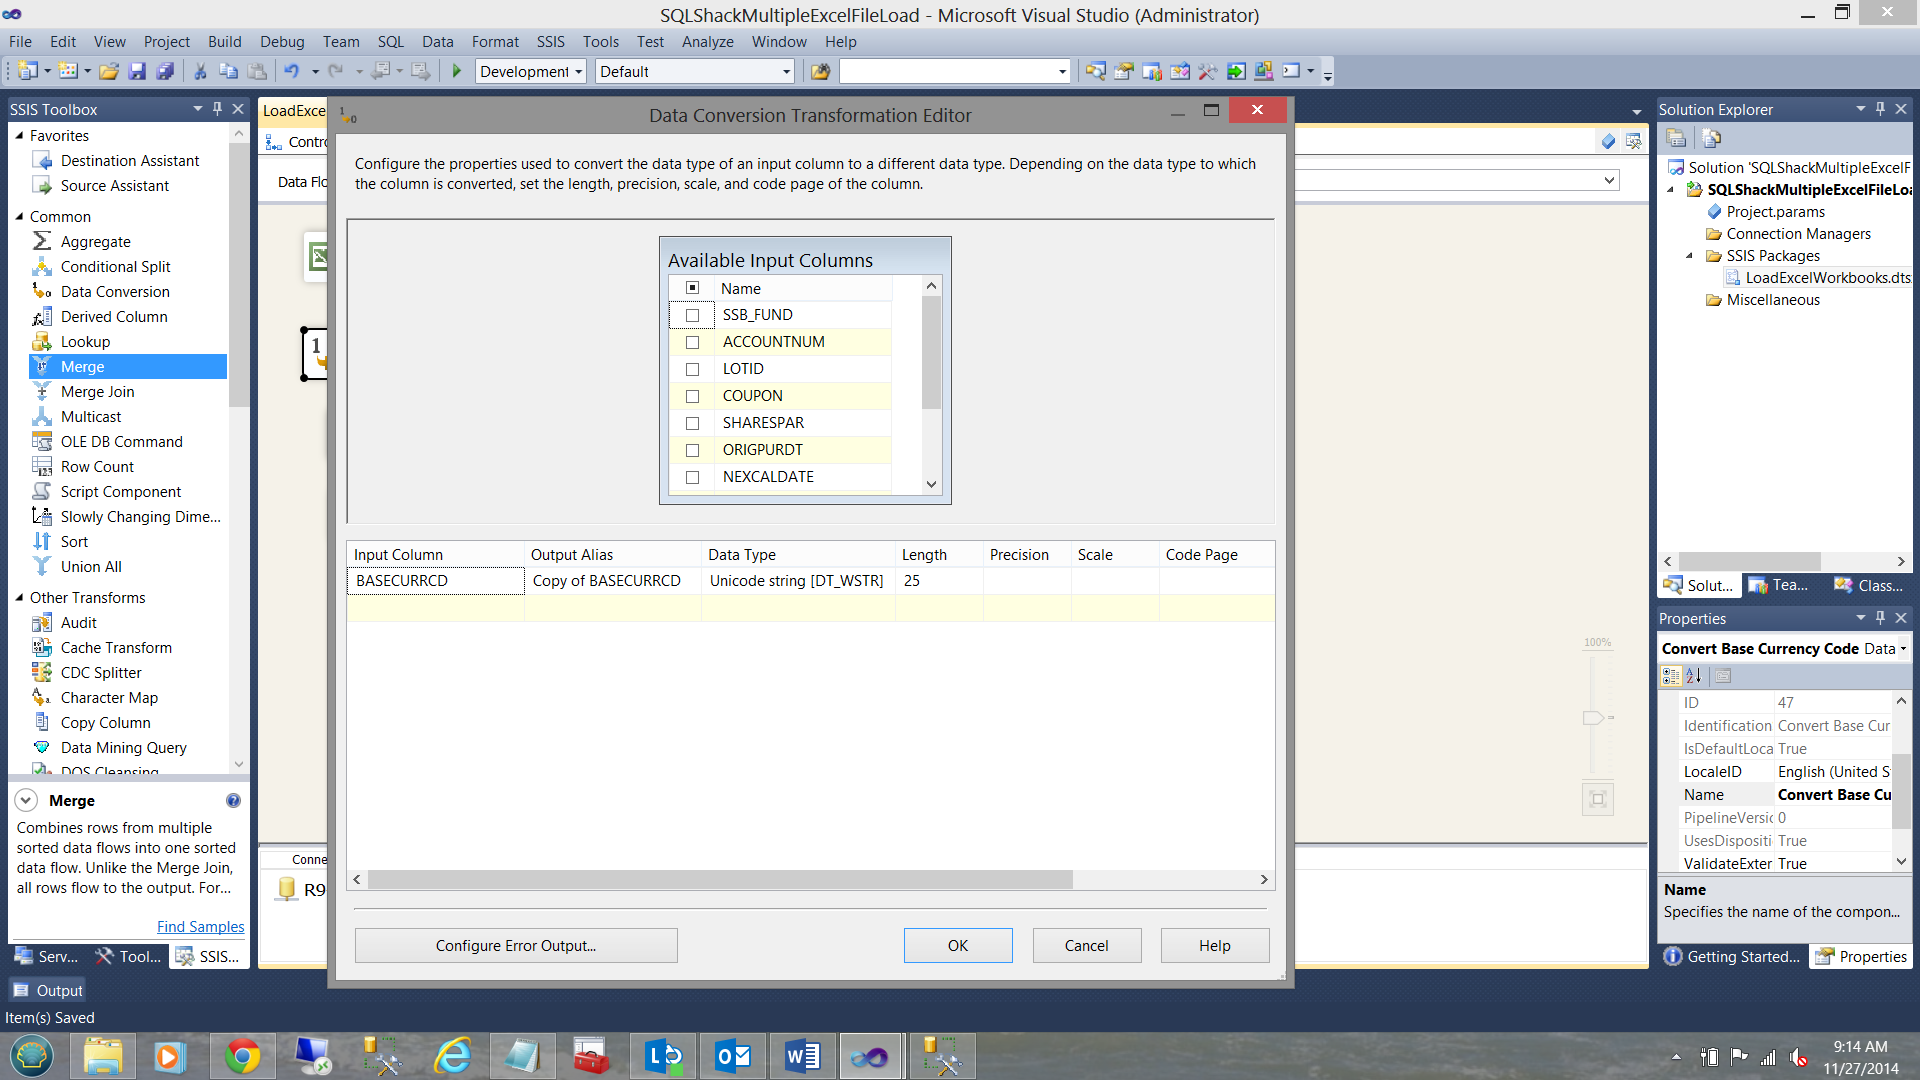
We are now complete with our data conversion. You may or probably will have additional fields that must be converted prior to being able to include values into your SQL Server database tables. They would be entered below the base currency code (as shown in the screen dump).
As my ‘par share” values are comma delimited and this often creates issues loading the values into SQL Server I have opted to add an additional step of transforming the data via a ‘derived column’. Yes, I could have altered the data format of the spreadsheet to be “un comma delimited” HOWEVER for this exercise I want to show you an alternate option.
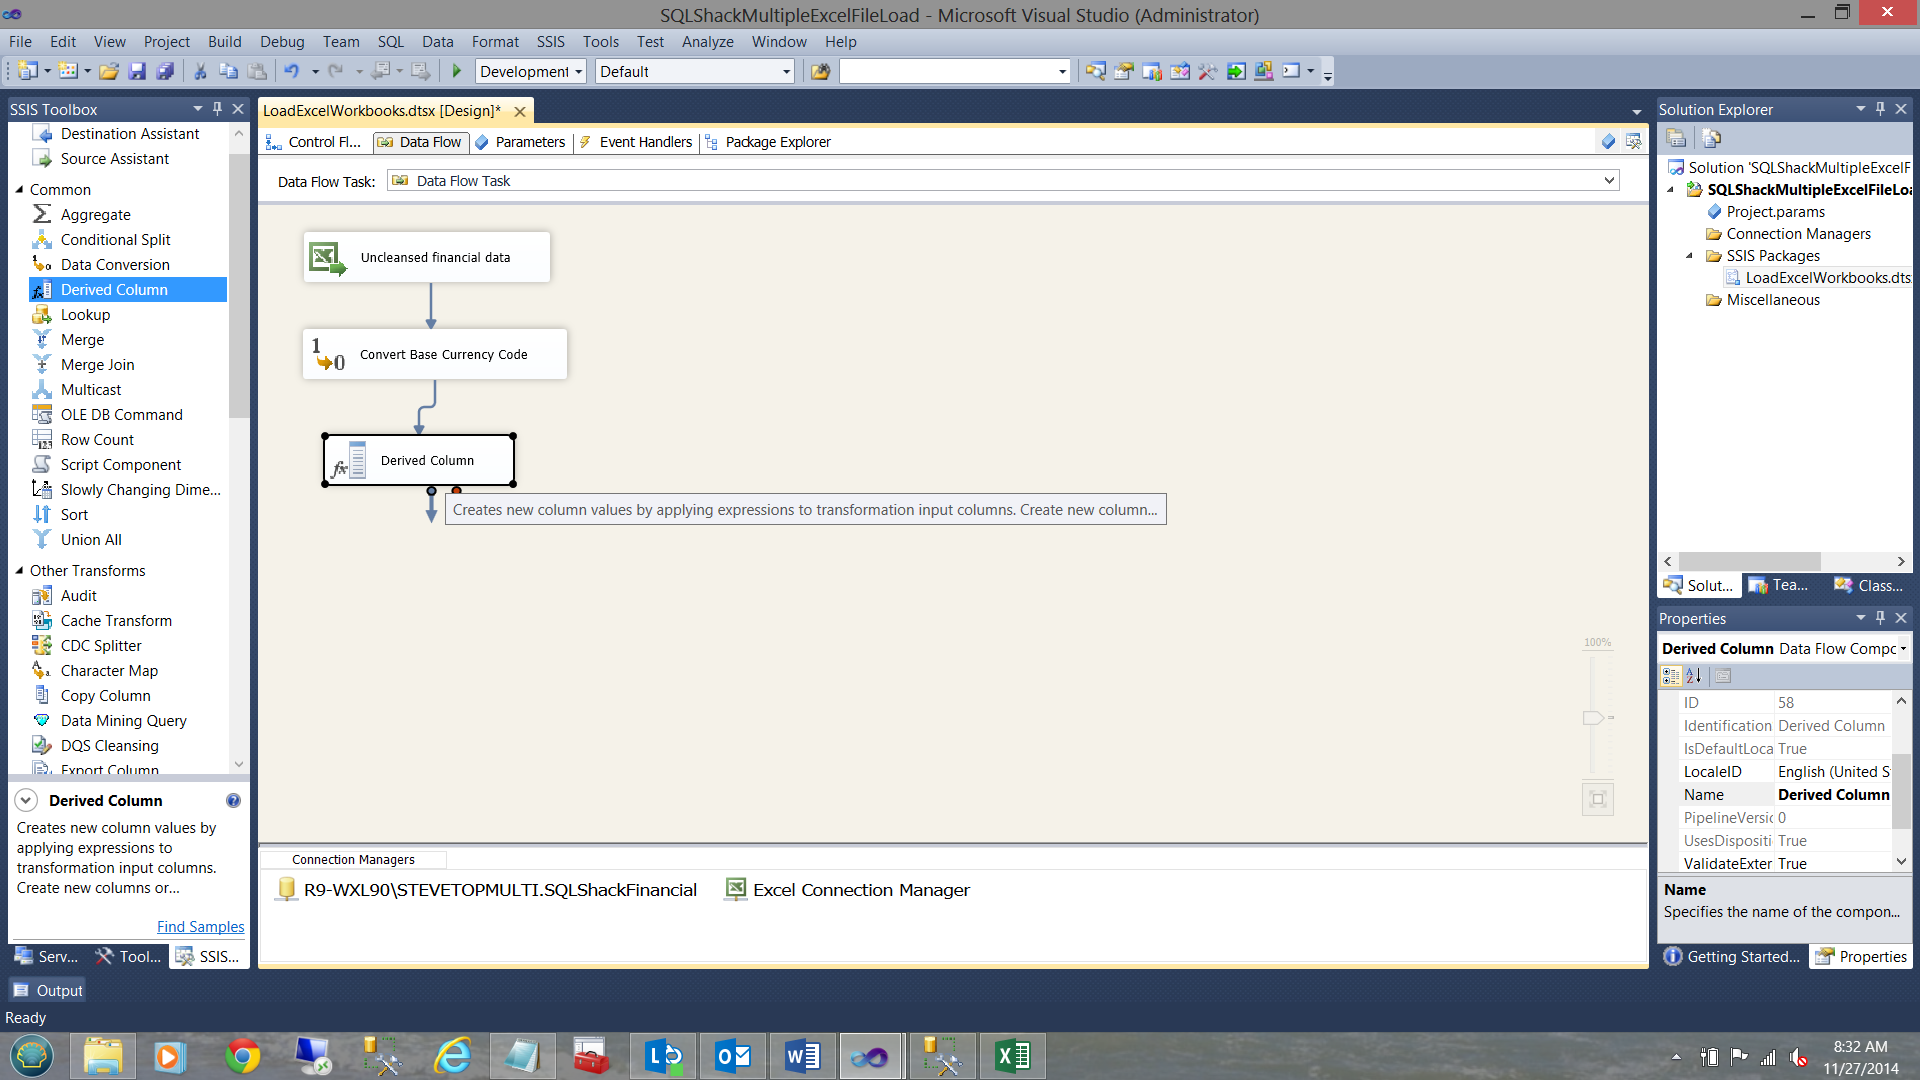
Opening the “Derived Column Transformation Editor” I replace the existing ‘SHAREPAR field with the following:
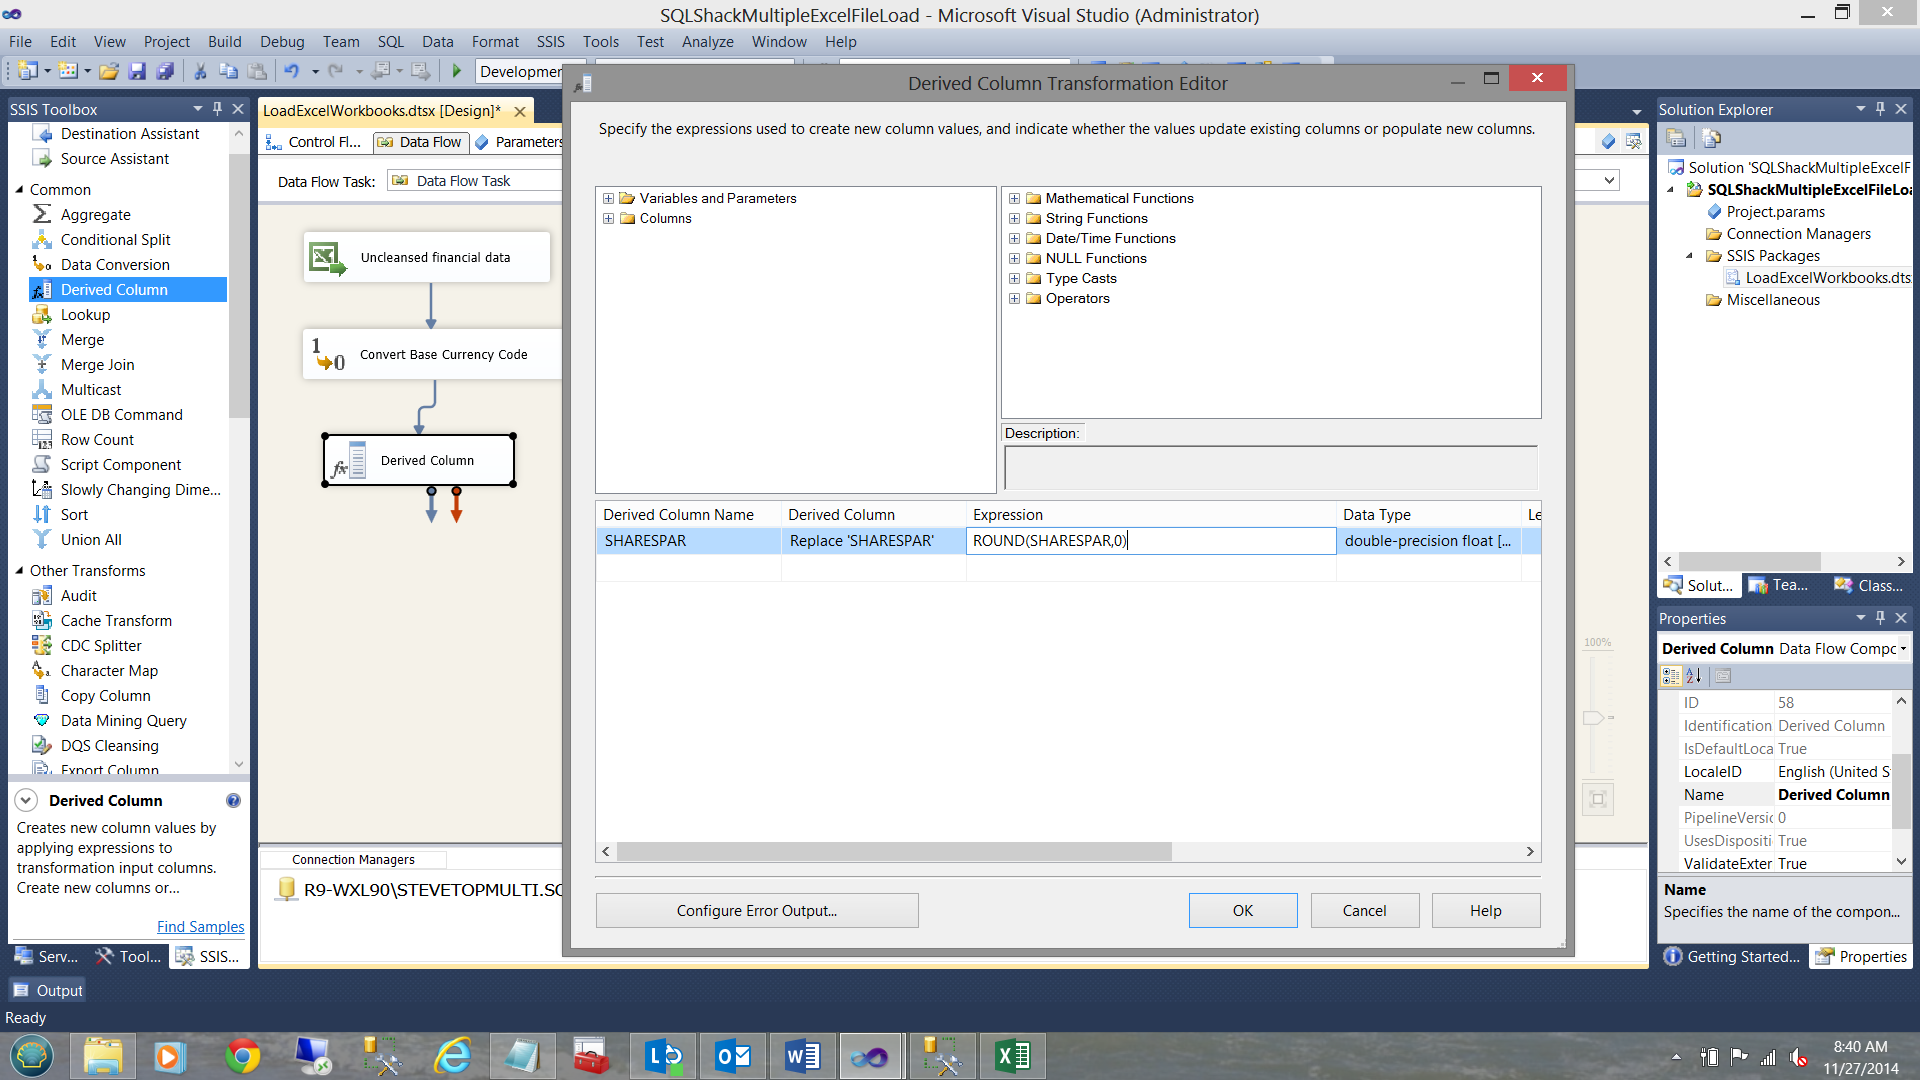
I am now complete within the “Derived Column Transformation Editor” thus I close out by clicking OK.
Fixing other columns
Knowing full well that I often have incorrect currency names or BLANK currency names within my incoming data, I now need to cater for both cases.
I now add a “Conditional Split” to the feed and open the “Conditional Split Transformation Editor”.
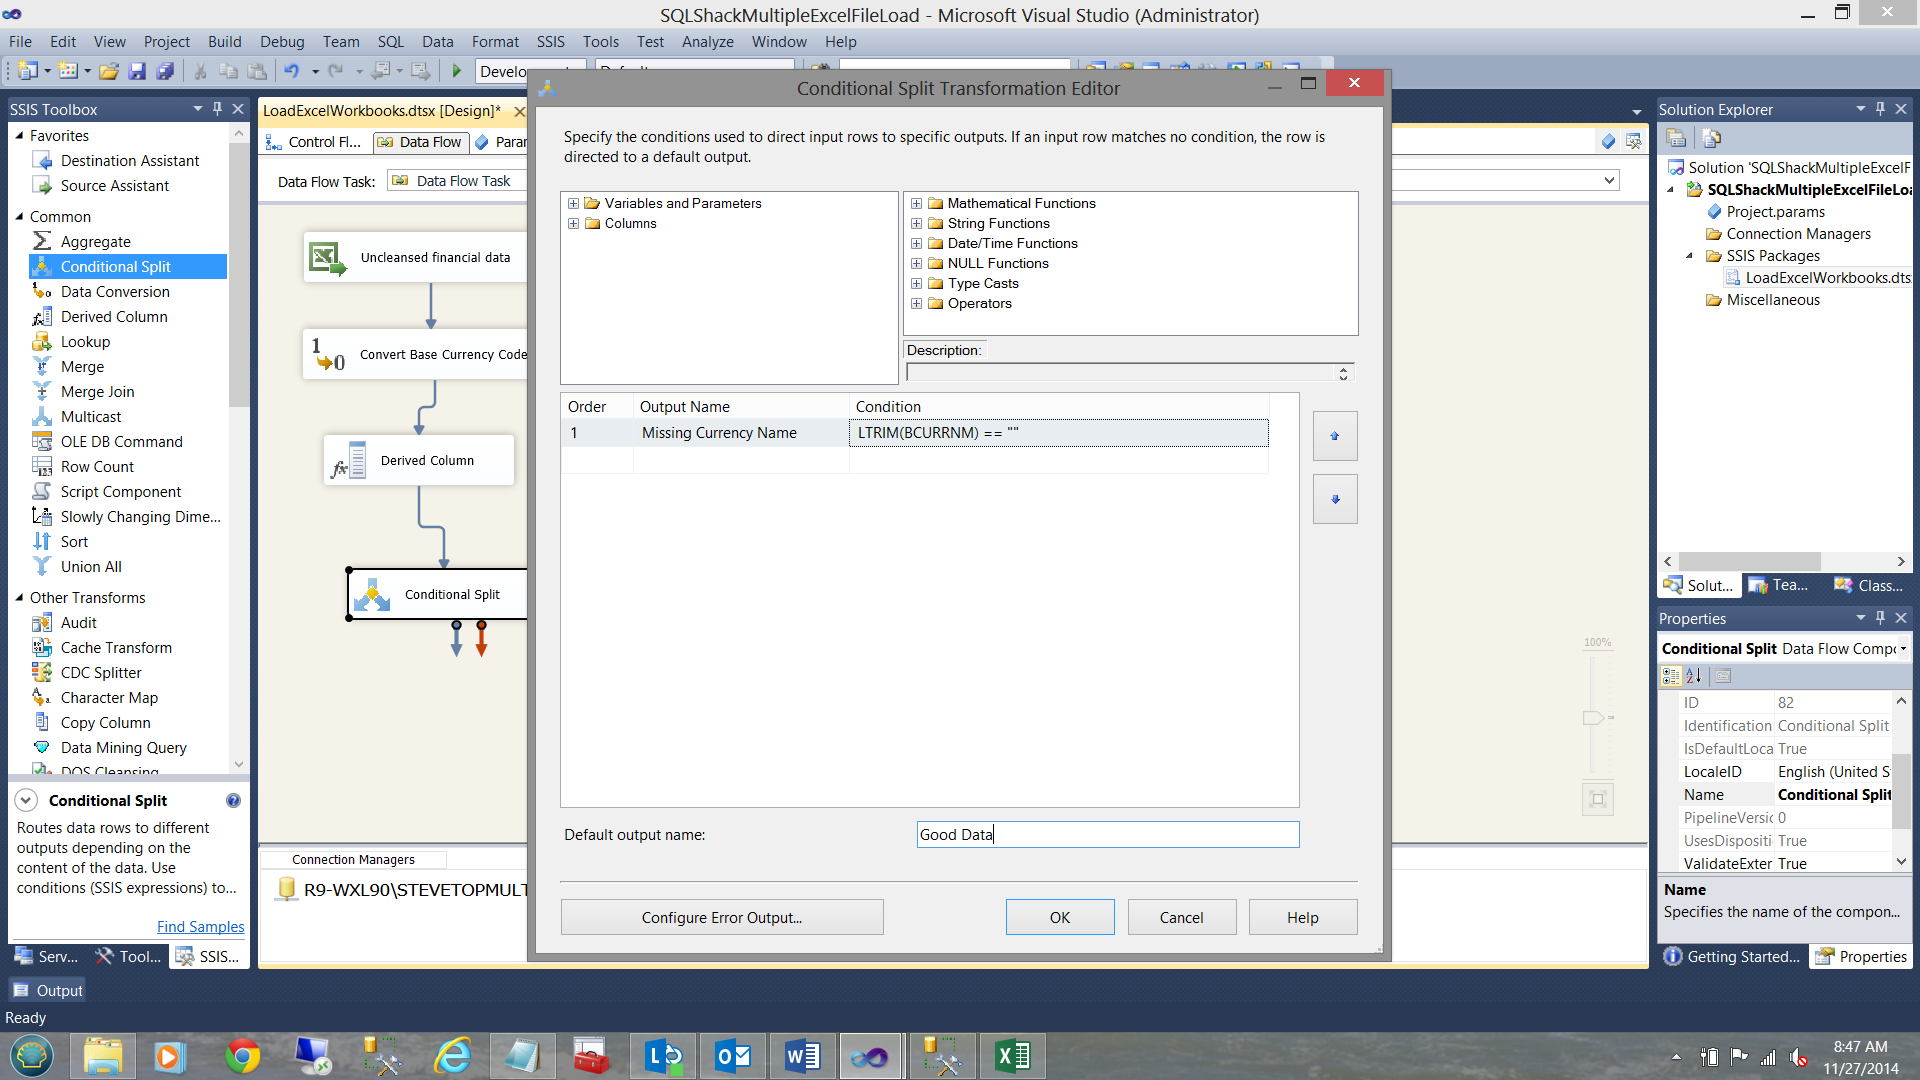
The astute reader will note that I have catered solely here for the case of a blank currency name on the incoming data. We shall see how to handle erroneous currency names in a few minutes.
I close out of the “Conditional Split Transformation Editor”.
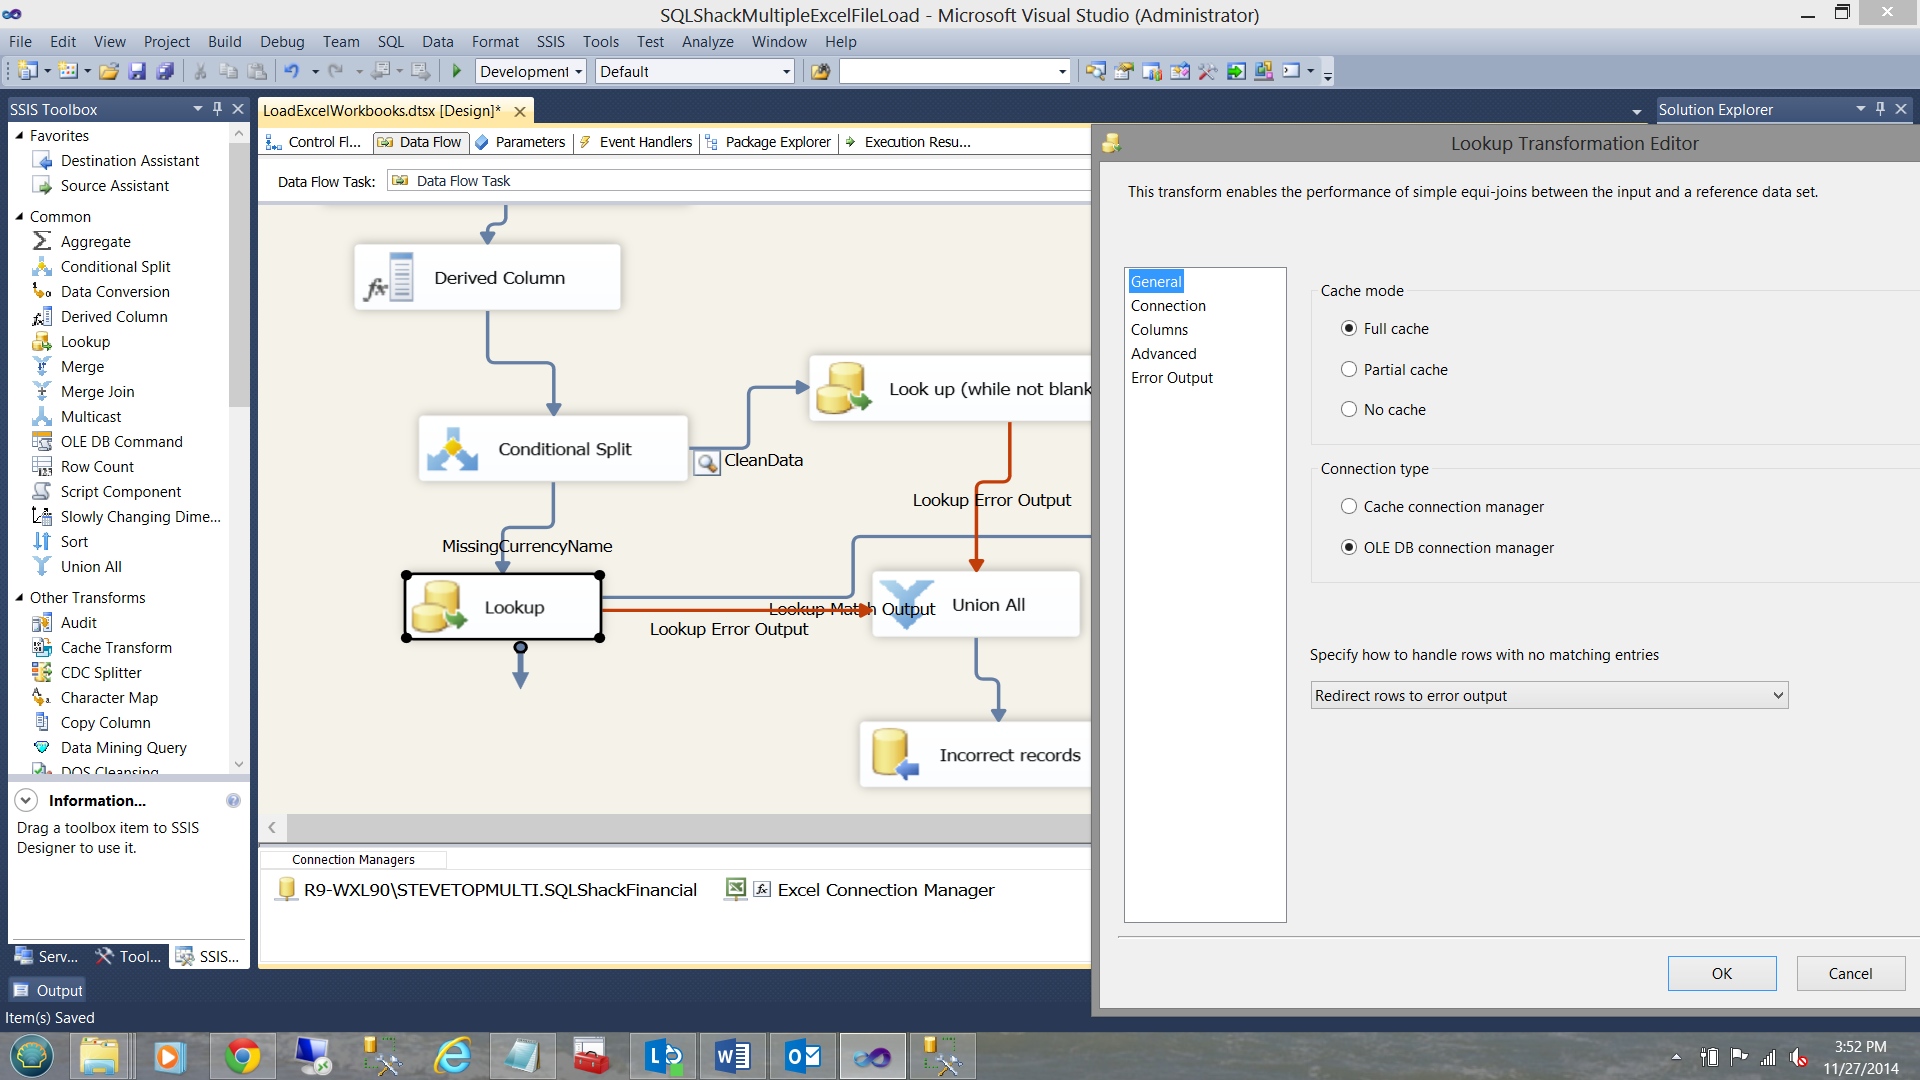
For the “Good Data” branch of the Conditional Split, I now perform a “Look up” to ensure that the currency name on my incoming records are valid. I add a “Lookup” control.
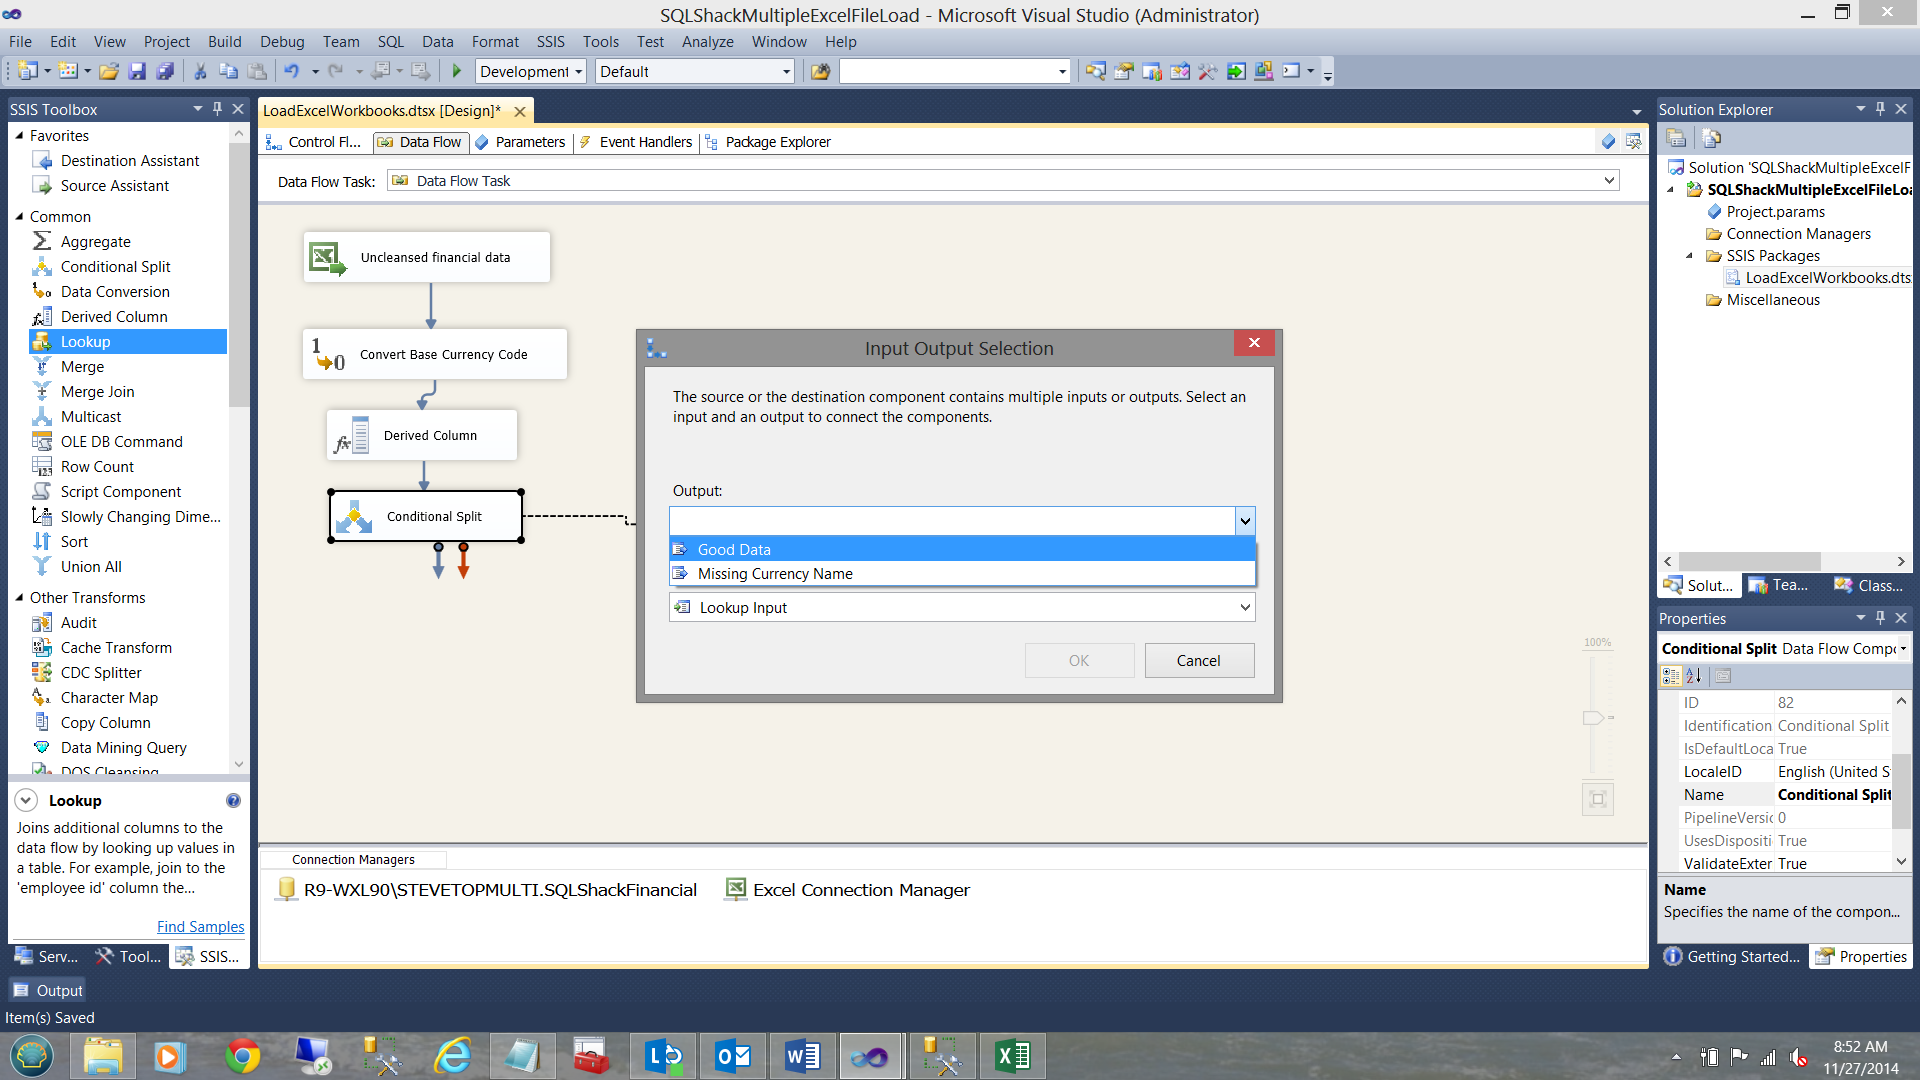
The “Look up” now added, I must now configure the “Good Data” portion. I select the “Good Data” option.
I must now configure the “Look Up” control.
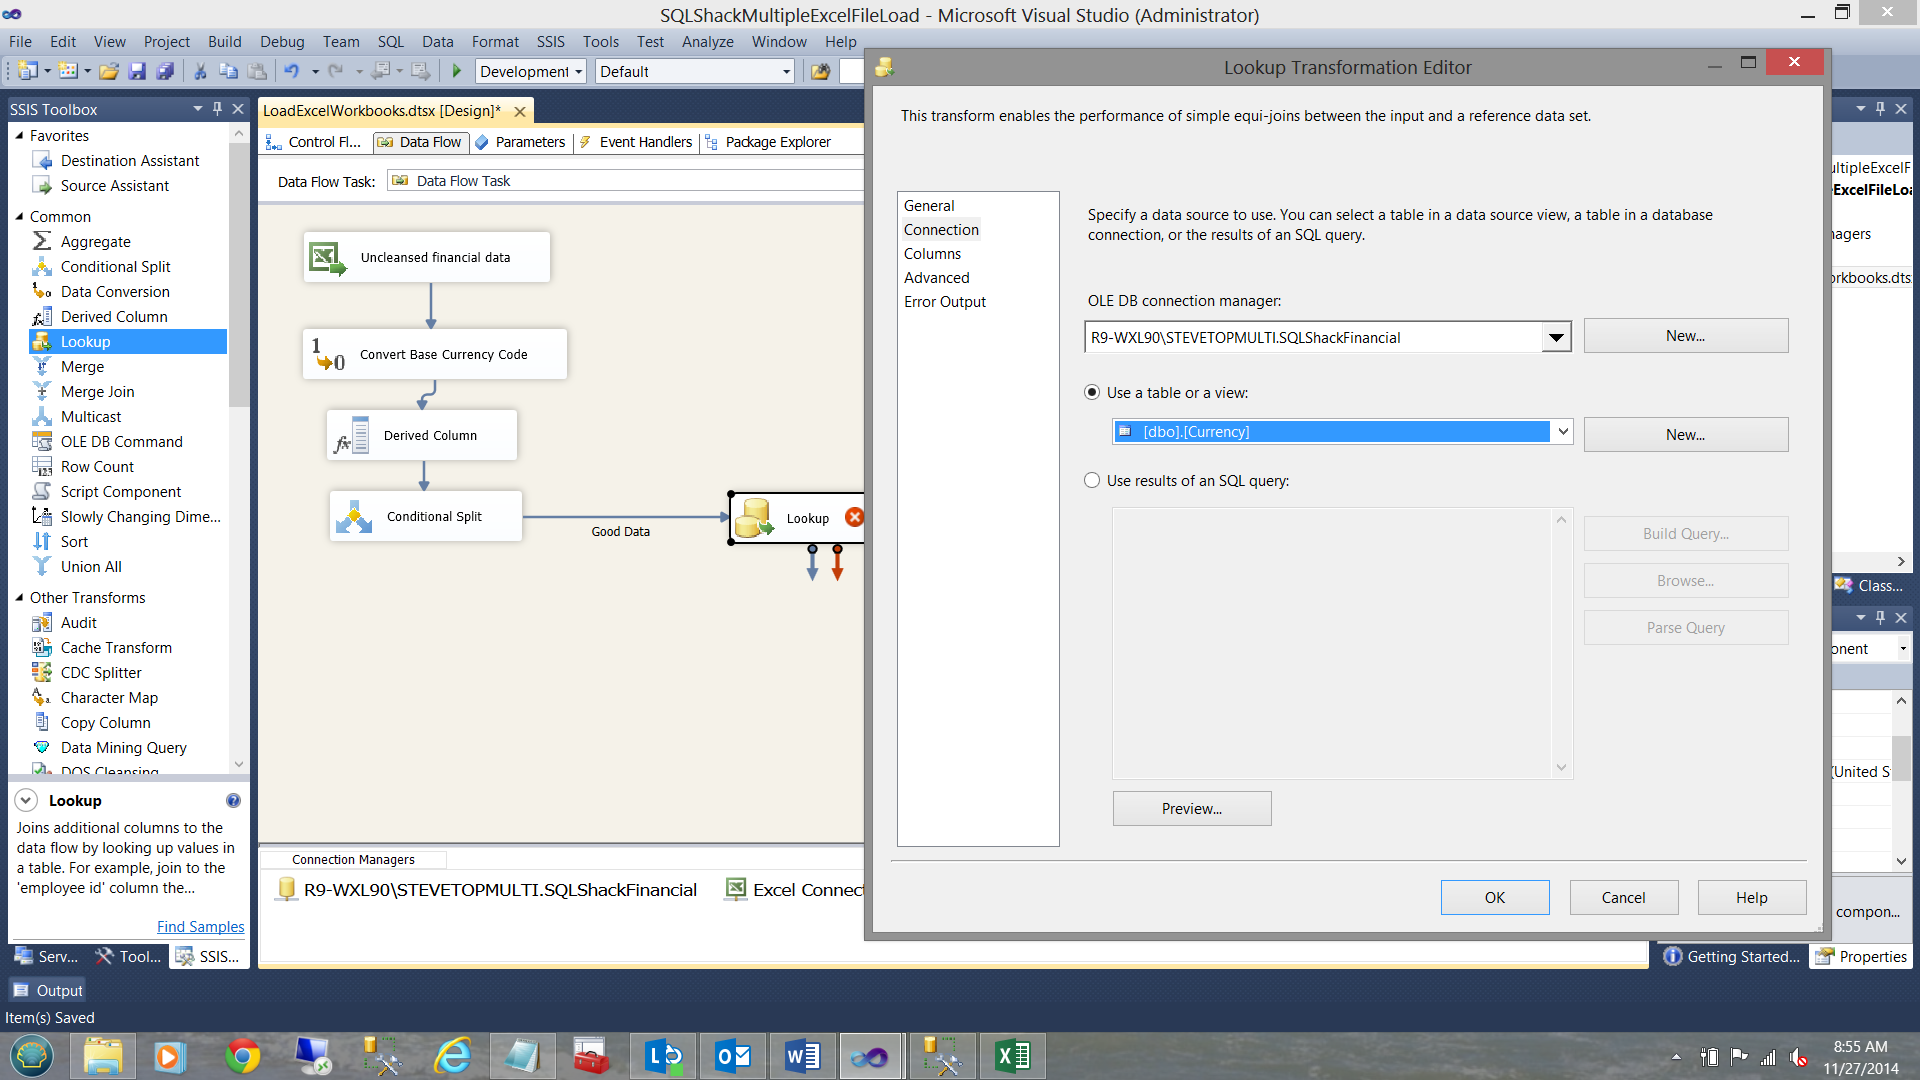
I set the look up table to check my master currency list within the Currency table.
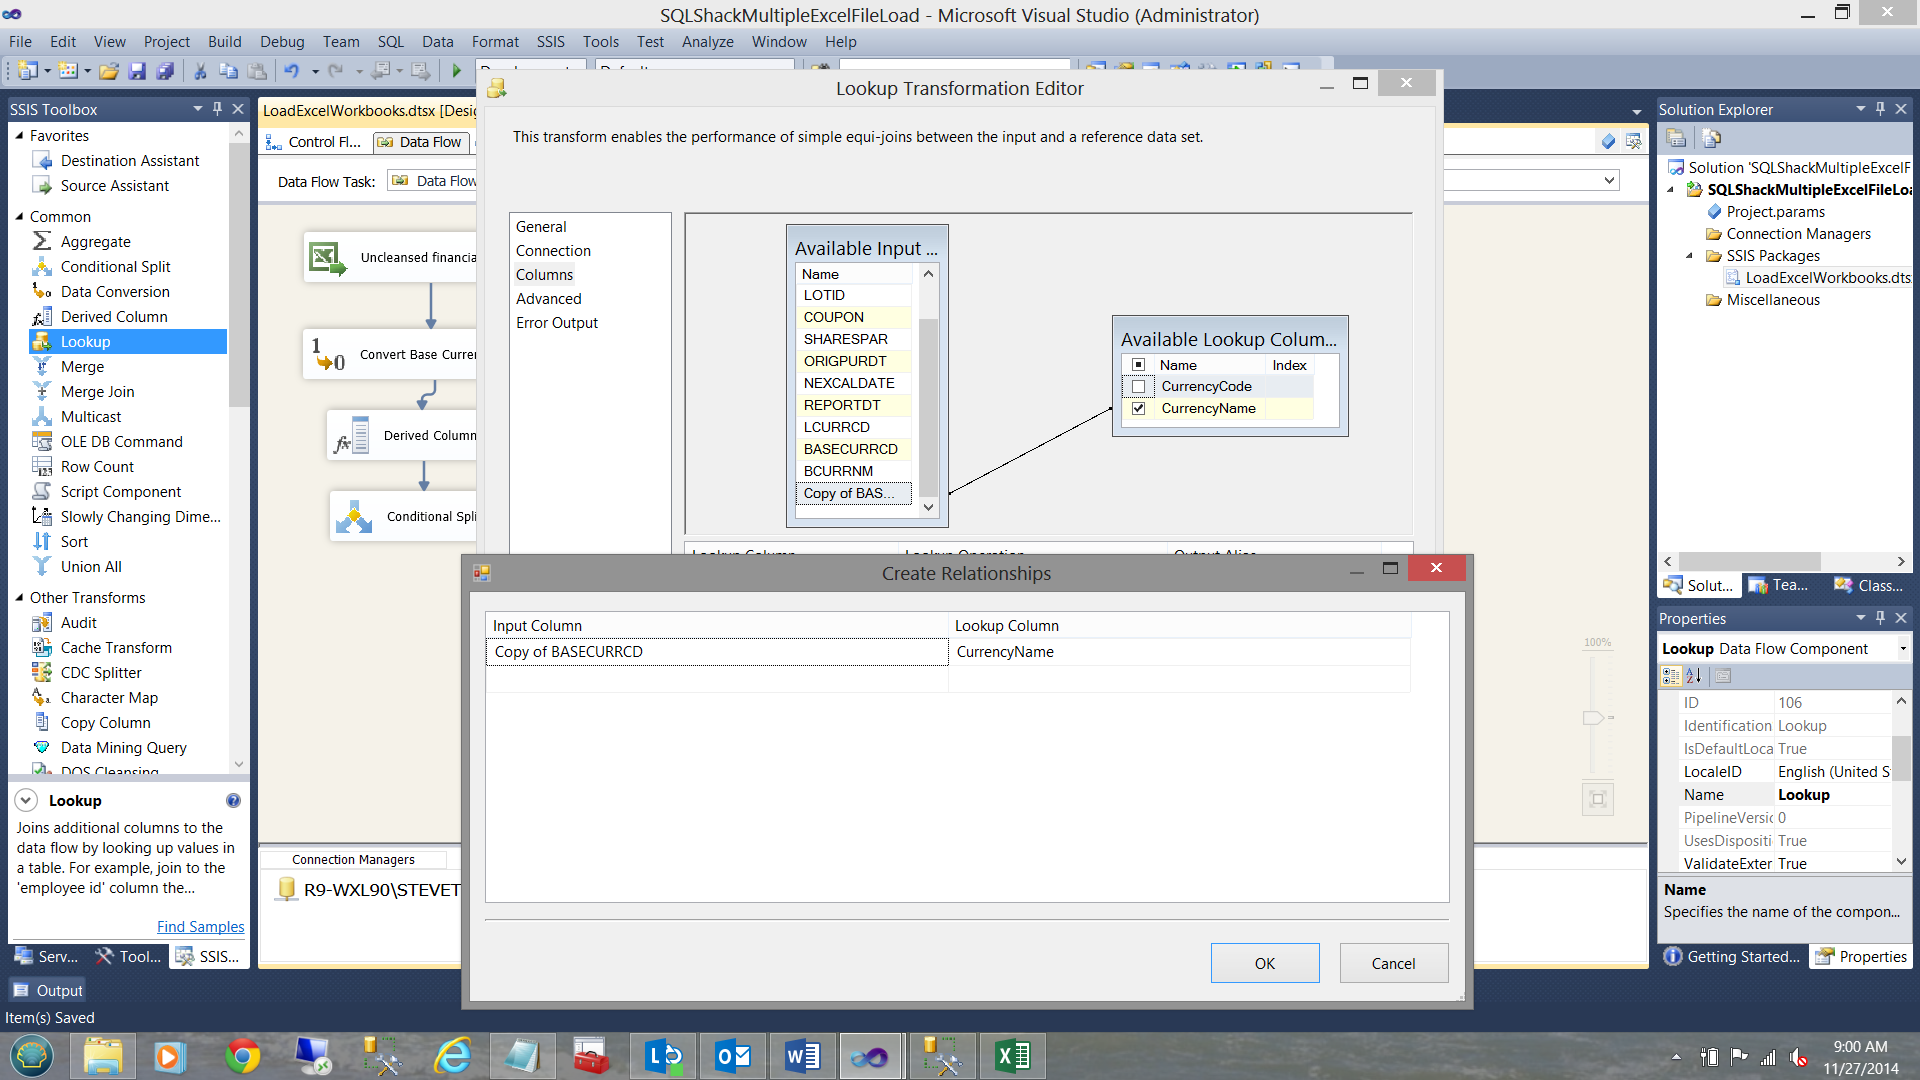
As you will note above, I have mapped the copy of the currency code to the currency code from the master list within the “Currency” table. I wish to look up the Currency Name. We are now finished with the “Lookup” thus I close out of the Editor.
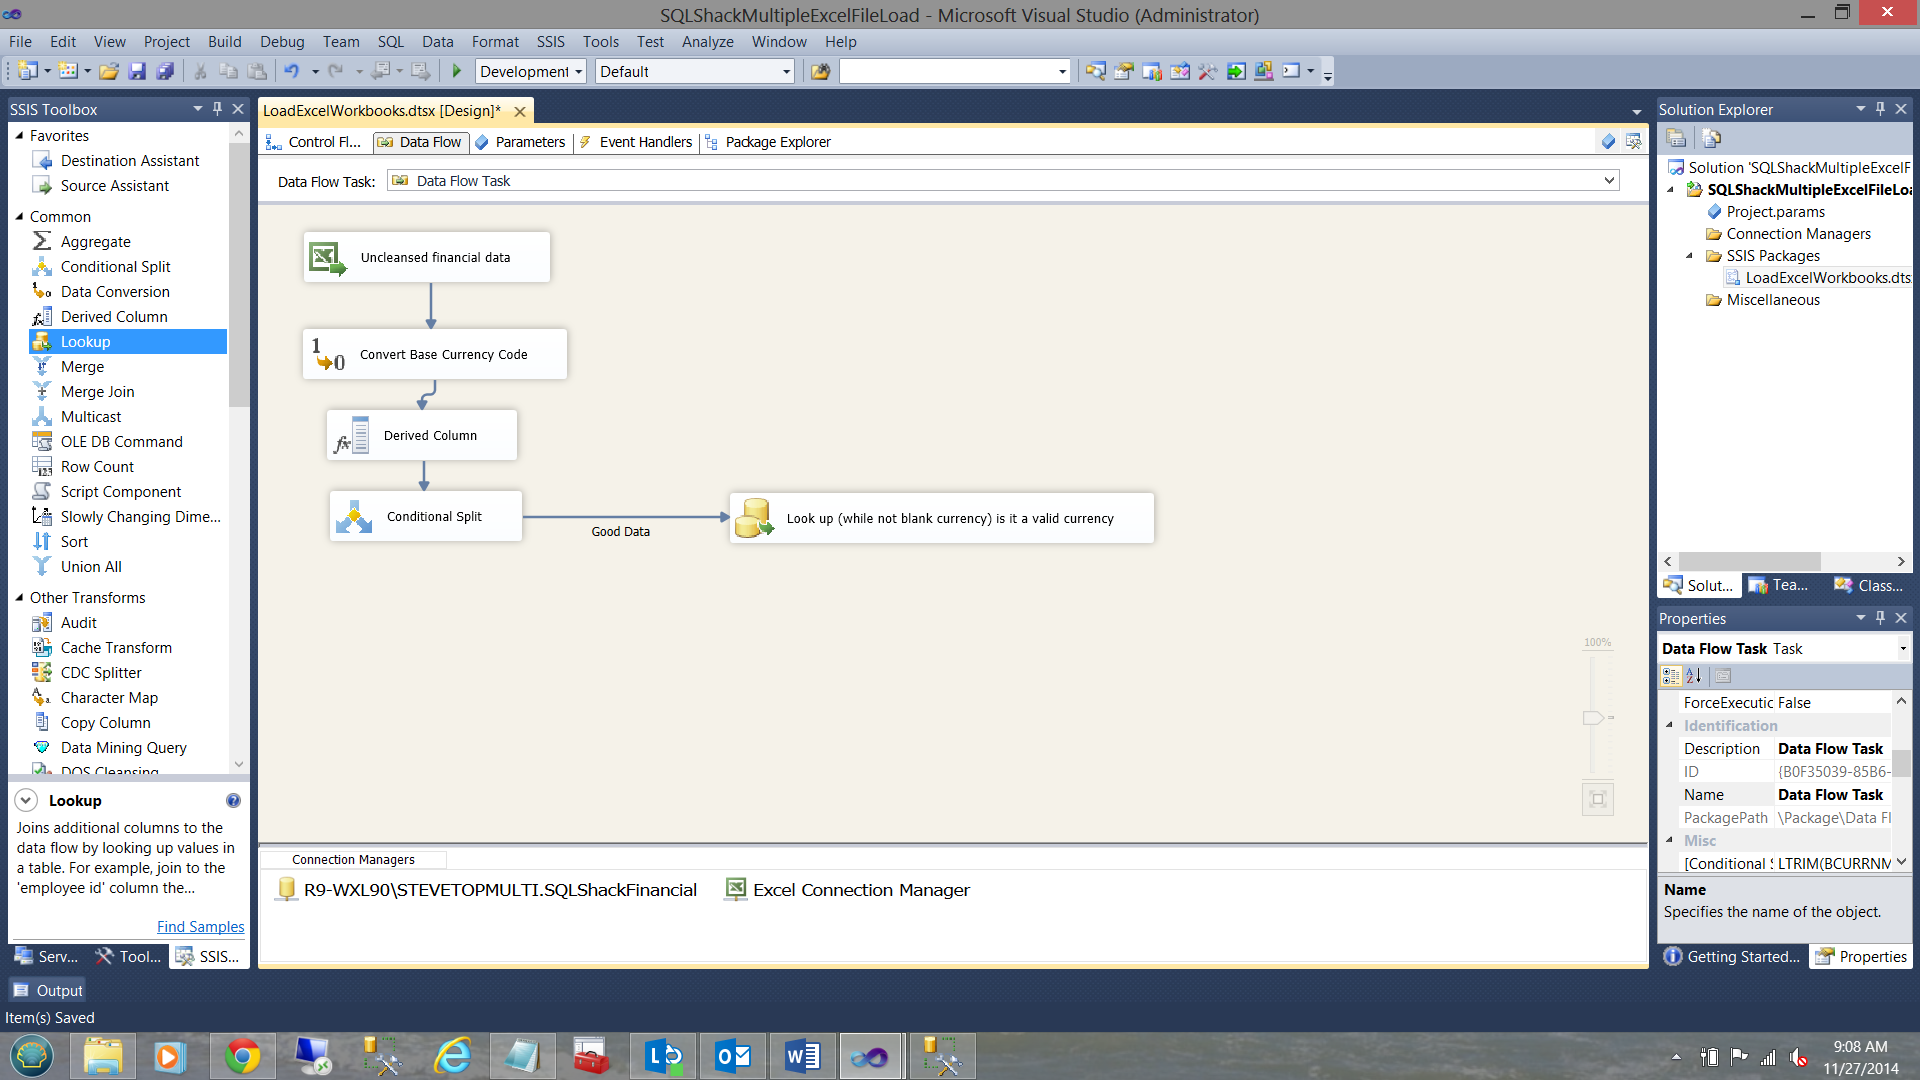
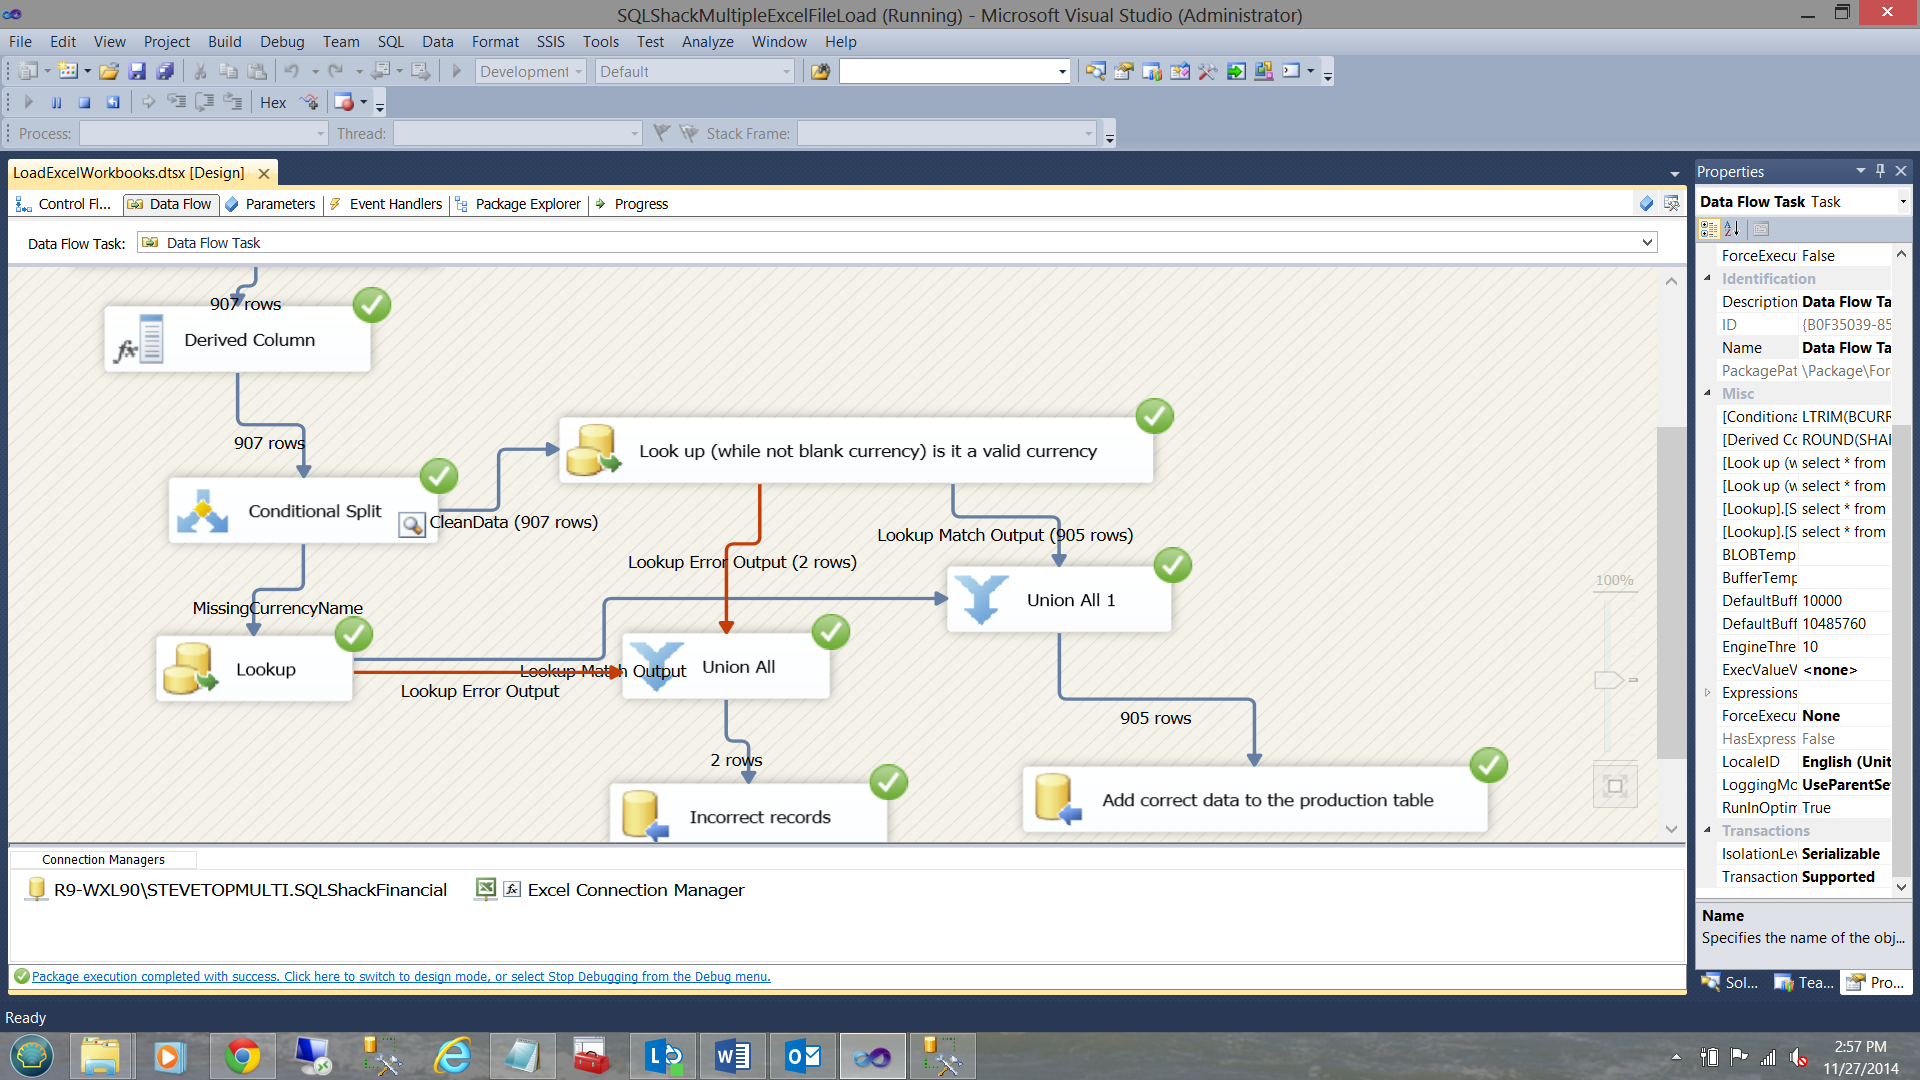
Our work surface now looks as follows:
We are now going to configure the other branch of the “Conditional Split”. We are now going to handle the blank currency names.
As an aside, whilst we know that blank currencies are erroneous and as such must be placed in the “FASBerror” table, there is one other case that we must take into consideration and that is should the currency attached to a record be incorrect. As an example, there is no currency called ‘QWERTY’. This said, we need to add a “Union All”. The Lookup labeled ‘Lookup’ (see below) will catch ‘Qwerty’ and channel it to the bad data “Union All”.
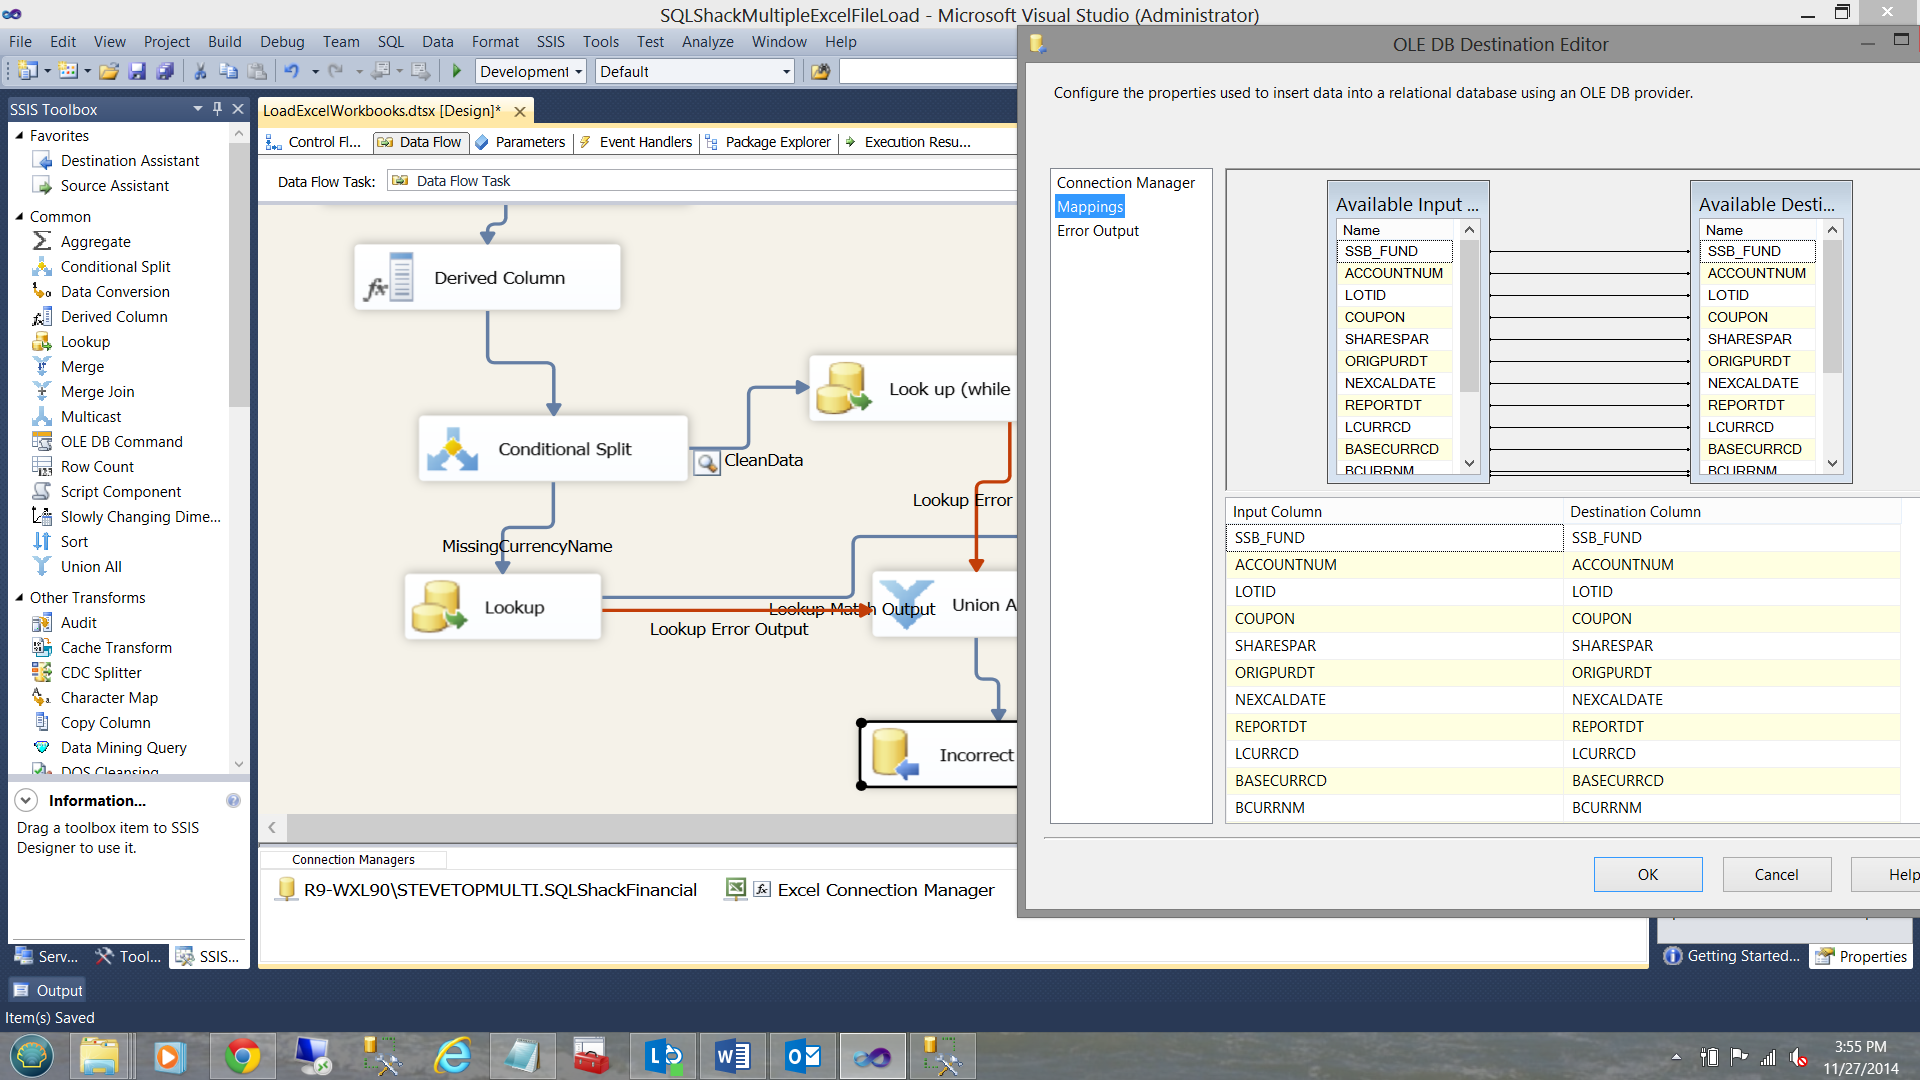
In this manner, all records with blank currency names PLUS all records with bad currency names such as “QWERTY” will be directed to our “FASBerror” table. Let us NOW create a connection to that “FASBError” Table. I now add an OLE DB Date Destination to our working surface and configure it to point to our FASBerror table.

We then check to see that the fields are mapped correctly.
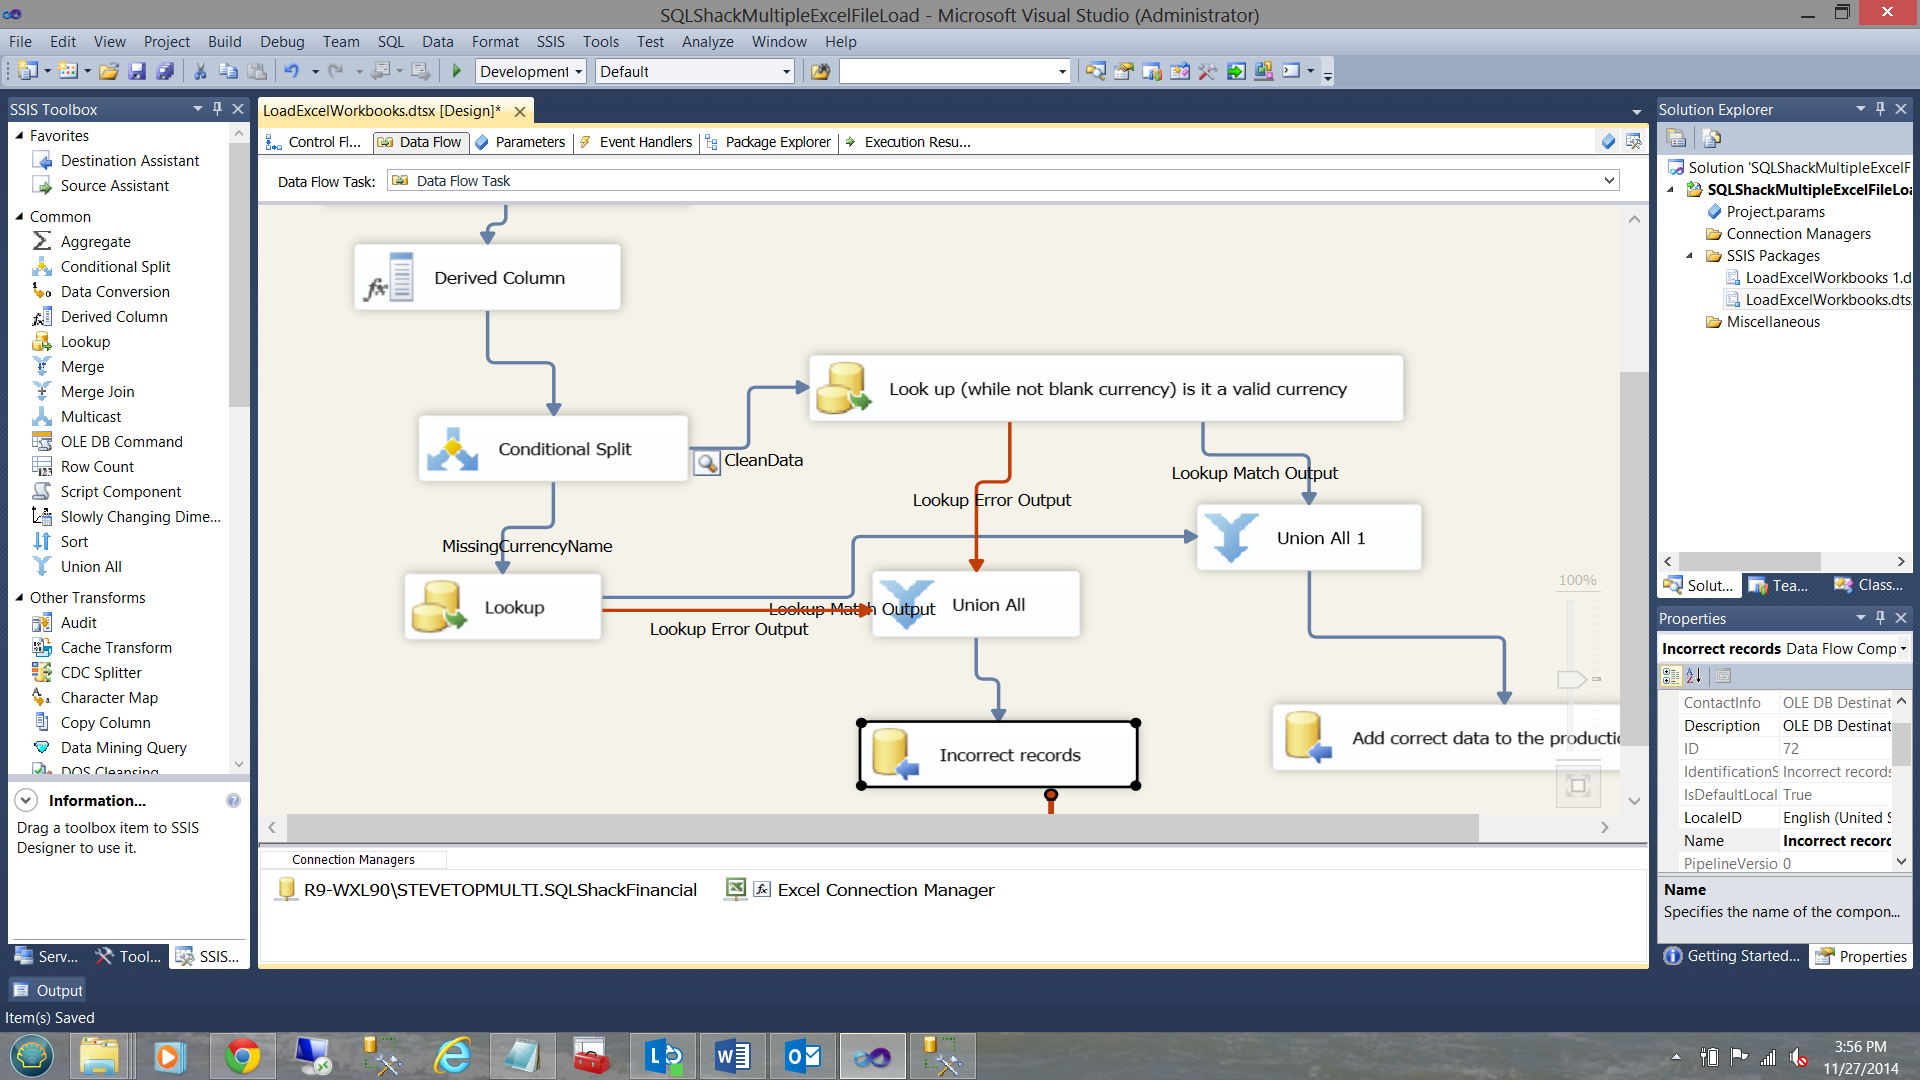
We click OK to exit the “OLE DB Destination Editor”. Our design surface resembles the one in the screen dump below:

Handling the “Correct” records
To complete our package we must now add the ability to place the correct records into our production database table. To do so we add an additional OLE DB Destination control (see below).
We must now just configure this OLE DB destination. As in past we configure the destination as follows:
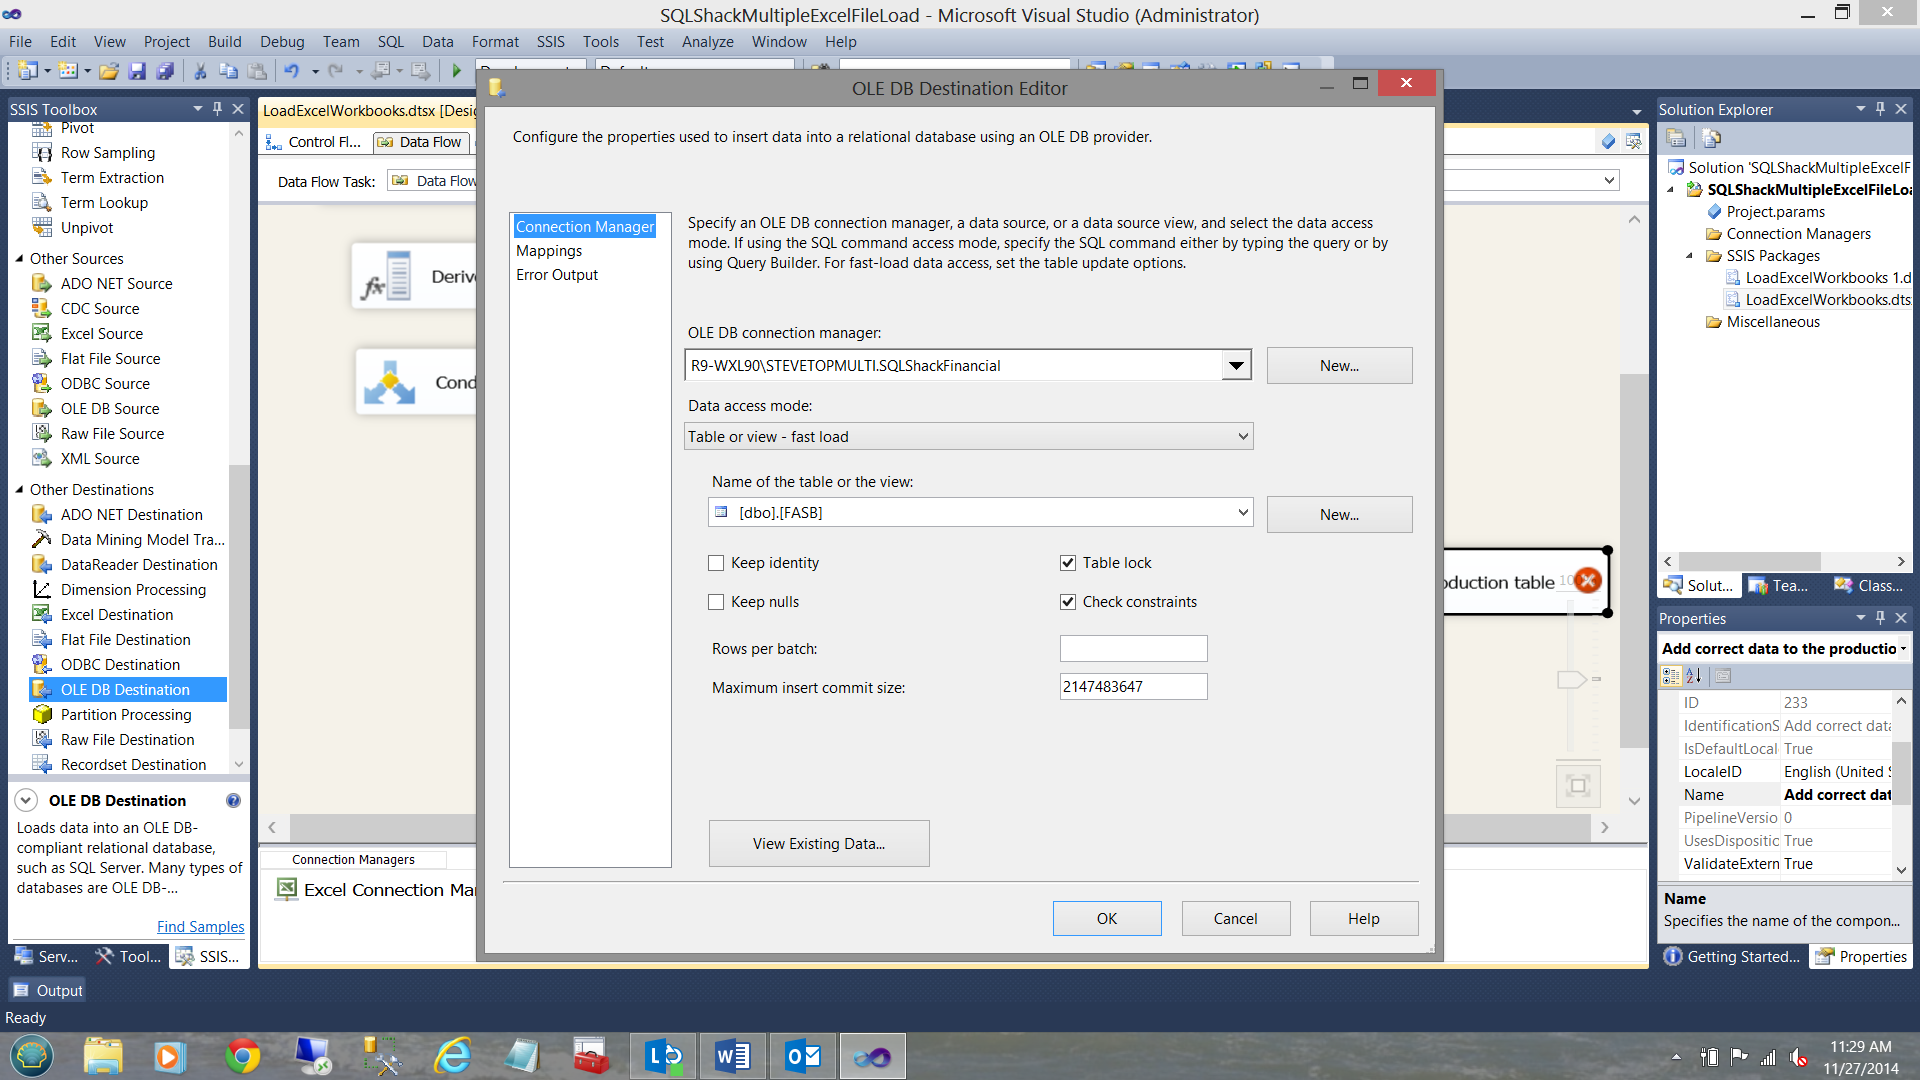
This completes the construction of our package.
Giving your package a test drive
Running our package, we can see that all is well.
Having a look in SQL Server Management Studio, we see the results of our good records
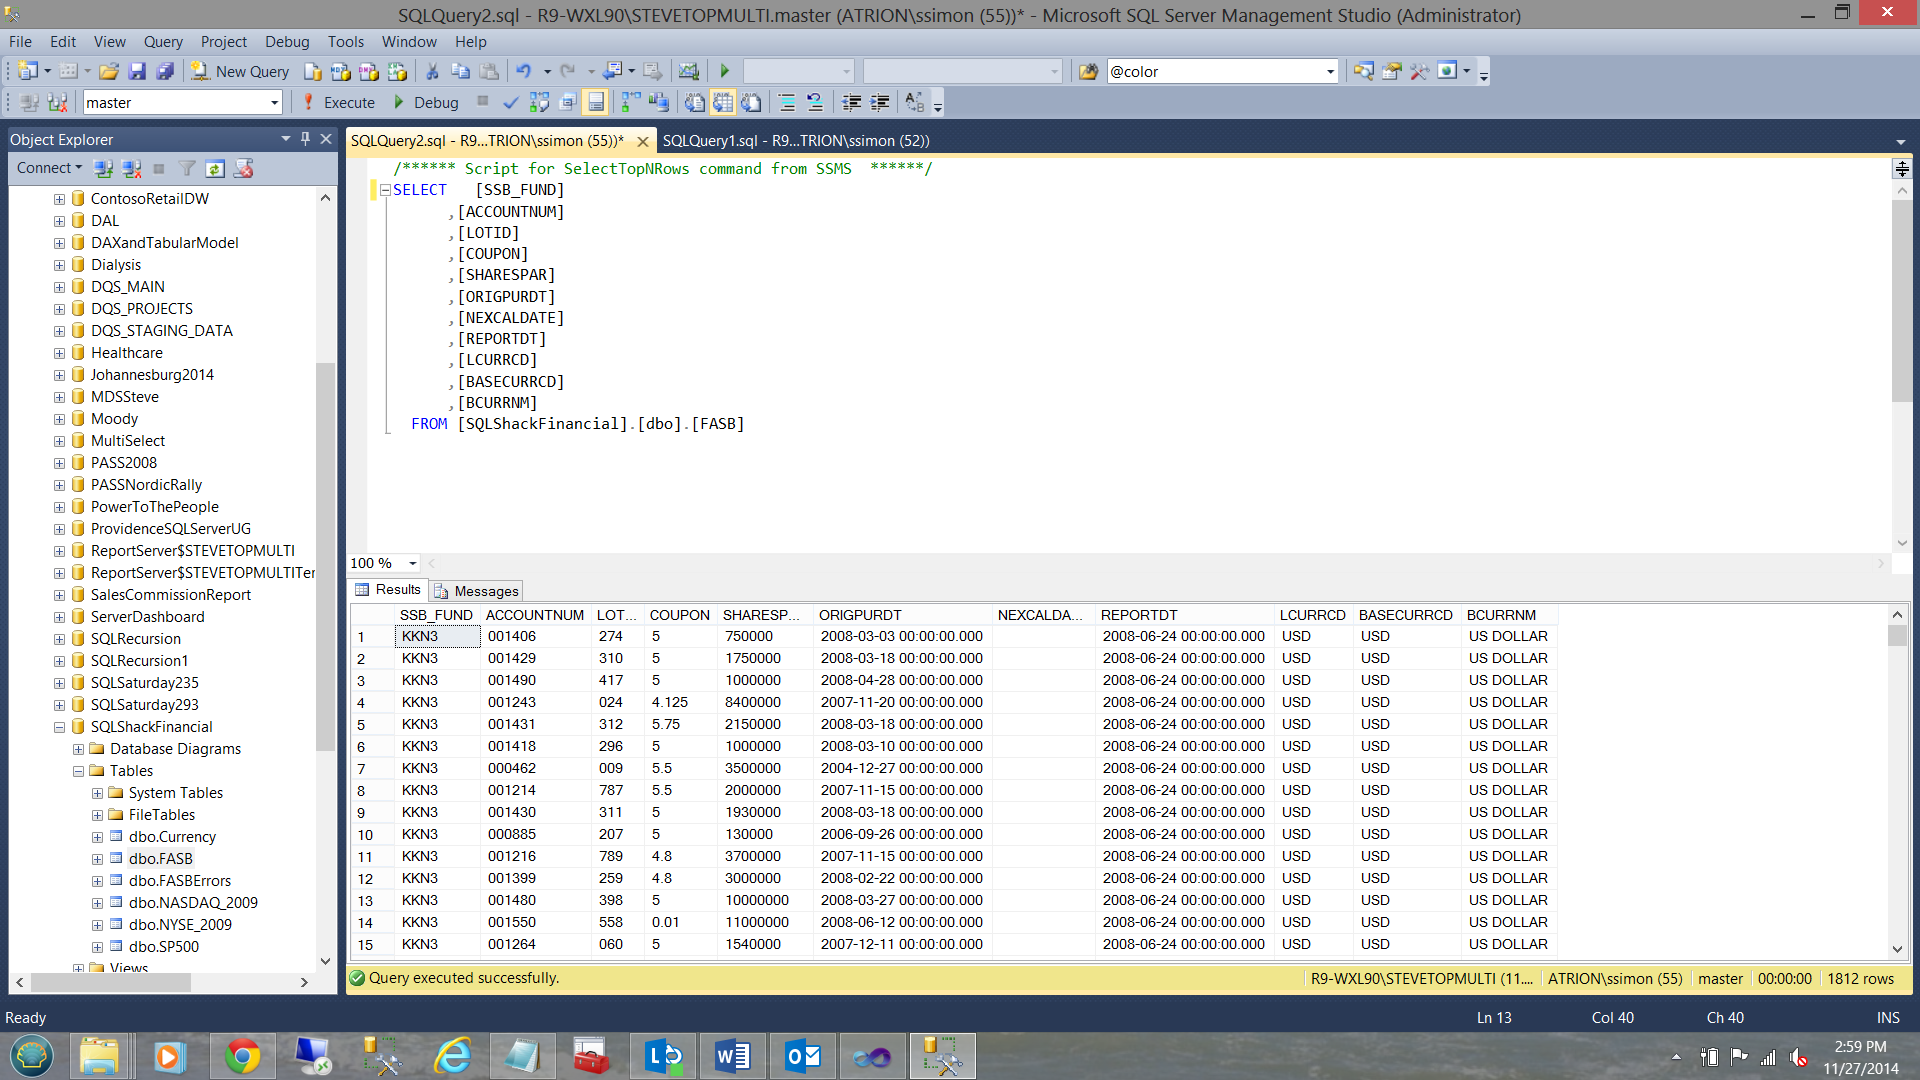
And our rejected records

Caveat Emptor
In order for this whole mechanism to work correctly, three settings are ABSOLUTELY CRITICAL. If these settings are not correct you will land up processing the same file over and over again as many times as the number of excel files.
- The Excel connection must be correct.
- The ‘User Variable’ EXCELFile must be correctly defined (see below).
- The EXPRESSION for the connection string must be correct as shown below:
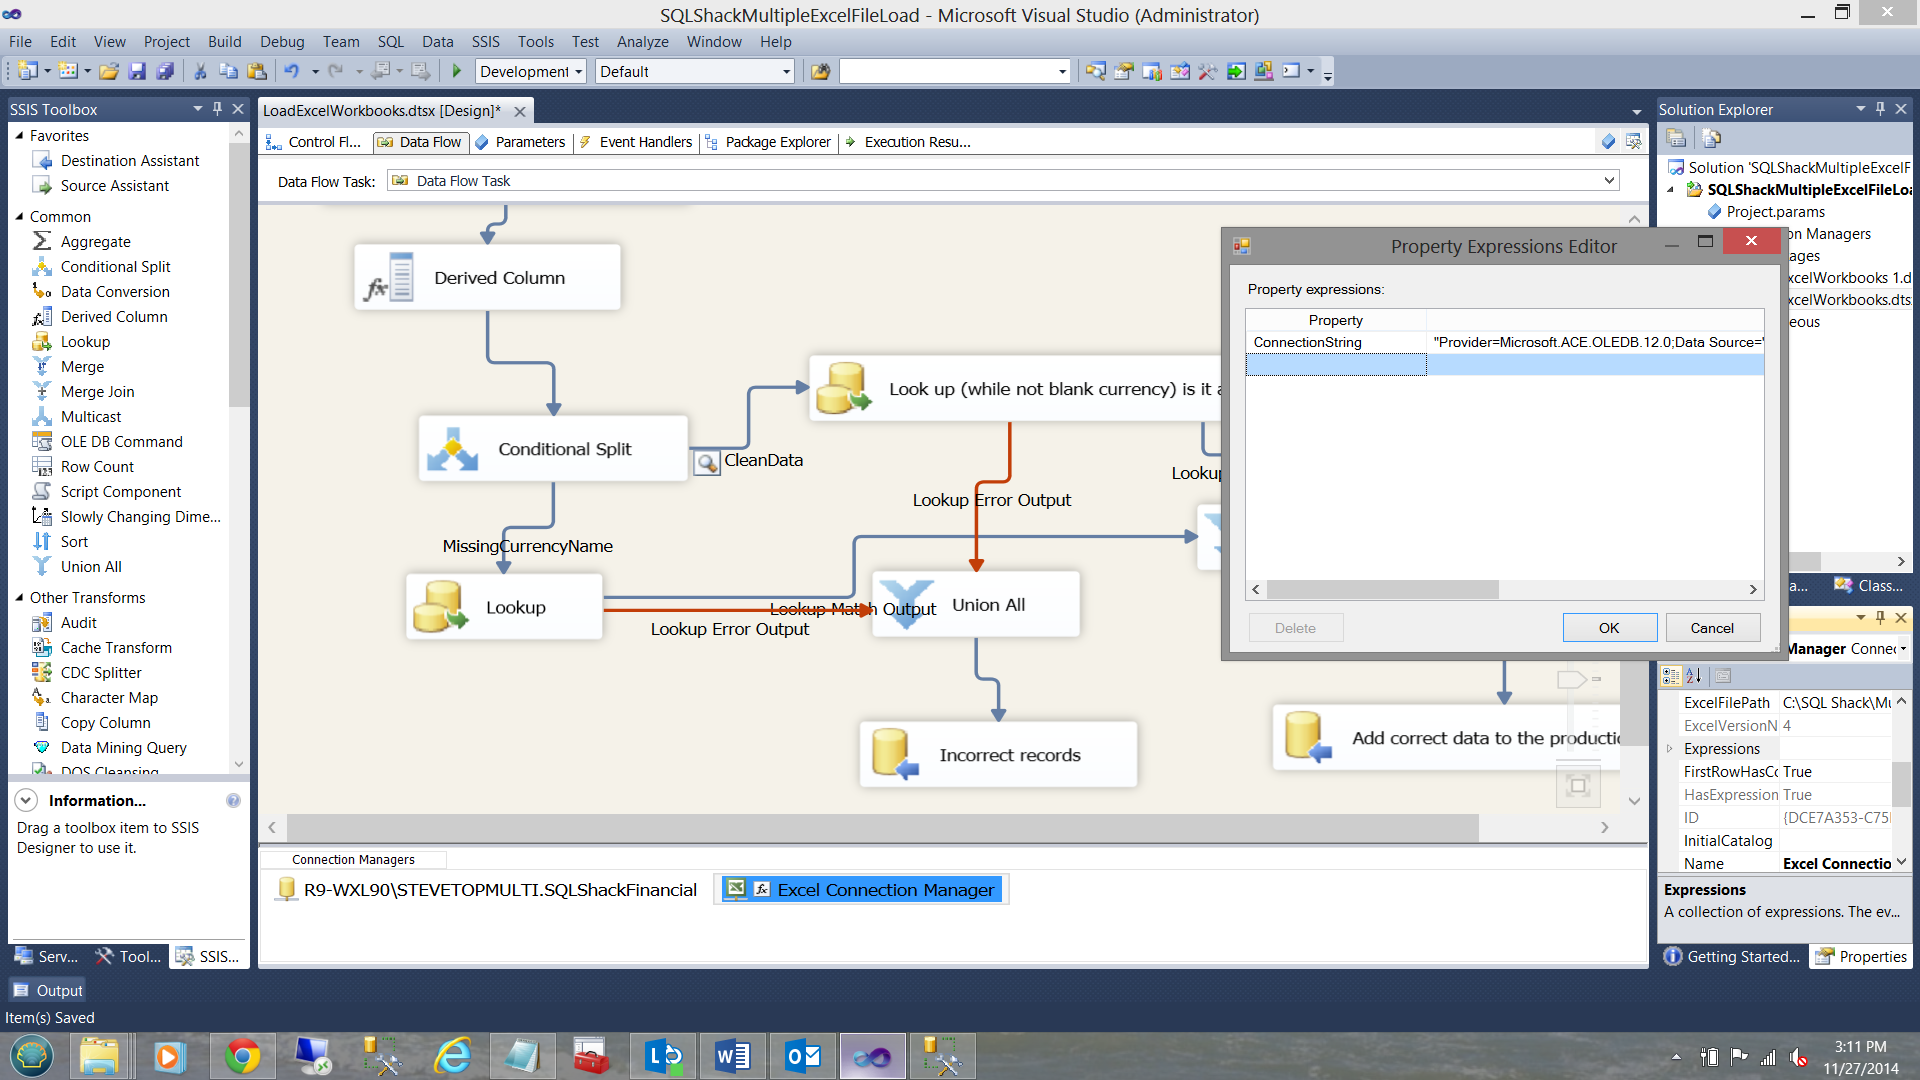
Once again we may access the Expression Property of the Excel connection string by right clicking on the excel connection (in the Connection Managers) and by selecting the Expressions property box and clicking the ellipsis (see below).
Conclusions
Oft times one has data of the same format from varied sources. Most financial folks utilize Excel spreadsheets to load their data. In the case of my client, the various fund accountants had their own valuations that were calculated daily for their holdings. These results were posted daily to the production database.
Using a “Foreach Container” and bit of innovative development we were able to put together a cool SSIS package which you too may employ at your site.
Finally the SSIS package may be initiated by the SQL Server agent OR by using a .Net File System Watcher (which looks for the presence of the correct number of files OR the presence of the last daily file) and then starts a batch file which contains a DTEXEC call to the SSIS package.
This is the technique that I have employed.
Want more information, then please do contact me.
In the interim, happy programming!!
Steve has presented papers at 8 PASS Summits and one at PASS Europe 2009 and 2010. He has recently presented a Master Data Services presentation at the PASS Amsterdam Rally.
Steve has presented 5 papers at the Information Builders' Summits. He is a PASS regional mentor.
View all posts by Steve Simon
- Reporting in SQL Server – Using calculated Expressions within reports - December 19, 2016
- How to use Expressions within SQL Server Reporting Services to create efficient reports - December 9, 2016
- How to use SQL Server Data Quality Services to ensure the correct aggregation of data - November 9, 2016